Description
Introduction
The aim of this project is to build your own wall charger for your Zune or other USB based device that charges over usb. The Zune itself takes an input of 5 volts @ 1.4 amps. After searching around in my parts bin I stumbled upon the victim. An old epson adapter that was used to power a parallel based zip-100 drive. The adapter kicks out 5v @ 1.5 amp. How perfect. Read along to find out how I was able to convert this adapter to have its own usb port to plug in standard usb cables like for phones, iPods, and most importantly your Zune.
Project
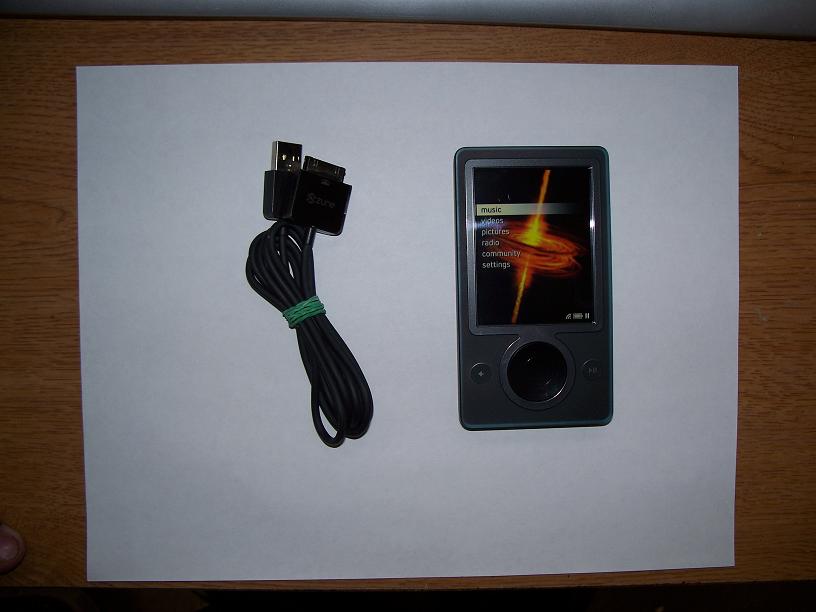
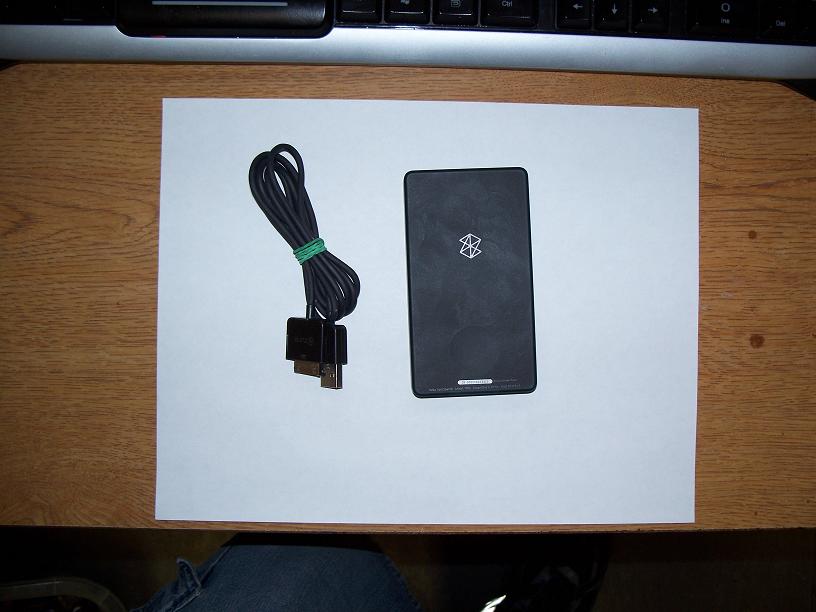
Here is my Zune and its usb adapter cable. Here is the back of the Zune, in case you have not seen it. It also states the input power requirements of 5v @ 1.4a.
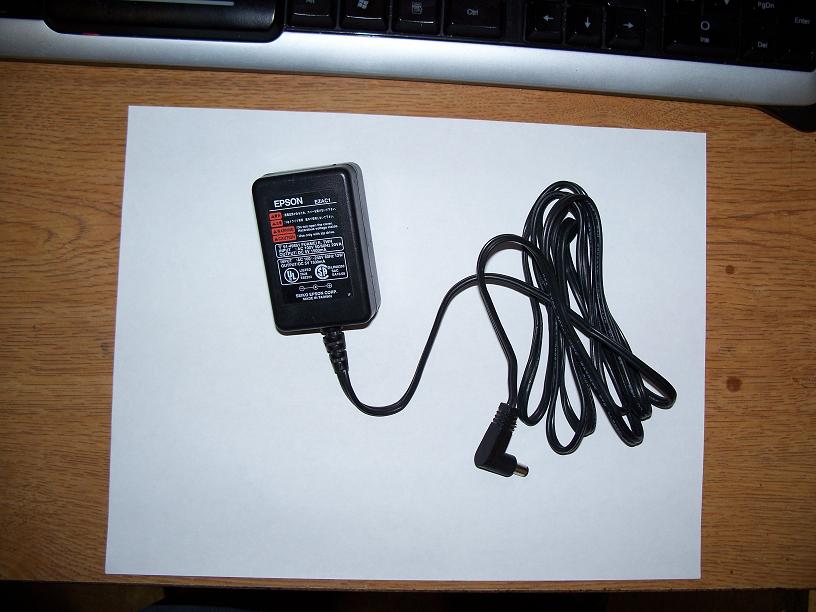
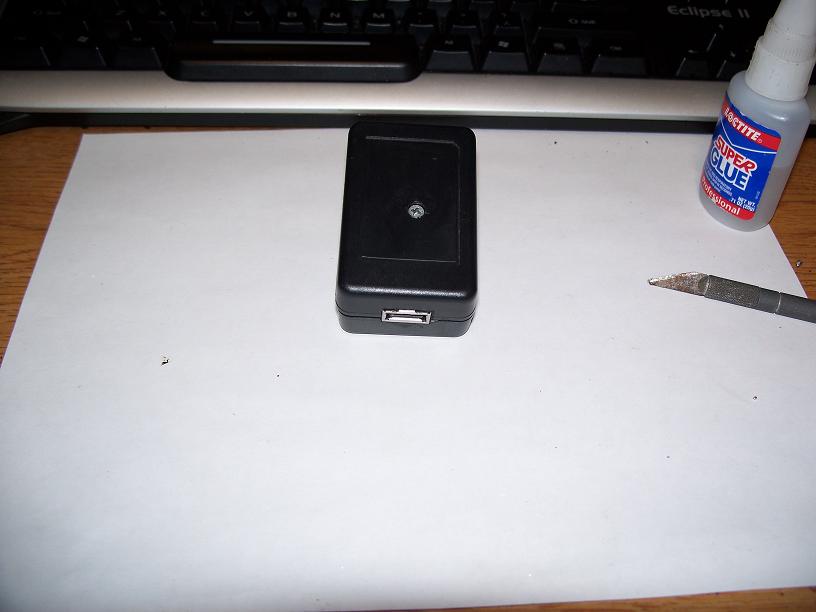
Here is the victim power adapter that formally powered an ancient device sometimes referred to as a zip disk drive. After you take off the sticker you find a screw that holds the case together.

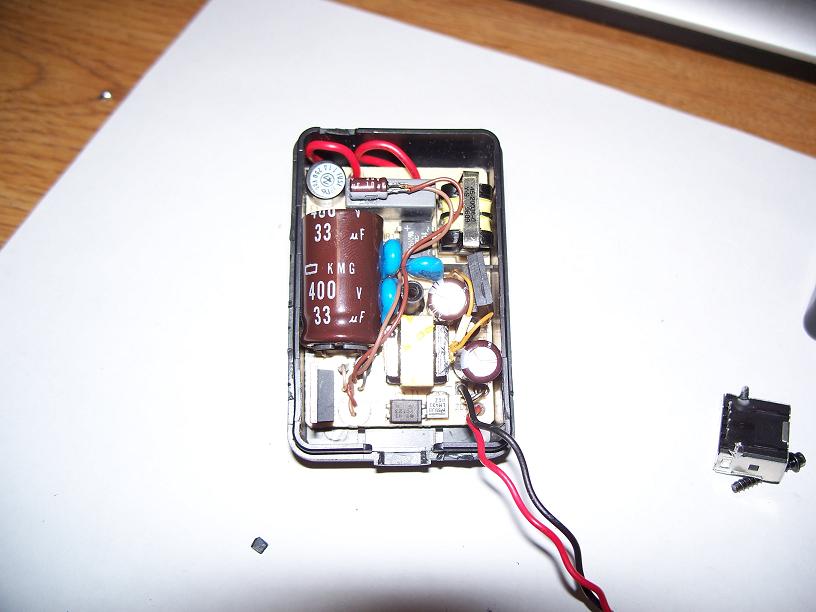
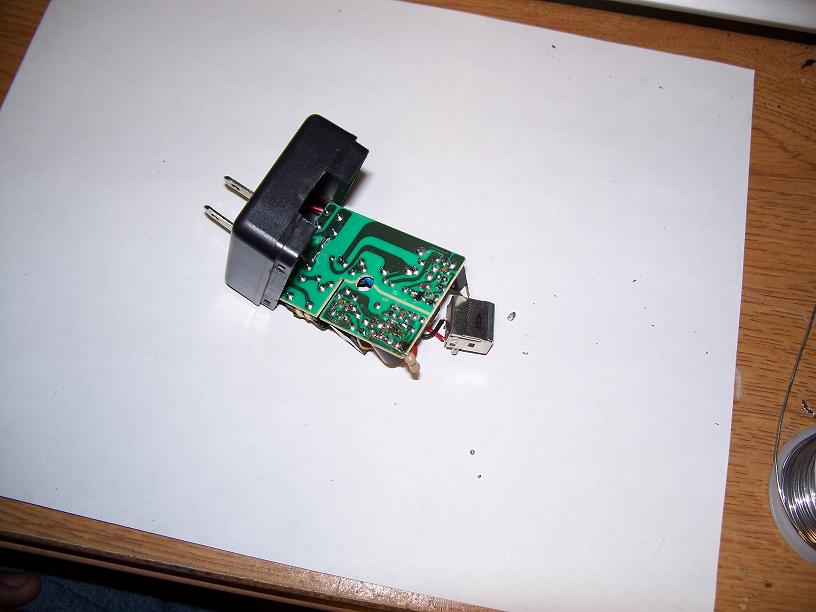
Once the screw is removed we can now see the inside where there will be ample room to install a usb port. You can also tell that this is a switching mode powersupply which means it will run more efficiently than its coil based counterpart. First of all I desoldered the original cord that came on the power adapter. This is an important step here because I had to relocate a capacitor that would have been in the way of the usb port I was to install. So first I desoldered the capacitor and then extended its wires using some thin ethernet wire. You can see where I glued it far away.
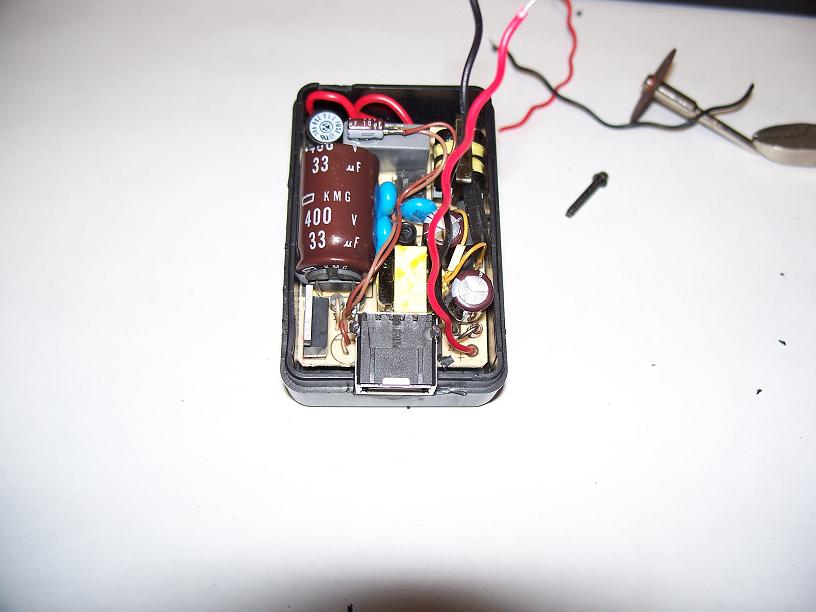
Next I cut away a larger rectangle for the usb port. Here is a side shot of the usb port cut away at the first half of the case.
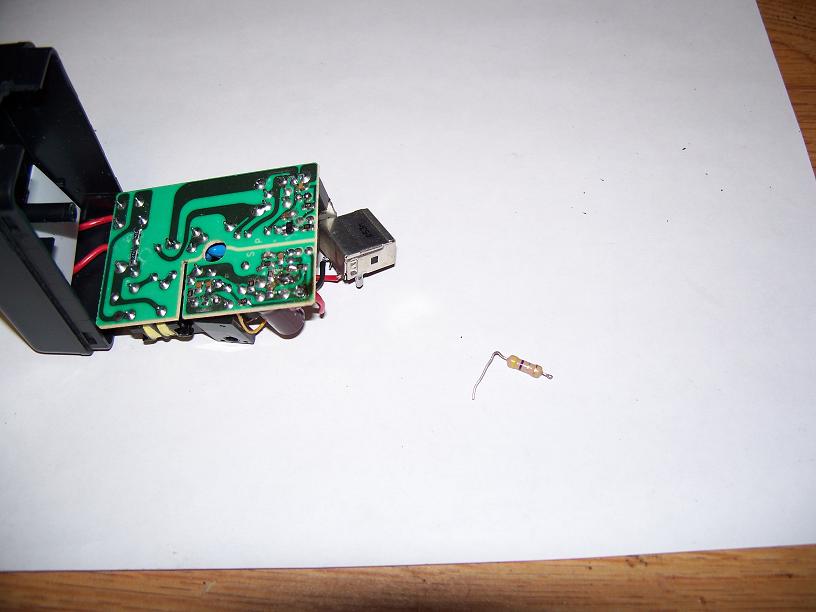
This next bit takes a little bit of explaining. When I plugged in my Zune to test what I had thus far it refused to charge. This I found to be a little odd until I realized that the Zune must use the data pins on the usb interface to detect that it has been plugged into a compatible charger. So what I had to do was pull one of the USB pins HIGH using a resistor. I chose the Data- line that is right next to the +5v pin on the usb plug. Once I had the resistor soldered between the +5v output of the power supply board and the data- pin the Zune detected it was plugged in and happily charged away.

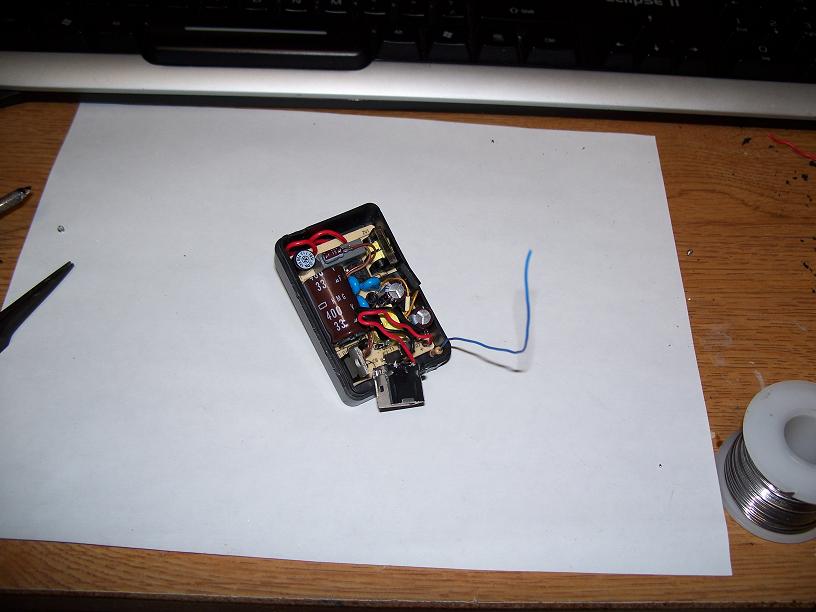
Here is the resistor soldered onto the bottom of the PSU board. I then soldered a small blue wire to the other end of the resistor.
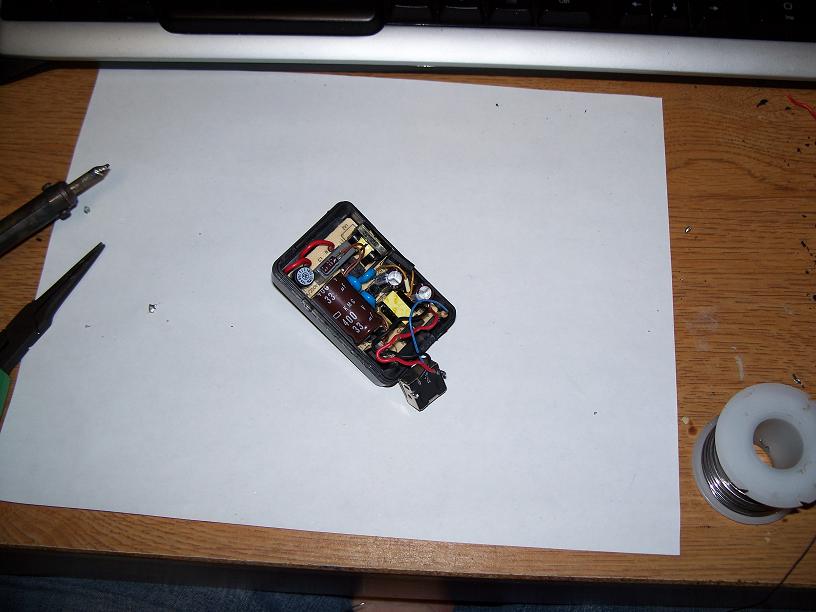
I then soldered the other end of the blue wire to the Data- pin on the usb port. Next I used my favorite product ‘super glue’ and glued the usb port in place and mashed the wires down and out of the way of major components.

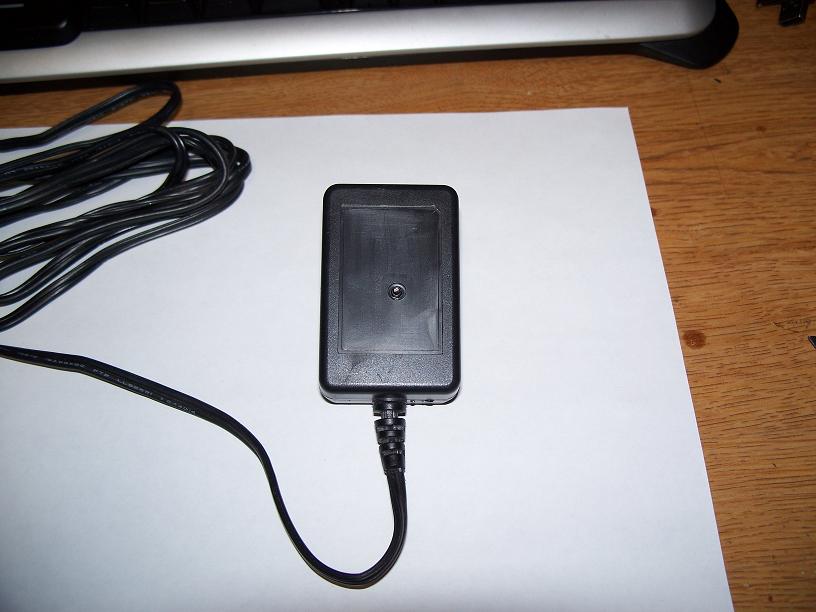
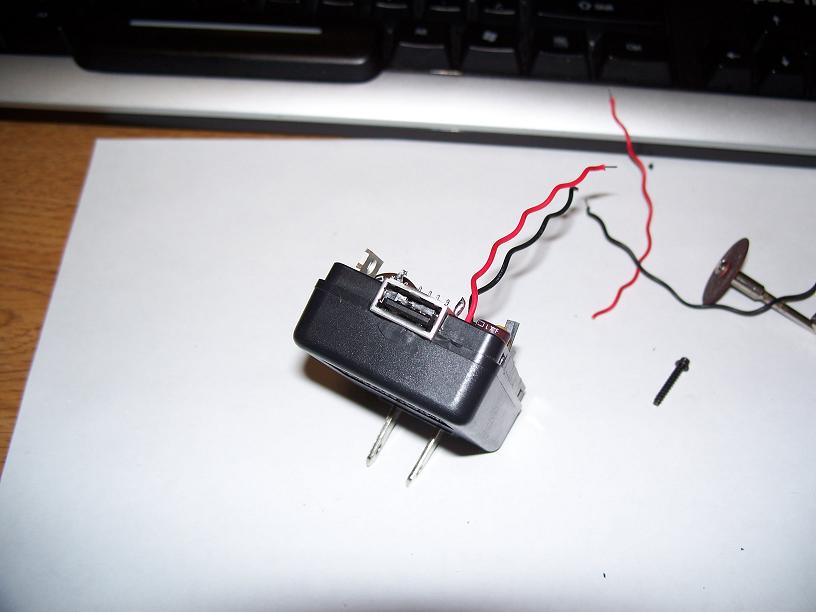
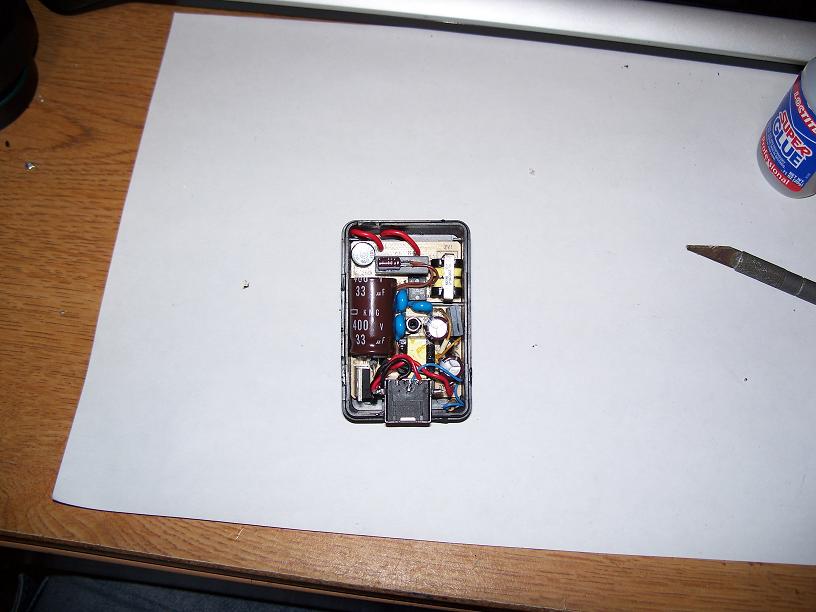
I then bolted the entire device together with a way easier to remove screw than the odd hex bolt that was in there.
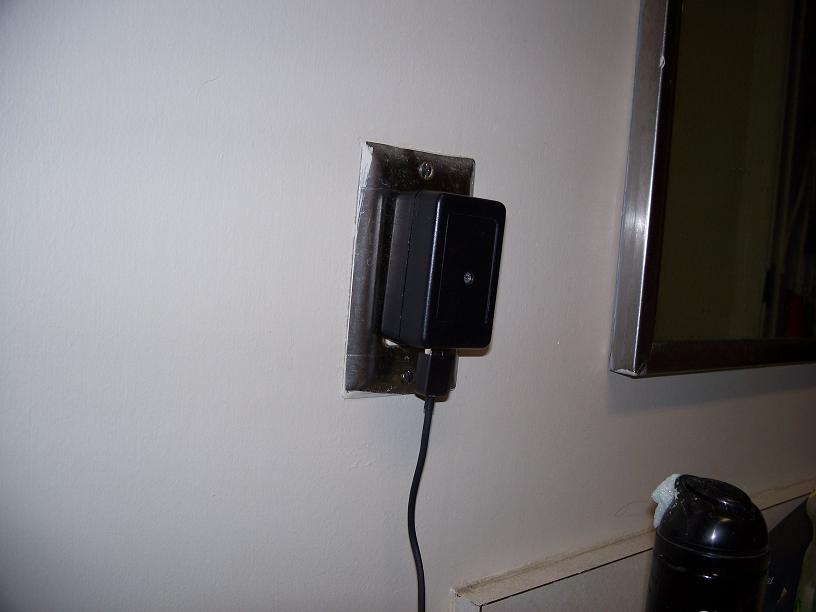
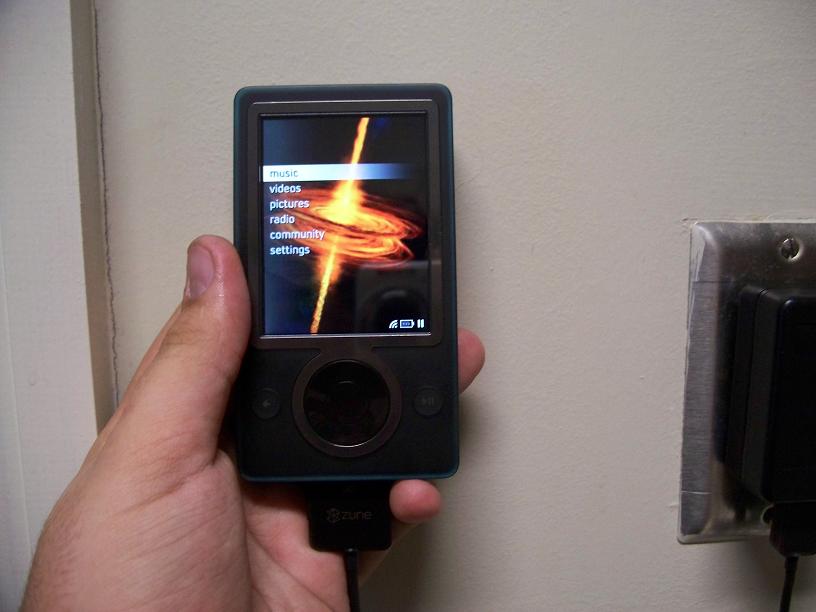
Here is the charger all plugged into the wall and the zune also connected. Here is my zune all plugged in to my new charger. Don’t worry I fully tested the port with my voltmeter before connecting my precious zune. Here you can see the Zune’s charge indicator displaying it is currently charging.
I have also tested an iPod and my cellphone off of the plug in charger. I am quite sure that any USB device would work. Though I couldn’t possibly test them all.