Description
Introduction
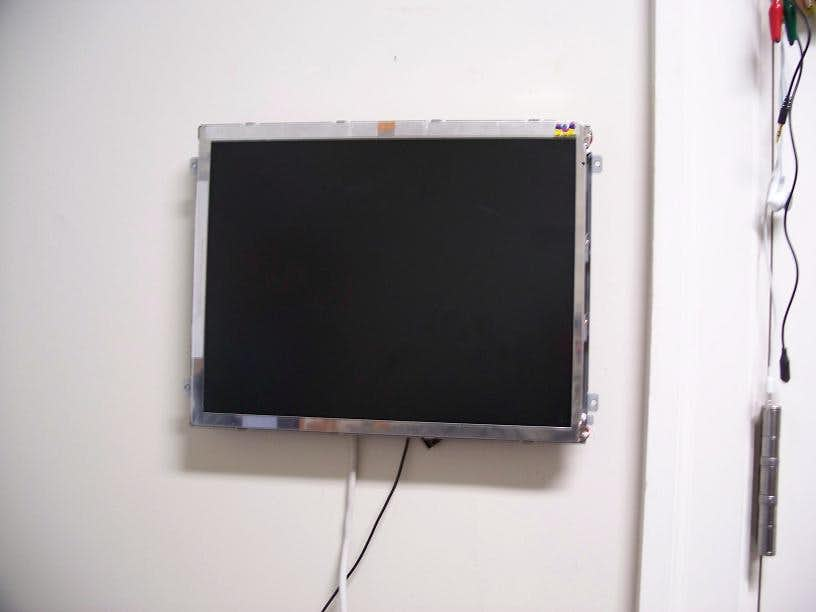
Today I have decided to take the tools to my wall mount monitor, I am sure some of you have seen it already which was an old Viewsonic flat panel I was given because the VGA cable/plug on it had been completely decimated. About 3 years ago I replaced the plug on the end by splicing in a new plug off an old monitor. The panel did not have a removable cord like modern panels do.
The aim of this mod is to add such a jack on the back to allow me to connect any vga cord I have. The reason I even decided to do this was because the splice I had done years ago had started to fail with wavy lines and sometimes red or blue not displaying properly.
Project
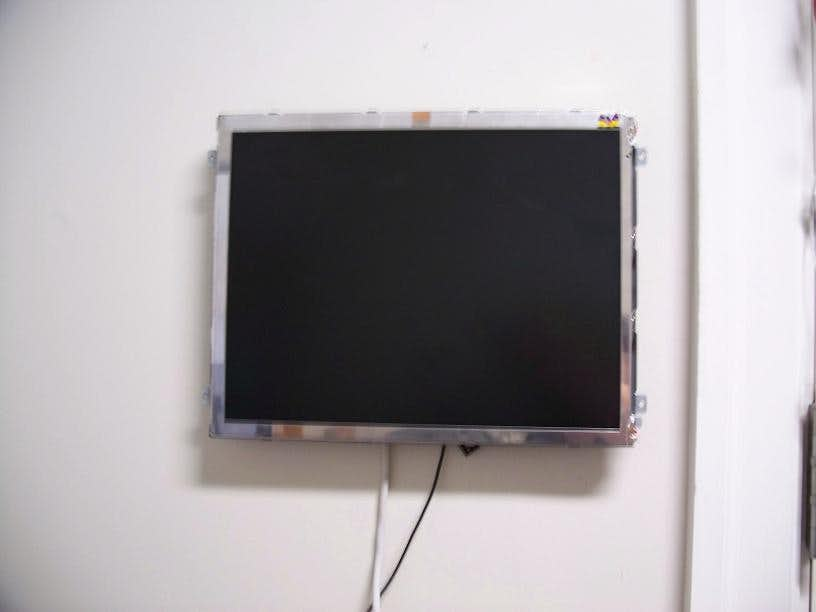
I am sure some of you remember this little thing, If you don’t its a great starting place for this mod.
As you can see the cord coming out of the back is the old VGA cable.
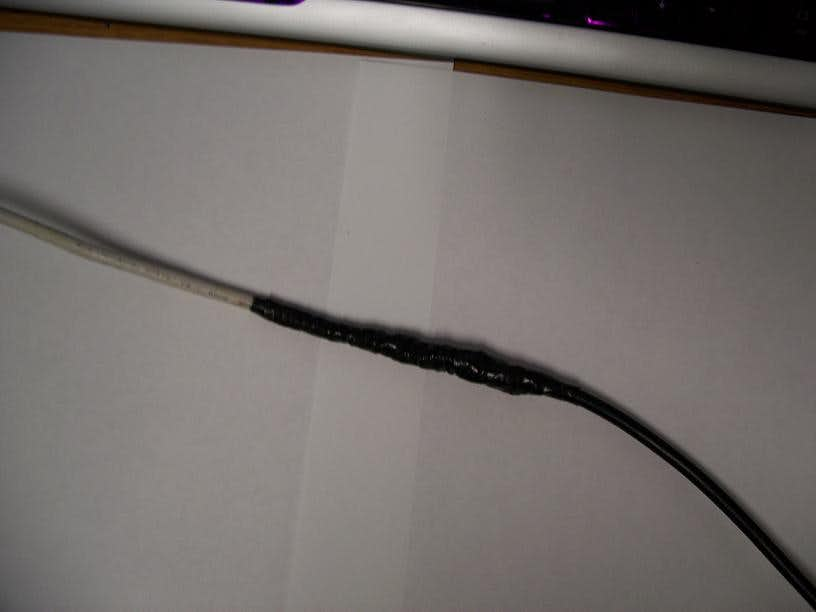
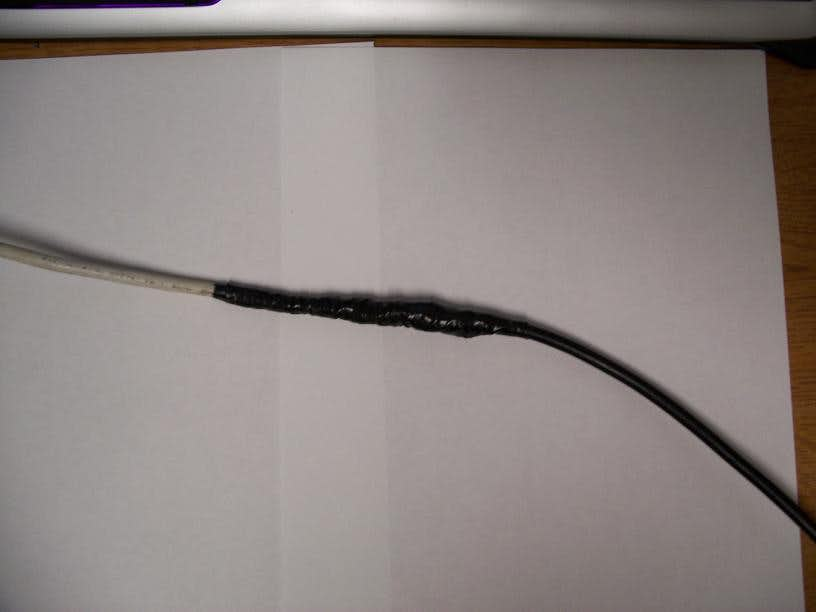
There is the splice in the cable I did years ago, not my best work. But it seemed to work fine until now.
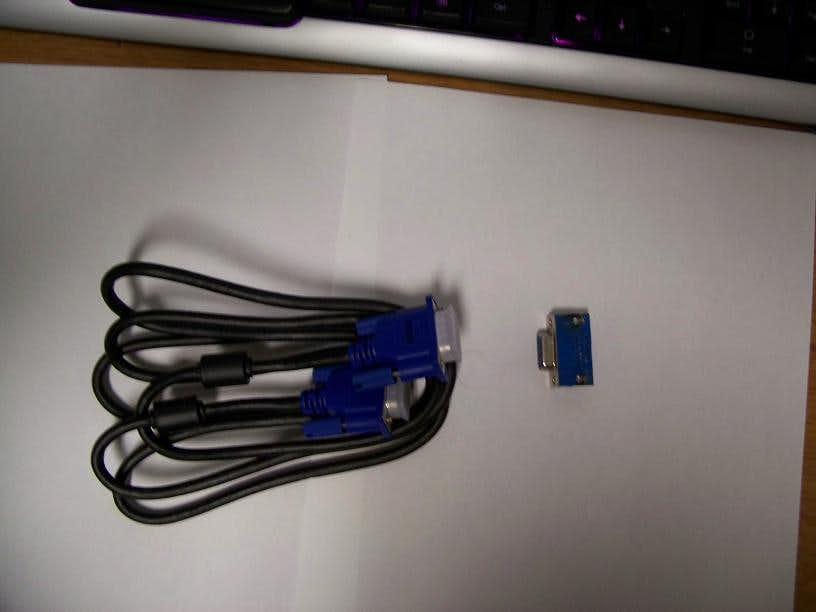
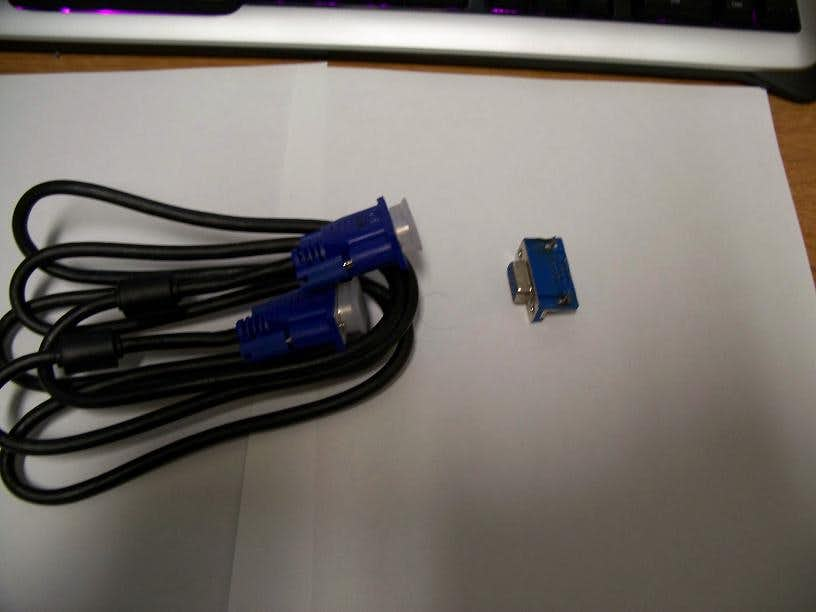
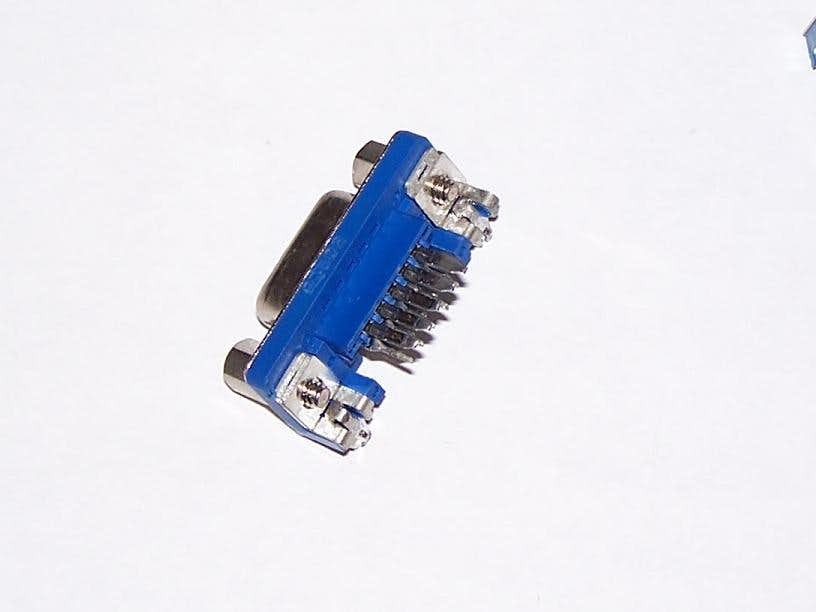
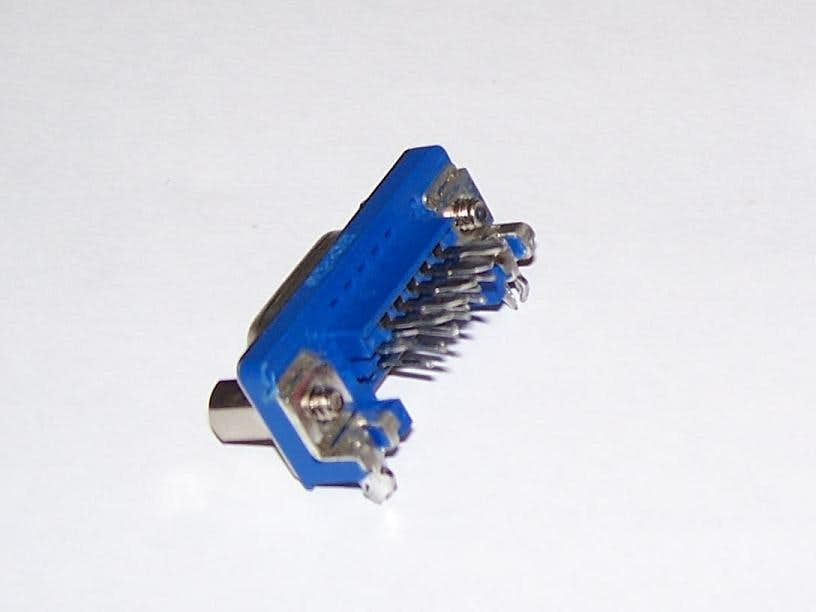
The new VGA cable and the donor VGA jack that I desoldered off an old graphics card.
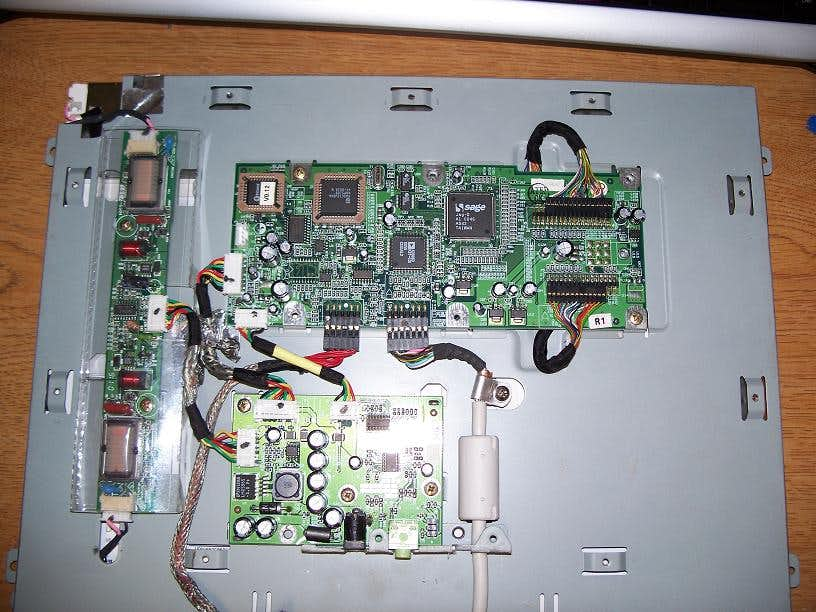
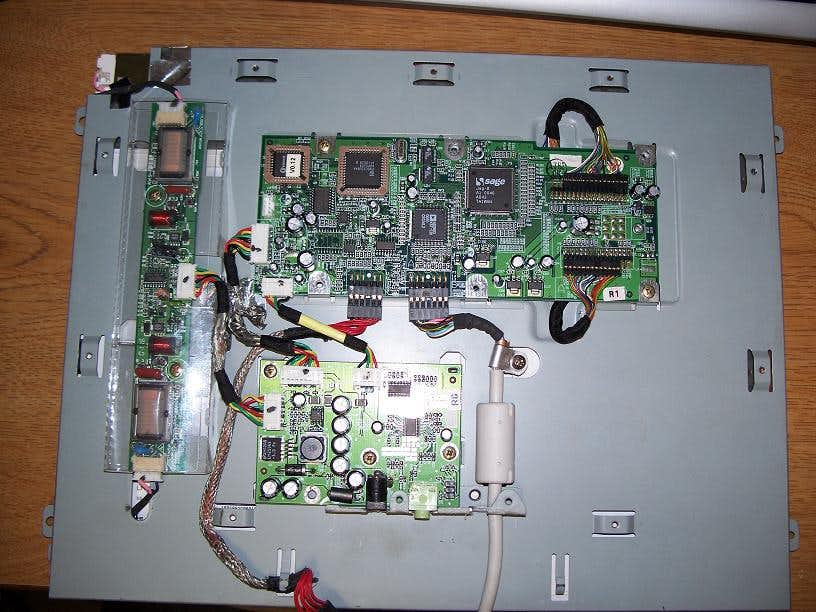
This is the back of the panel exposed showing where the VGA cable mates with the controller board, which happens to be removable.
I dug this different VGA plug out of my spare parts drawer, it will be easier to fit in the confined space of the panel.
A closeup shot of the connector that plugs into the controller board to feed the VGA signal.
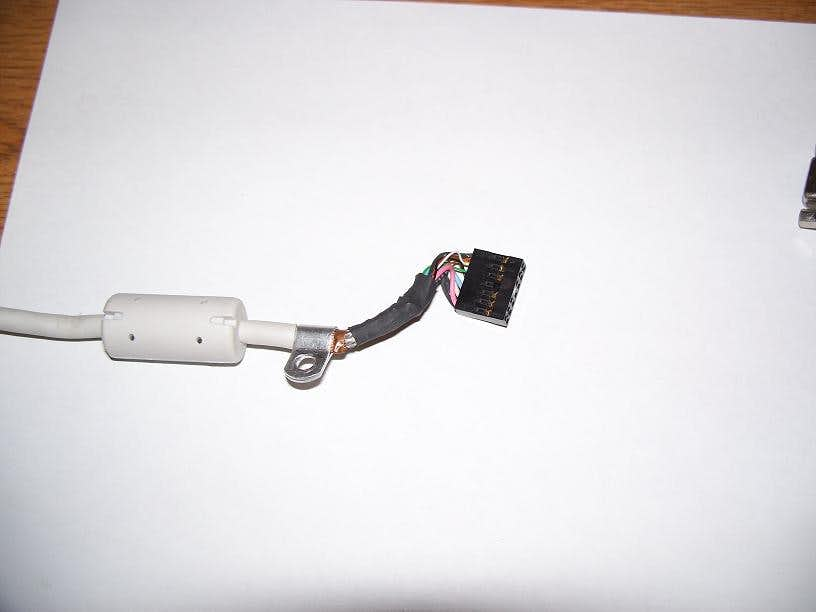
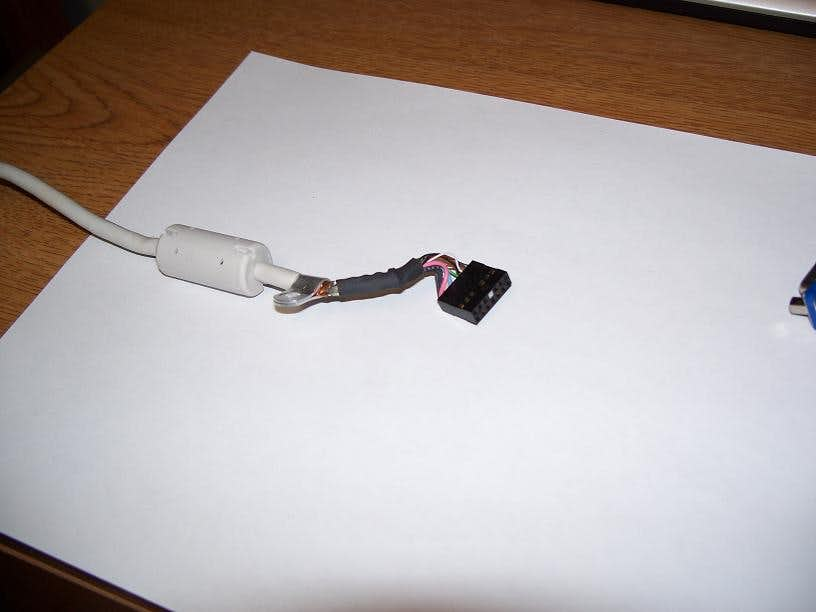
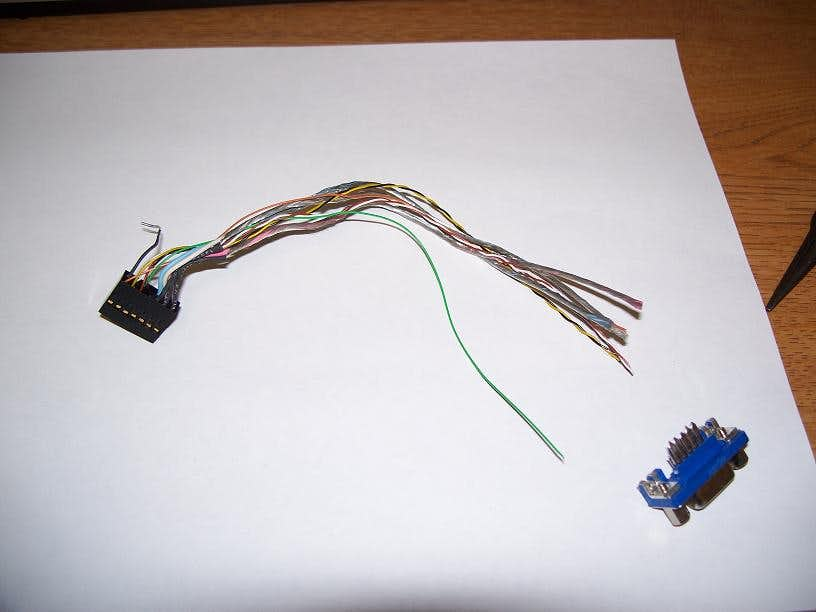
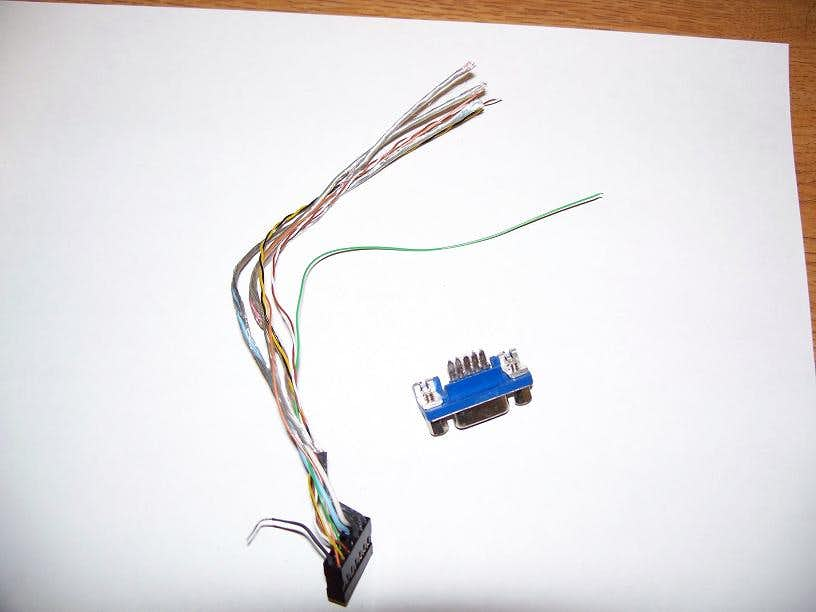
The connector and some wire cut off of the original VGA cable, Liberated from the white housing it was in.
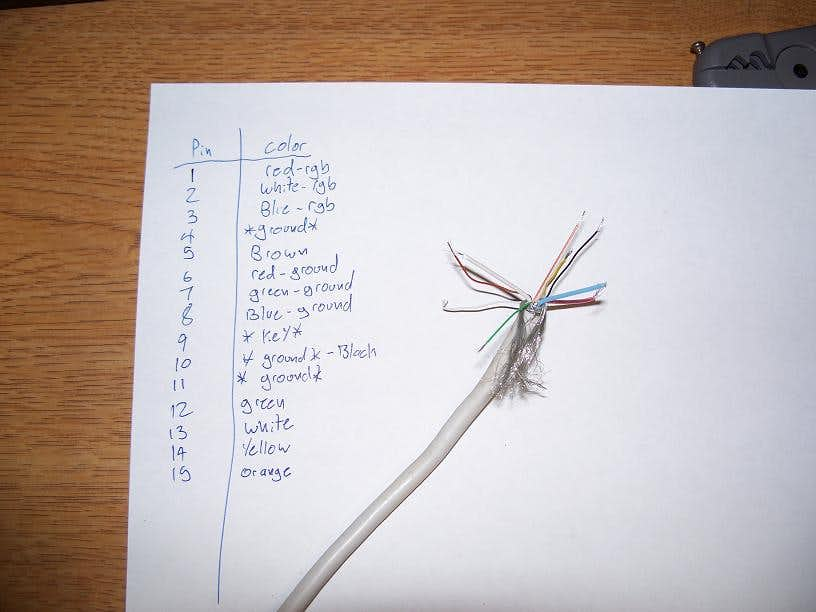
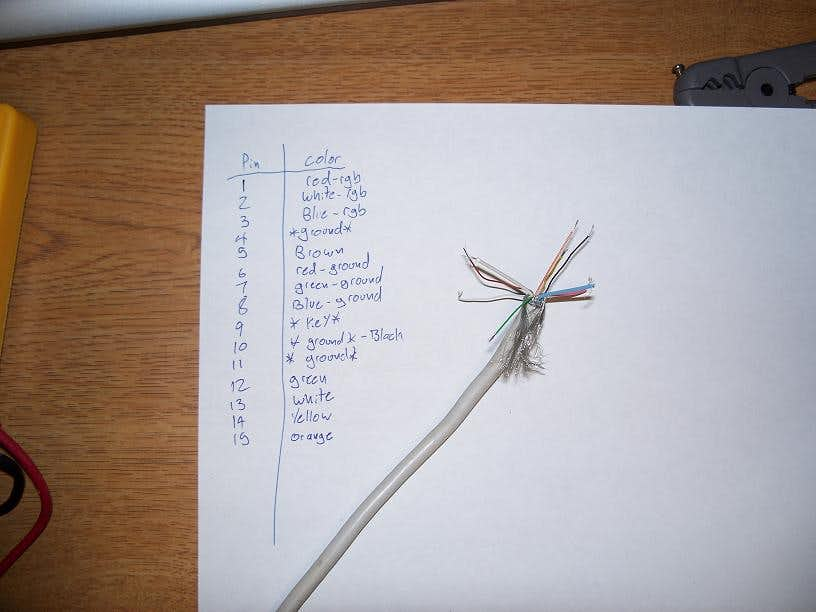
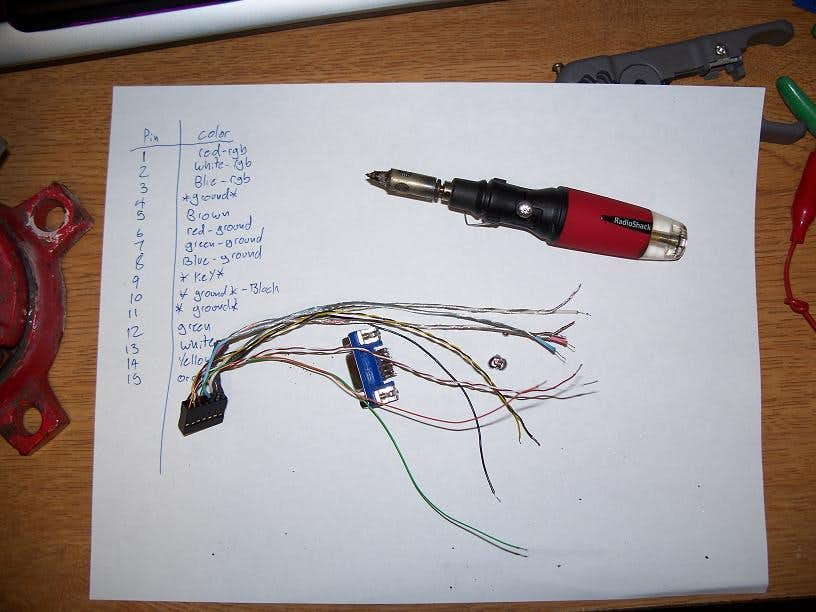
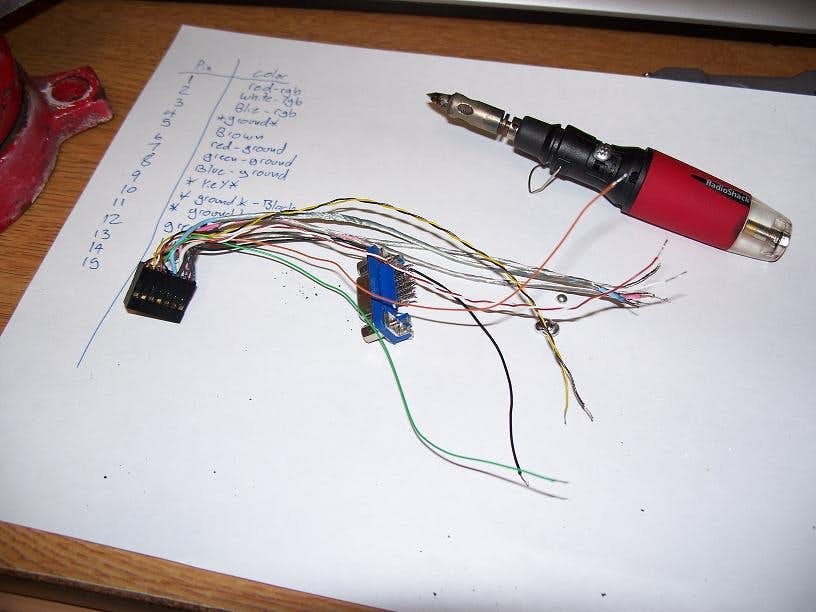
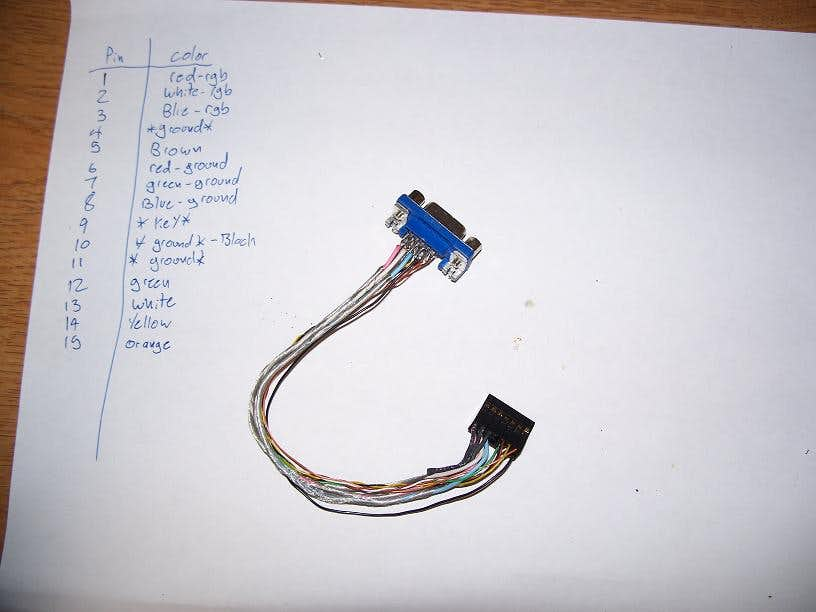
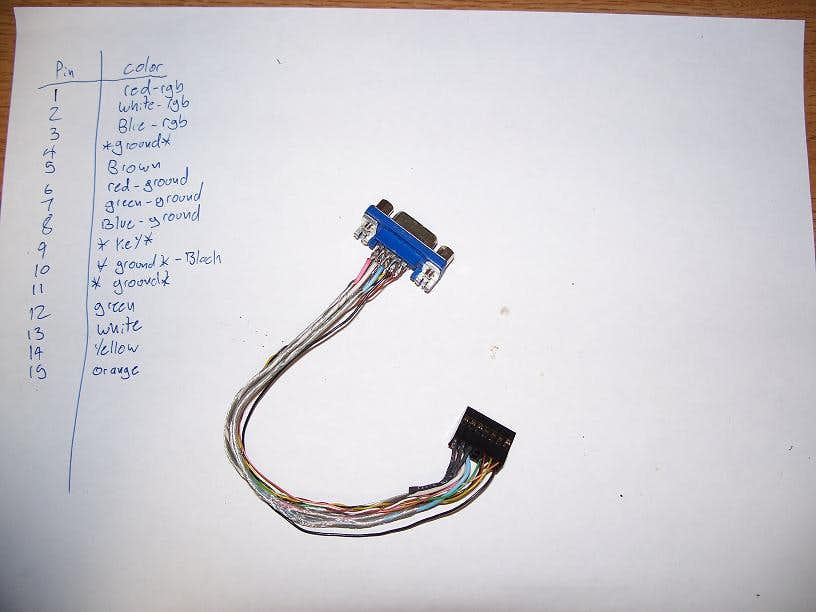
This was an important step of the process. What I did was connect a wire to pin 1 of the VGA plug on the end of my old cable, and used the circuit test or resistance test function of my voltmeter to see if it completed a circuit. I then wrote down which wire corresponded to that pin, and repeated for each pin on the cable. Since many manufacturers do not use standard colors it is important to know which wires do what.
Another important step for me in soldering is to tin or pre-solder both the contacts on what your soldering to, and the wires you are soldering. This makes it easy to just heat up the spot and the wire and you don’t have to fiddle with adding more solder.
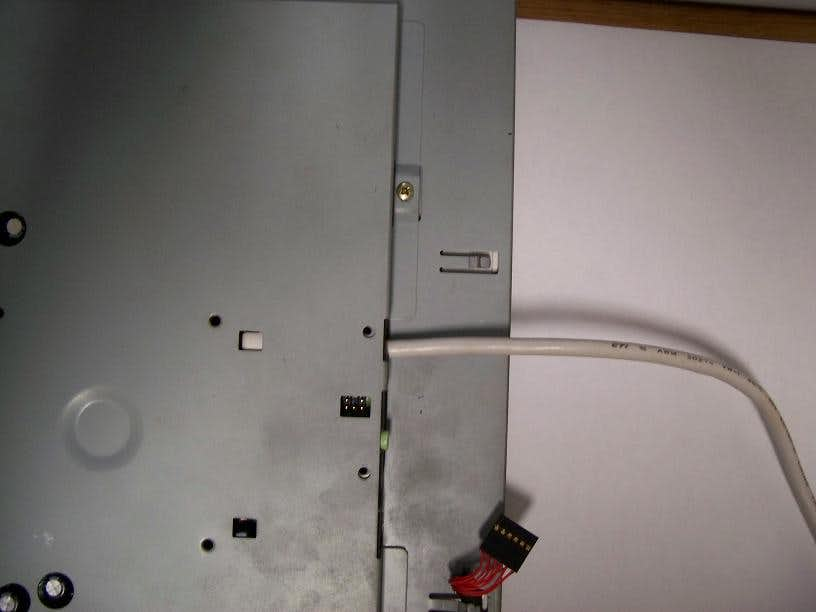
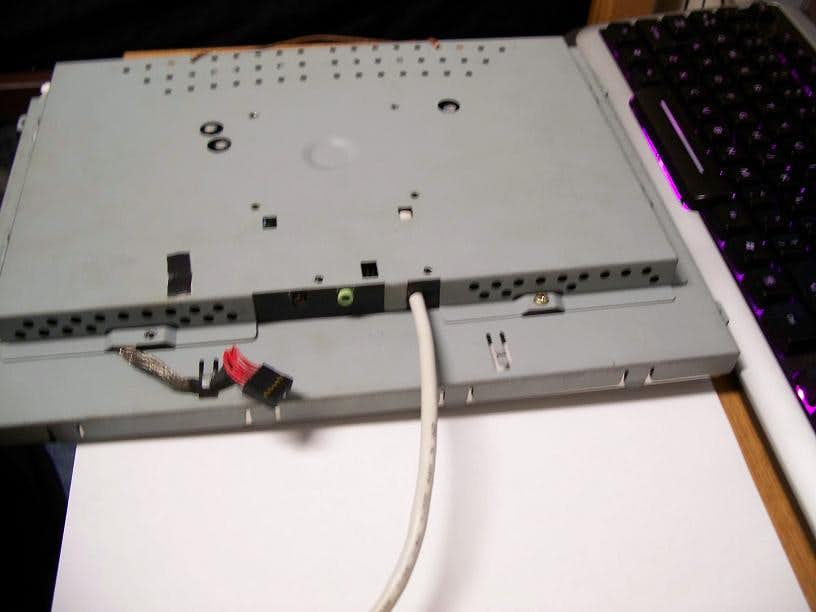
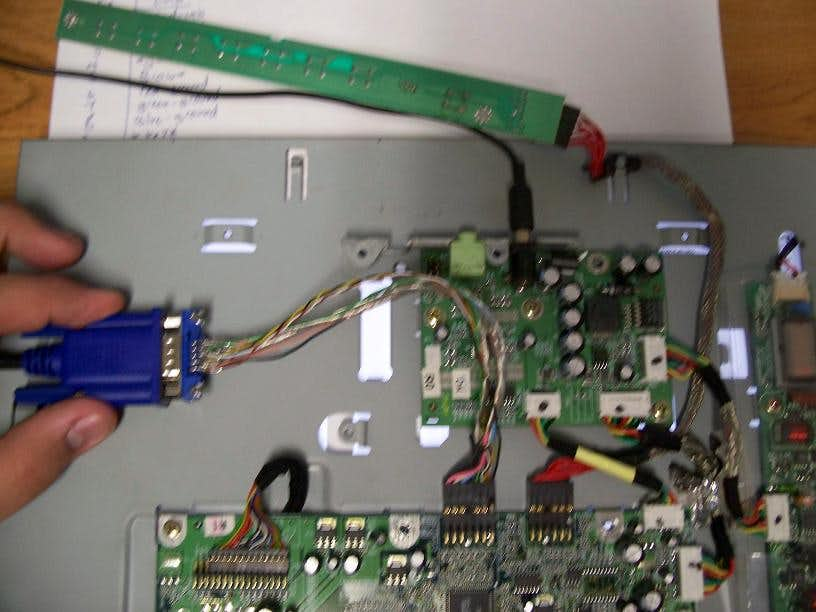
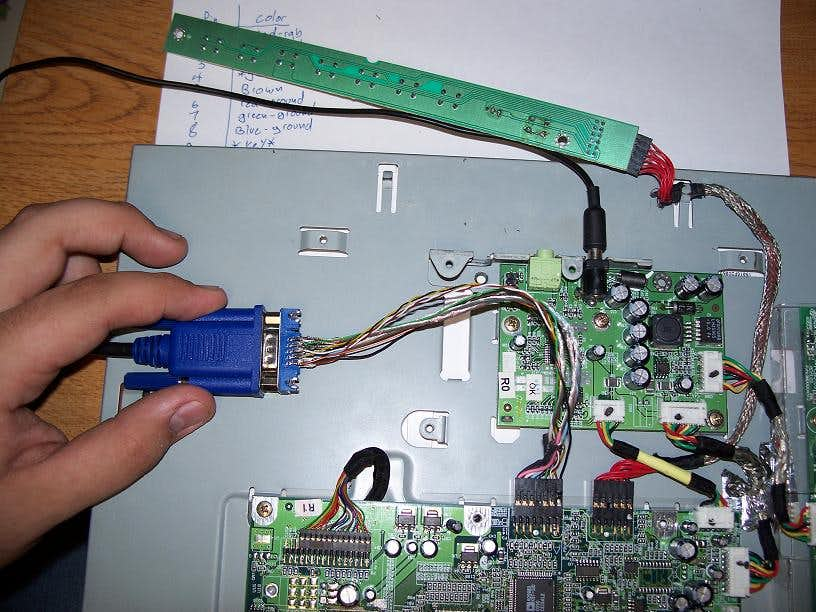
Here is the new connector plugged into the back of the panel.
Close up of the actual cable itself.
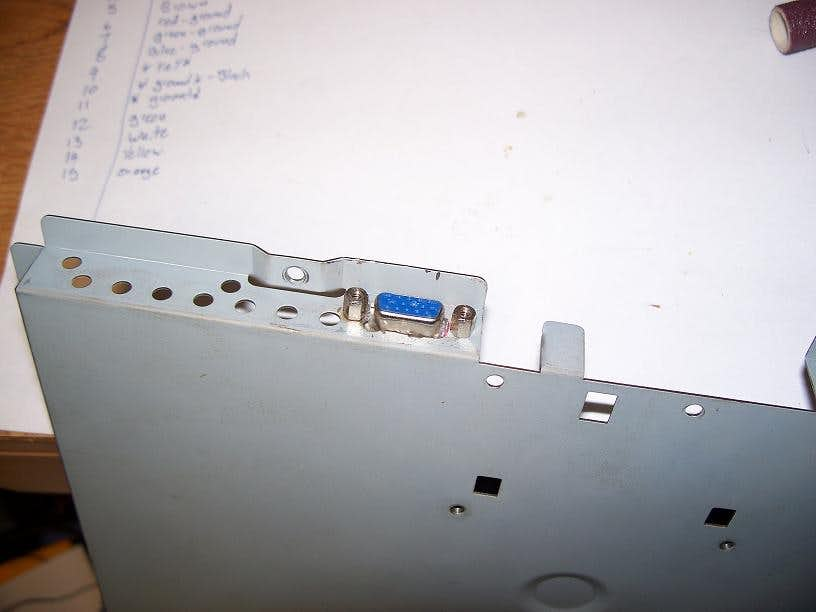
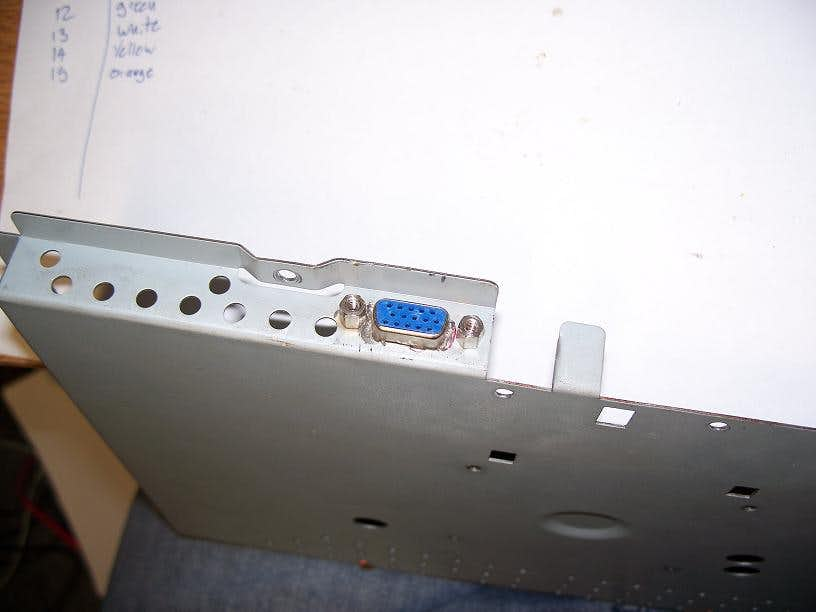
And here is the spot I cut out for the connector on the back, not perfect.
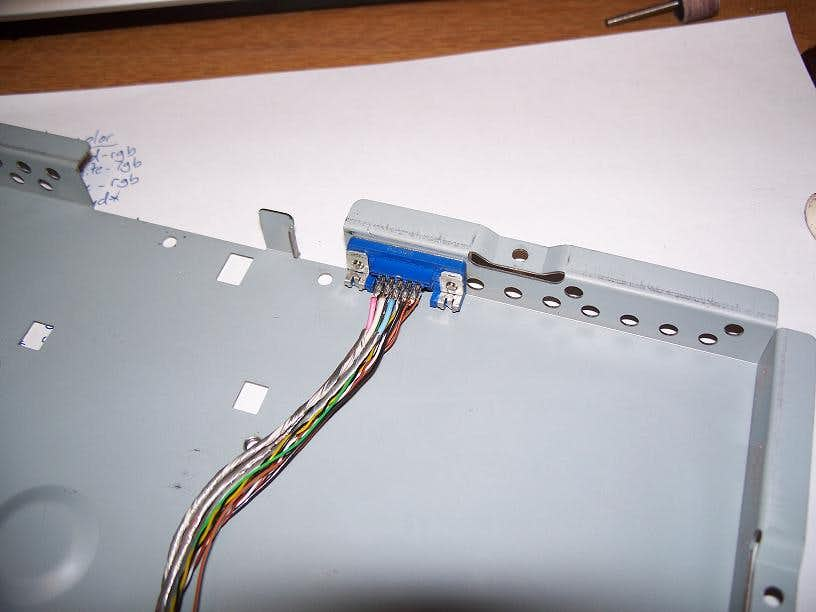
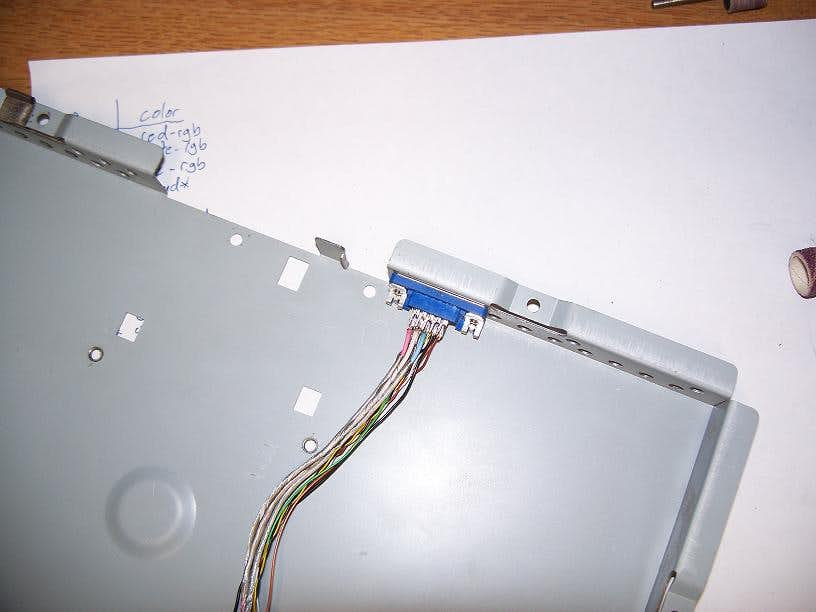
Showing the jack from the inside of the pack plate.
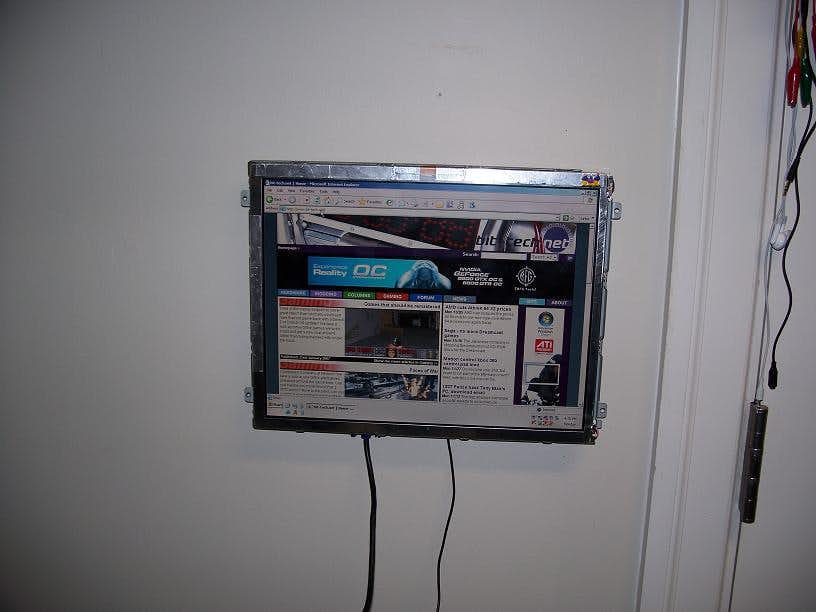
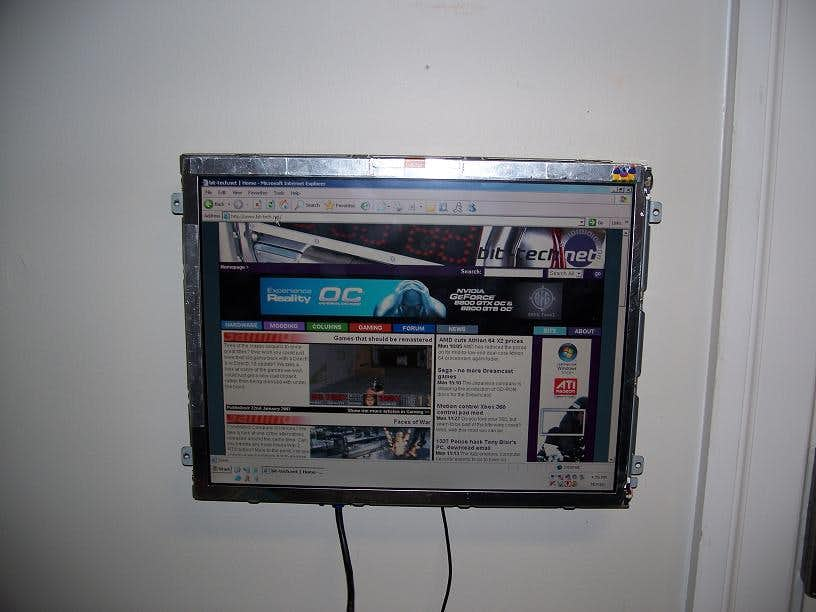
And the monitor all plugged in and hung back on the wall while doing some browsing.
Final Thoughts
One thing I have noticed is the picture is now much clearer, and there is no longer a problem of image ghosting or anything of the nature.
