Description
Introduction
Bench Power Supplies allow a scientist to experiment with different regulated voltages easily on the desk or work bench. This project uses an old ATX power supply, though an AT style one will work you will lose the remote on/off functionality. Any power supply around 200 watt or more, you want enough to power your future projects.
Project
- Open the power supply
- Strip, curl, and tin (solder) the ends
First step is to crack open the case on your power supply. Cut off all the cables and leave about 3-4 inches of wire in a group of about 3 or 4 for each voltage you want.
- Attach extended wires to junction block
- Completed junction box
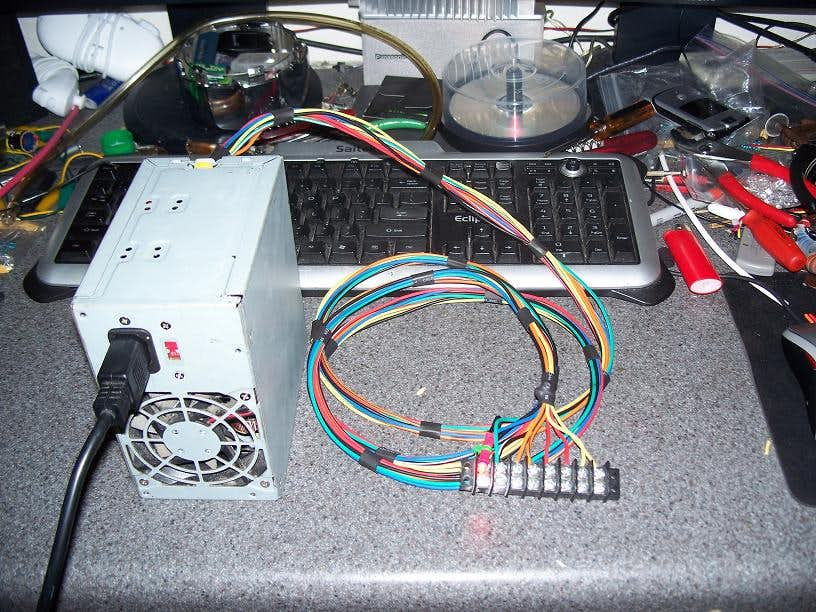
The completed junction box. The added LED turns on when there is power (psu is on). The light will go off if the PSU gets tripped off or short circuited for protection. There are two wires for each voltage rail that I wanted. 12v (yellow), 5v (red), 3.3v(orange), Ground (black), and PwrOn (green).
- Extended wire soldered in power supply
- Completed power supply bolted together
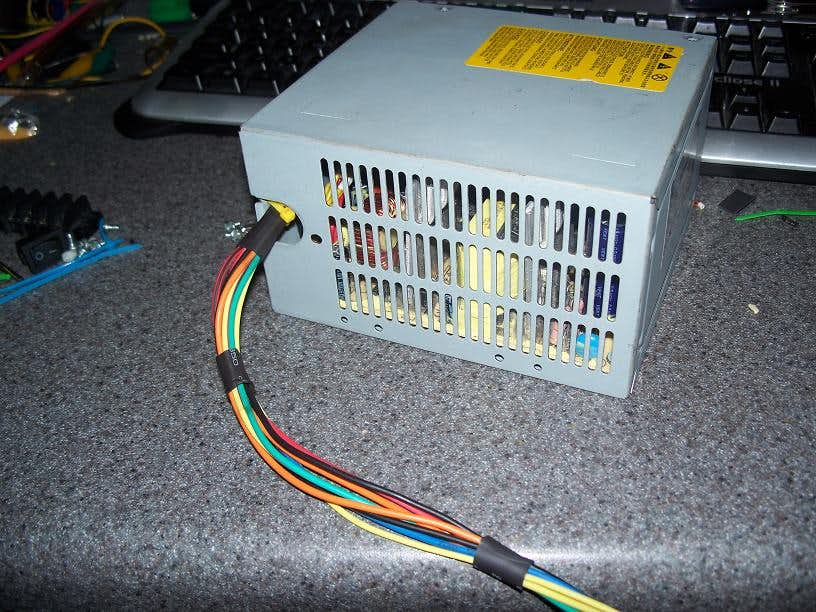
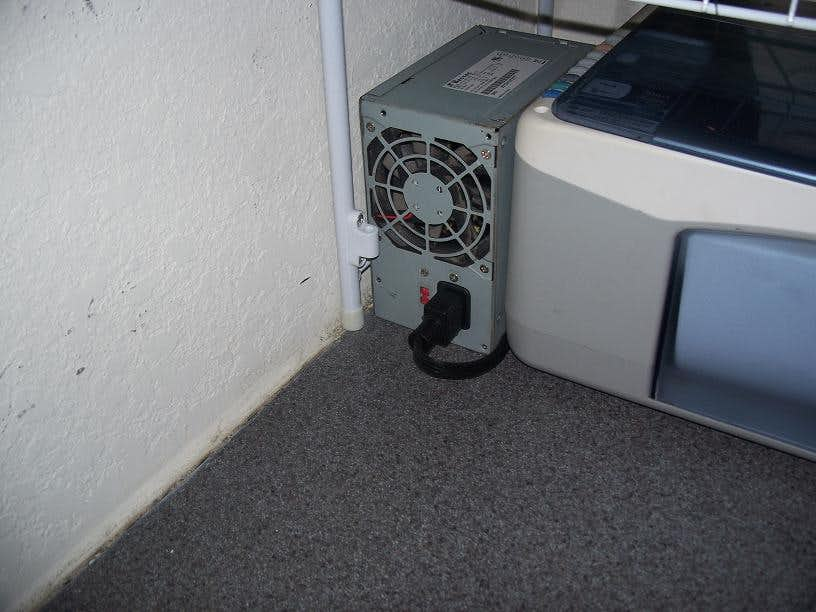
Solder each wire to a set of wires coming from the PSU, connect one long yellow wire to a group of wires attached to the PSU of the same color (voltage rail). You could also solder the extended wire to the PCB of the power supply itself. Bench power supply all bolted back together. You can place this part of the project on the floor or behind your desk.
- Admire the completed bench power supply
- Attach extended wires to junction block
The completed bench power supply has a long extended power cable. A scientist screws on or uses a alligator clip to connect to one of the voltage terminals. Science made easy. I hid my bench power supply on the other side of my desk. This makes a great addition to any scientist’s work area.


