Description
Build a Lego Power Functions compatible controller integrated with ESPHome and Home Assistant.
Introduction
I always wanted a Lego Holiday Train and with the house full of friends and family this year the timing was just right. In no time at all we had the train fully constructed and the modder’s mind began to churn. Obviously the train should move around the track and with the addition of the Lego Train Motor we had movement. Except, it was too fast, the first time I turned it on it shot off the track with pieces flying every direction. Thankfully it’s Lego so part of the fun is just putting it back together.
The problem is the standard Lego battery is either on or off, forward or reverse. This isn’t great, and while Lego used to sell a version of the battery with speed control built-in these have become unobtainable as Lego has discontinued all Power Functions parts and accessories. I even tried sourcing the Lego IR Receiver and remote only to discover there are two versions of the remote and the one I had was yet again not a speed control version. Okay Lego, okay.
Finished Project
Demonstration of the Lego box and the automation script used with Home Assistant.
The train runs a sequence at the top of every hour during the daytime that plays various sounds and sets various speeds on the motor to give the train realistic start and stop effects.
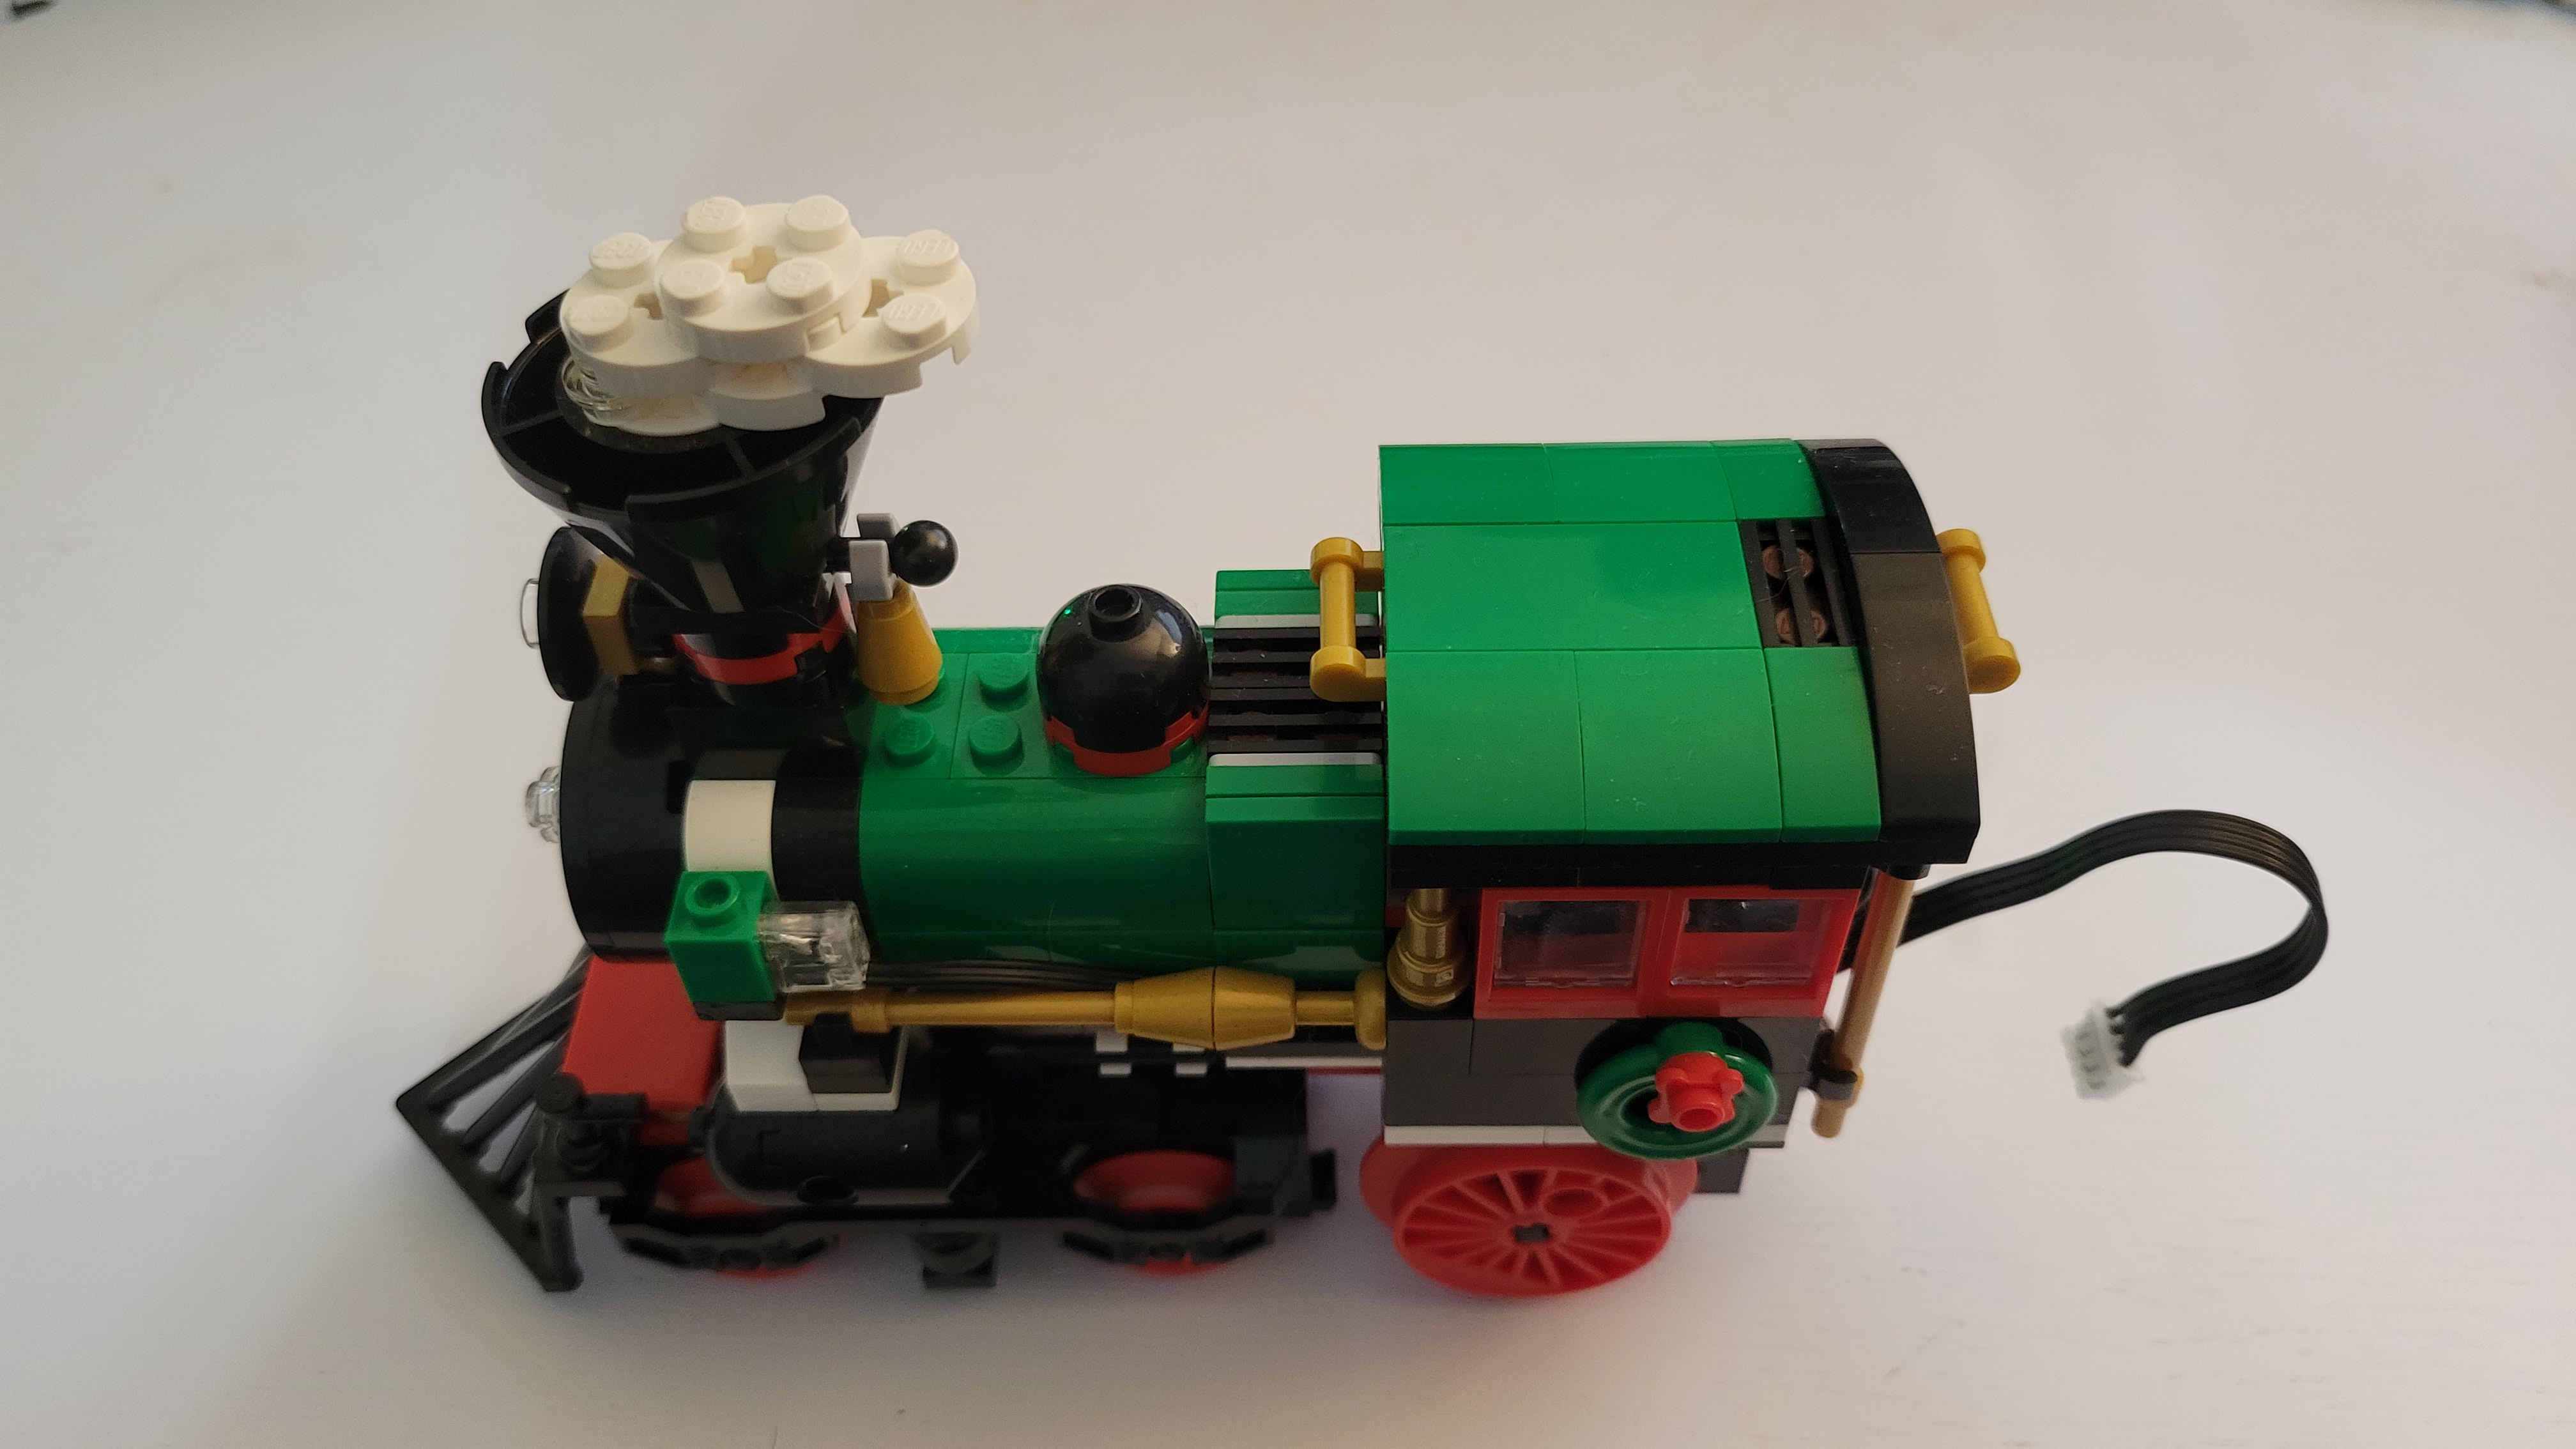
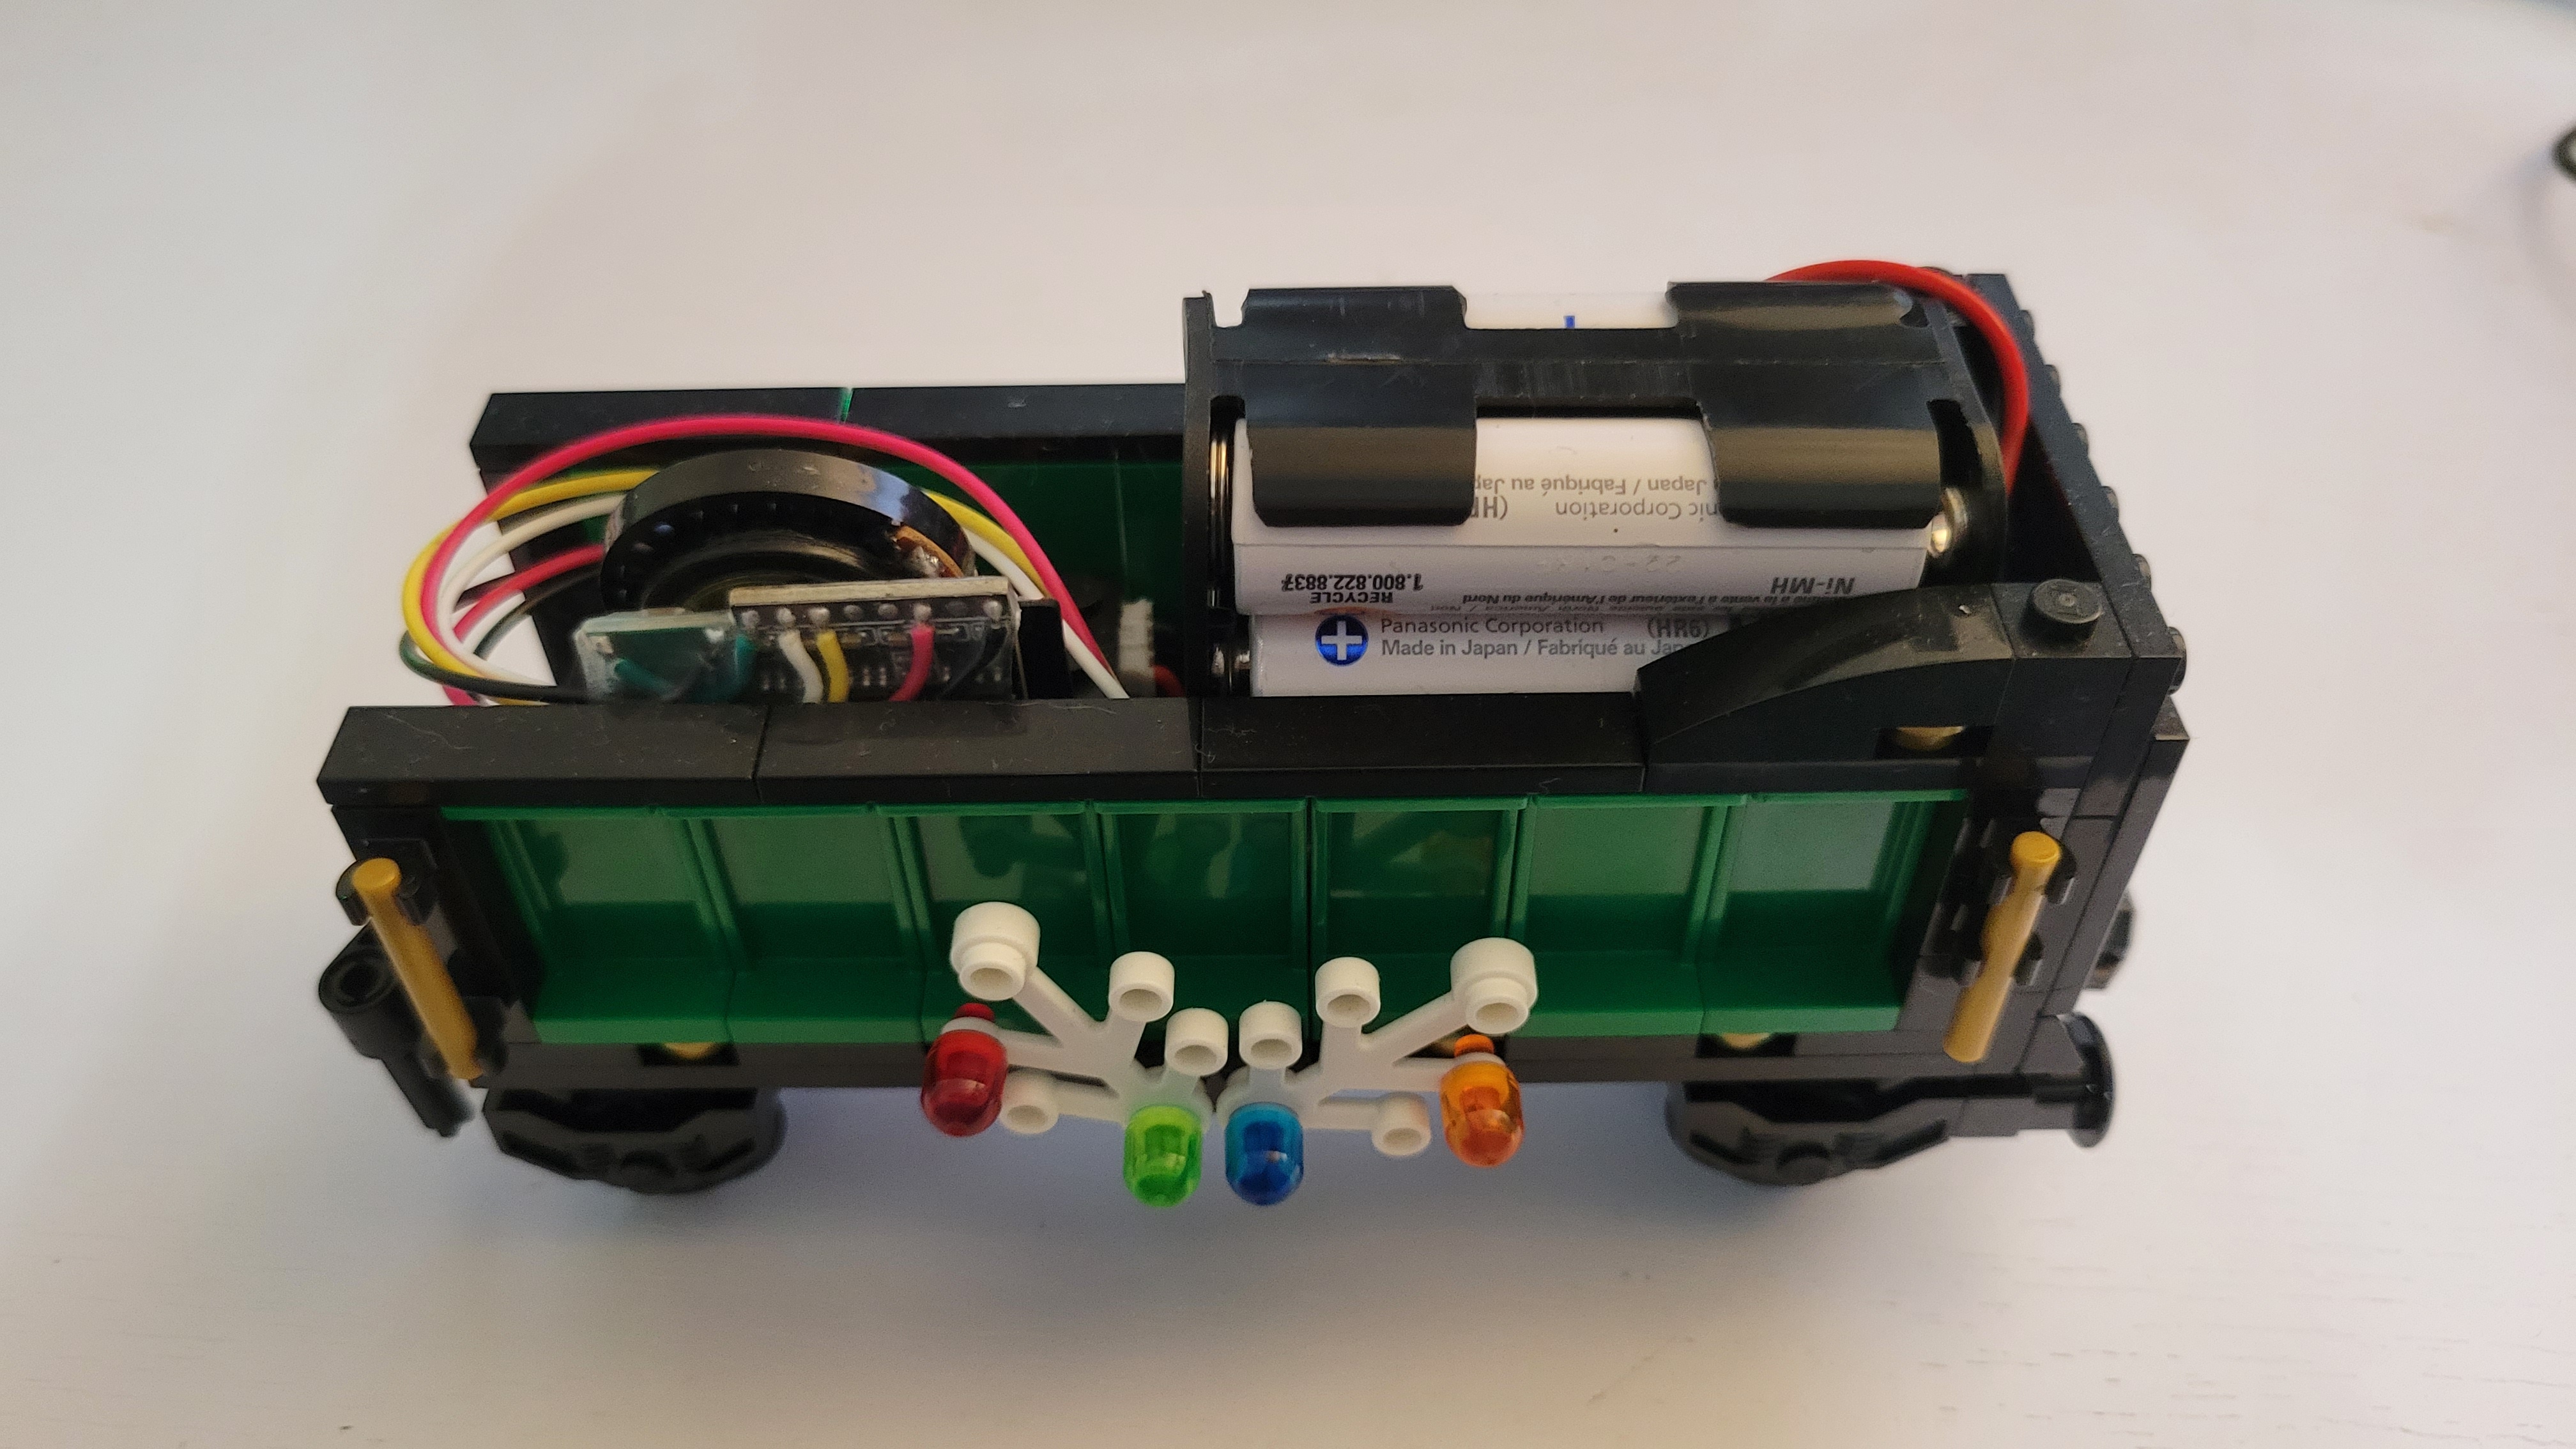
The completed train and modified coal car. The coal car was extended to fit the larger battery pack, control box, and sound module.
Power Functions Pinout
Lego Power Functions has an interesting pinout, most devices like motors and lights only use the inner C1 and C2 lines. Other devices such as the IR Receiver only use the outer GND (0V) and 9V lines.
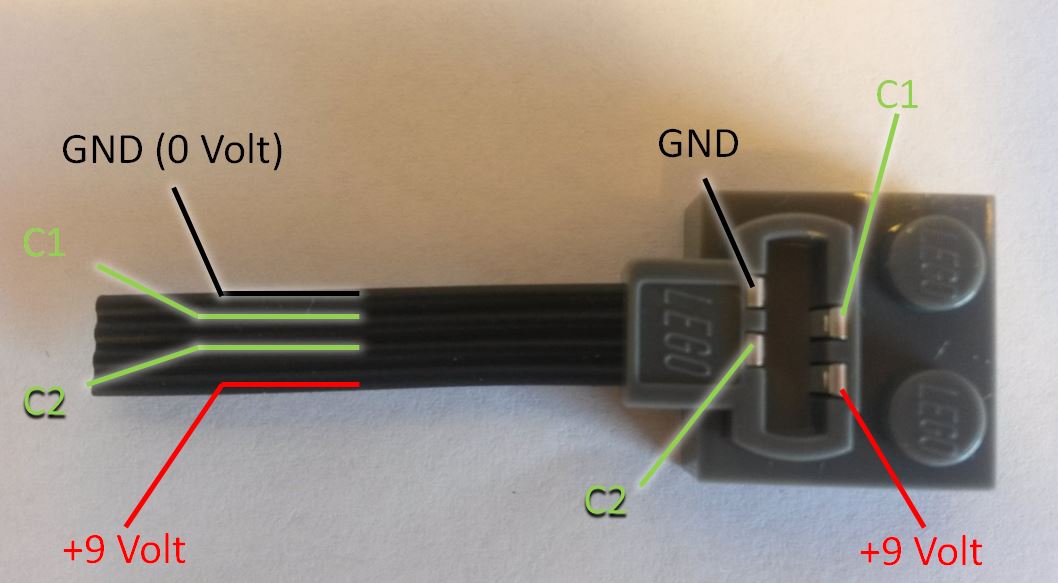
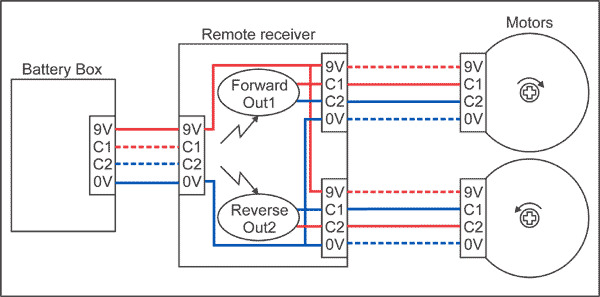
This project will work similar to the IR Receiver where the outer GND and 9V lines are carried through to both of the output ports. The inner C1 and C2 lines will be driven by the H-Bridge motor controller.
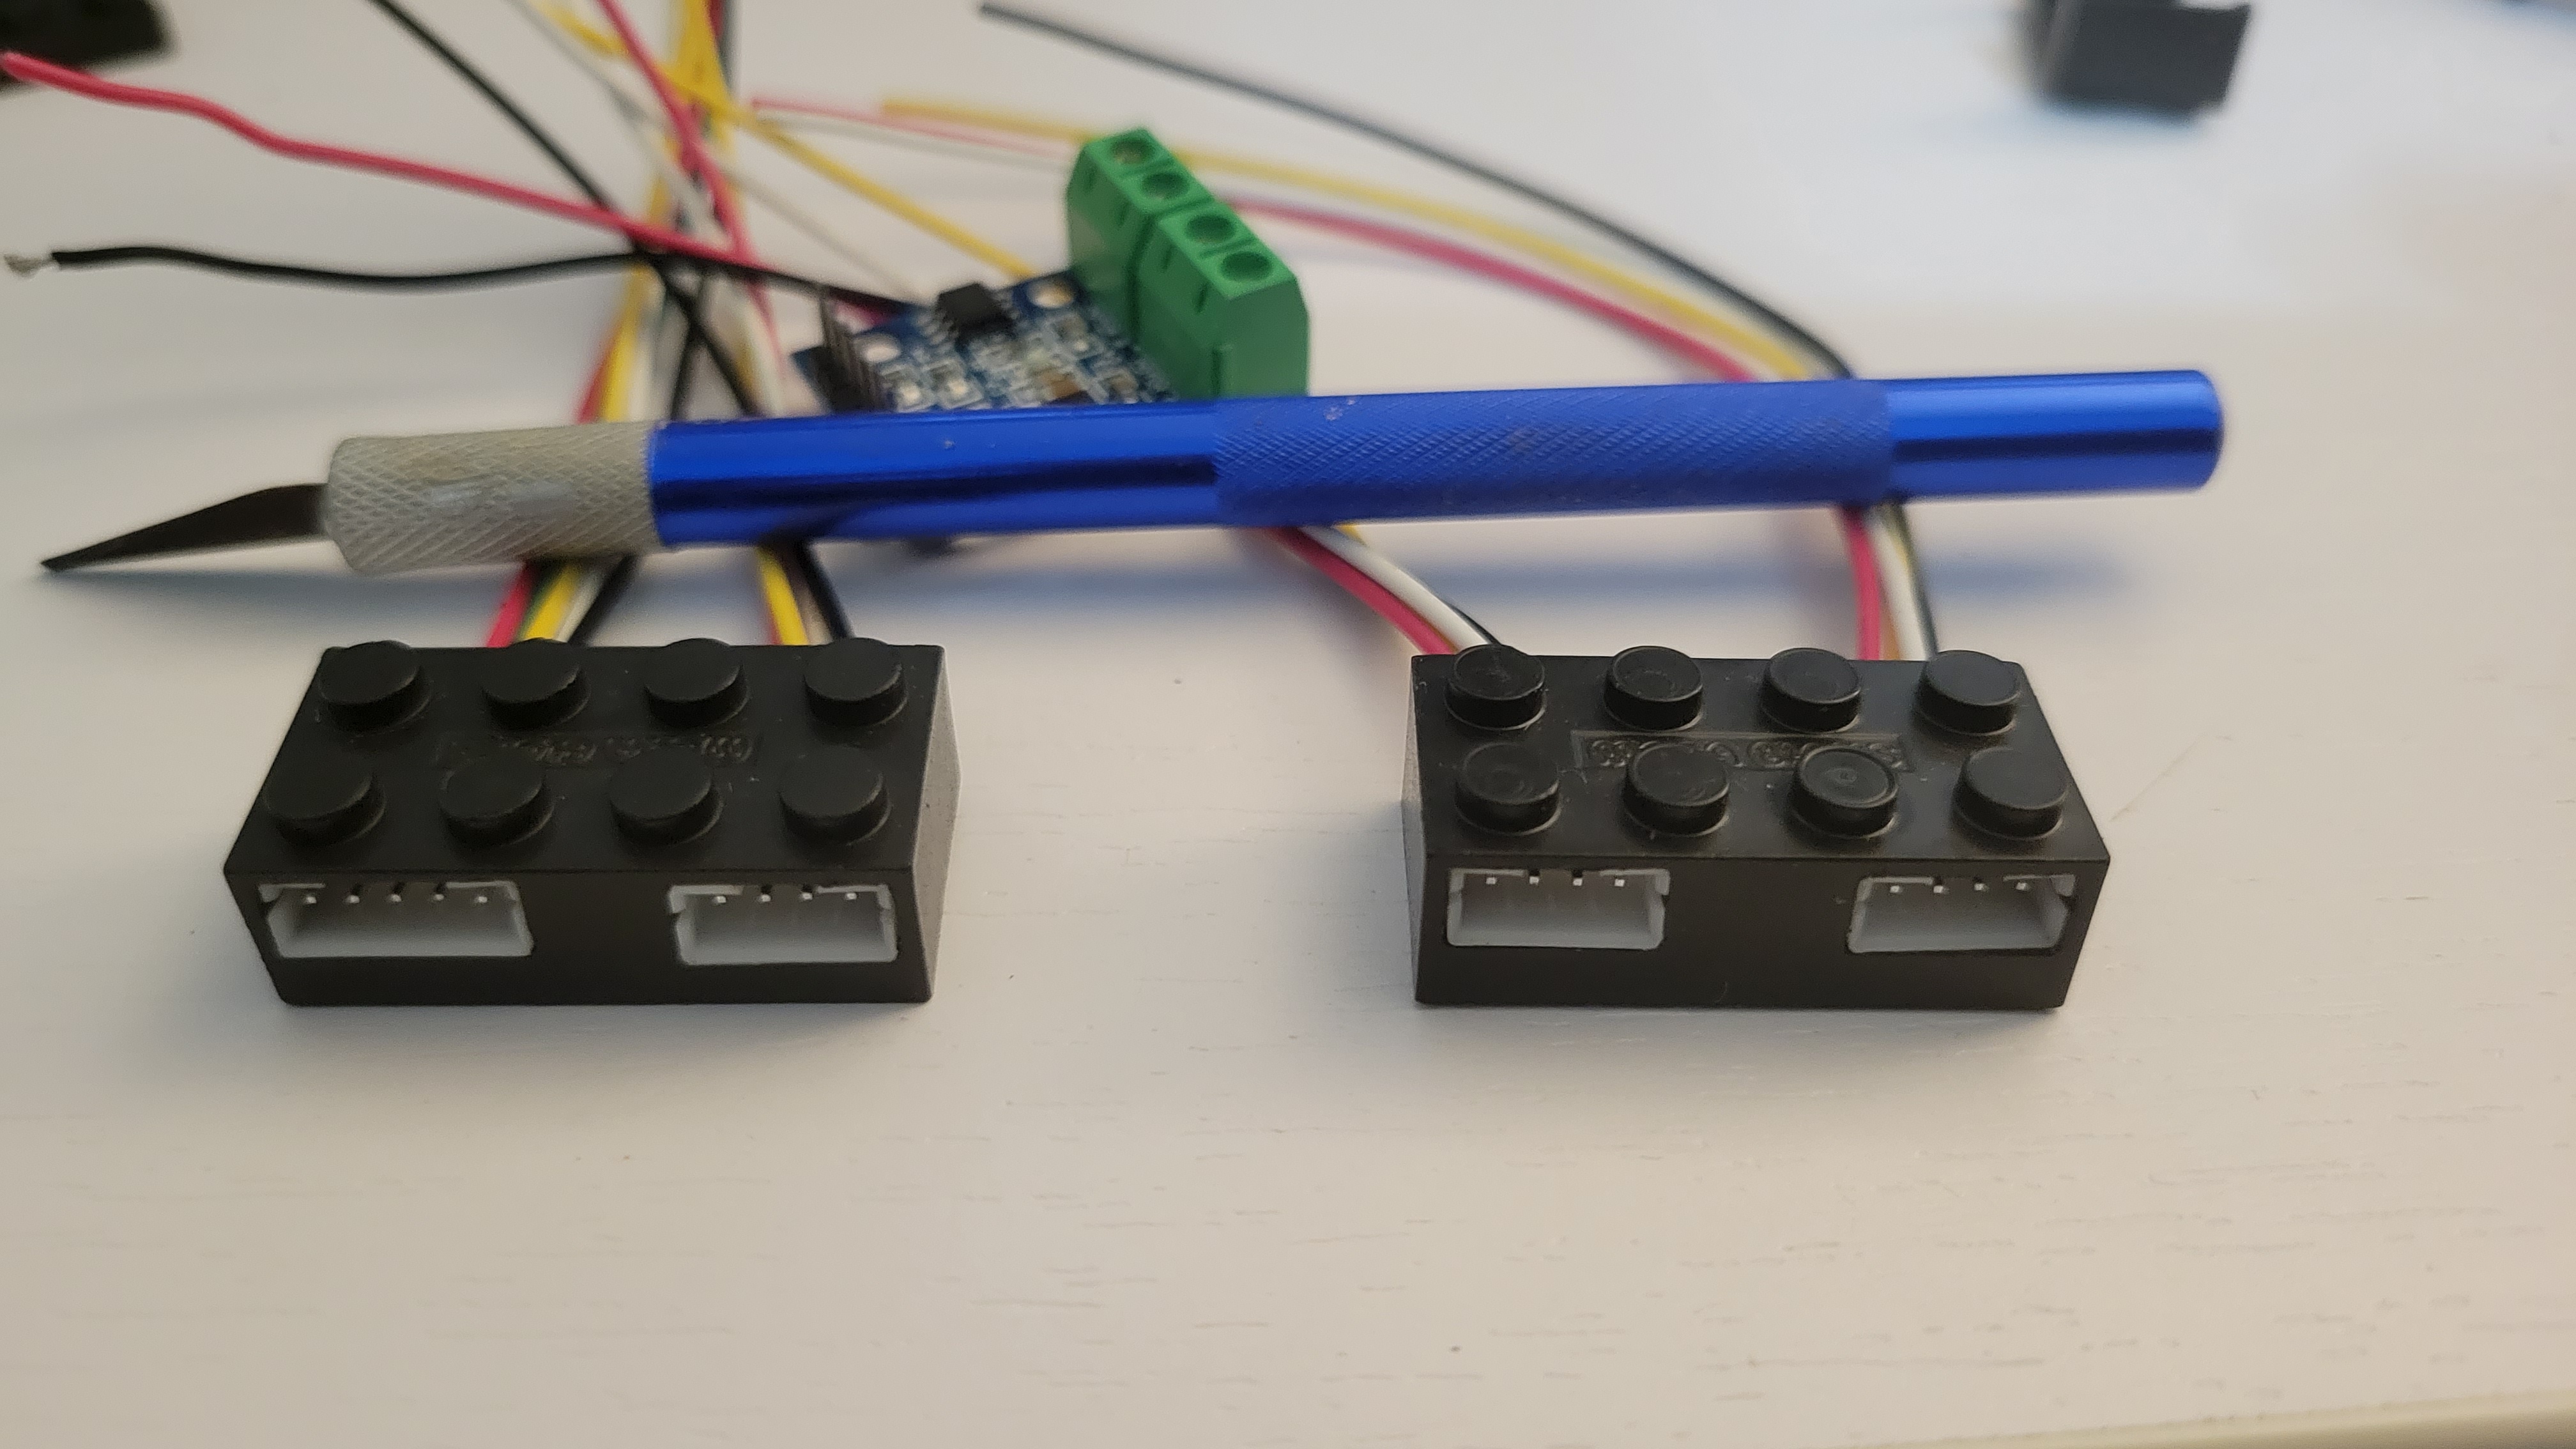
Power Functions Connectors
First we need a way to interface with existing and unmodified Power Functions motors and lights. In order to do this we sacrifice an official Lego Power Functions Extension cable. These cables serve a dual purpose in also being able to adapt older Lego power connector to newer, yet still discontinued, Power Functions accessories.
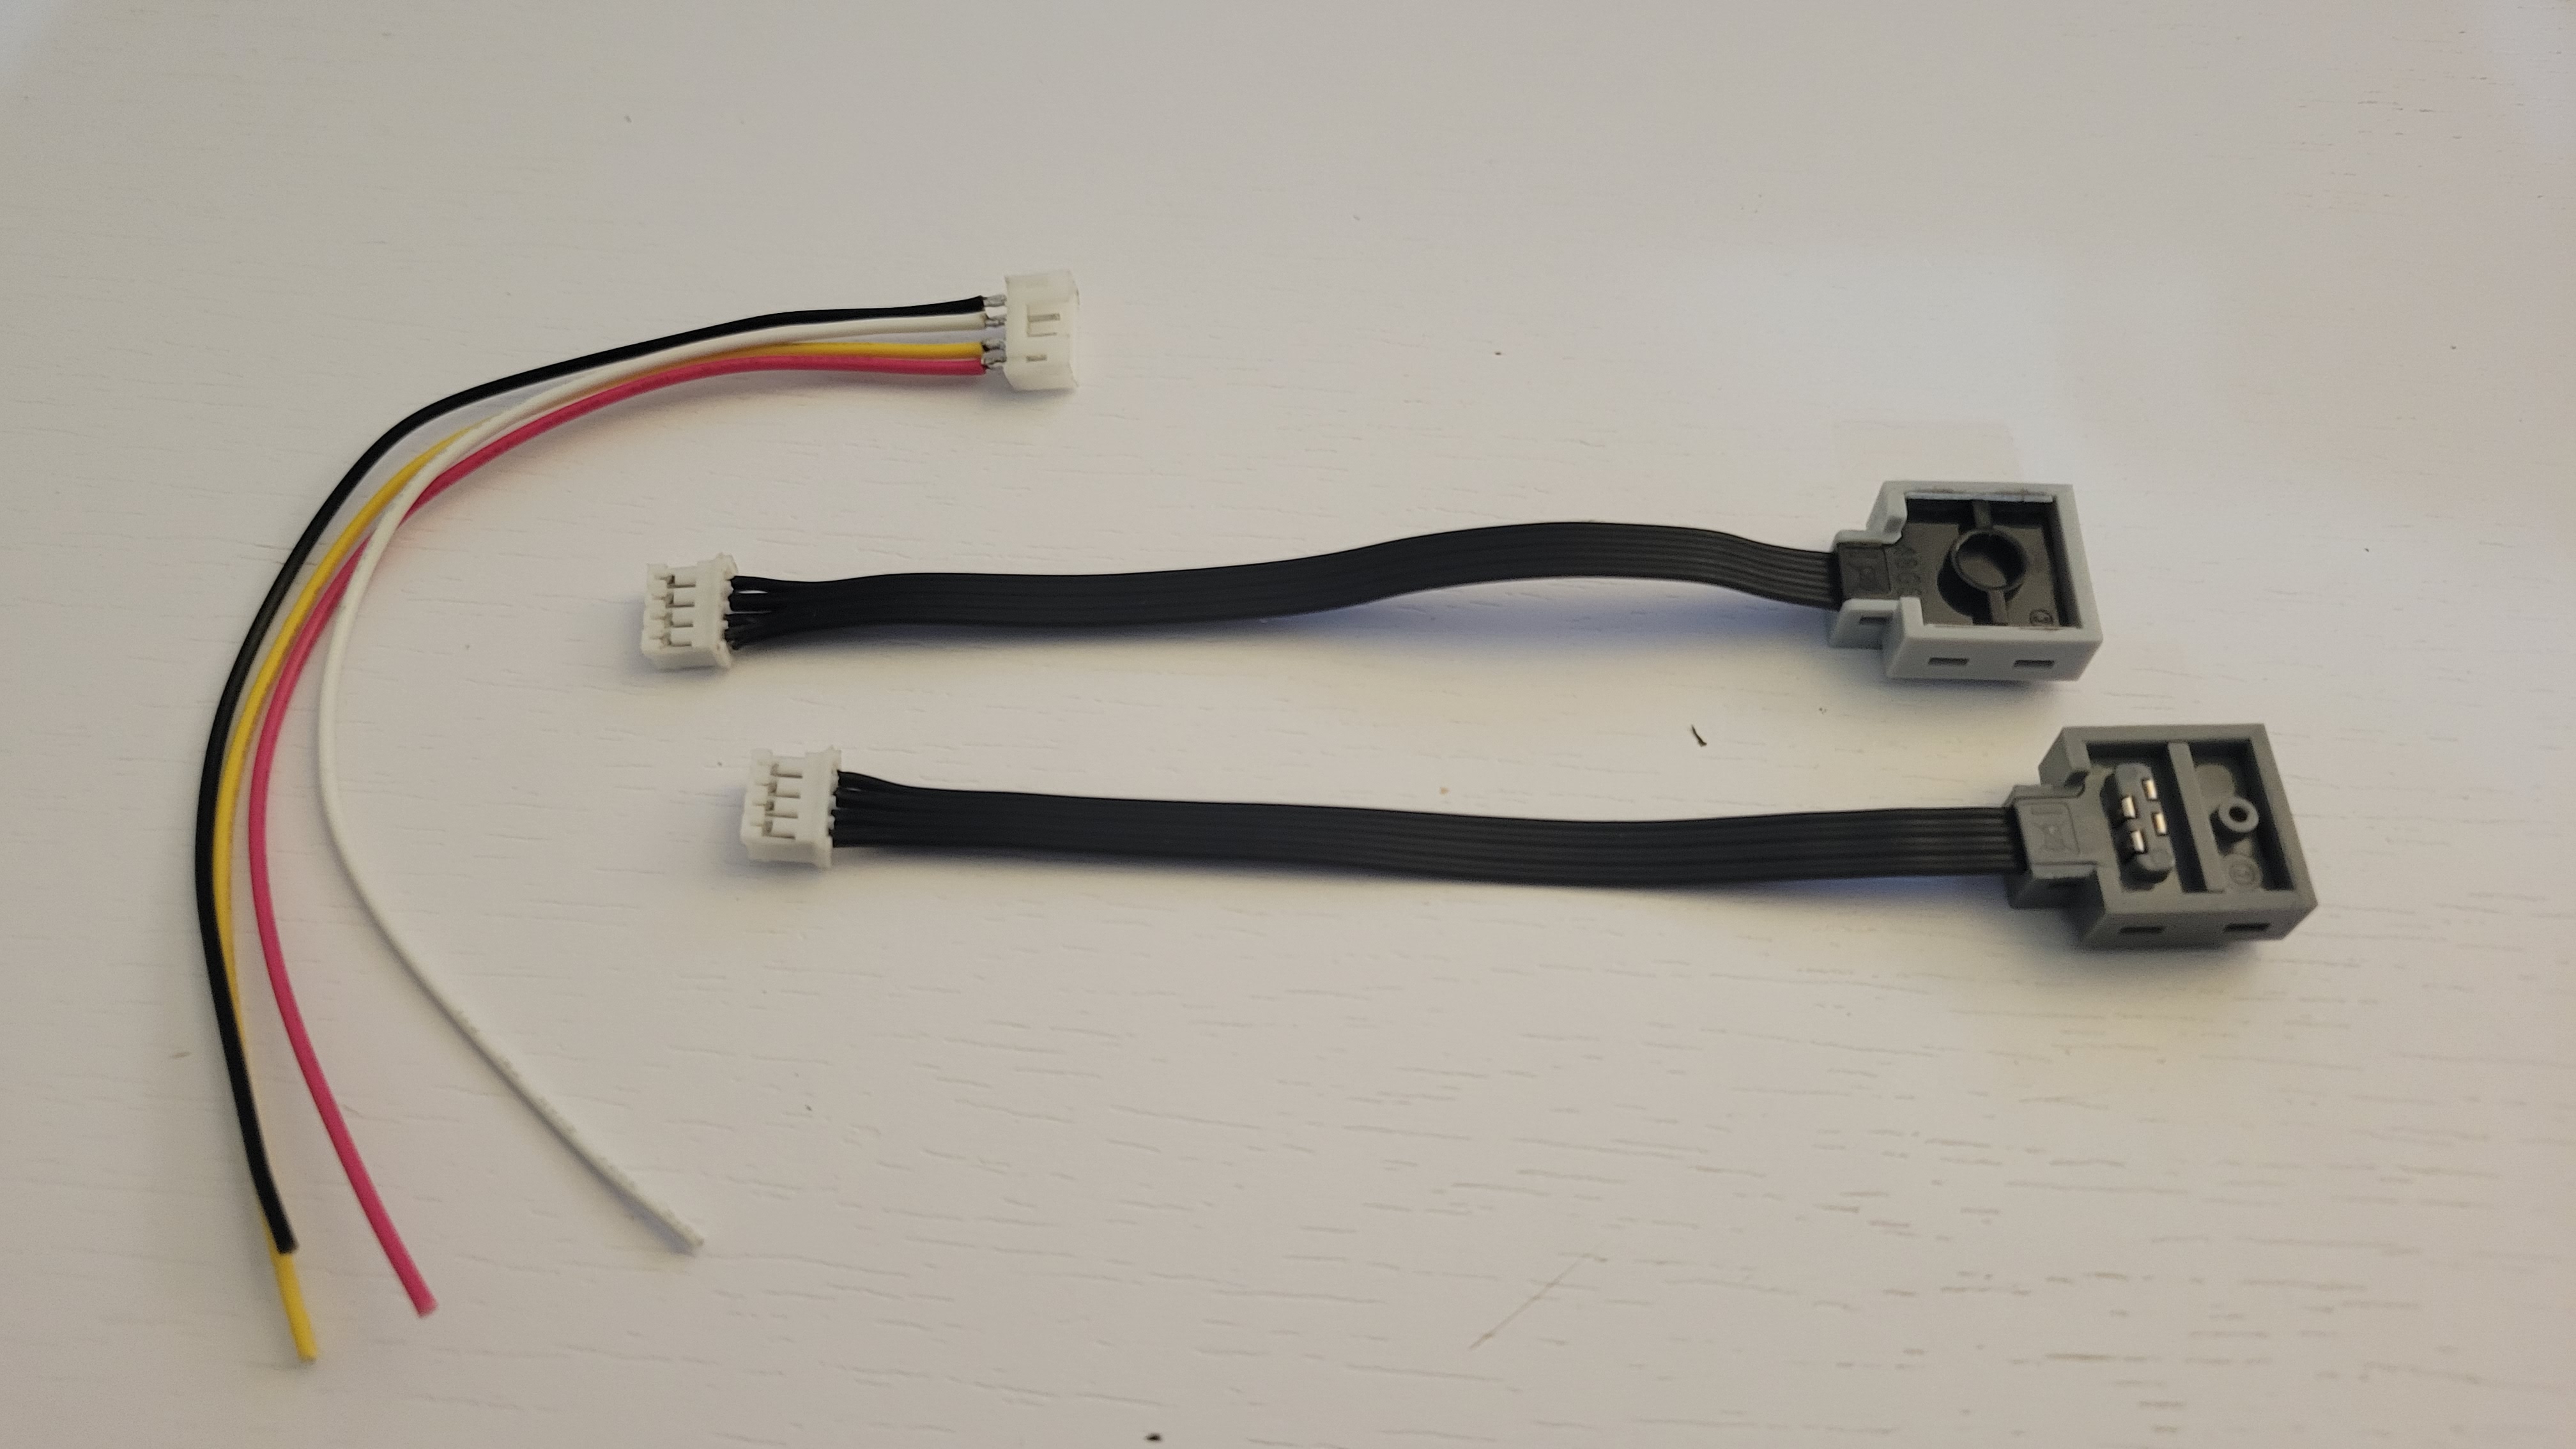
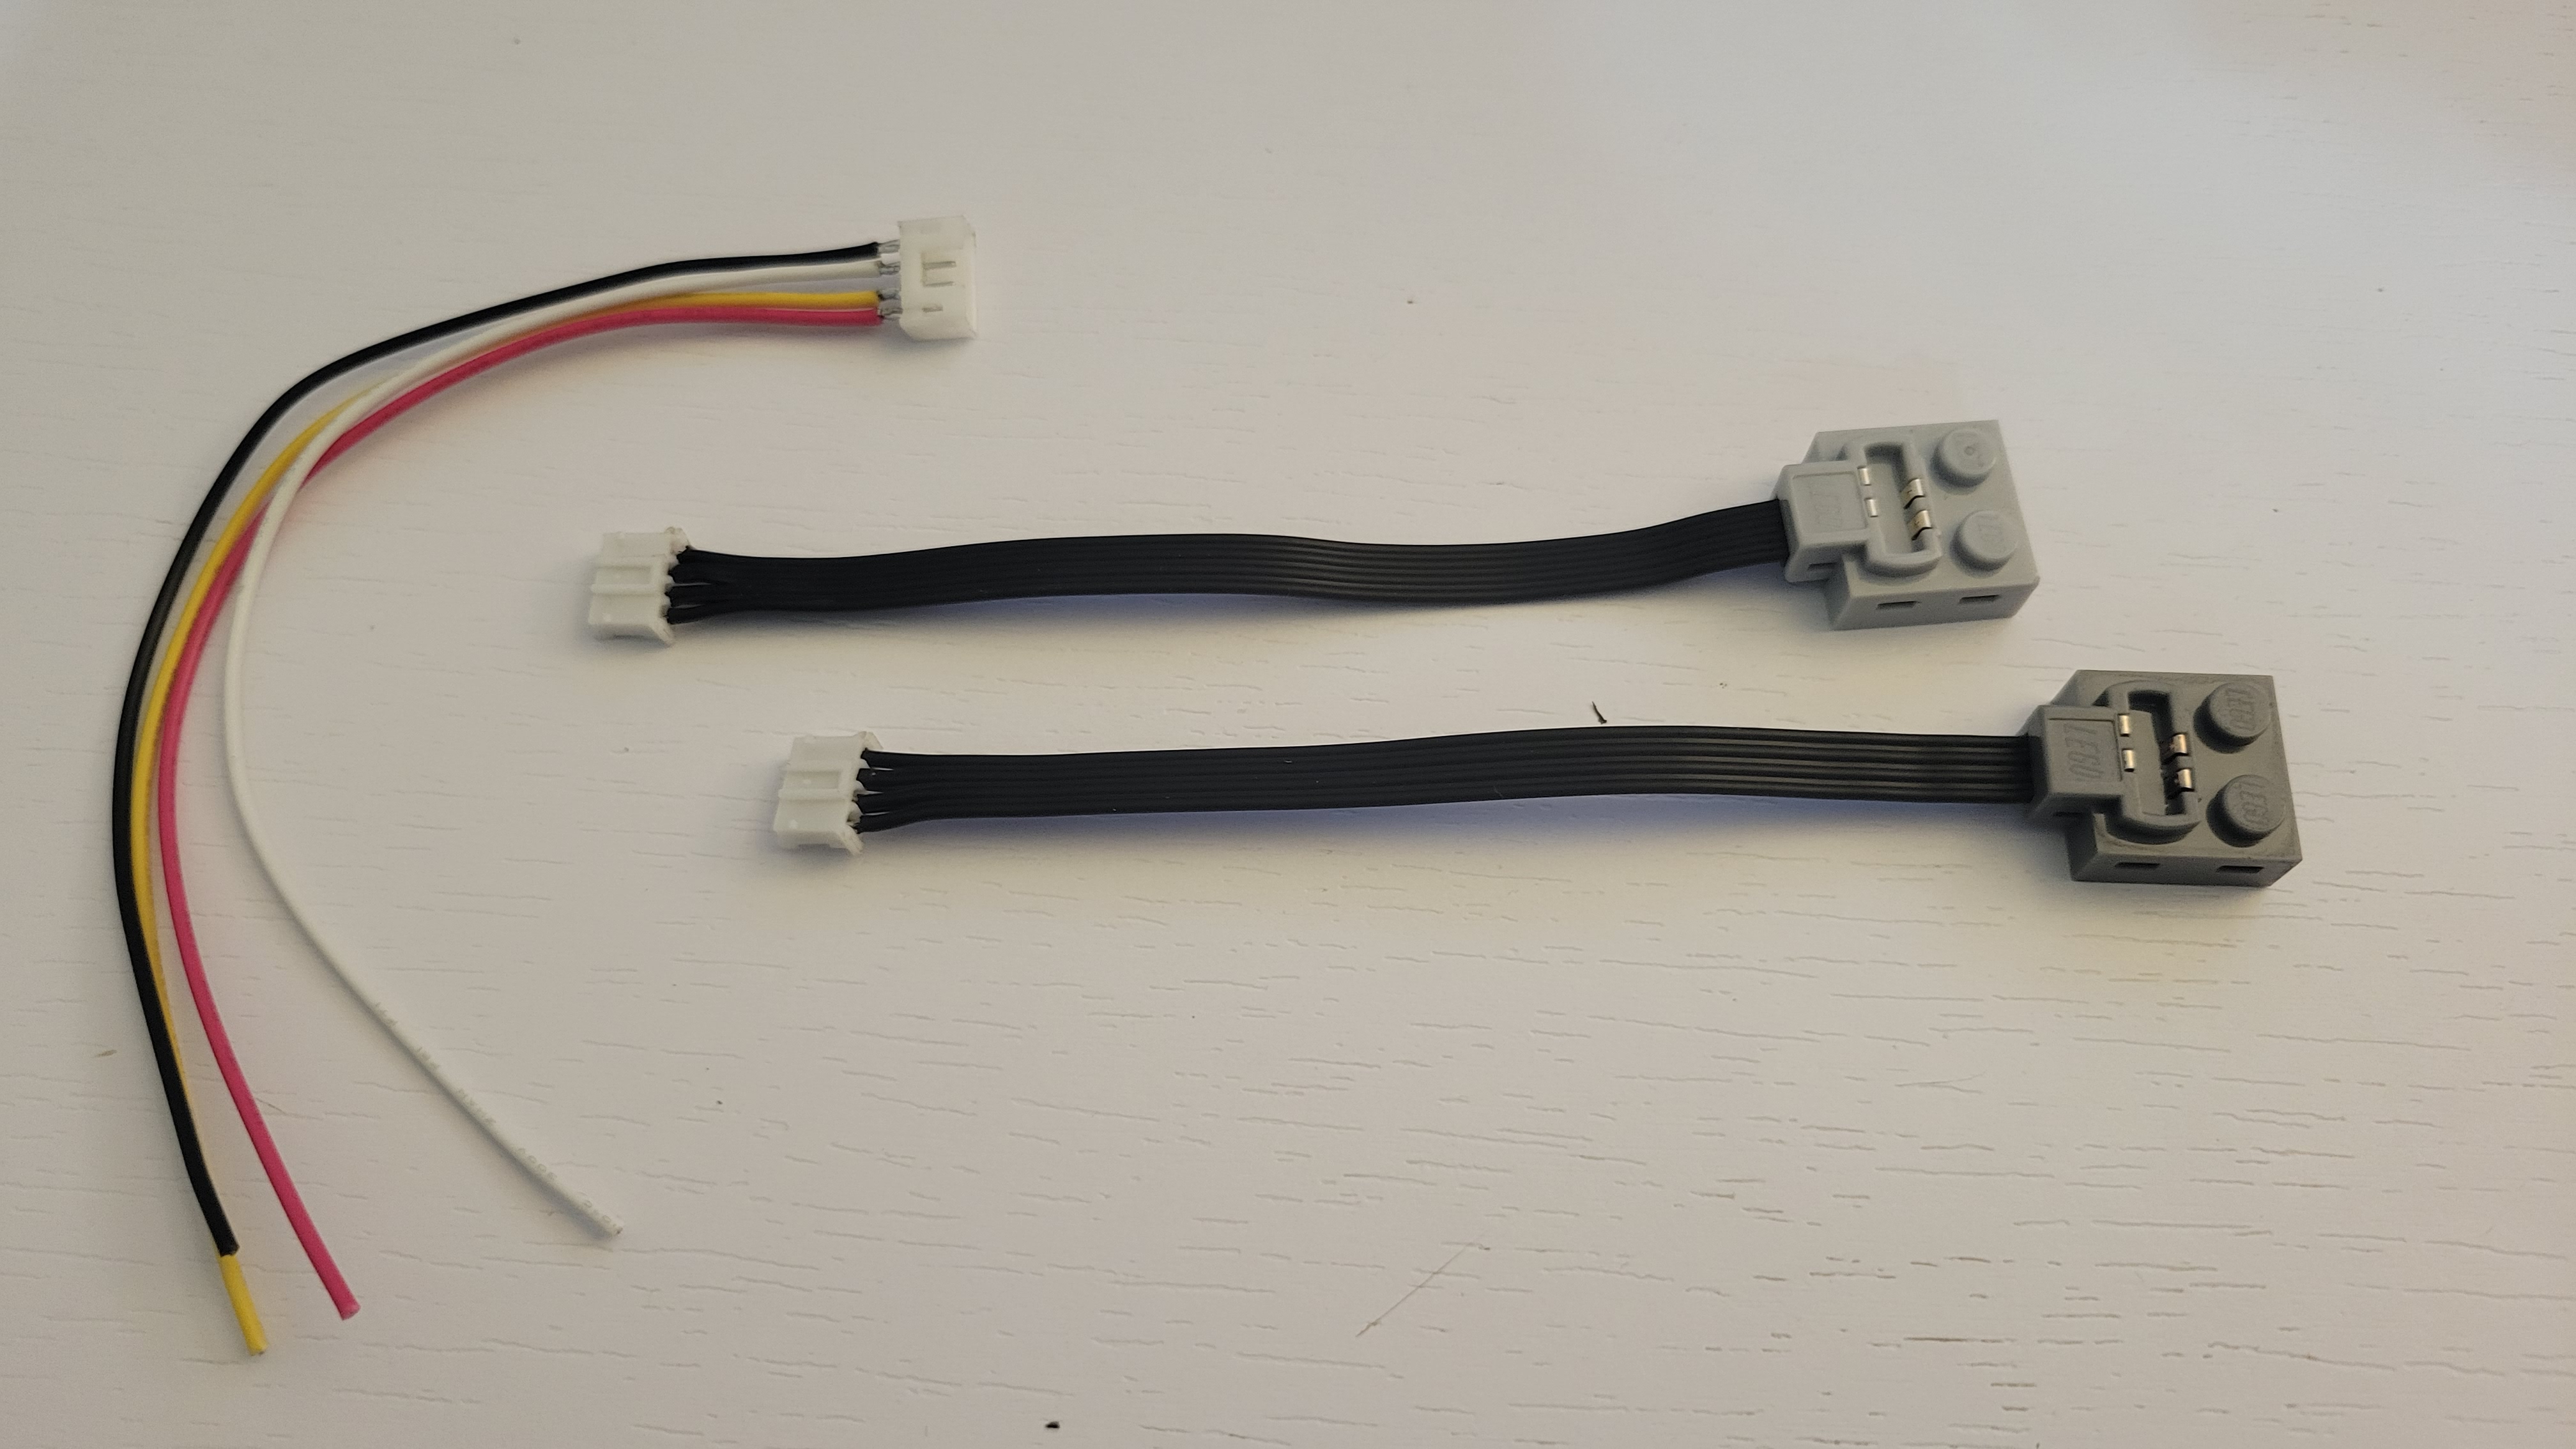
With the Power Functions Extension cable chopped in half a new 4-pin JST connector is added on the ends. This will make it easy to swap around on the various ports of the Lego Box.
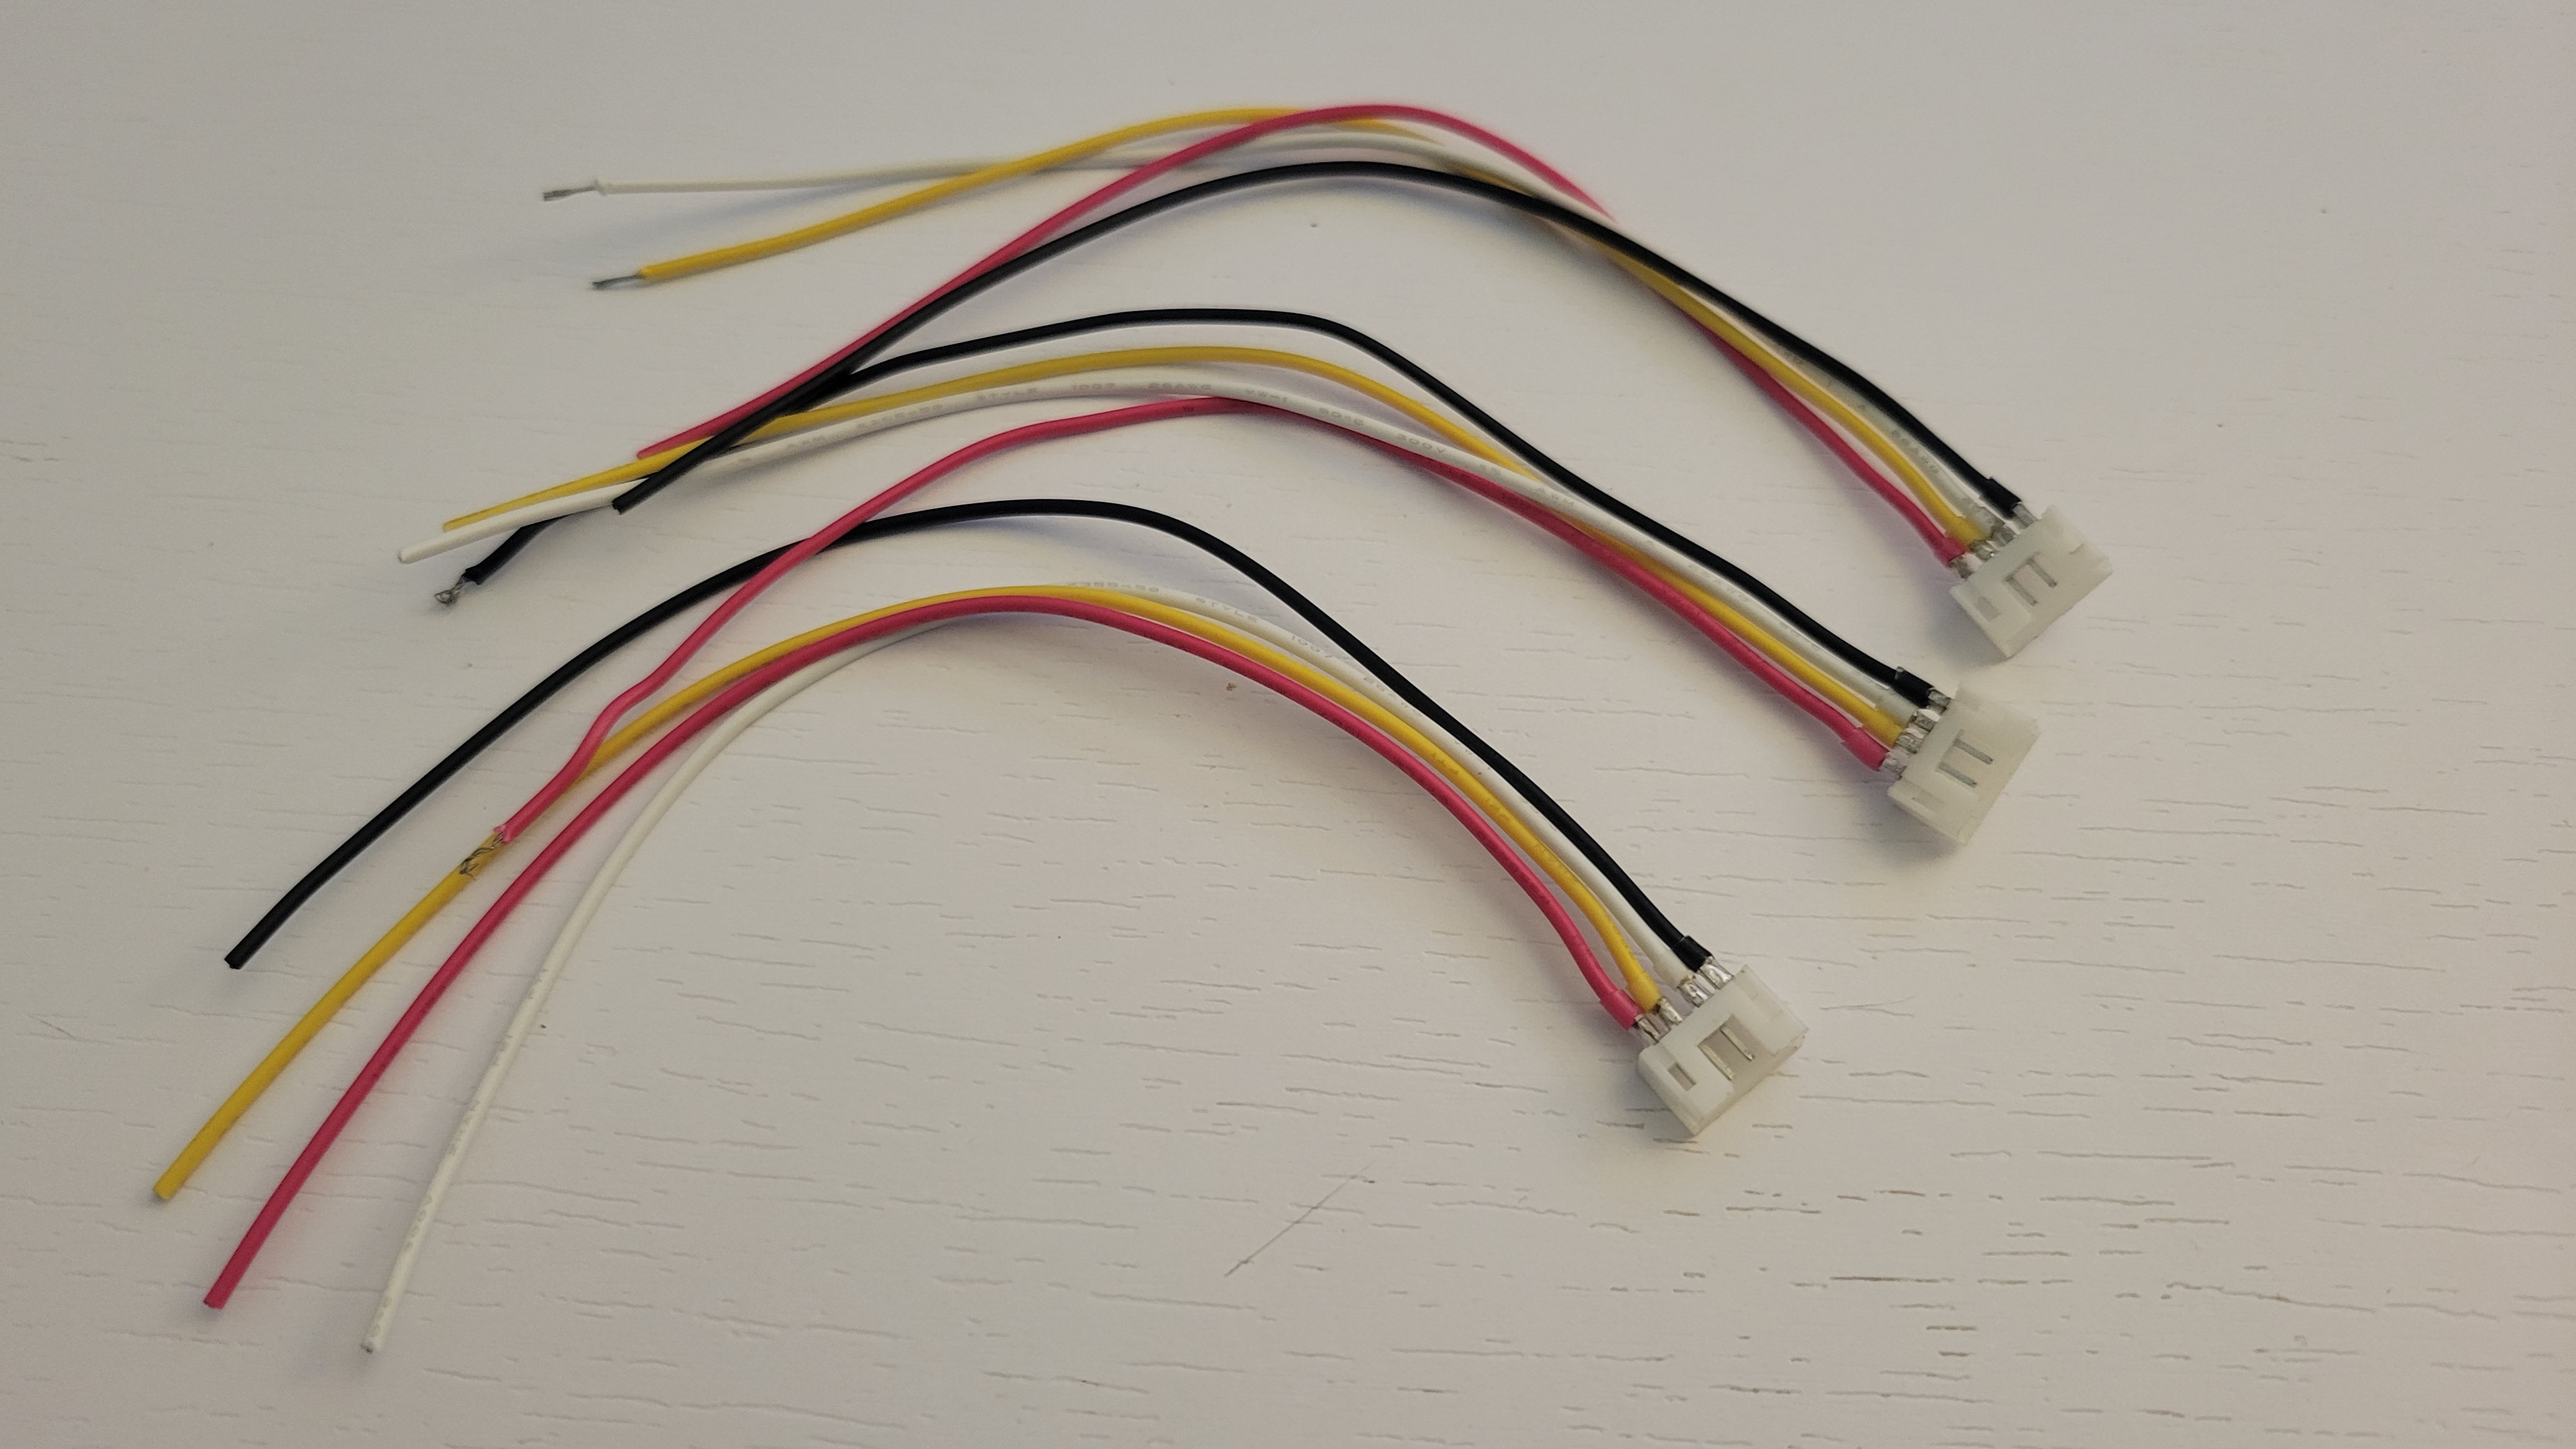

A total of 3, 4-pin JST mating connectors are also soldered up with leads. One will be the power input to the Lego Box itself, the C1 and C2 lines of the input will go unused in the current iteration but have been kept for a future revision.
Lego Box
First it would be nice if our new Lego controller could blend in with the rest of the train. Since it would be a mortal sin to modify original Lego pieces in such a way, several Mega Blocks pieces were thrown under the scalpel.

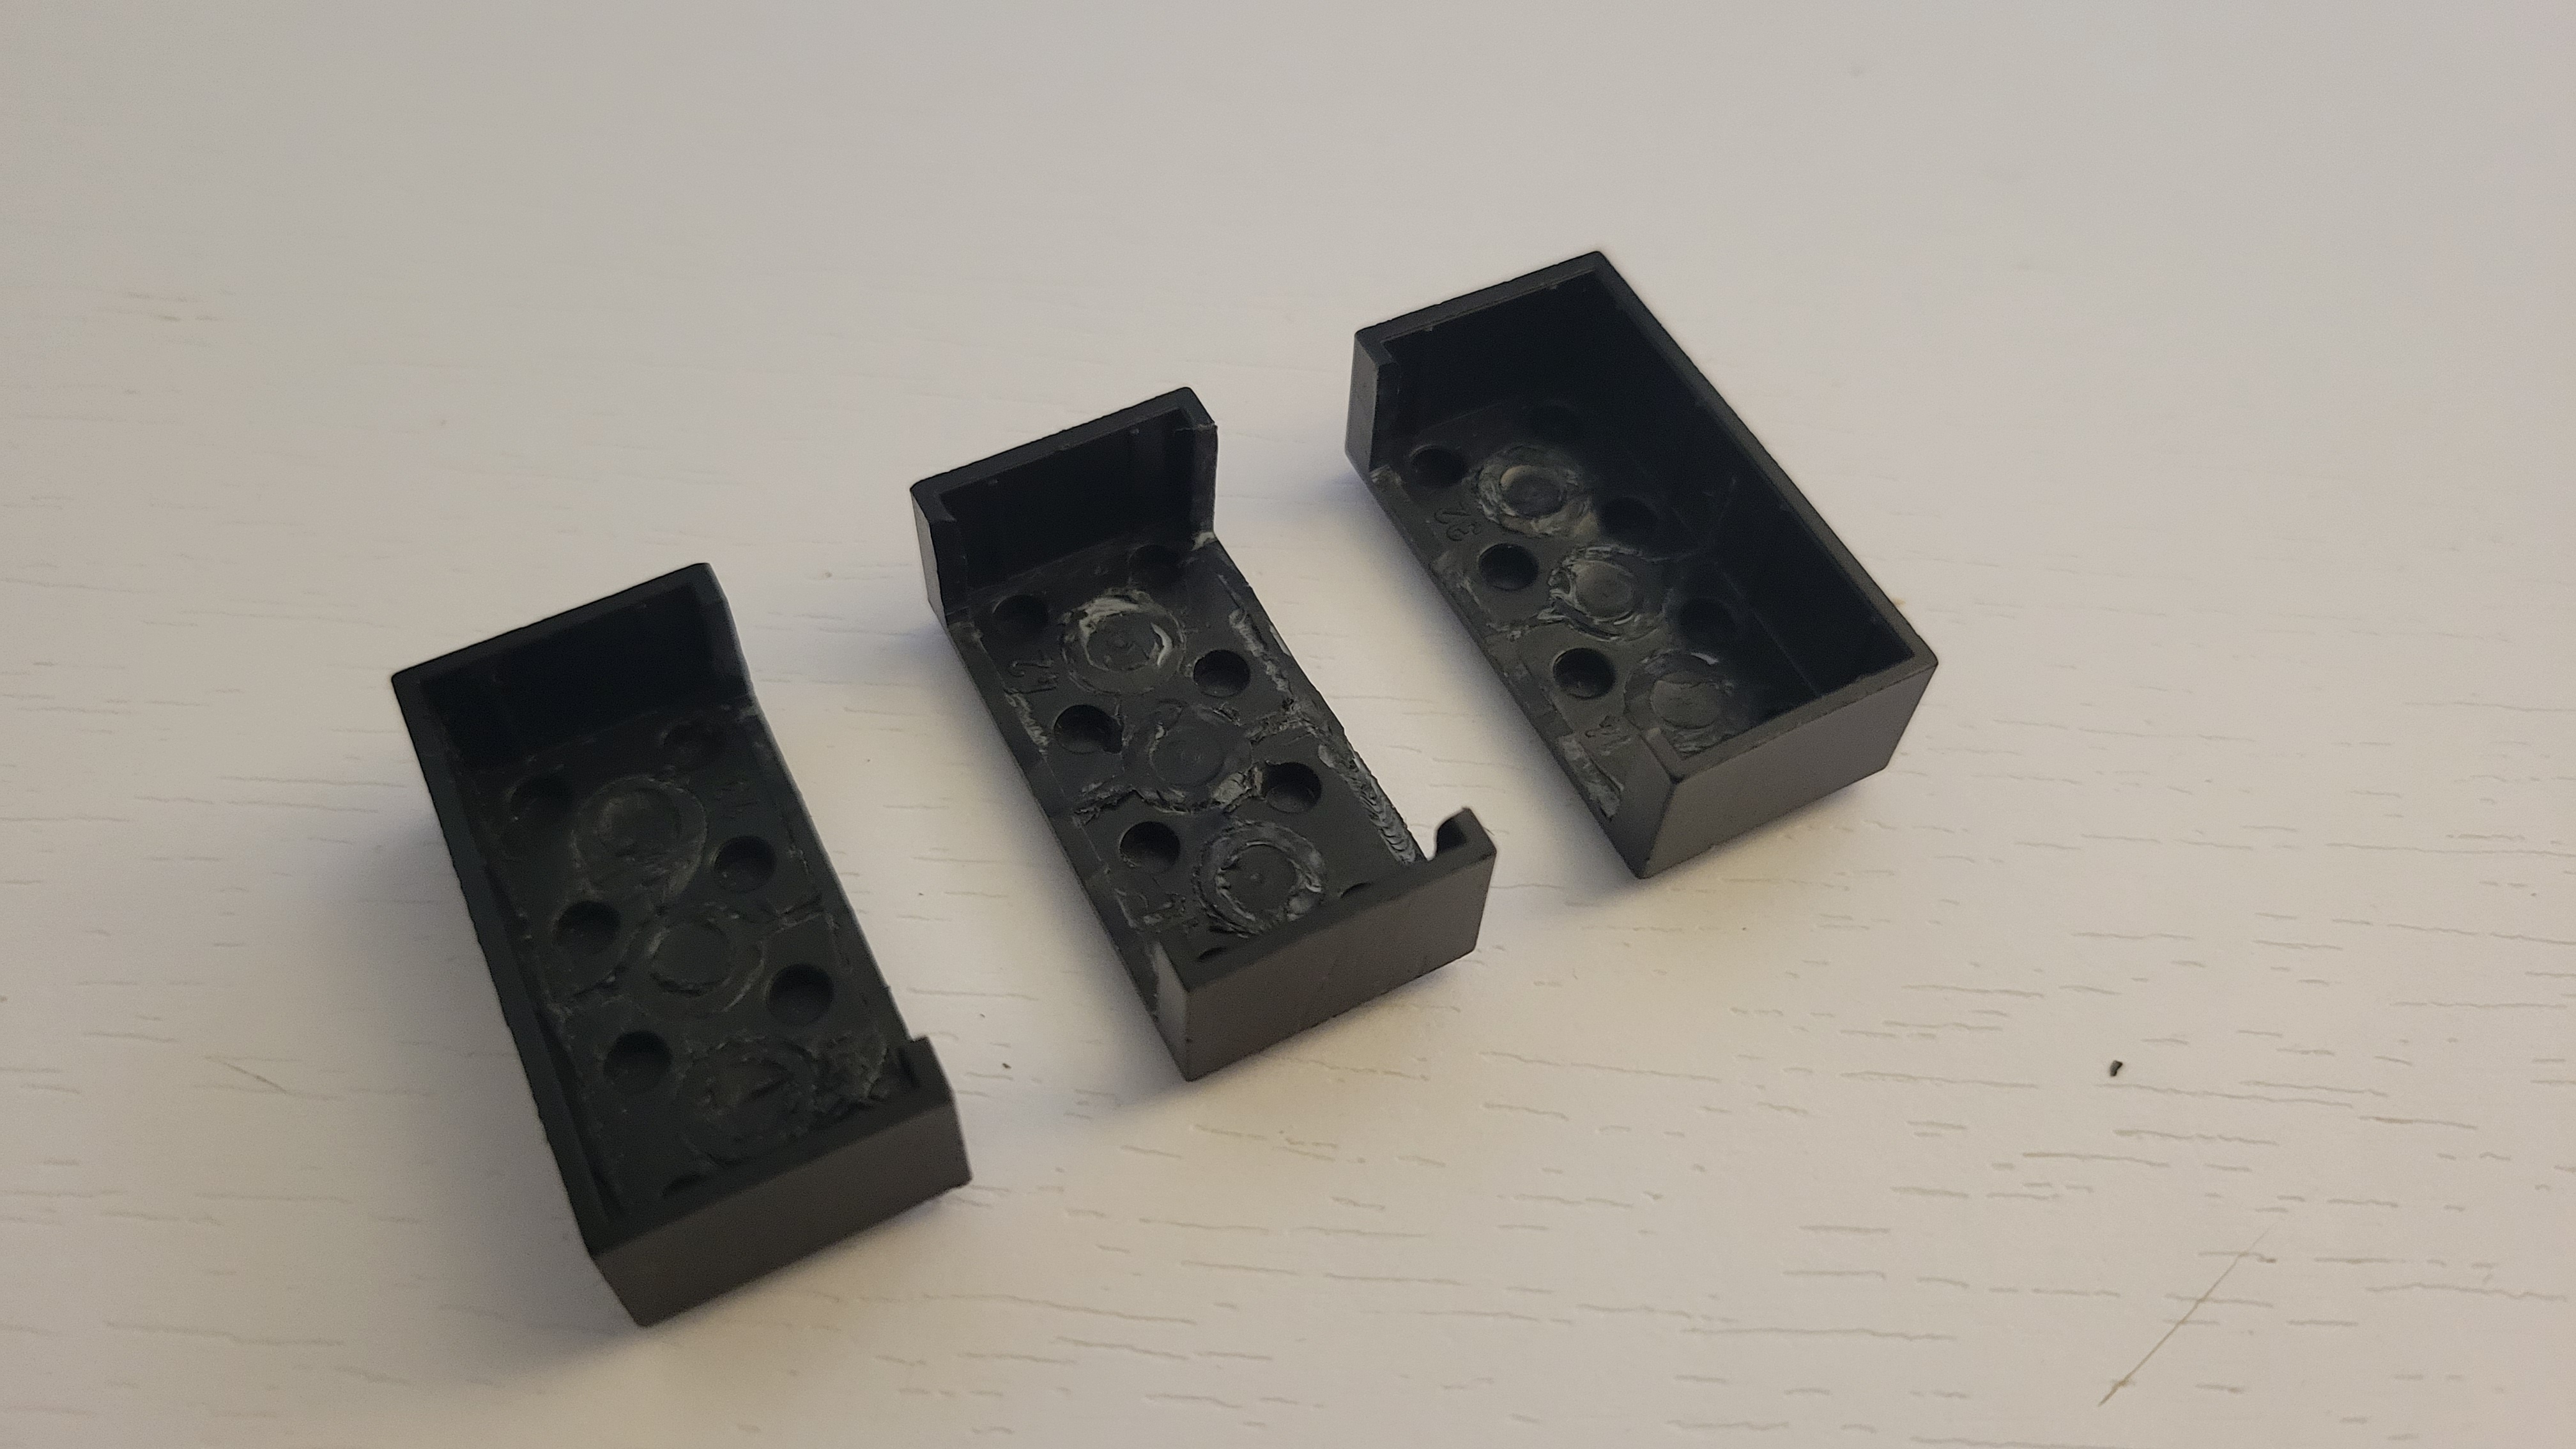
With the Mega Blocks bricks hollowed out there should be plenty of space inside to fit the various connectors and control electronics.
Lastly a total of 4 ports are added. One side has the 4-pin power input and a 5-pin accessory connector. This will support other custom devices such as a display or sound module. The other side has the two 4-pin output ports.
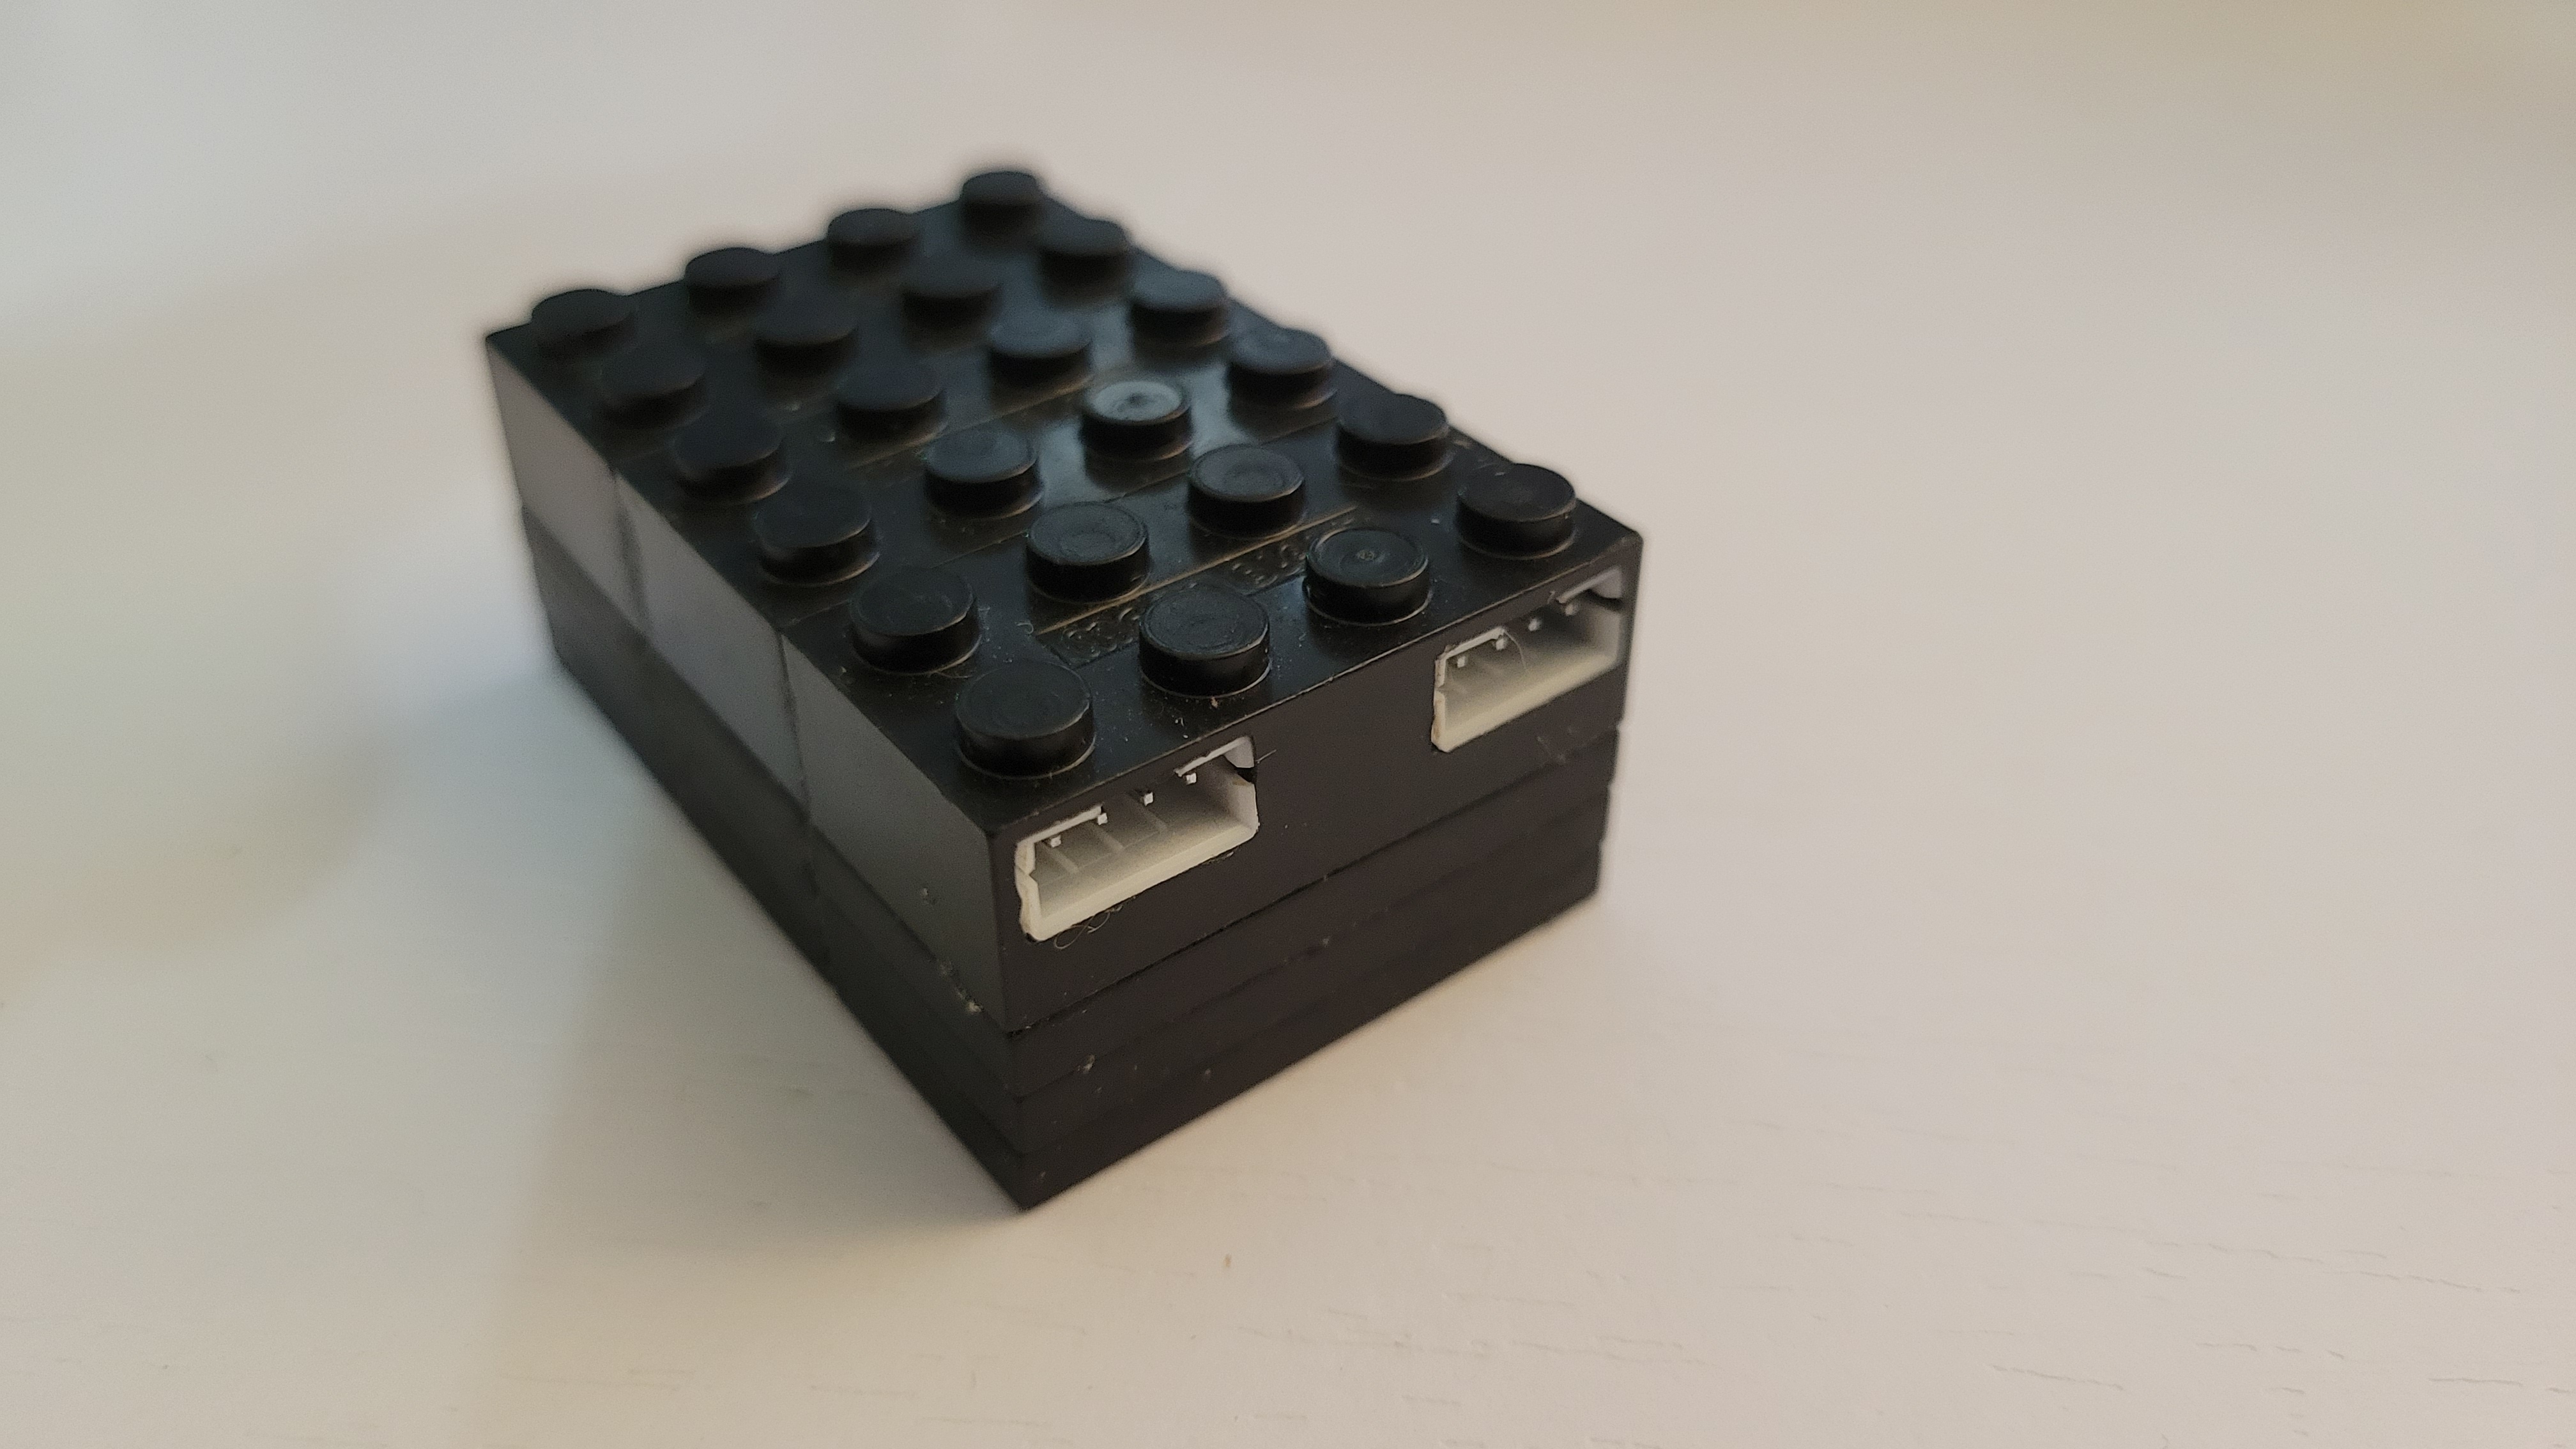
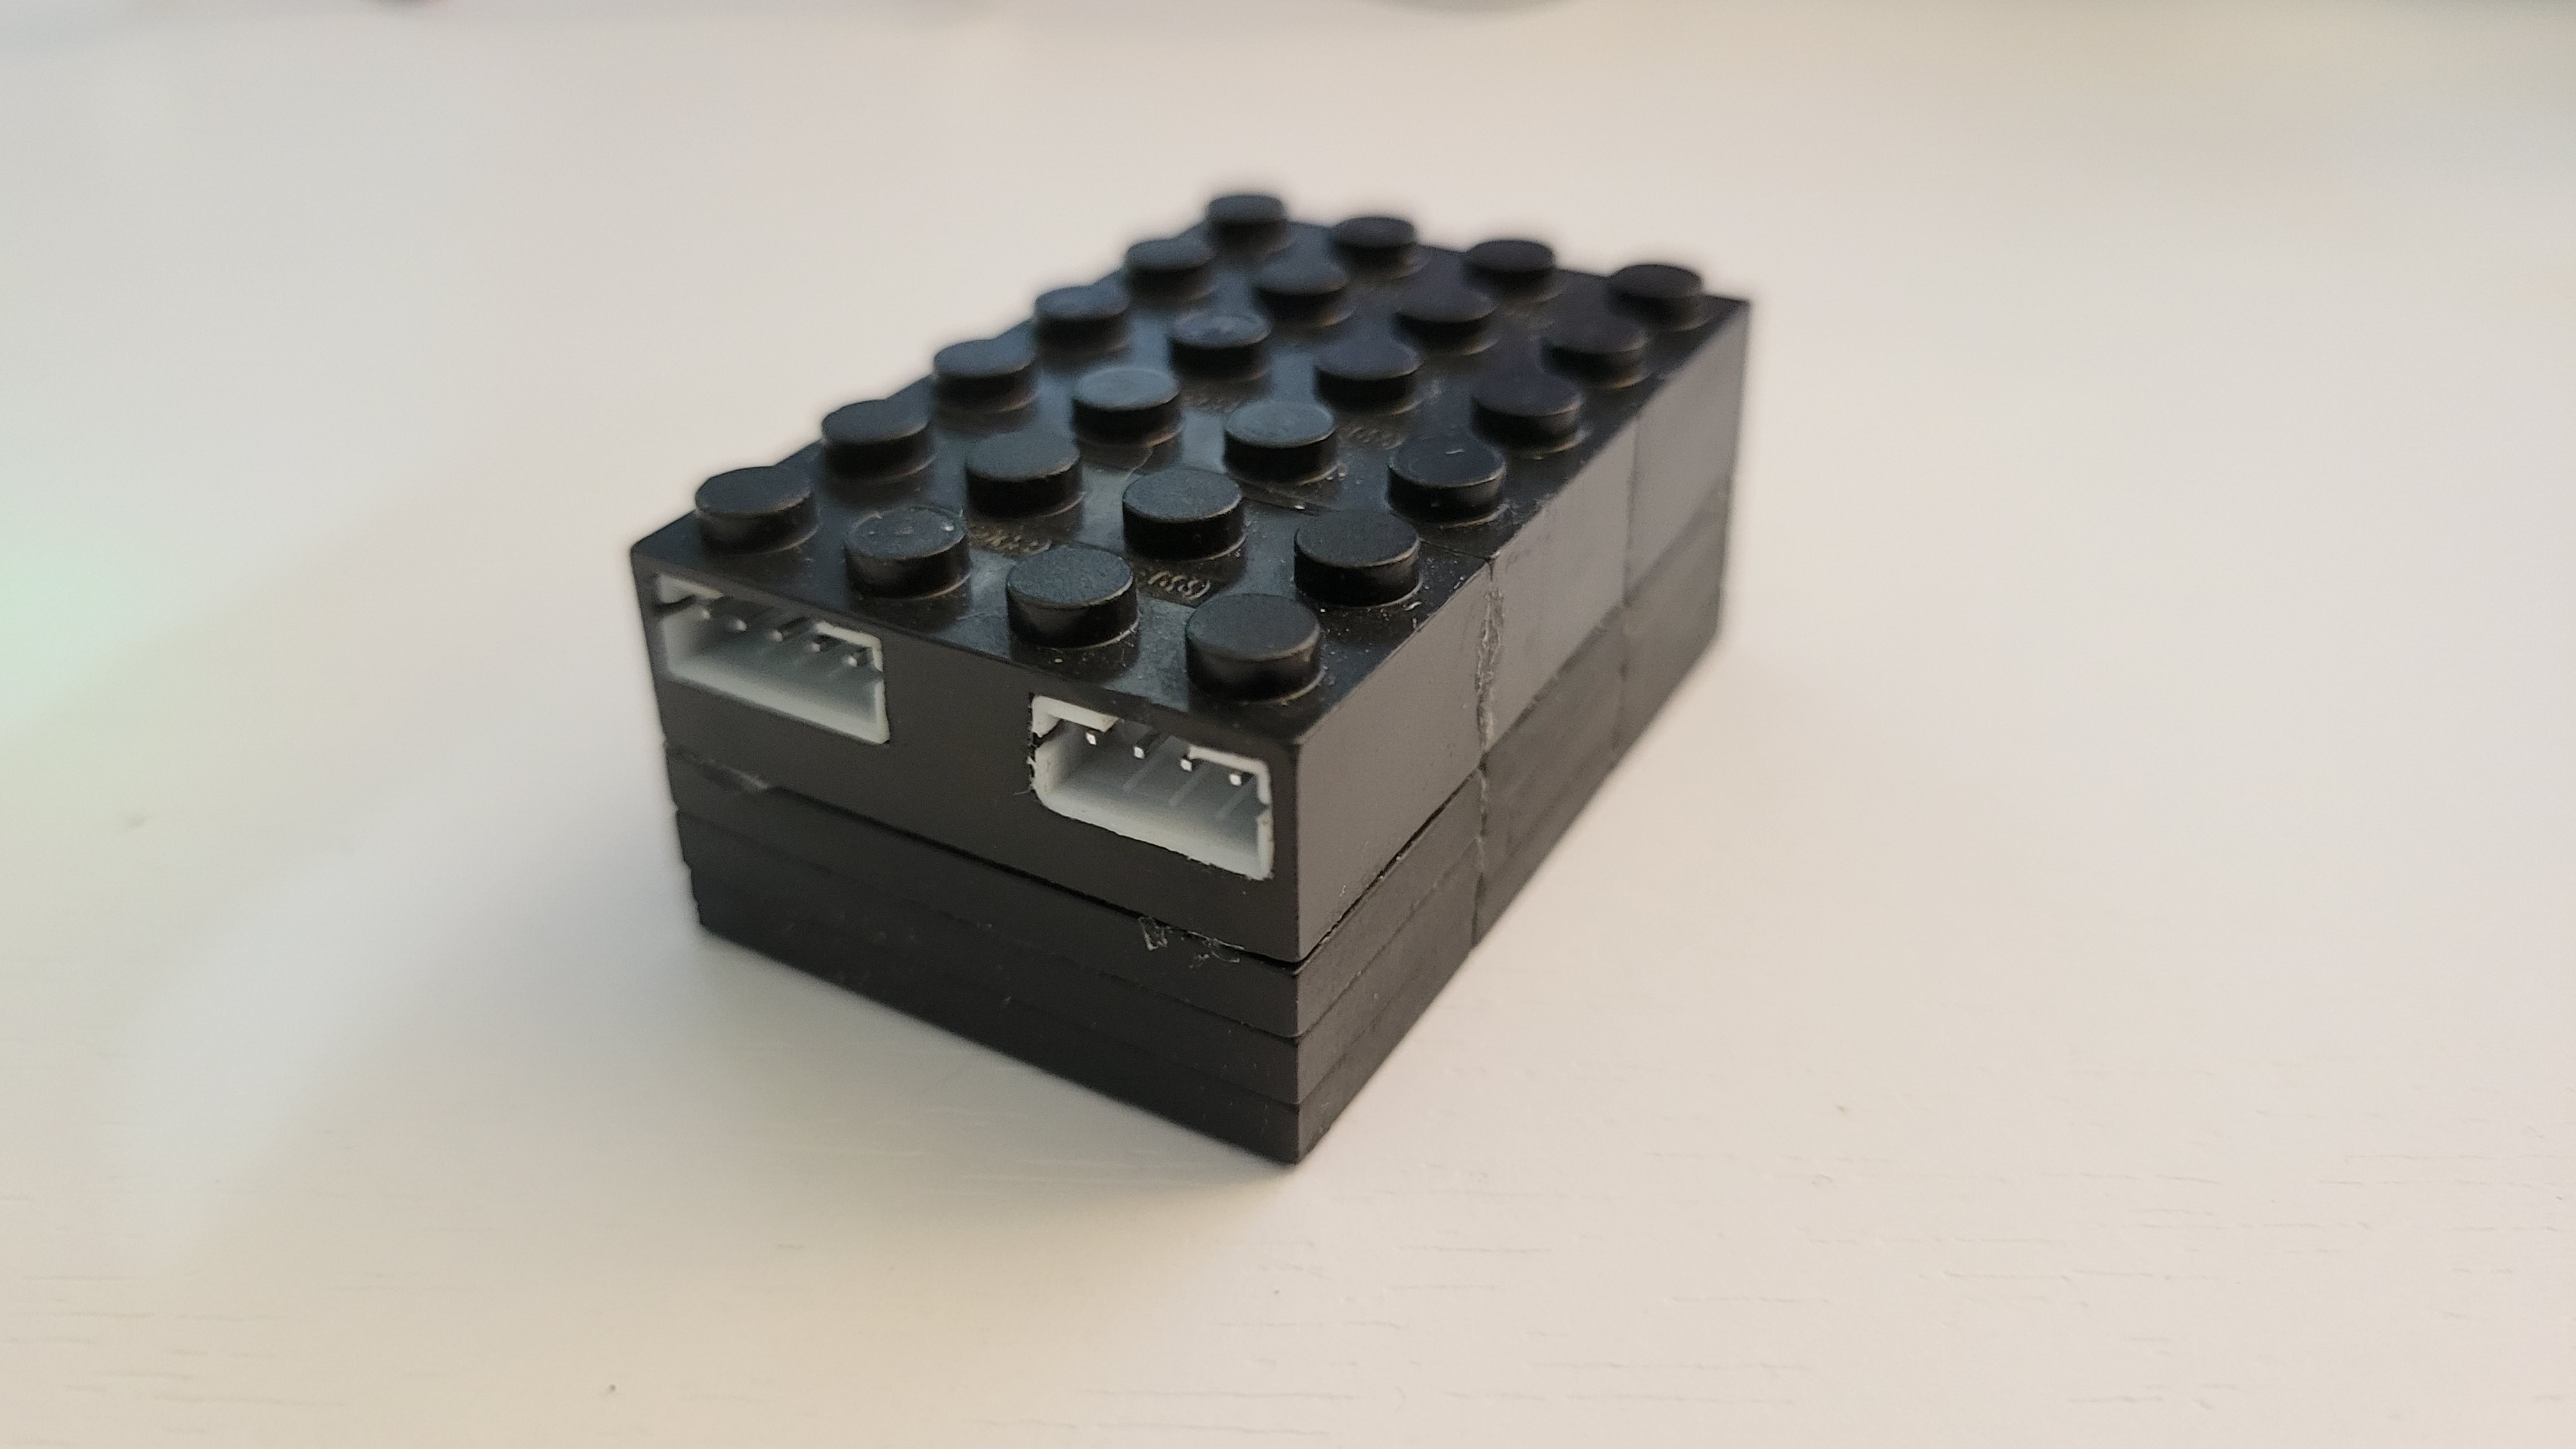
The Lego Box all finished and glued together. It may have been easier in some ways to 3D print the box itself, however, I’ve had mixed results in attempting to print various Lego pieces. This was more of a free-form construction as I had to try many ways to fit everything inside.
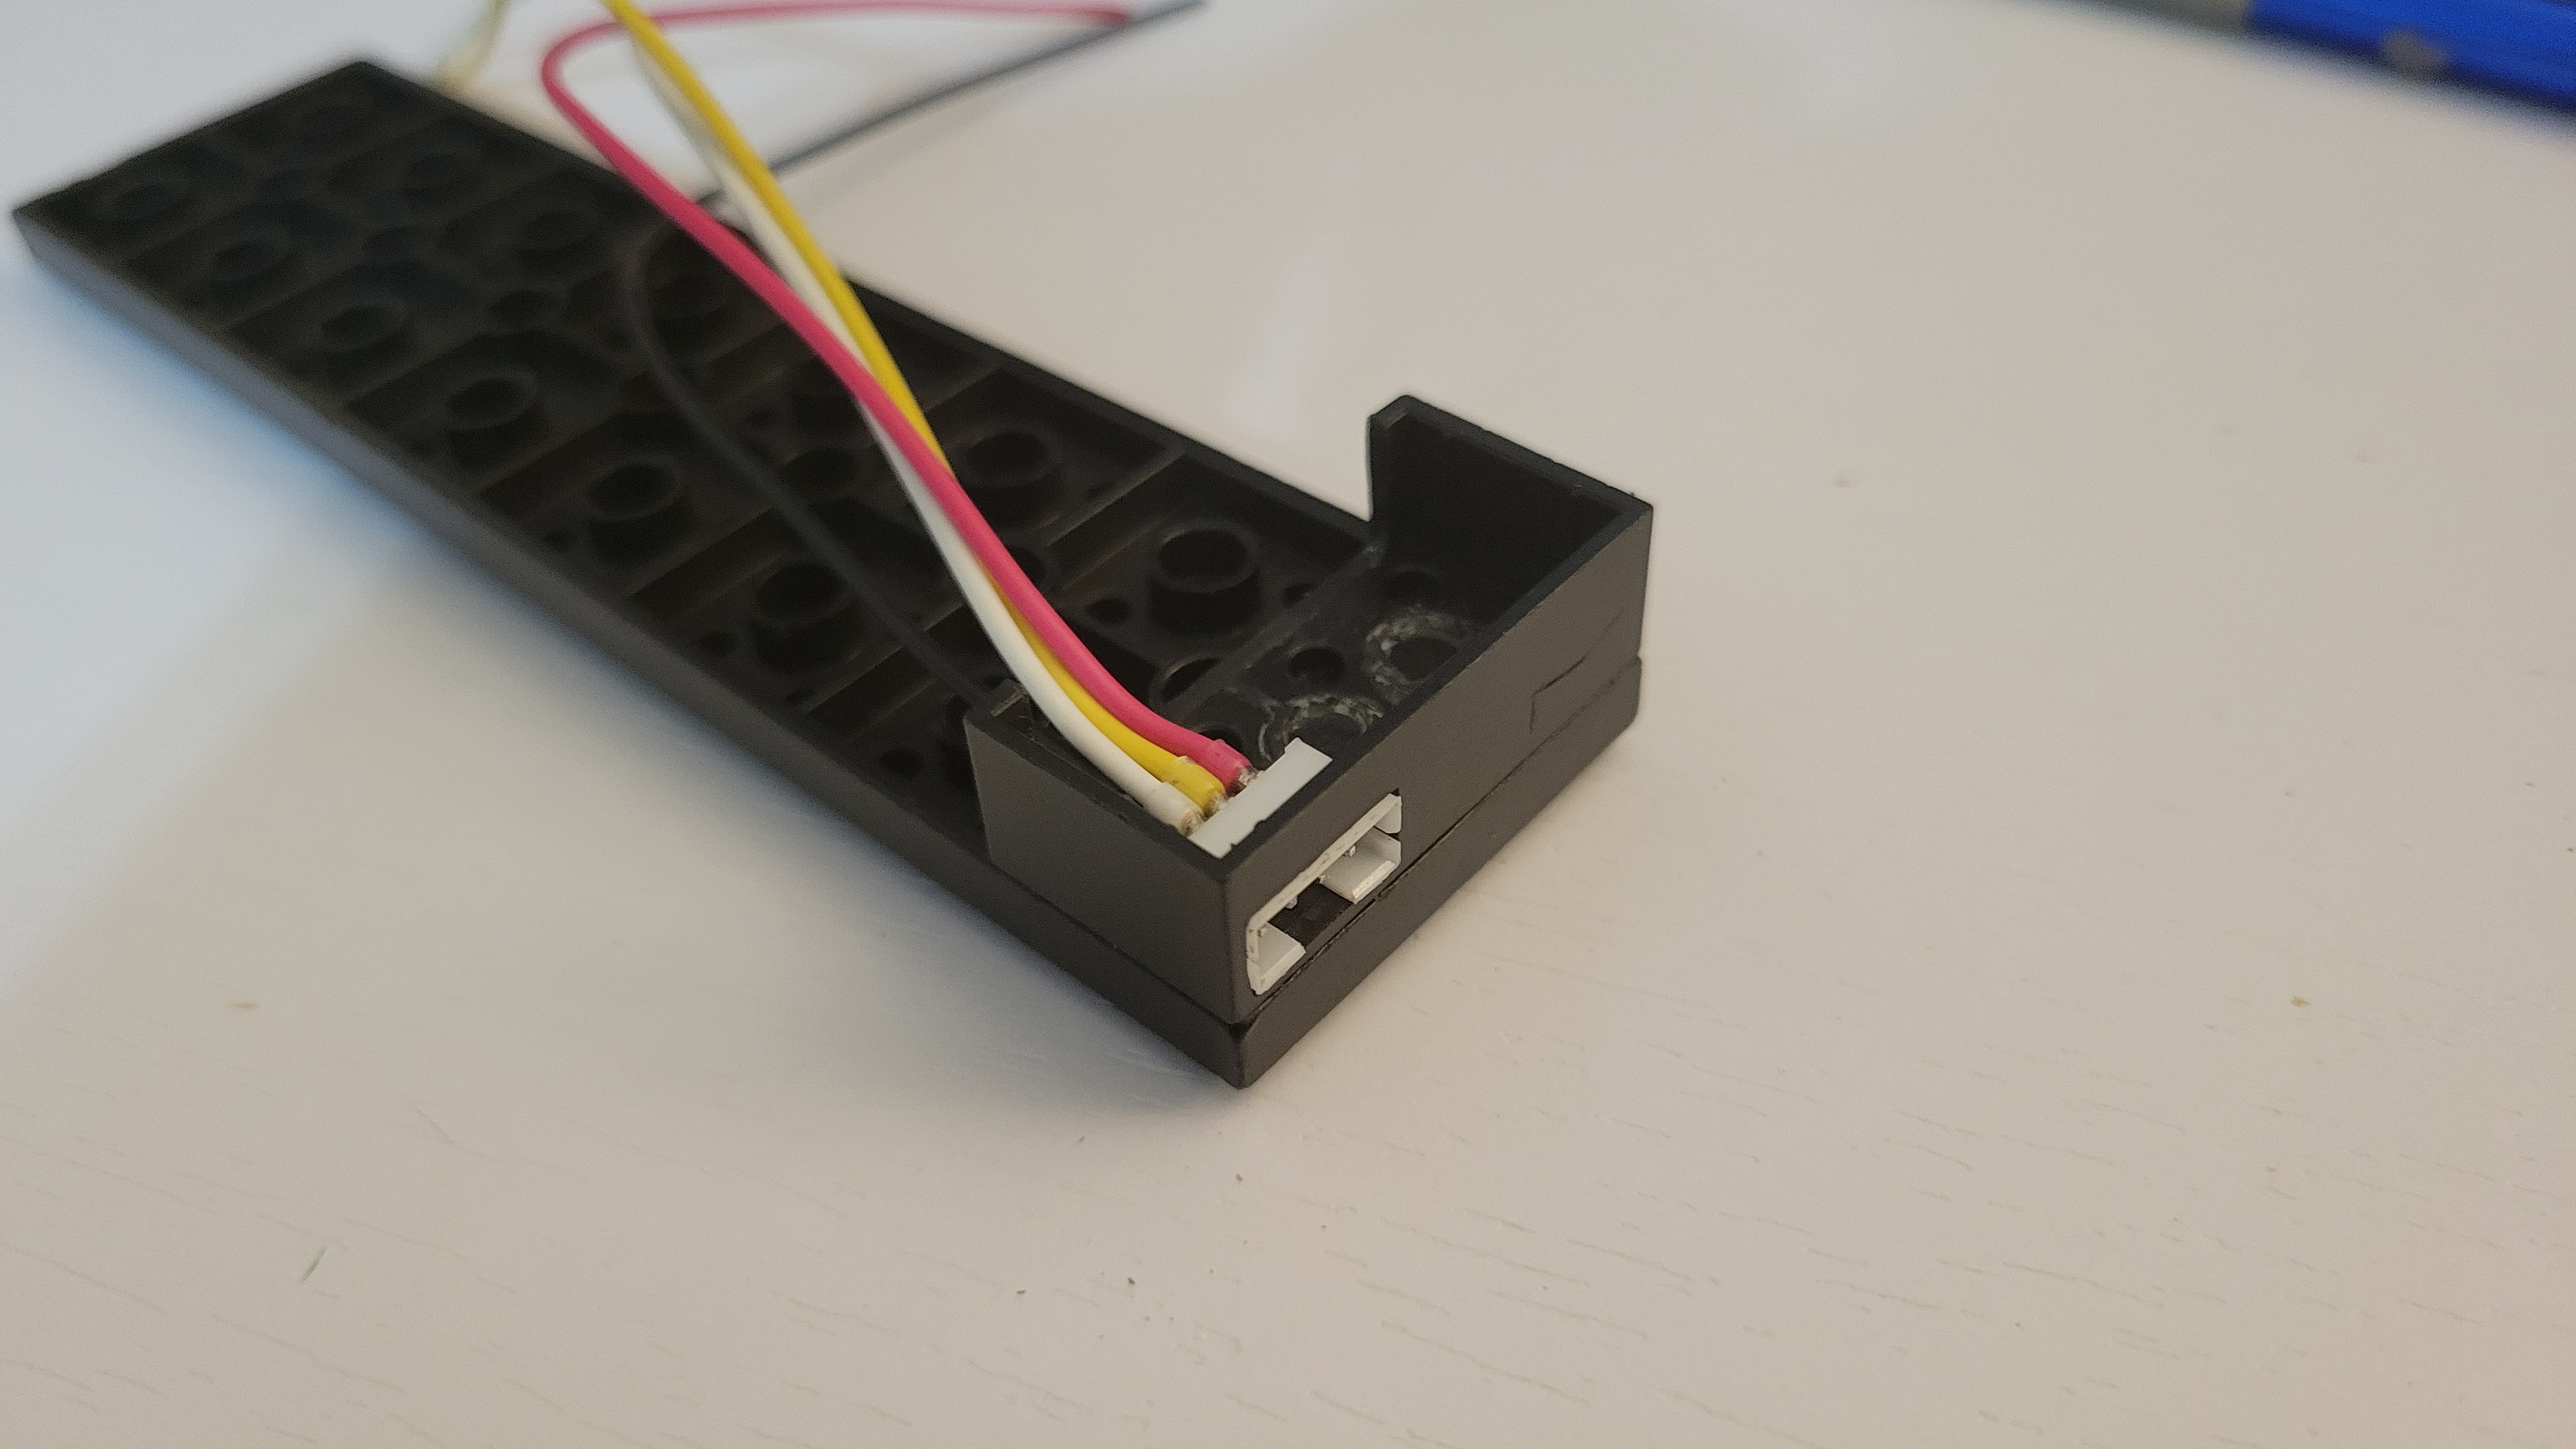
Inside the Lego Box
For the most part we only need to connect the various modules together and solder the connections between the various input and output ports.

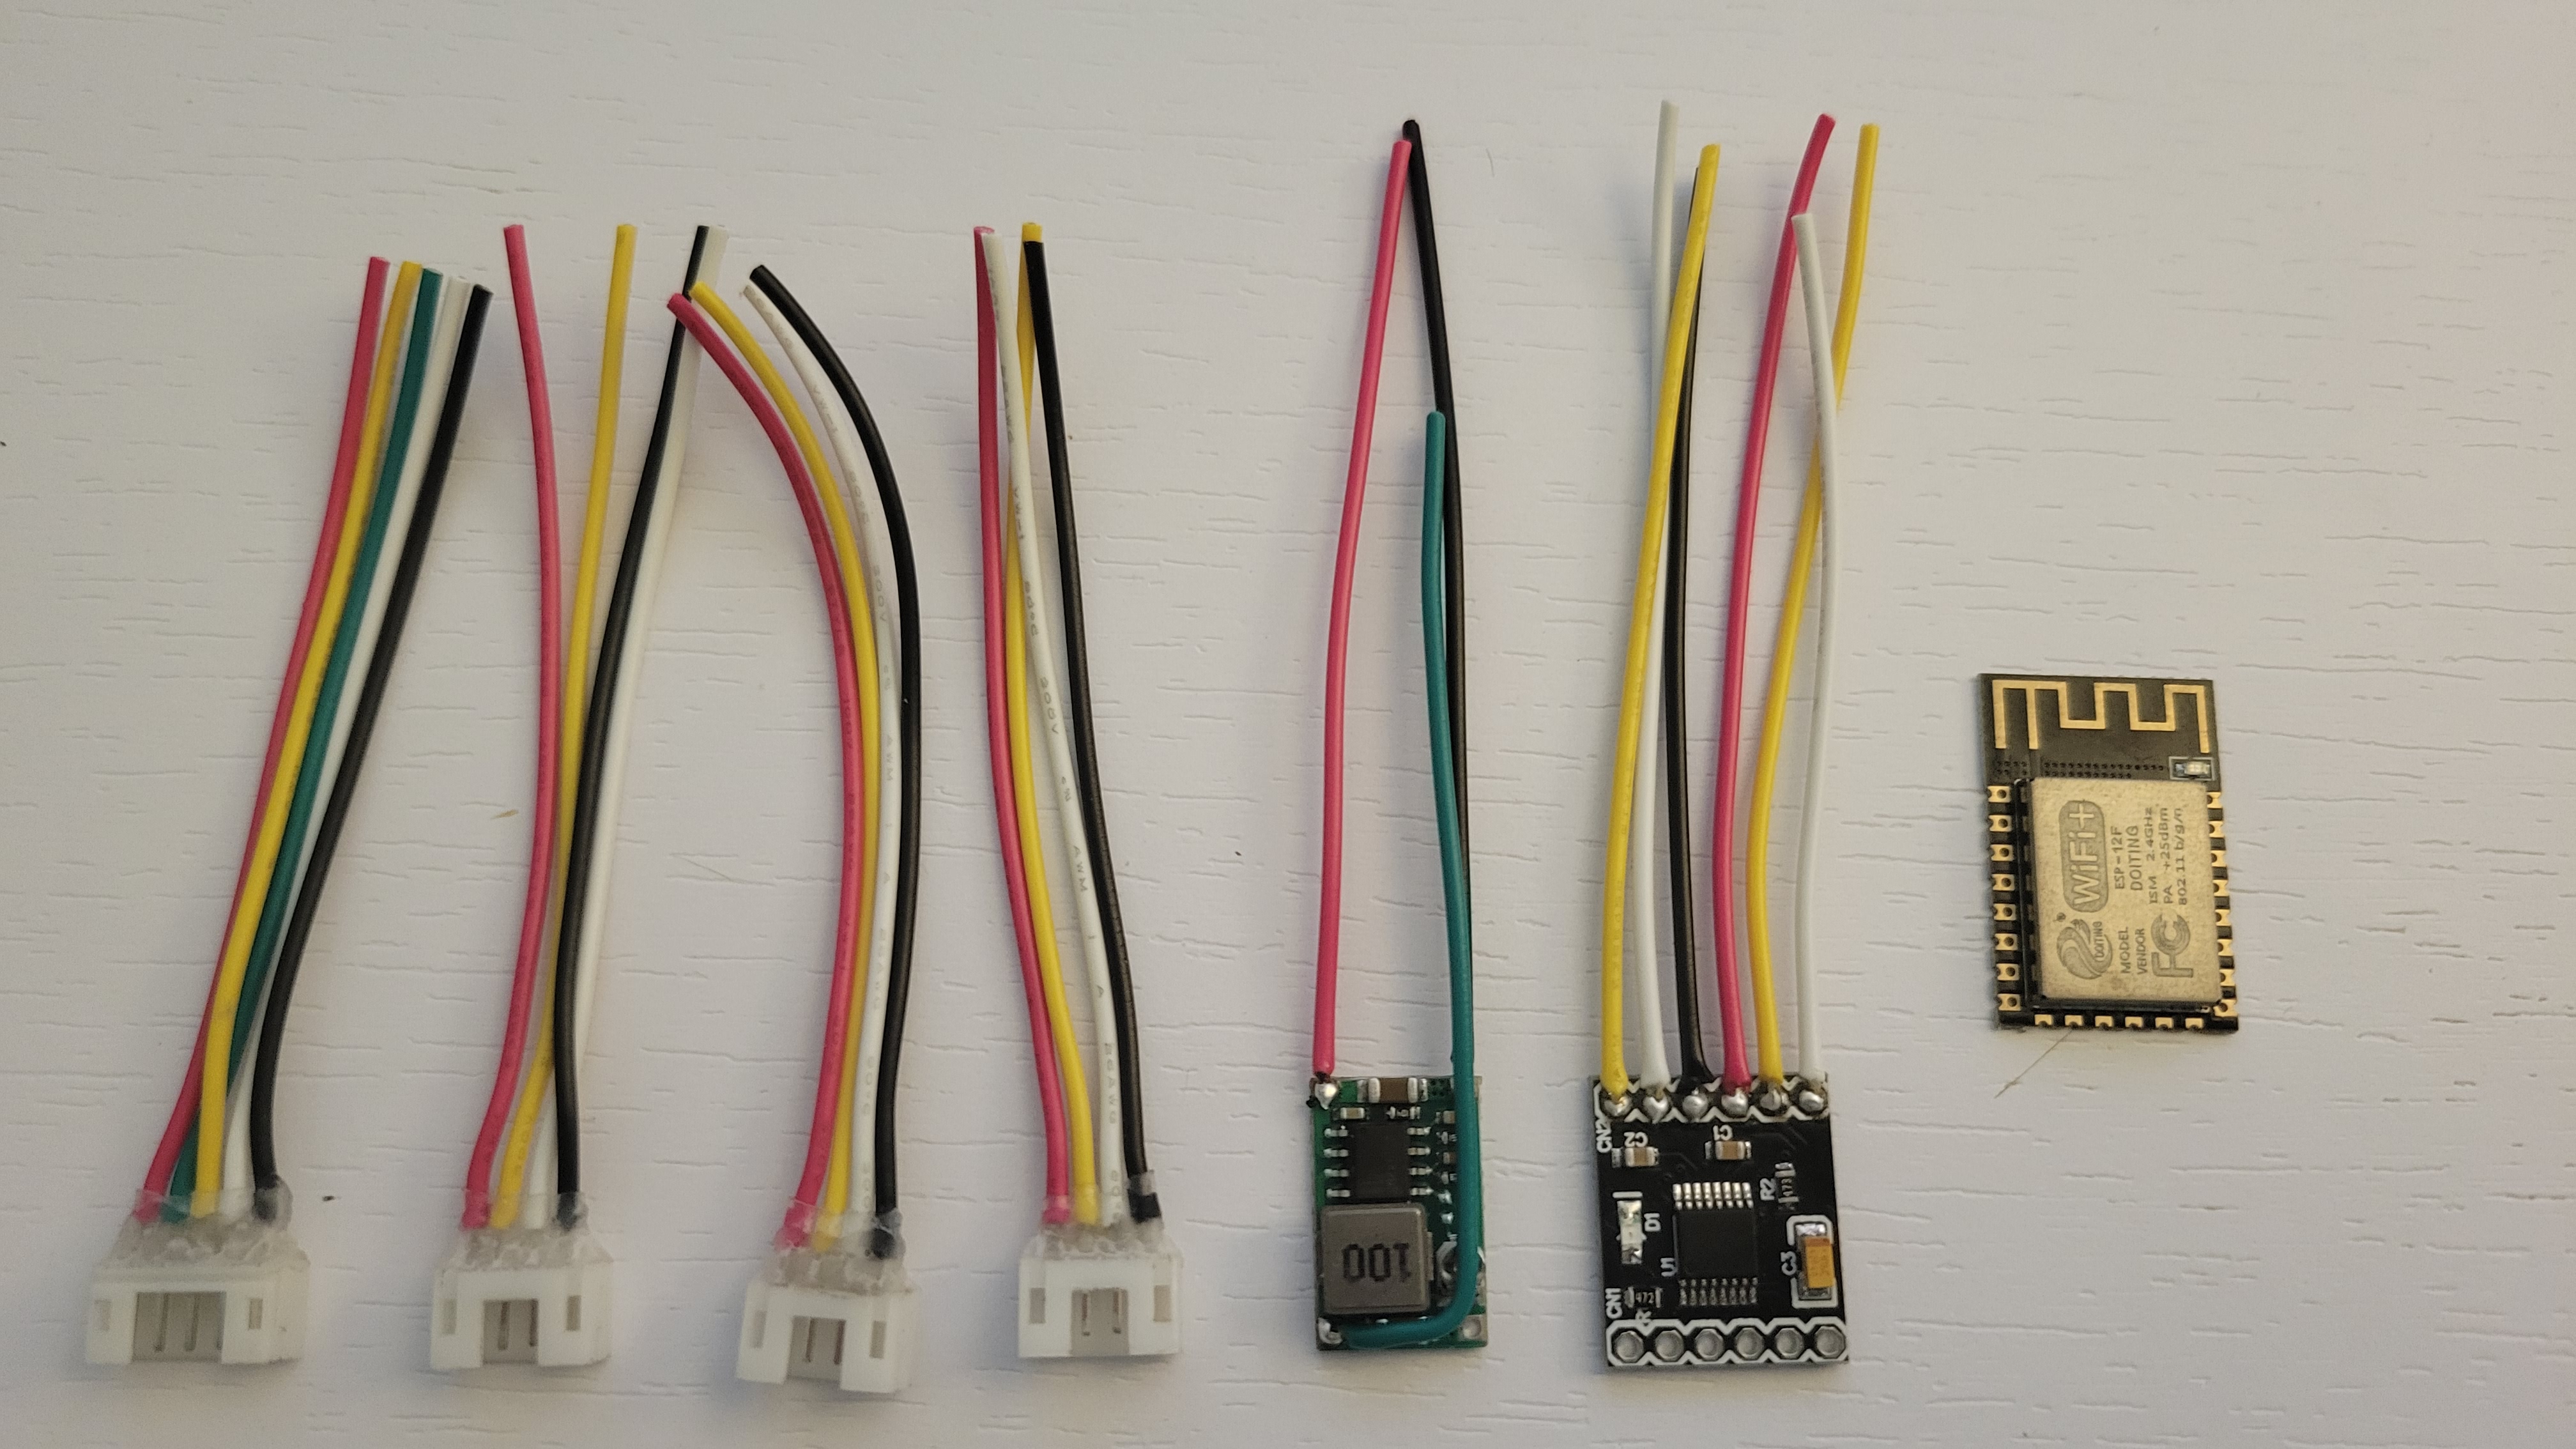
First we trim the wires and solder the extra bits to the power regular and h-bridge motor driver.
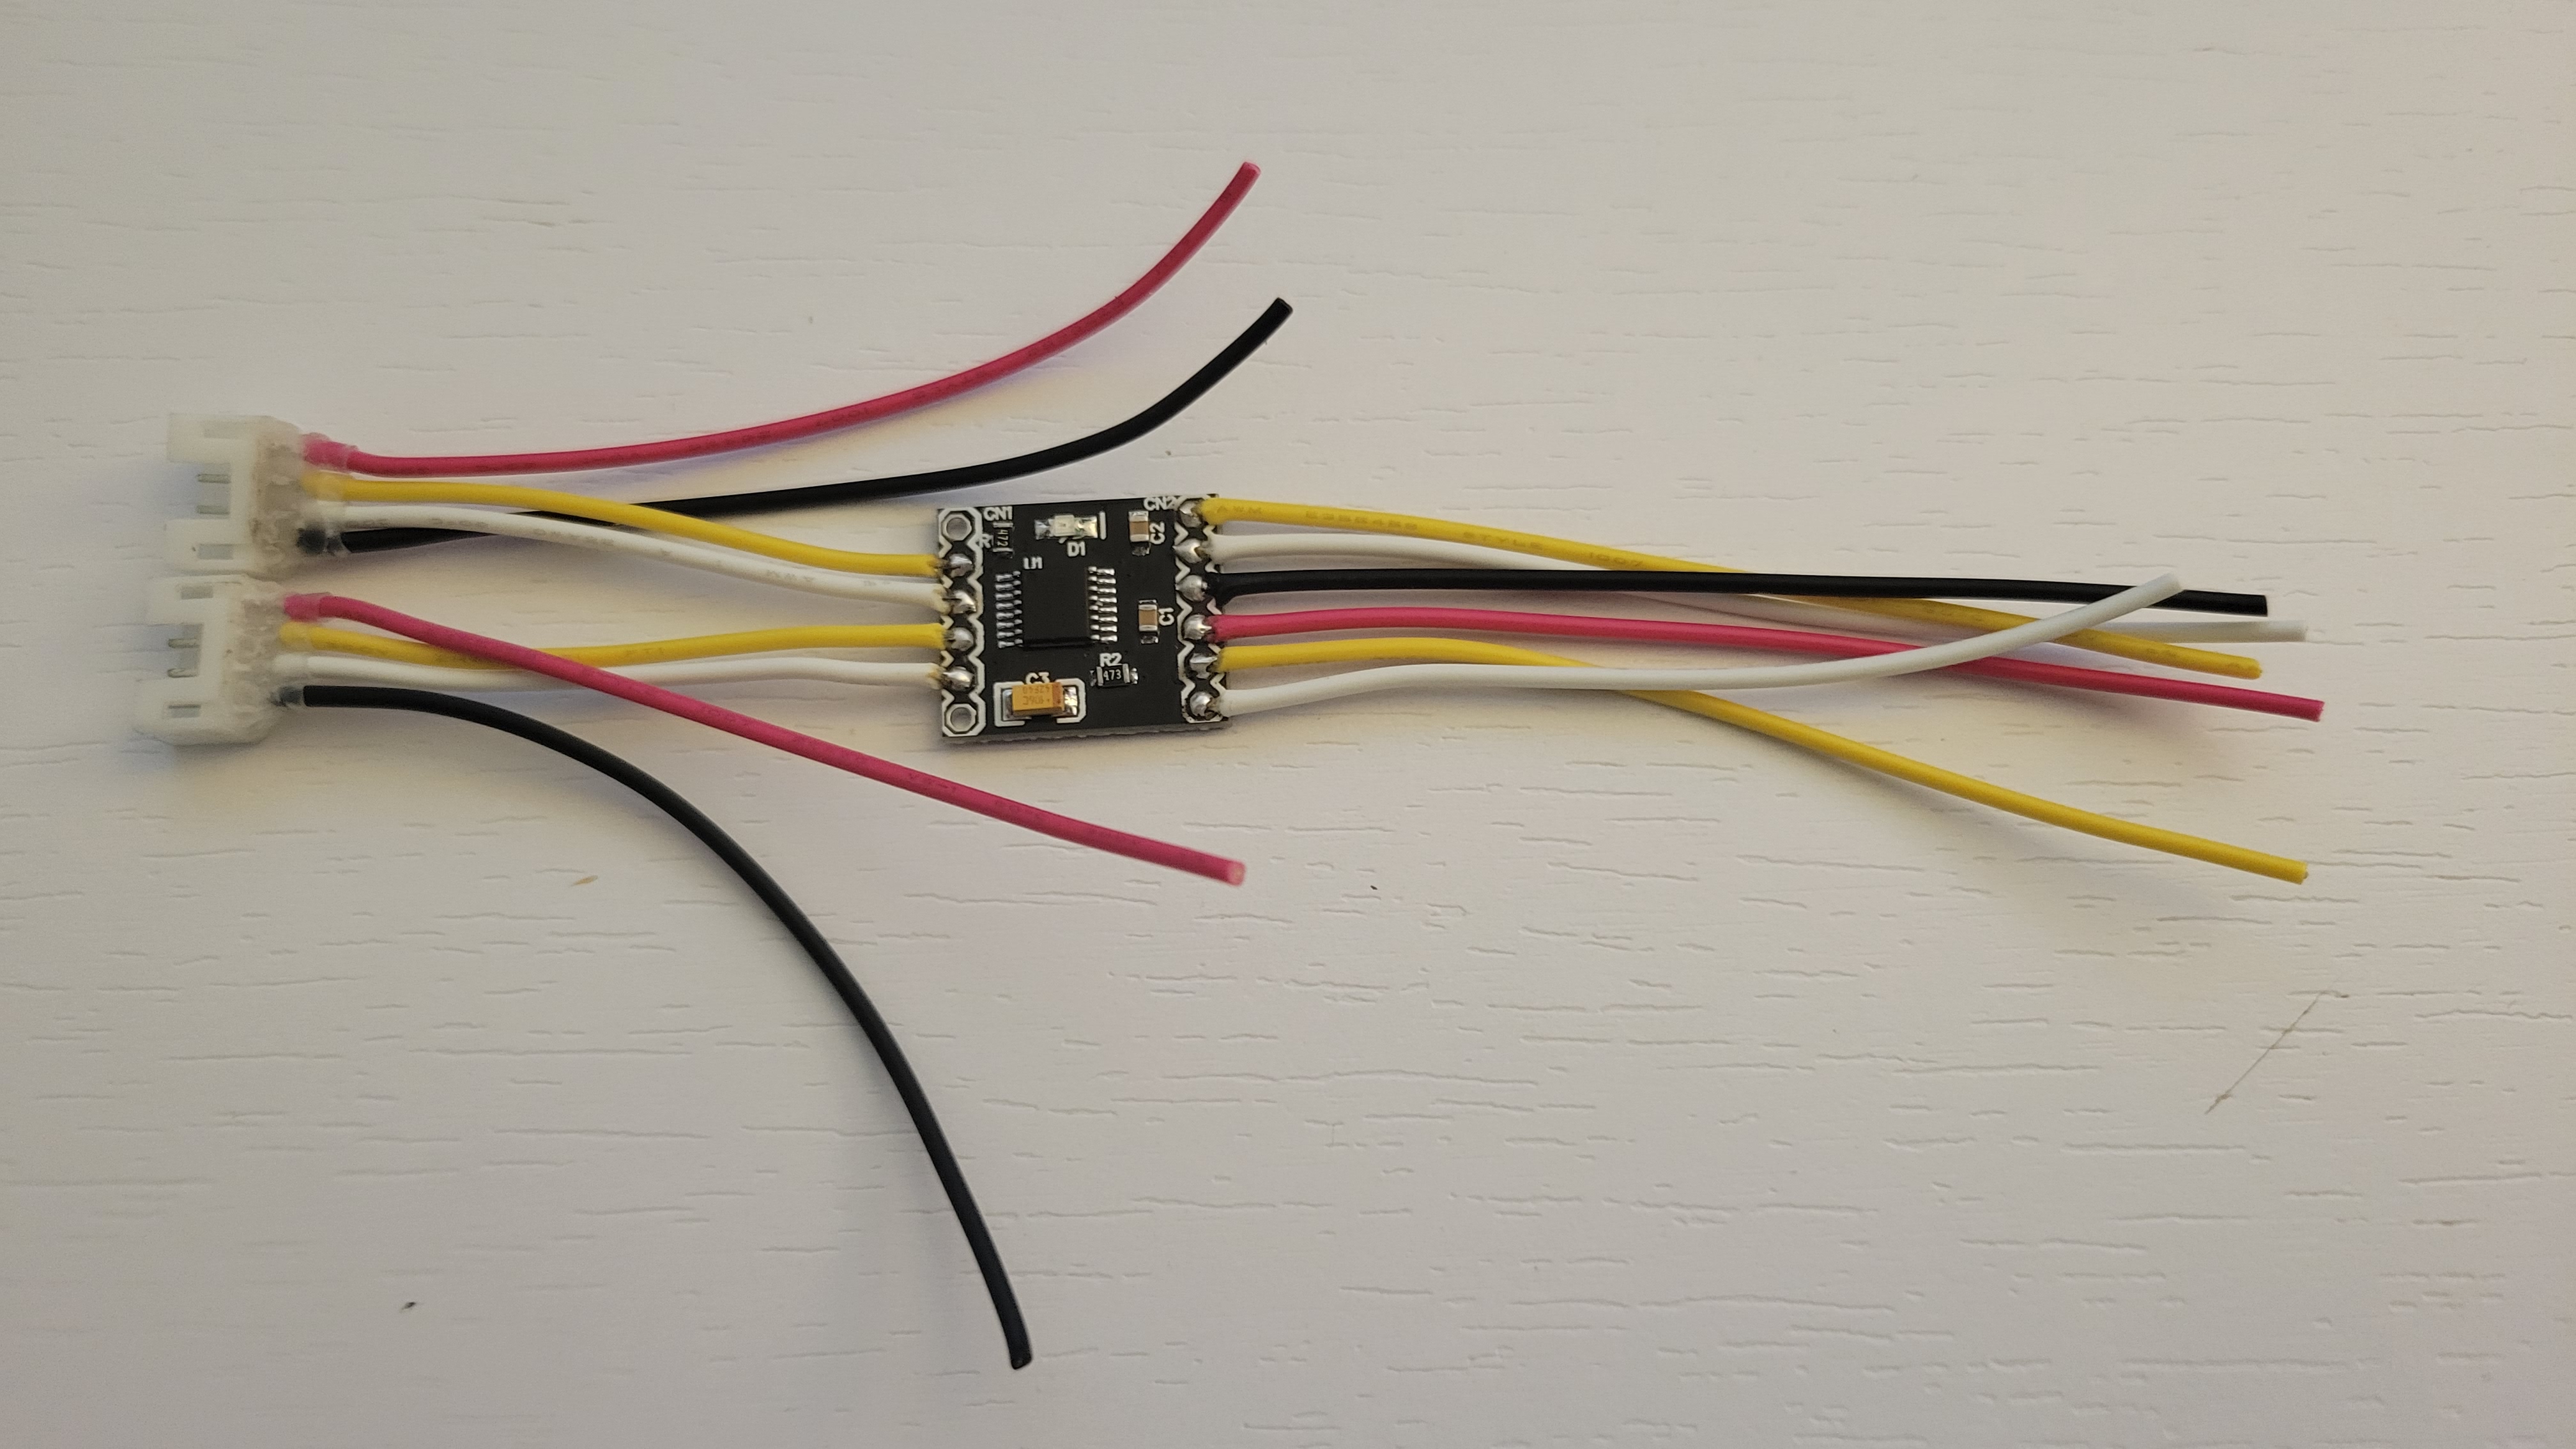
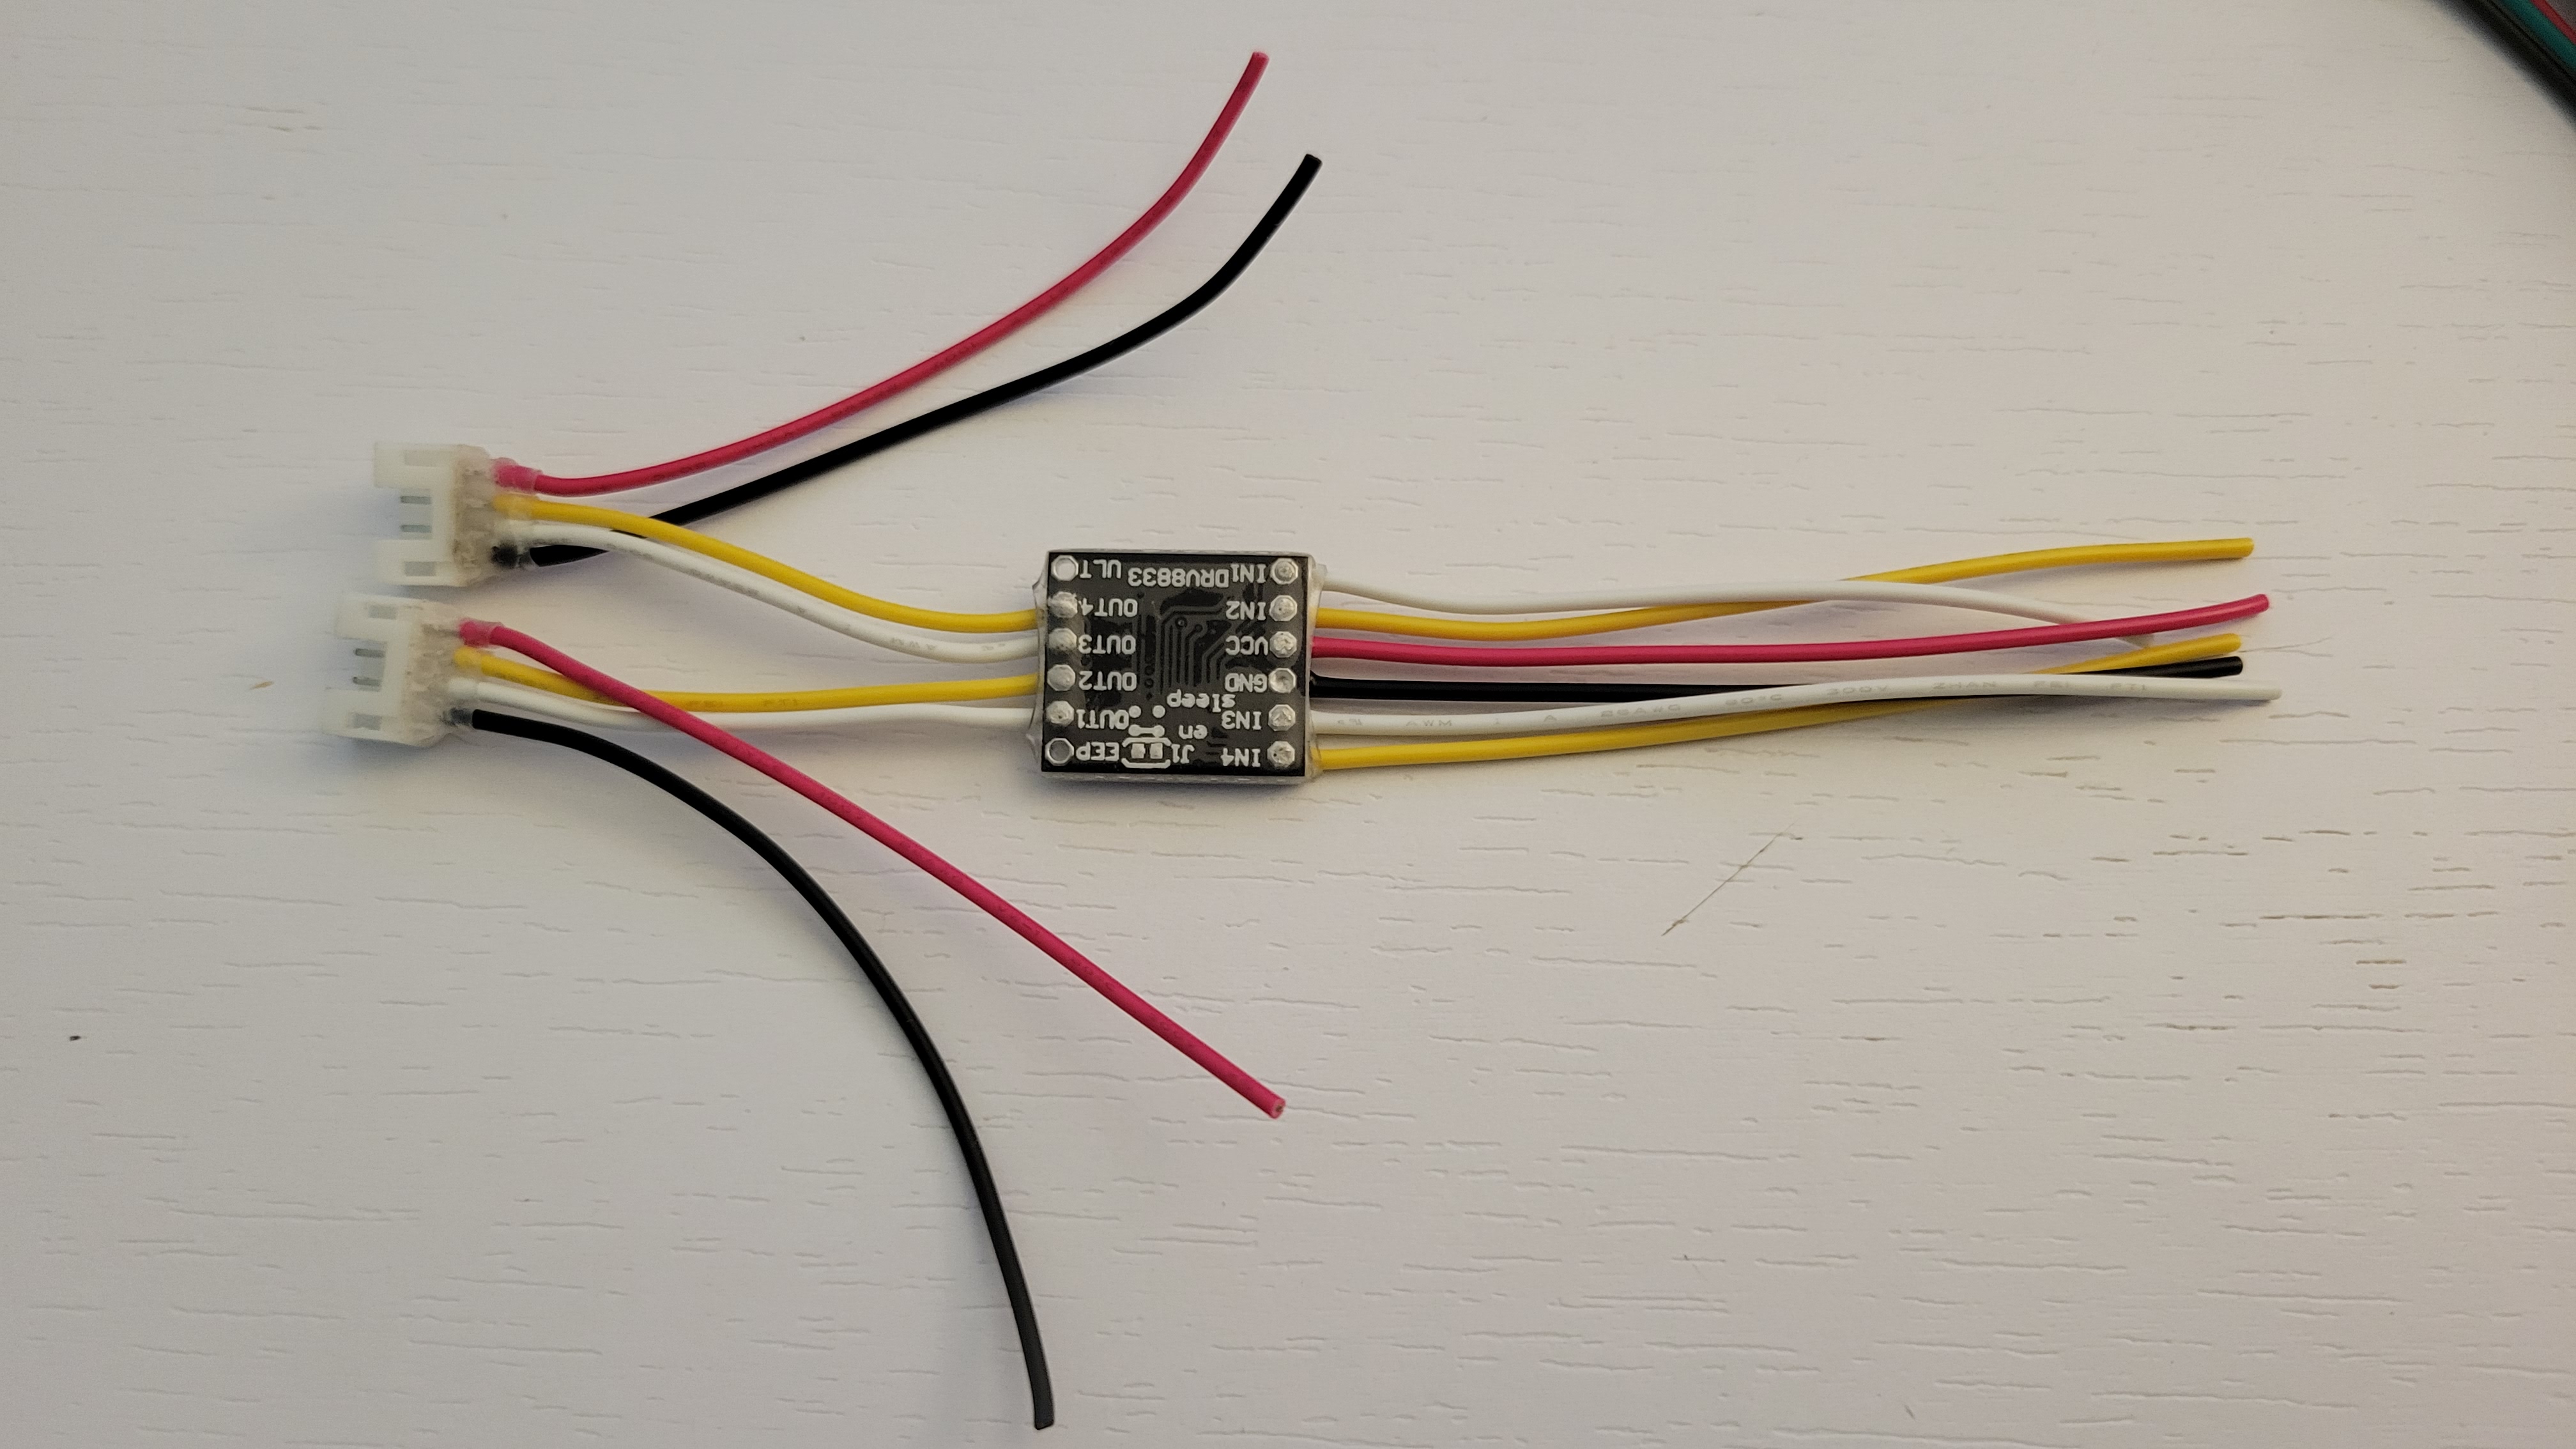
The C1 and C2 lines of the two output ports are then wired directly to the h-bridge module. Leads are added on the opposite side which will connect directly to the ESP module. Lastly a bit of clear heat-shrink is added to prevent shorts once everything is crammed inside the Lego box.

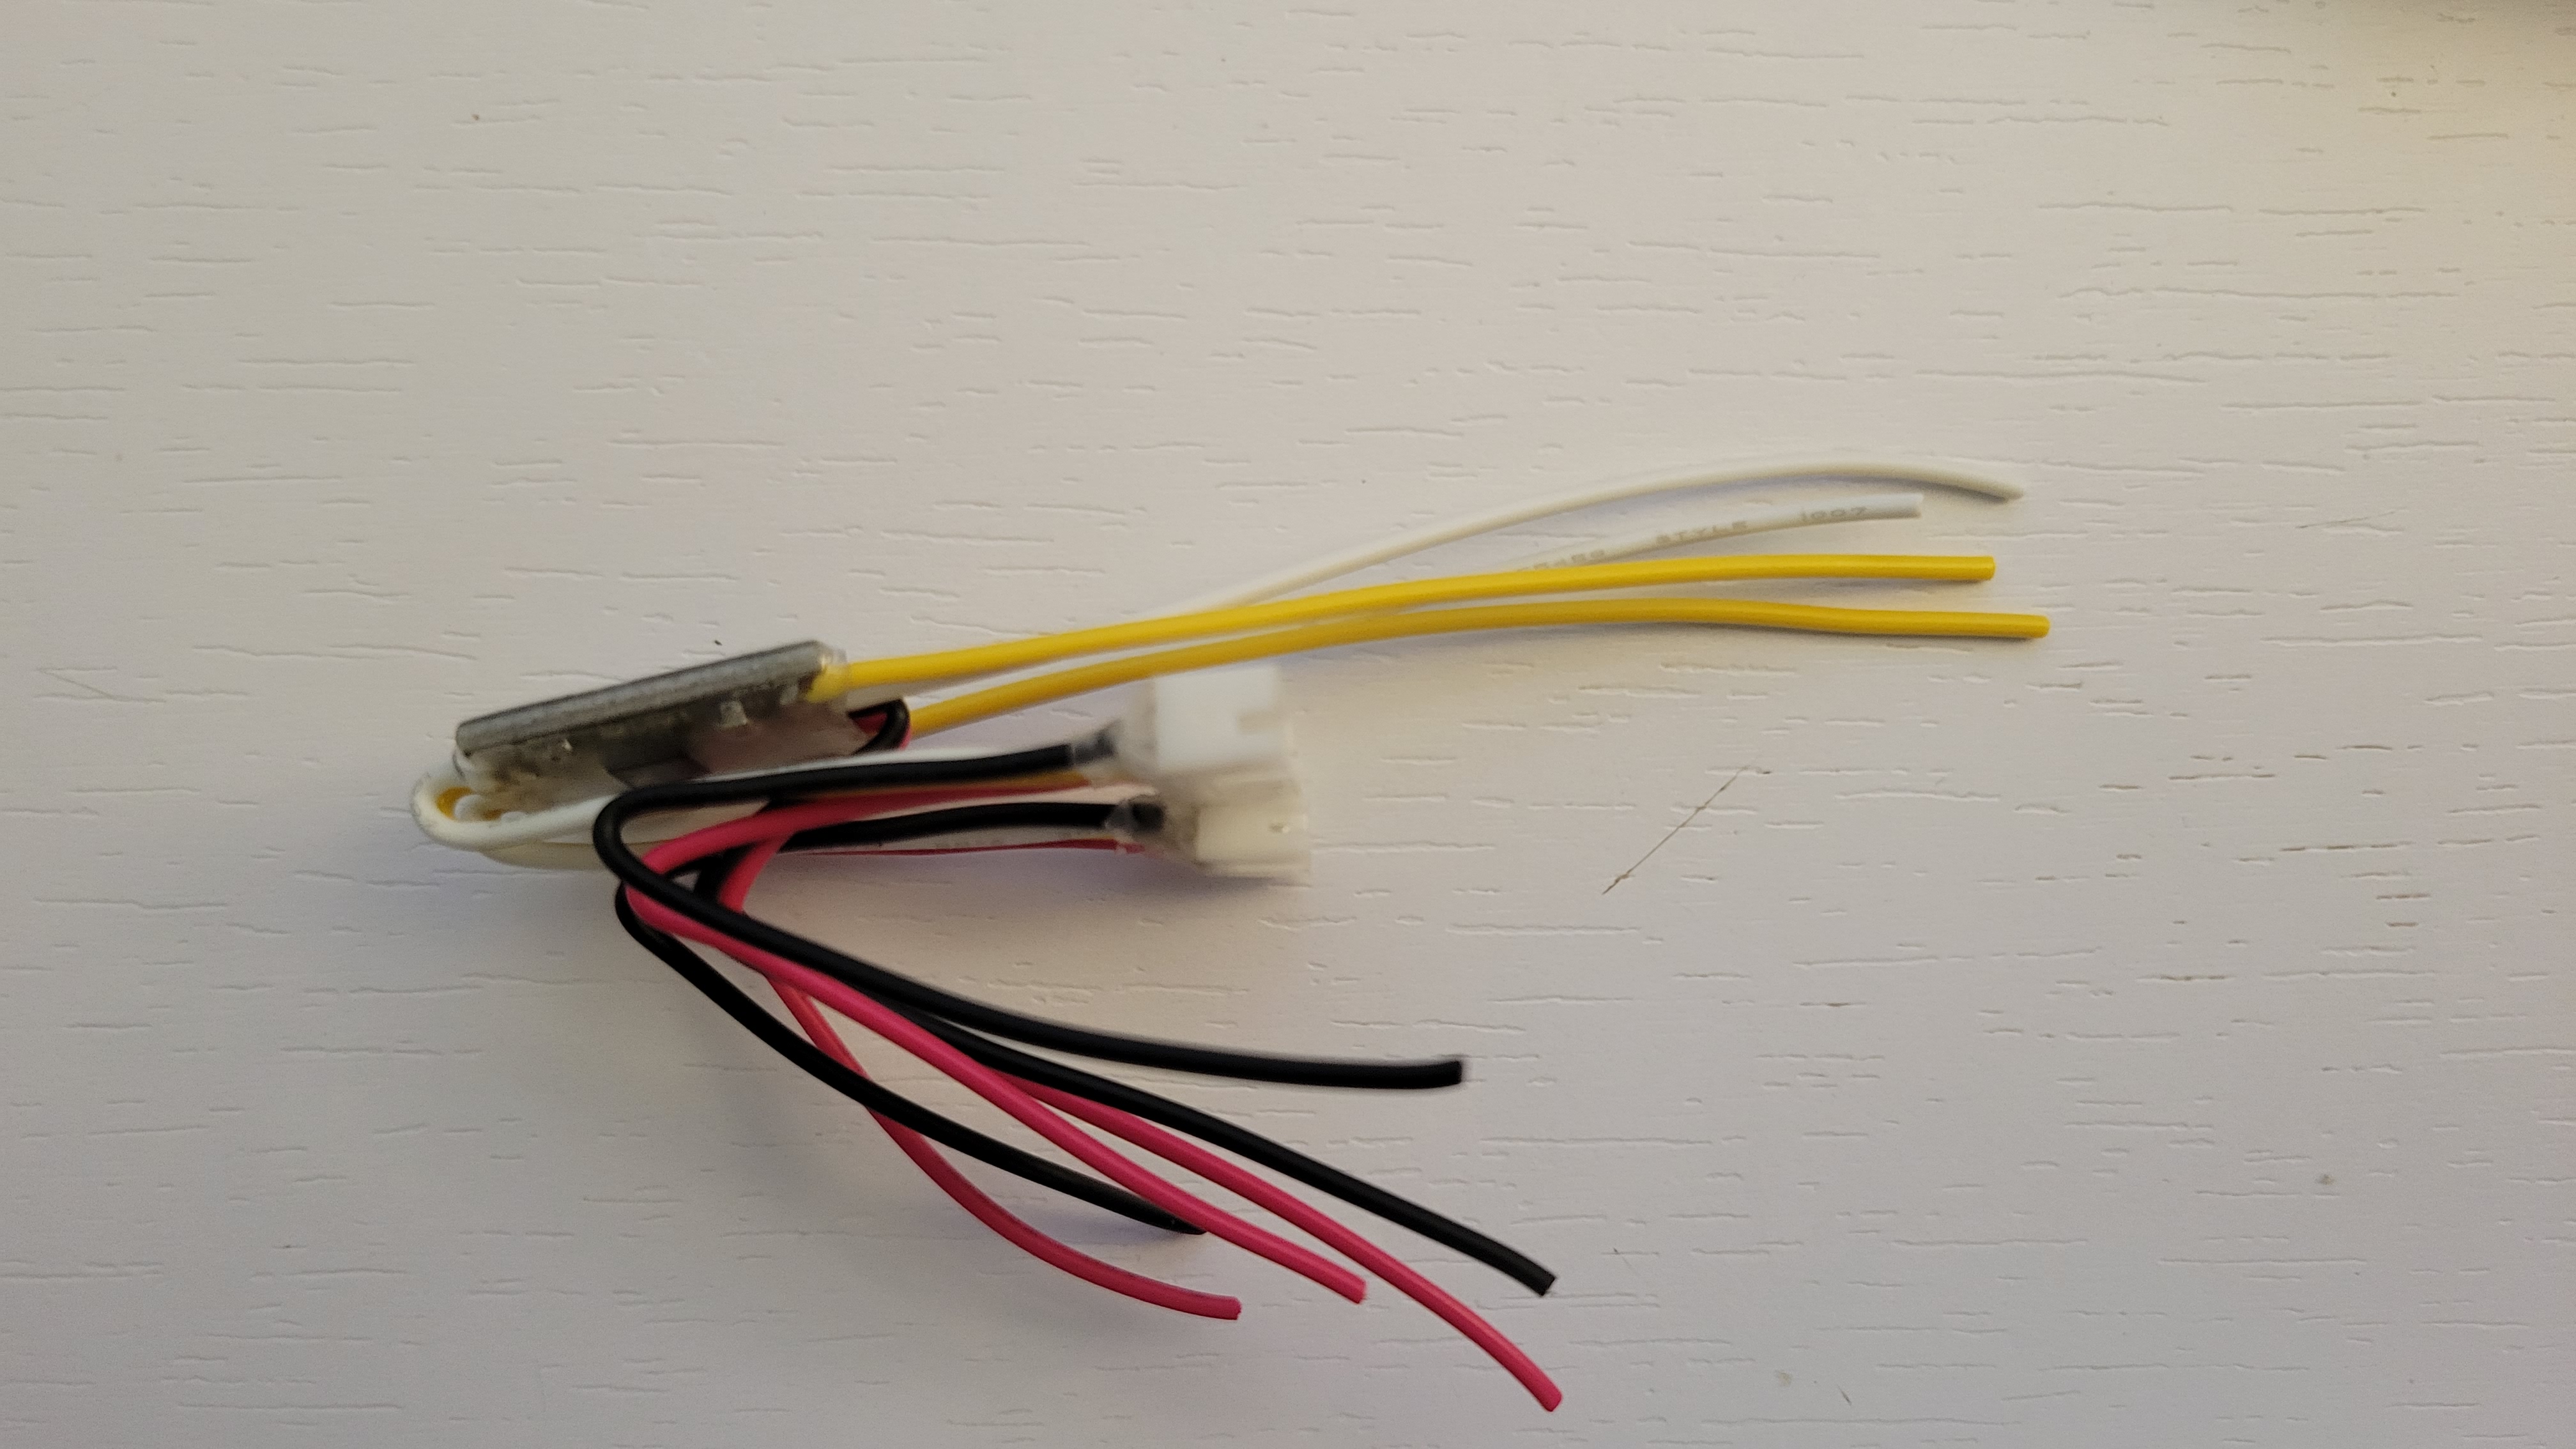
Next the power regular gets the same heat-shrink treatment and we begin the process of wired based origami to fold and fit everything together.
9V Battery Pack
While the official Lego Battery Box would have worked fine its a pain to swap the batteries. Both the AA and AAA versions of the Lego Battery Box require some level of disassembly and often some percussive force to free the individual battery cells.

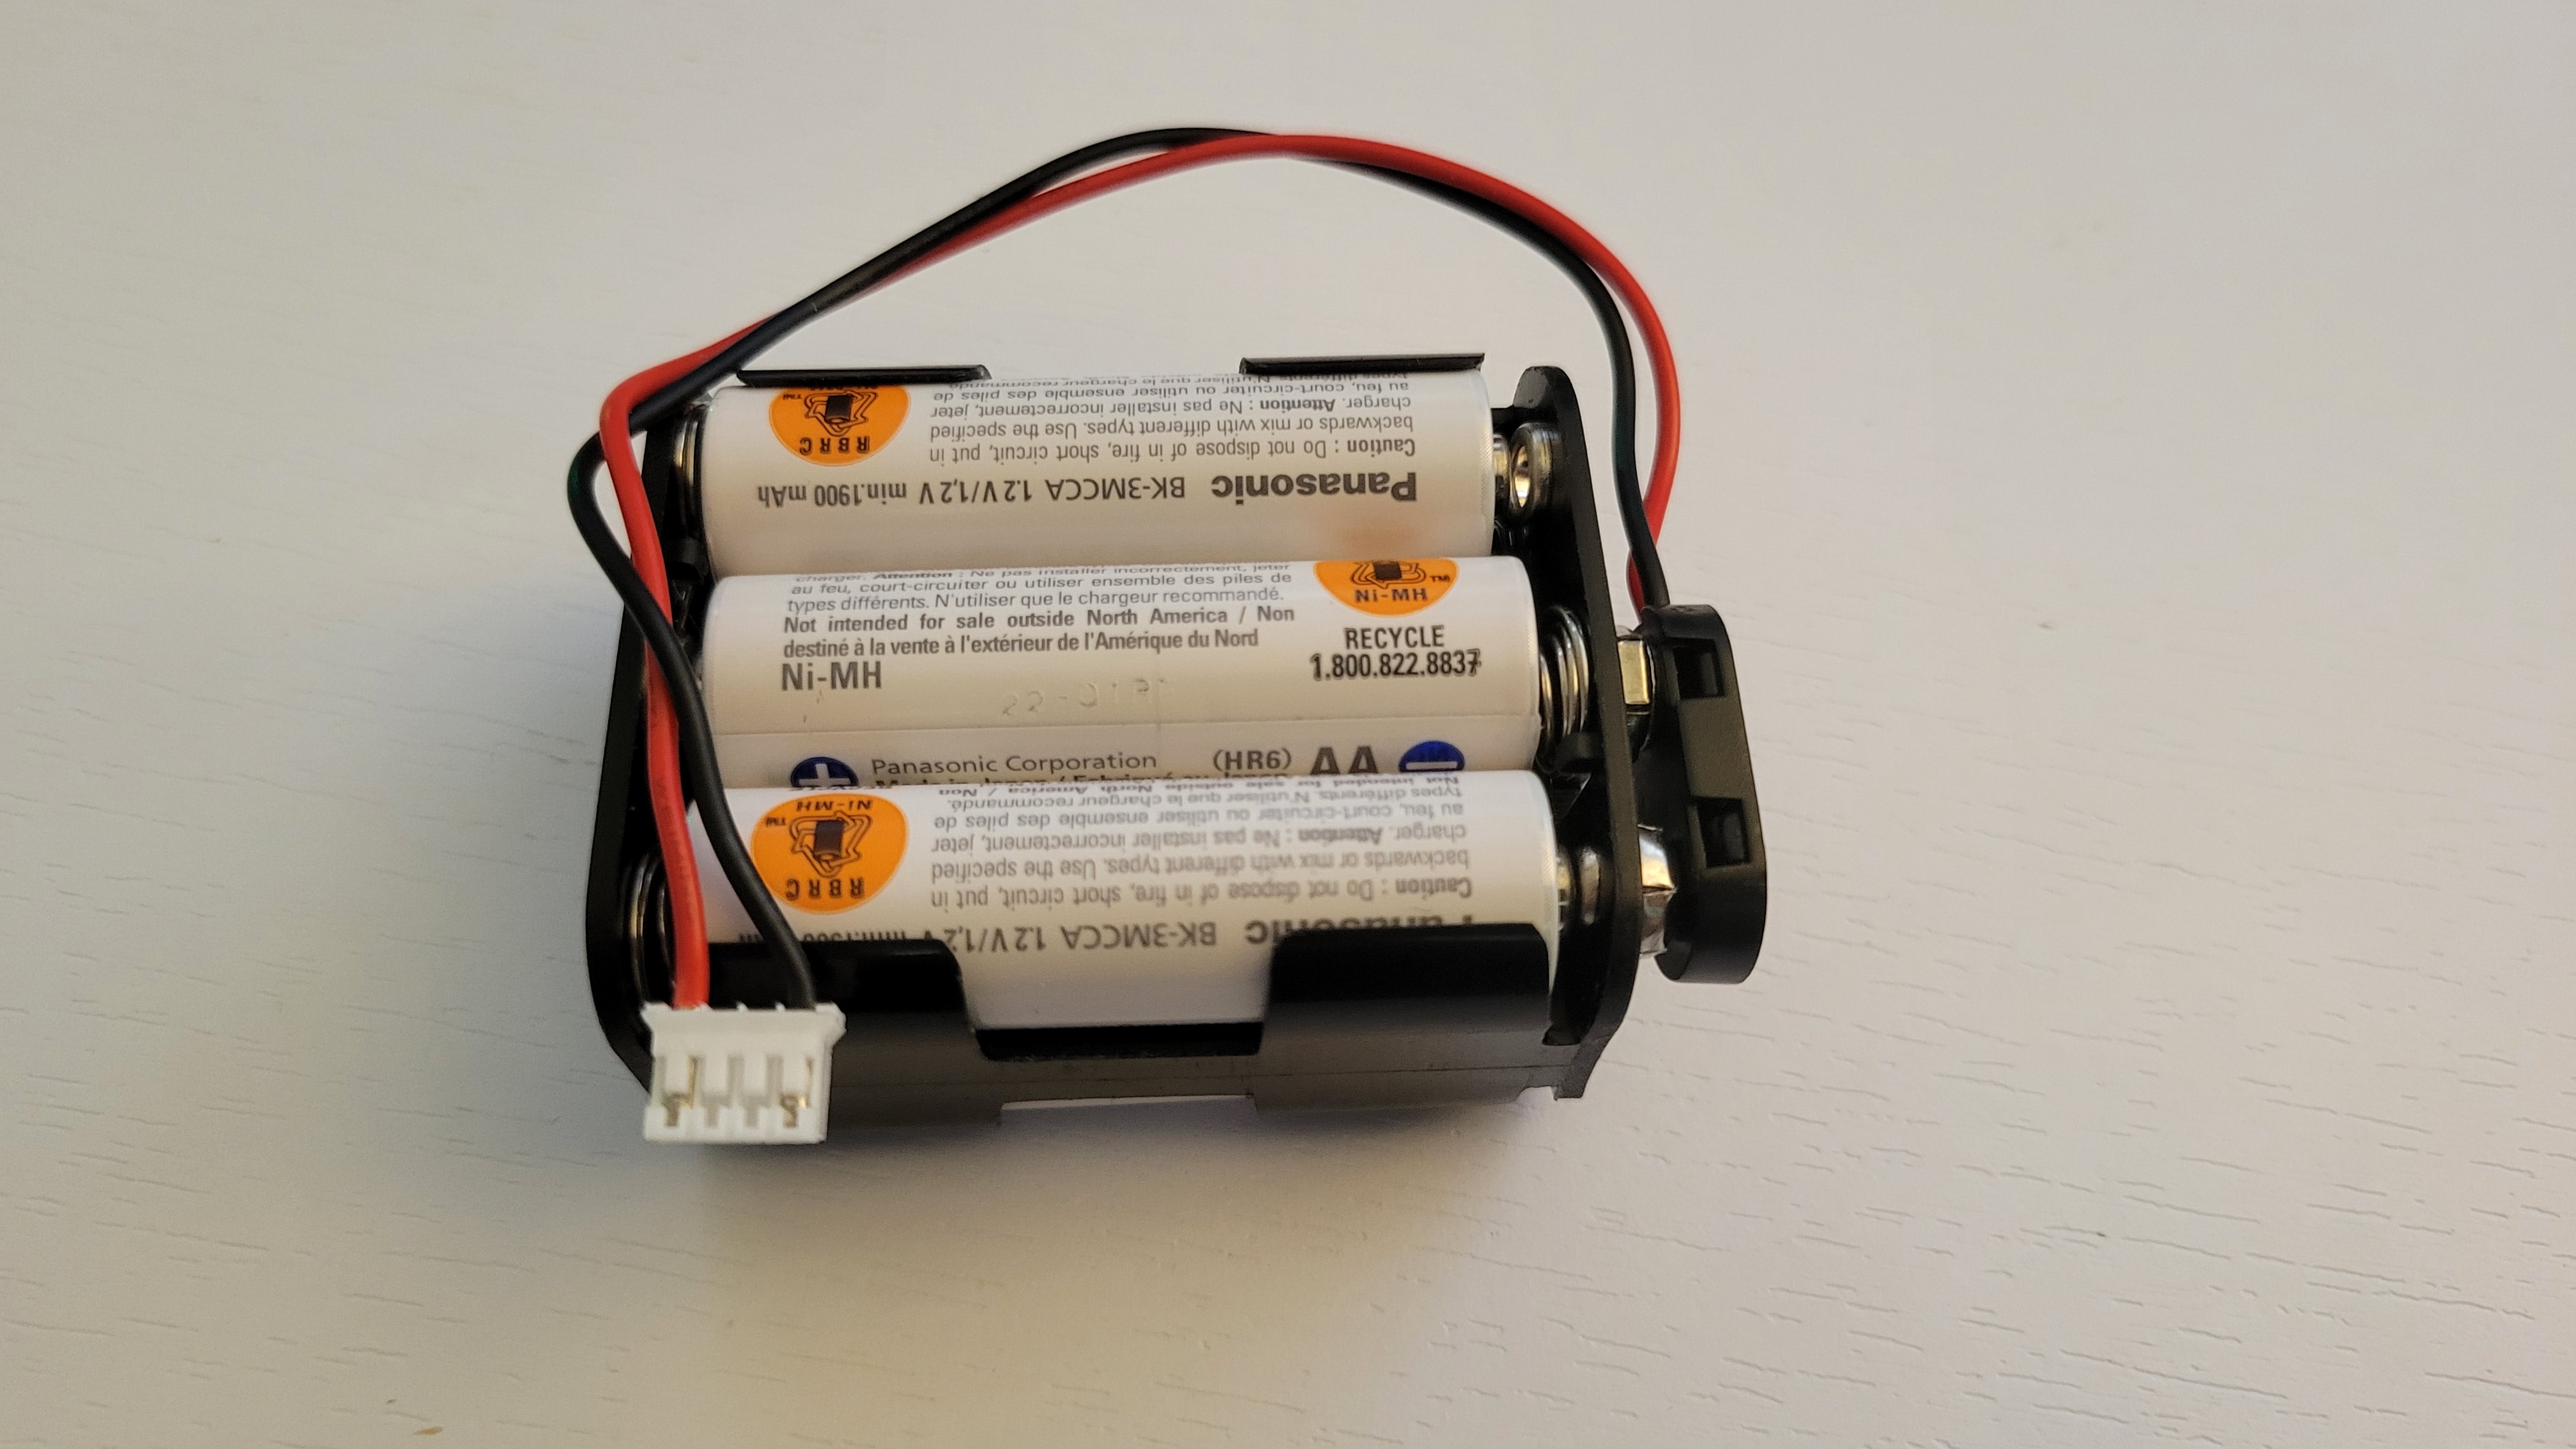
Since the Control Box already has a JST connection for power it was easy to use a readily available 6x AA holder. These often come with standard 9V battery terminals. For this case a simple adapter cable makes it easy to remove the AA battery holder and swap or recharge the cells.
Sound Effects Module
Covering all the bases with lights and motion a bit of sound really brings the whole project together. Especially the train whistle and track noises take it up a notch from the plastic click clack noises made by the Lego parts and motors.
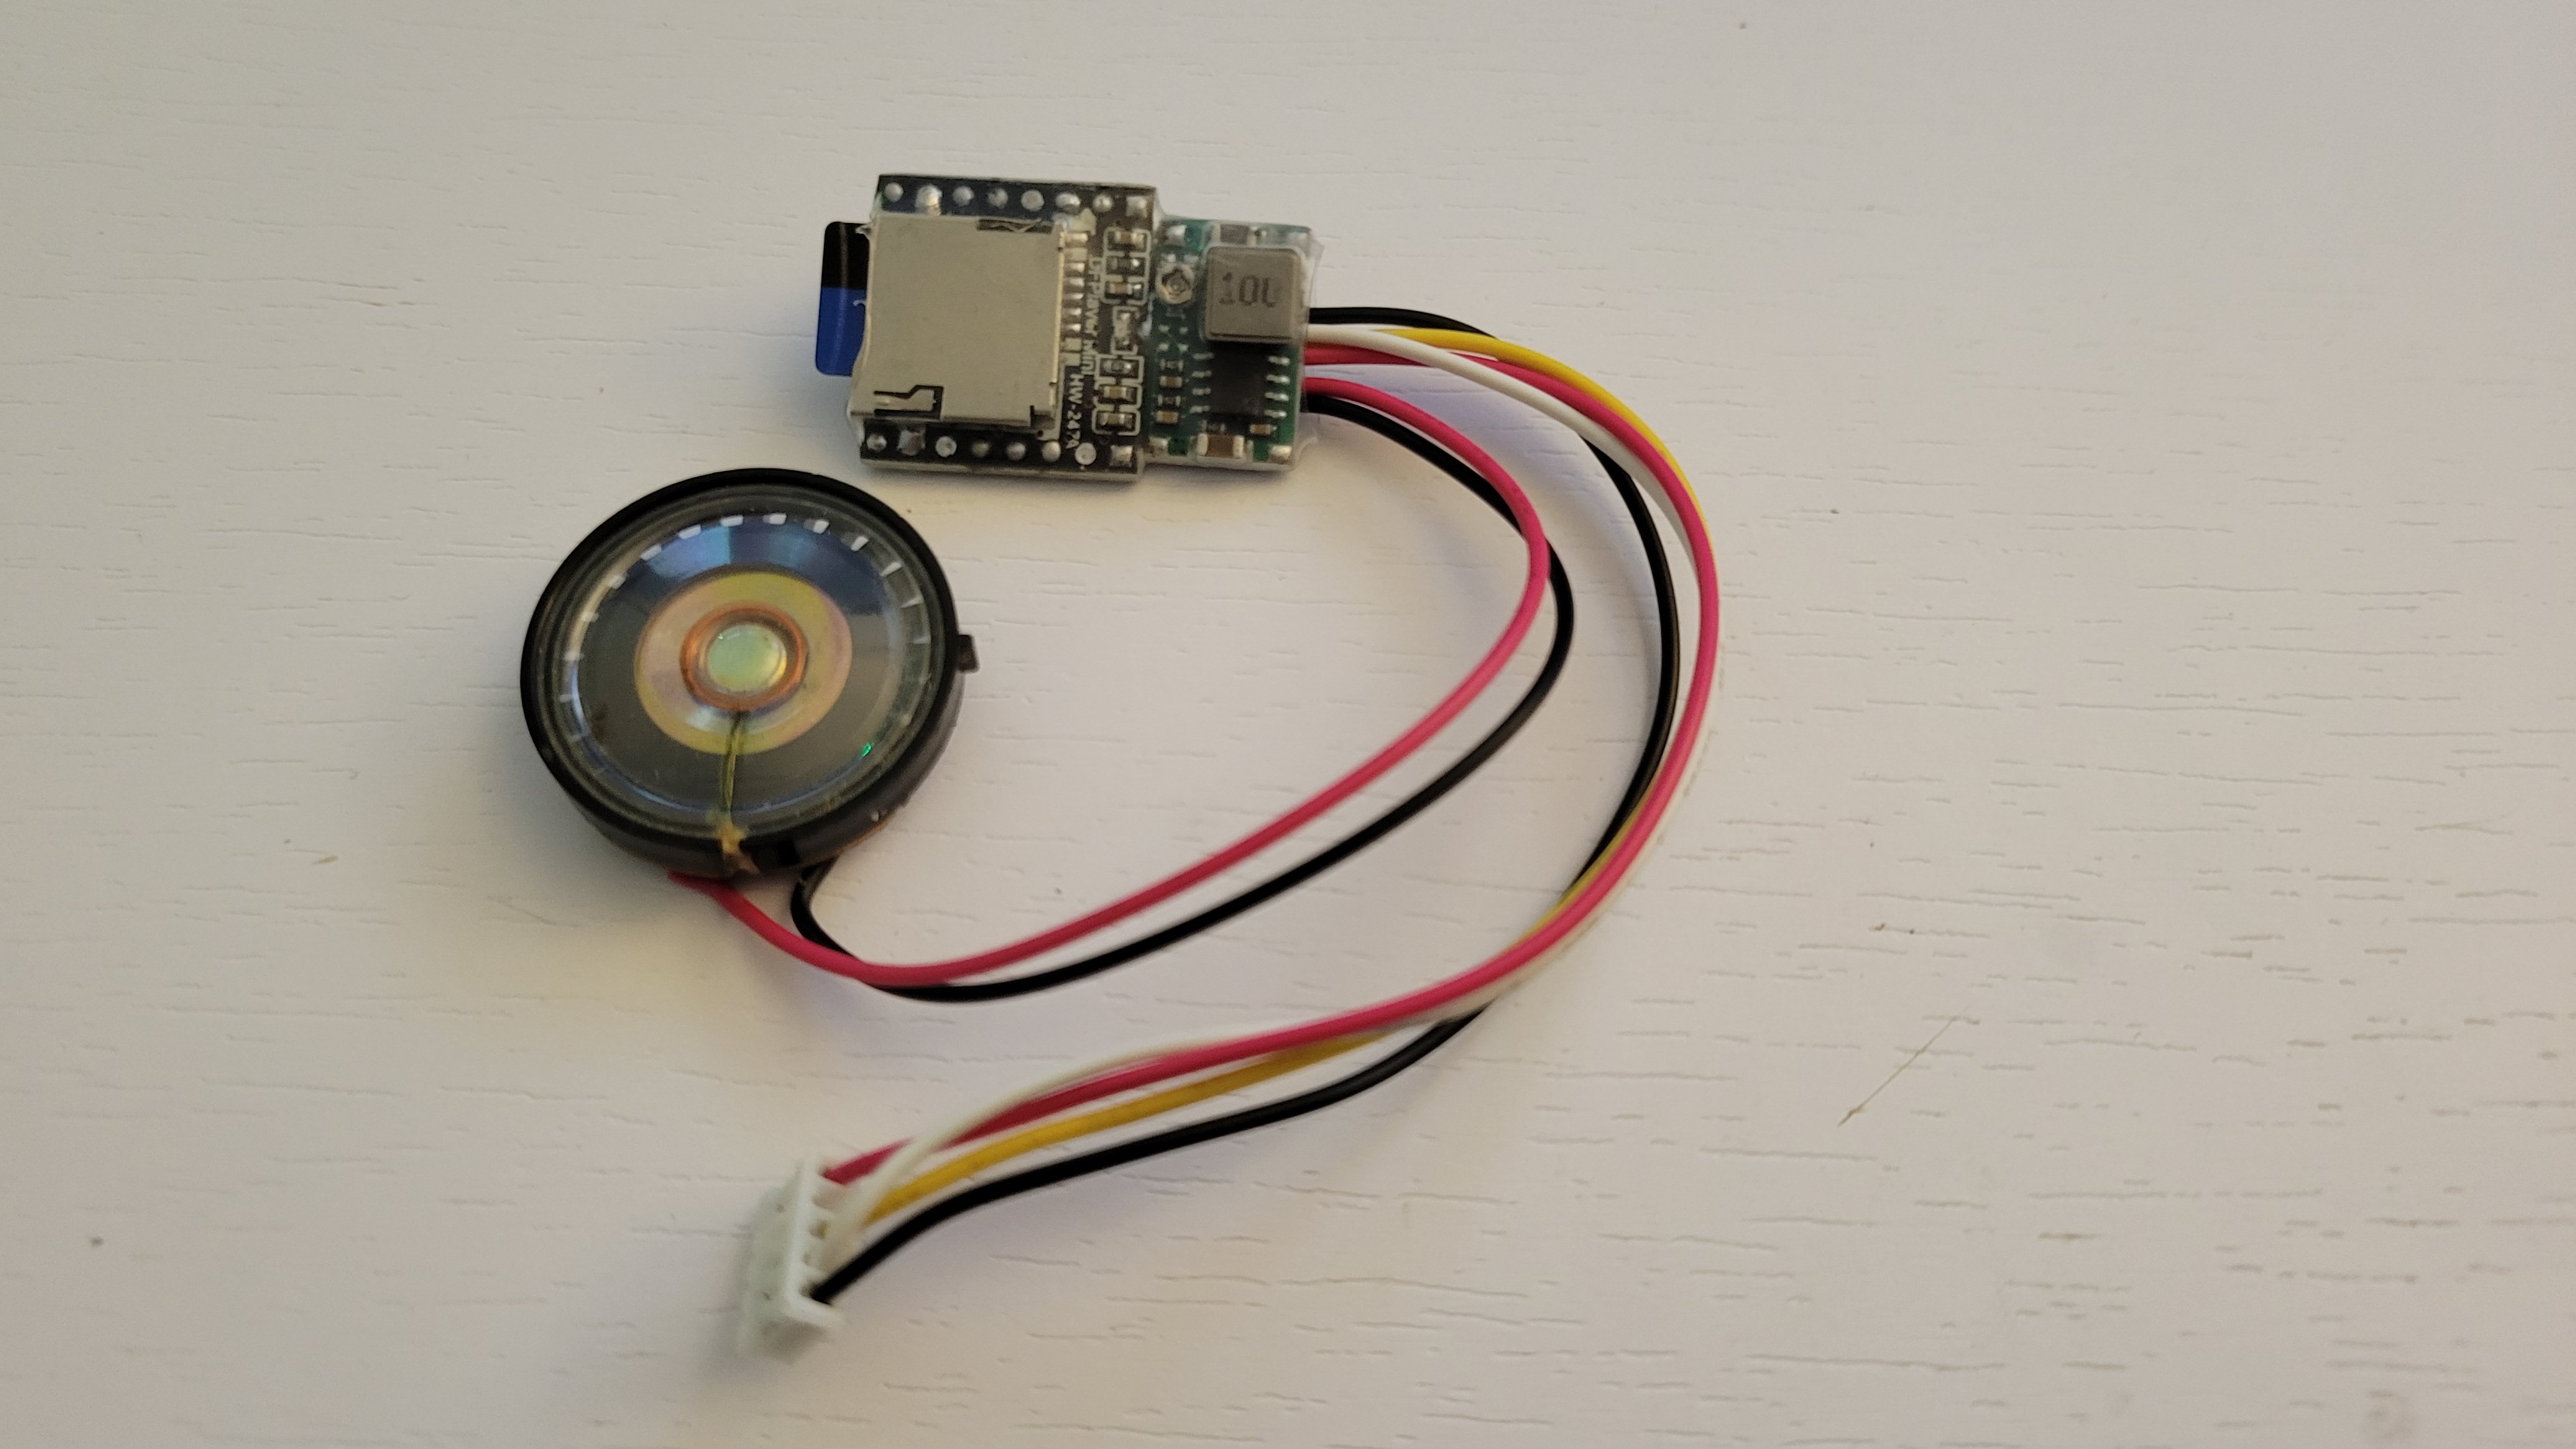
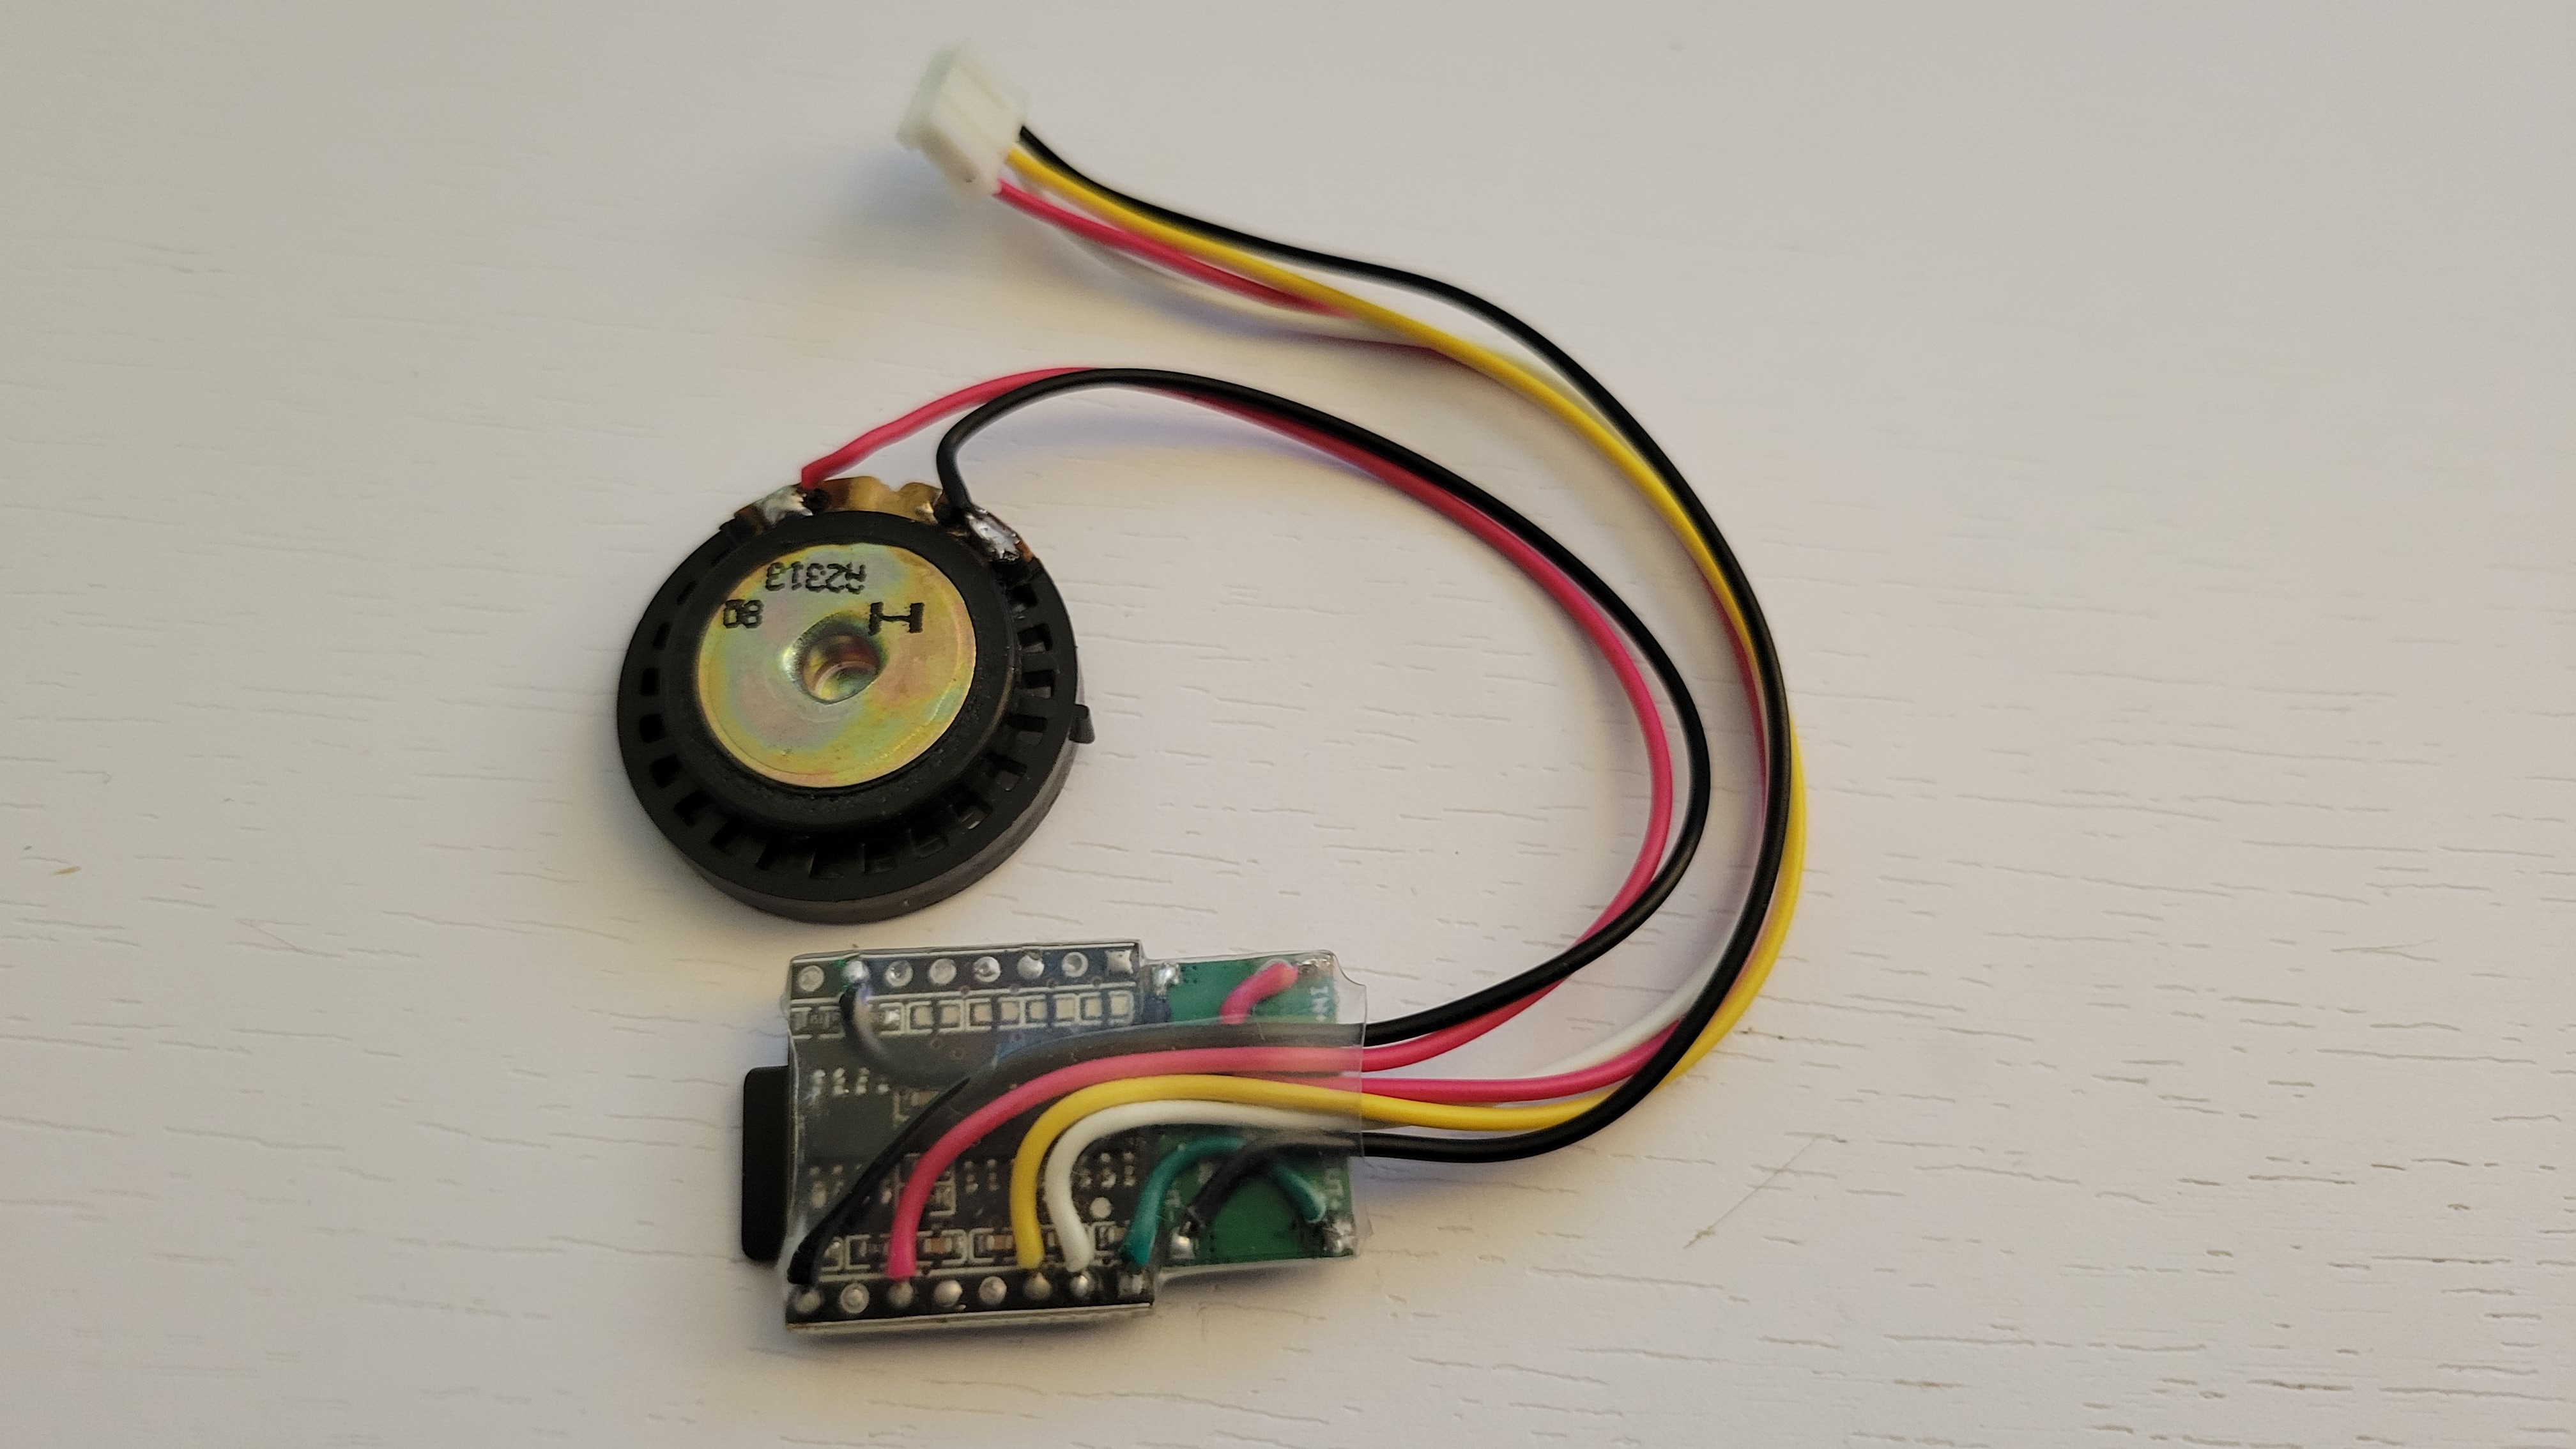
Using the readily available DFPlayer Mini MP3 Player and small speaker it was easy to interface with the ESP and by extension ESPHome and Home Assistant. The Sound Module gets its own regulator even though the 5-pin JST connection provides 3.3V and VCC battery voltages the MP3 module prefers at least 4.2V to properly drive the speaker.
Code
The easiest way to drive an H-Bridge with ESPHome is by using the Fan integration. Although this would work perfectly fine, and the default icon could be changed, it seemed a bit hacky.. even for this hack. Below I have provided the YAML for this project using ESPHome, two versions for the base motor controller and another which includes code for the sound module. Technically the code which includes the sound module can be used even without the sound module connected, both are provided as a reference.
ESPHome Lego Power Functions (With Sound)
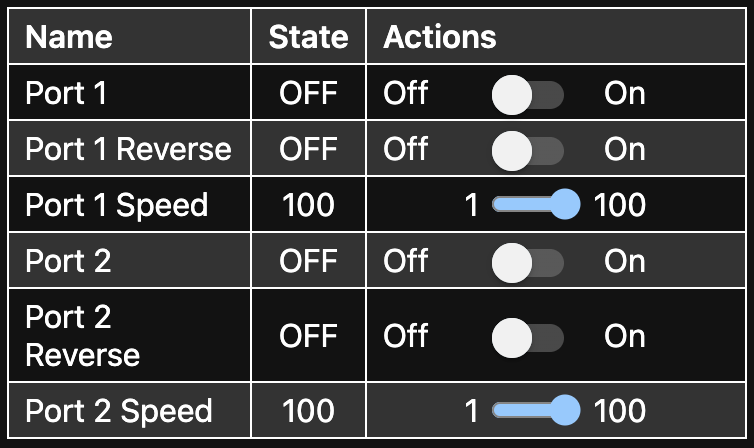
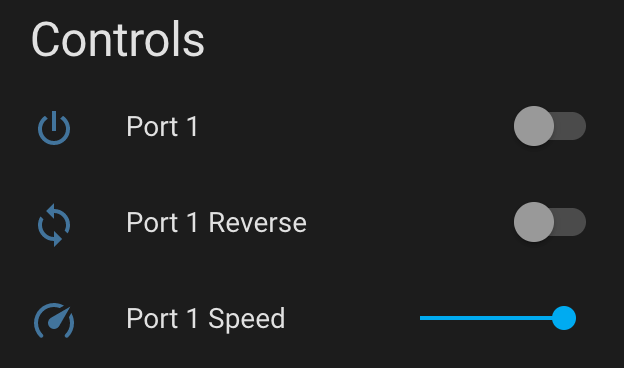
ESPHome and Home Assistant
One virtue of ESPHome is an ability to also present a web interface, this is useful for debugging and allows control over the Lego Box even without Home Assistant.
Using Home Assistant it is easy to setup automations and scripts. The script which runs the train and various sounds are provided below.
Home Assistant Script (Automation)
Parts
- Mega Blocks bricks that can be cut and glued
- Lego Power Functions Extension cable
- 3x 4-pin JST 2.0mm ports and connectors
- 1x 5-pin JST 2.0mm port and connector
- ESP8266 bare module
- 2x Mini adjustable voltage regular
- H-Bridge motor driver
- DFPlayer Mini MP3 Player