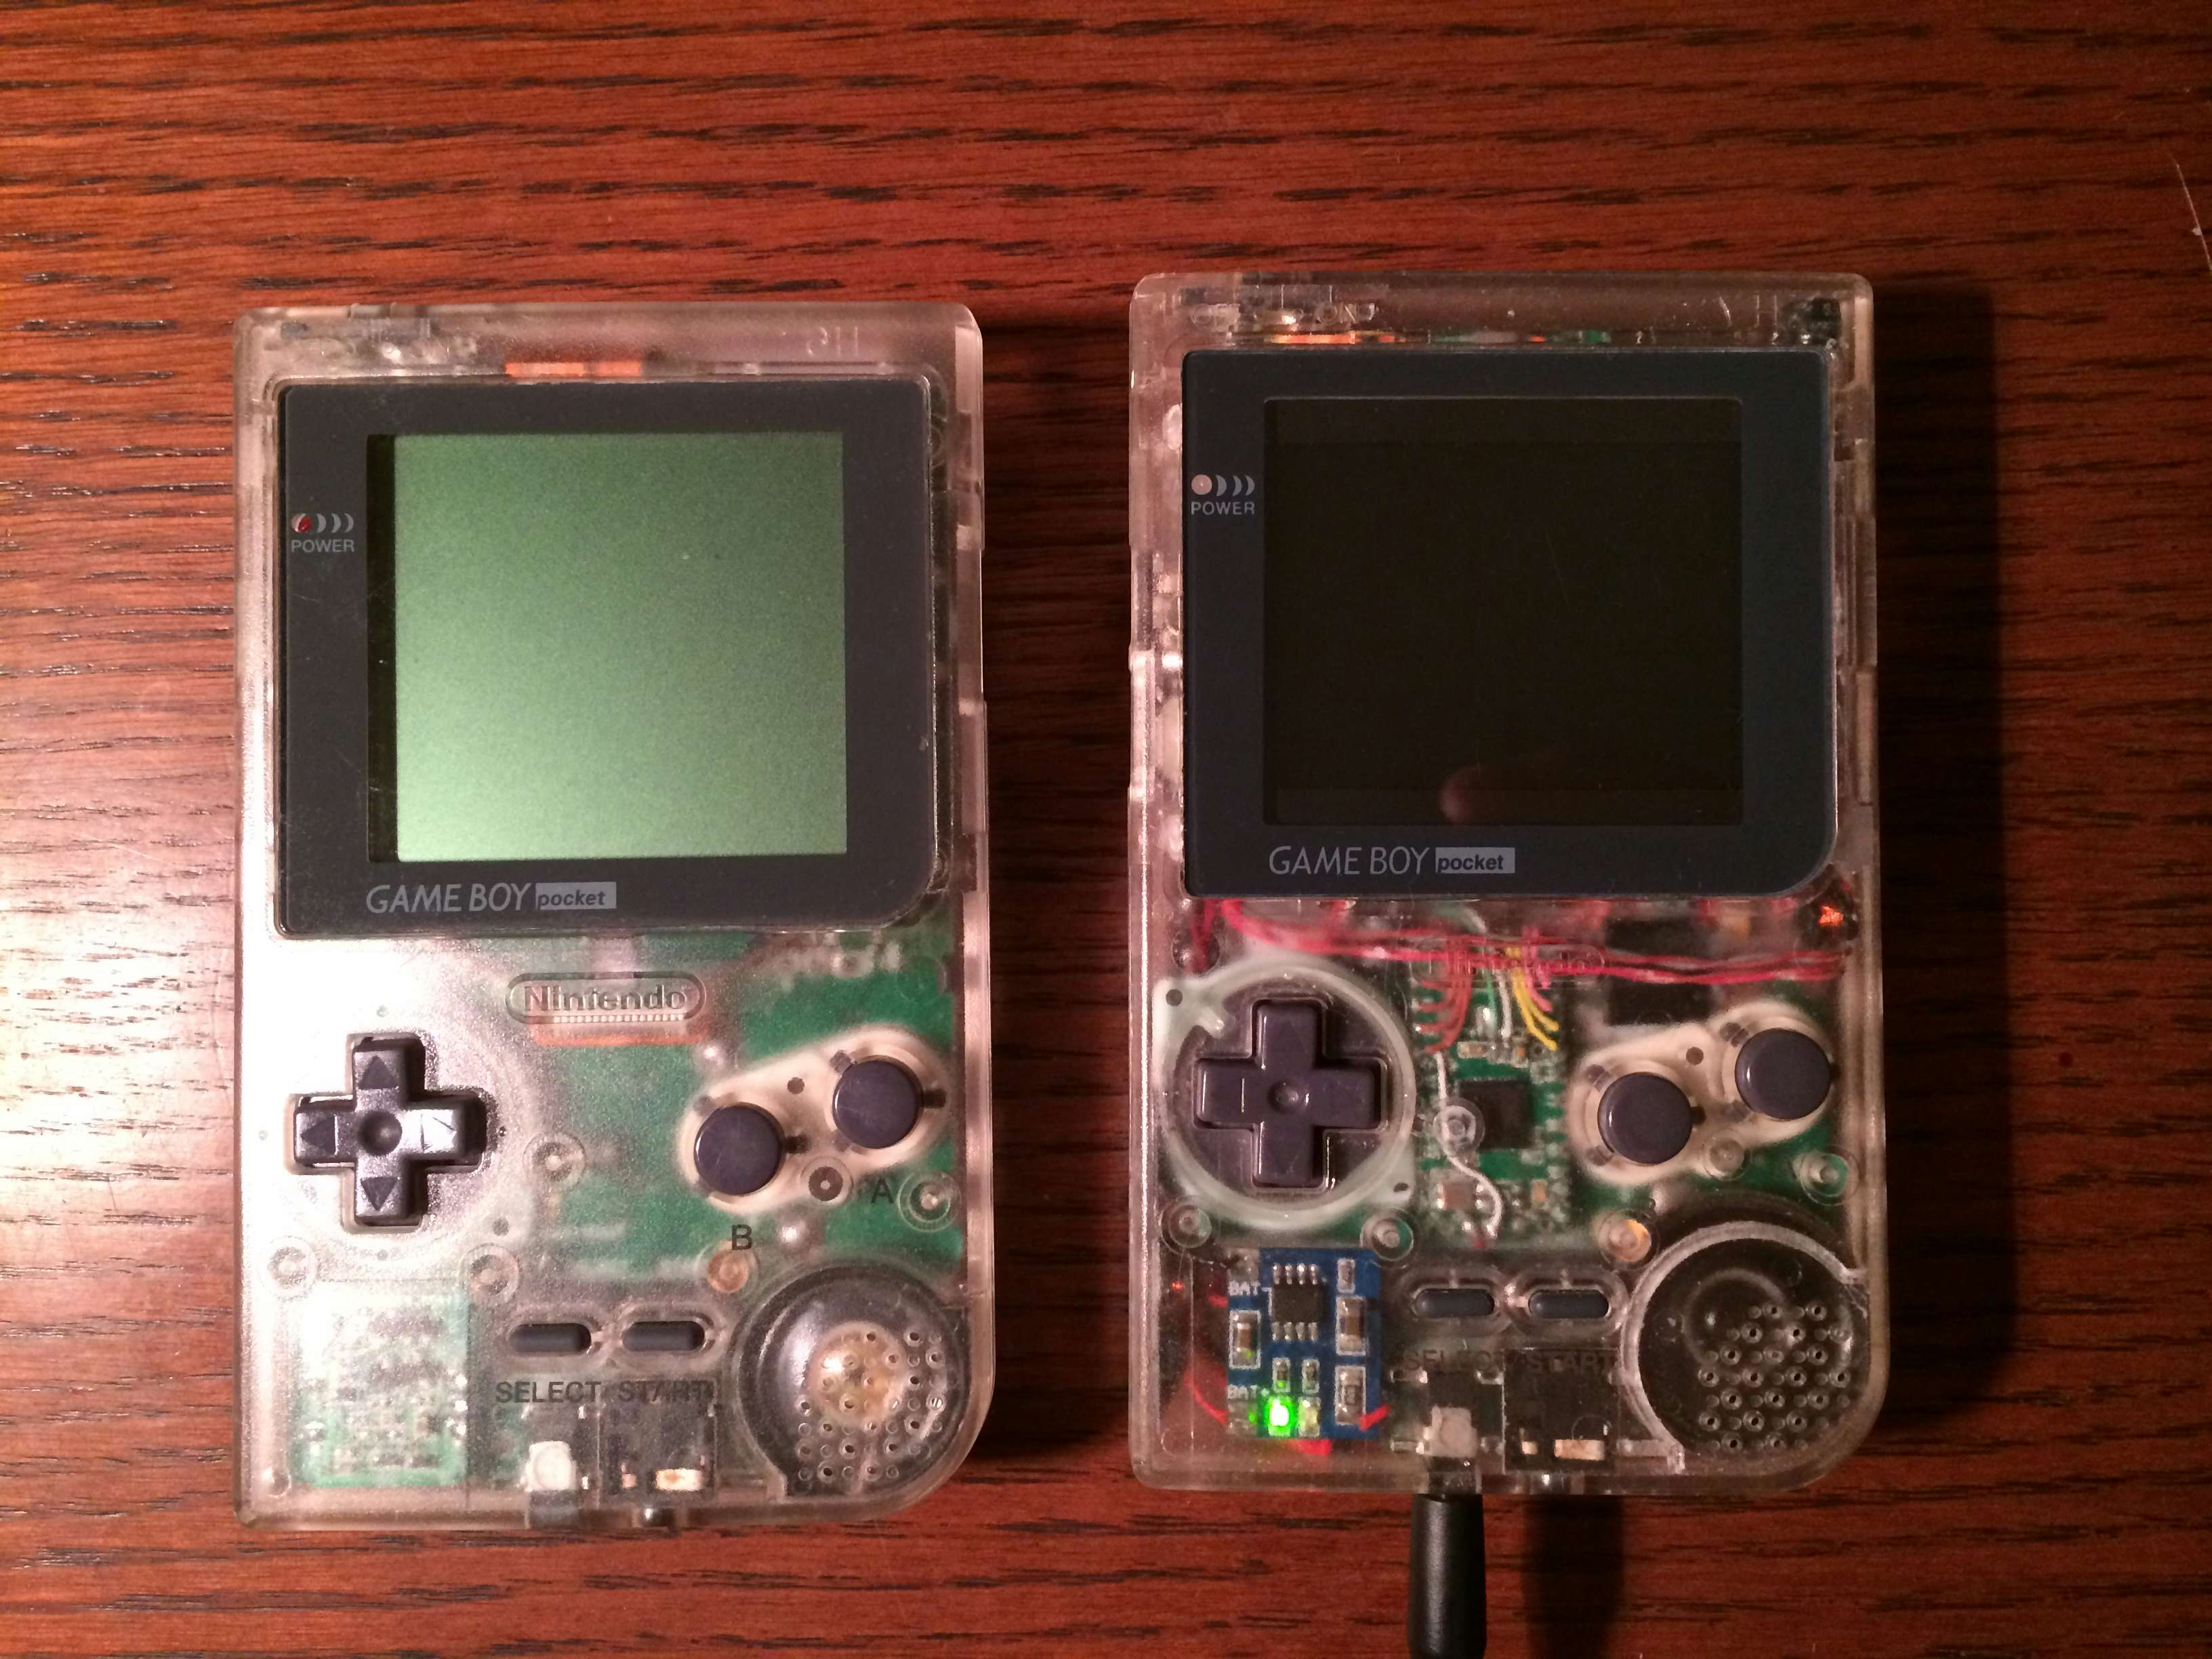
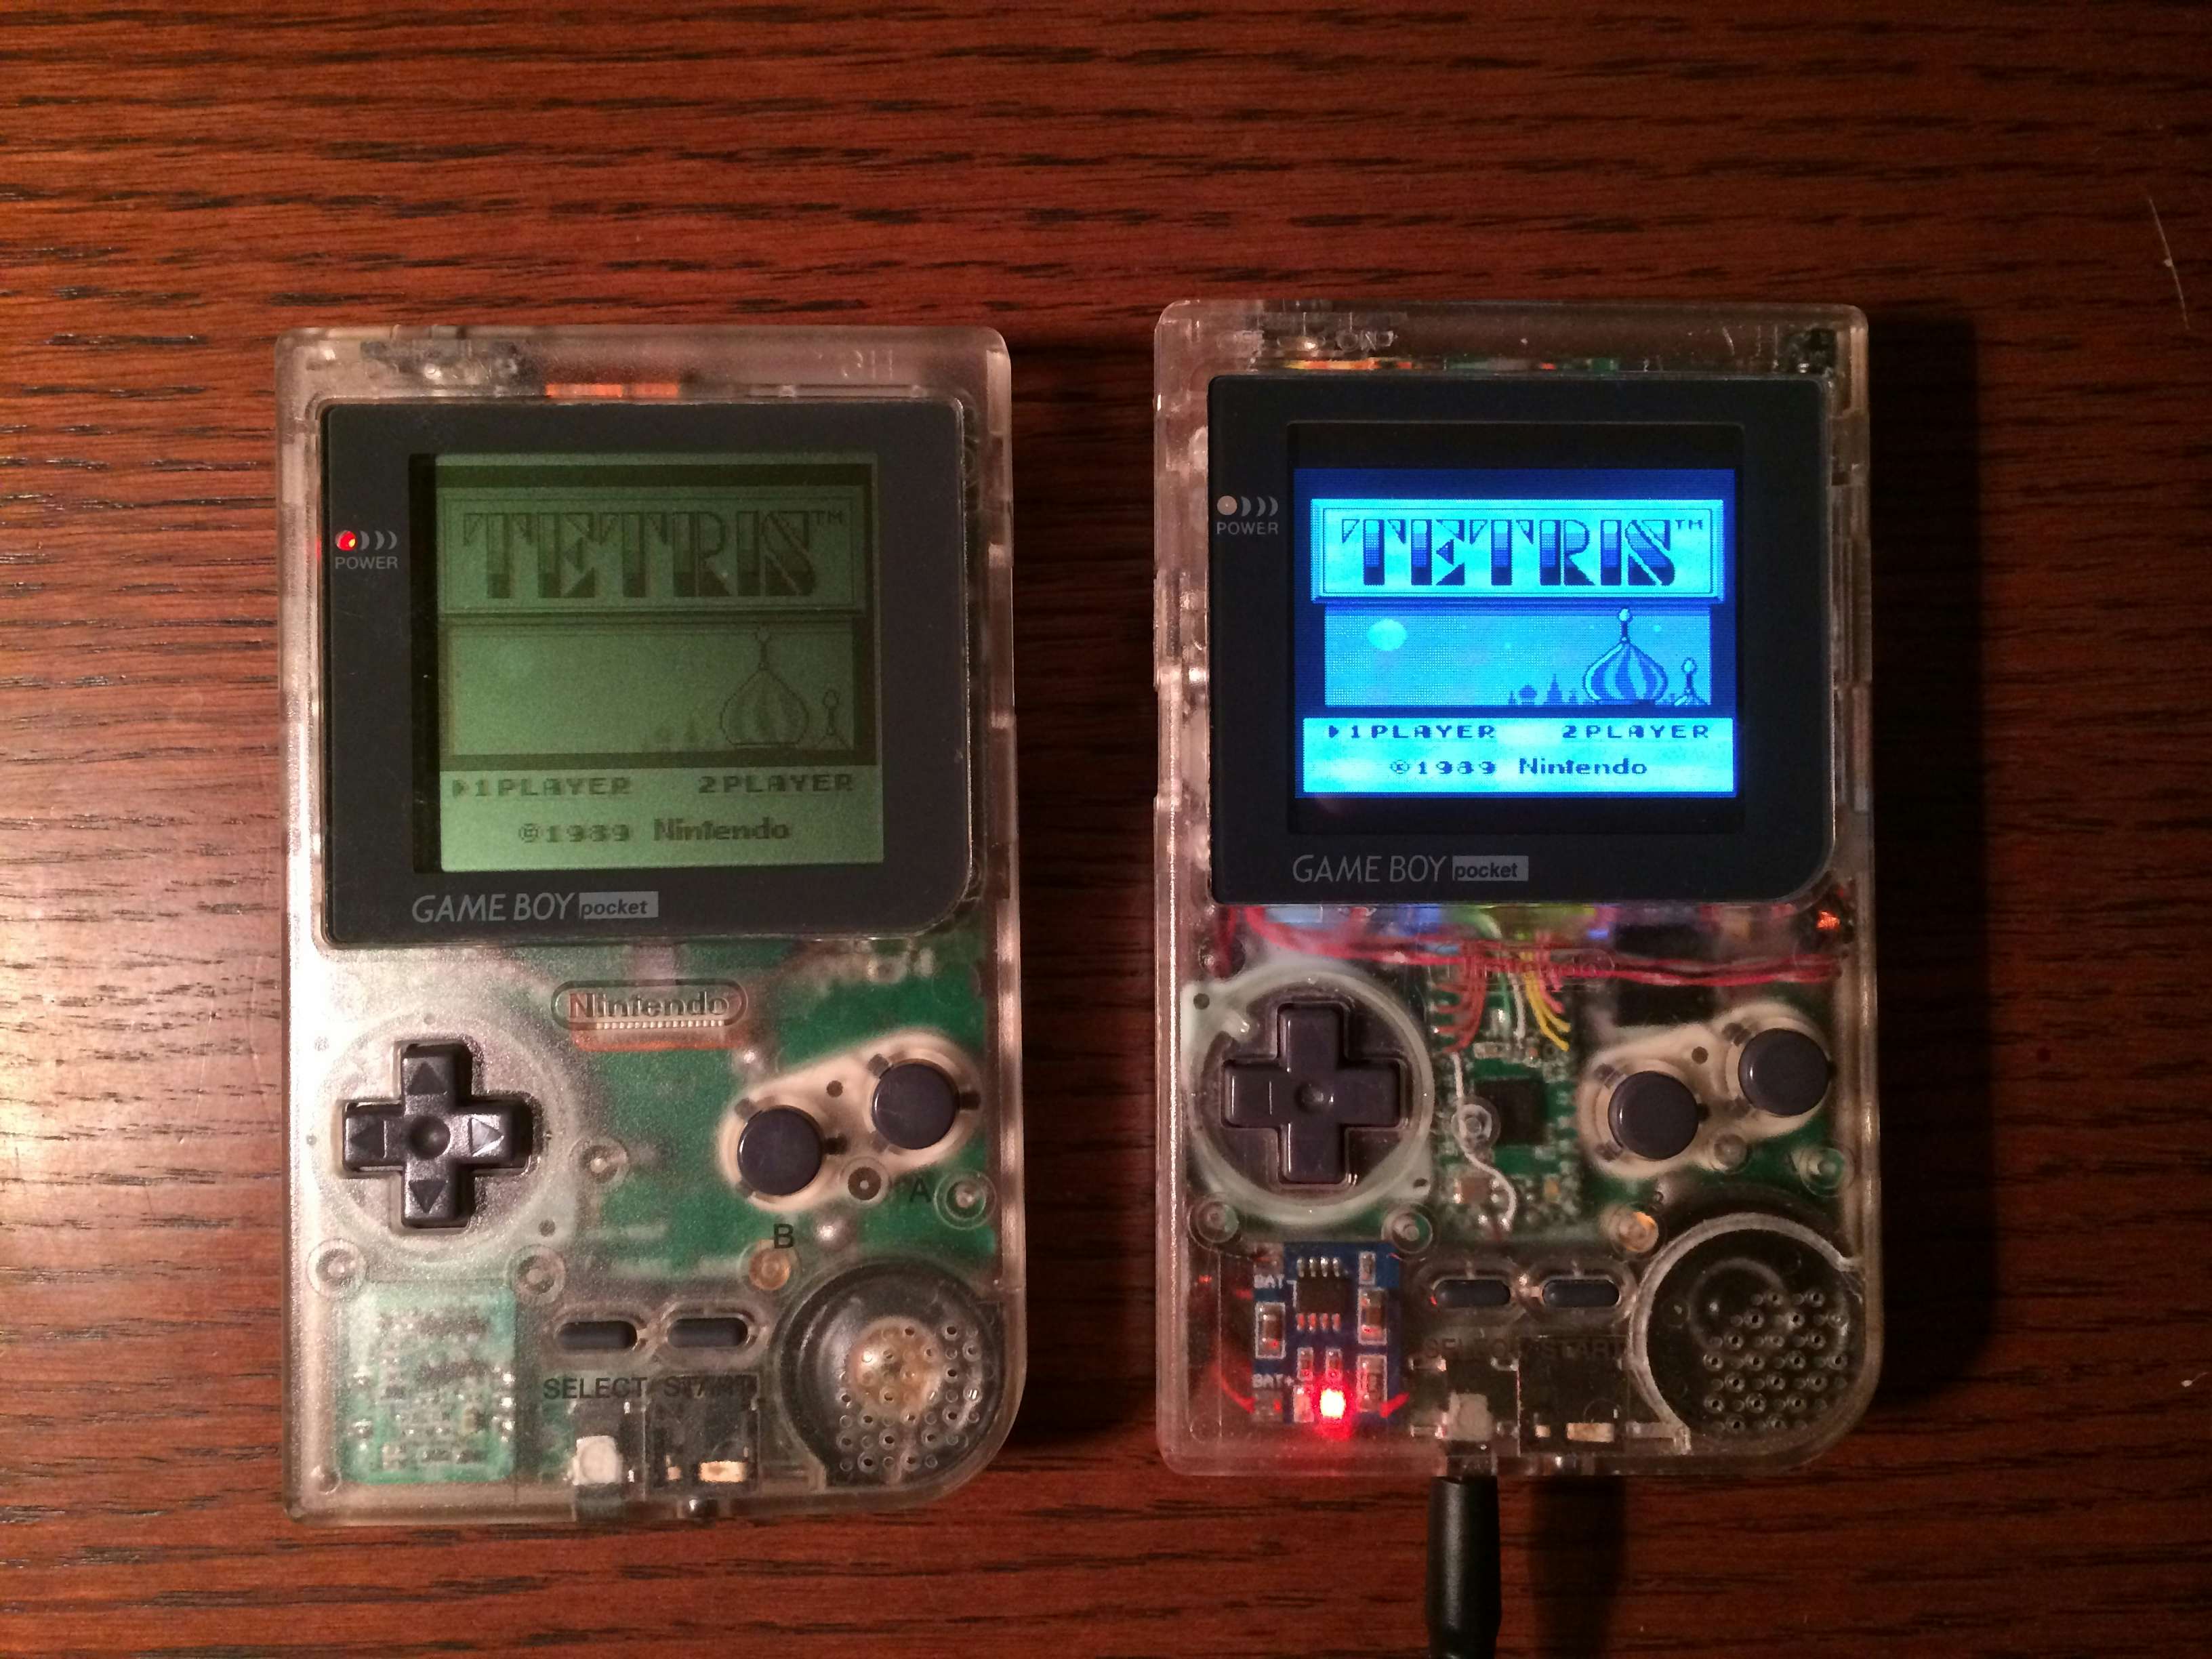
Description
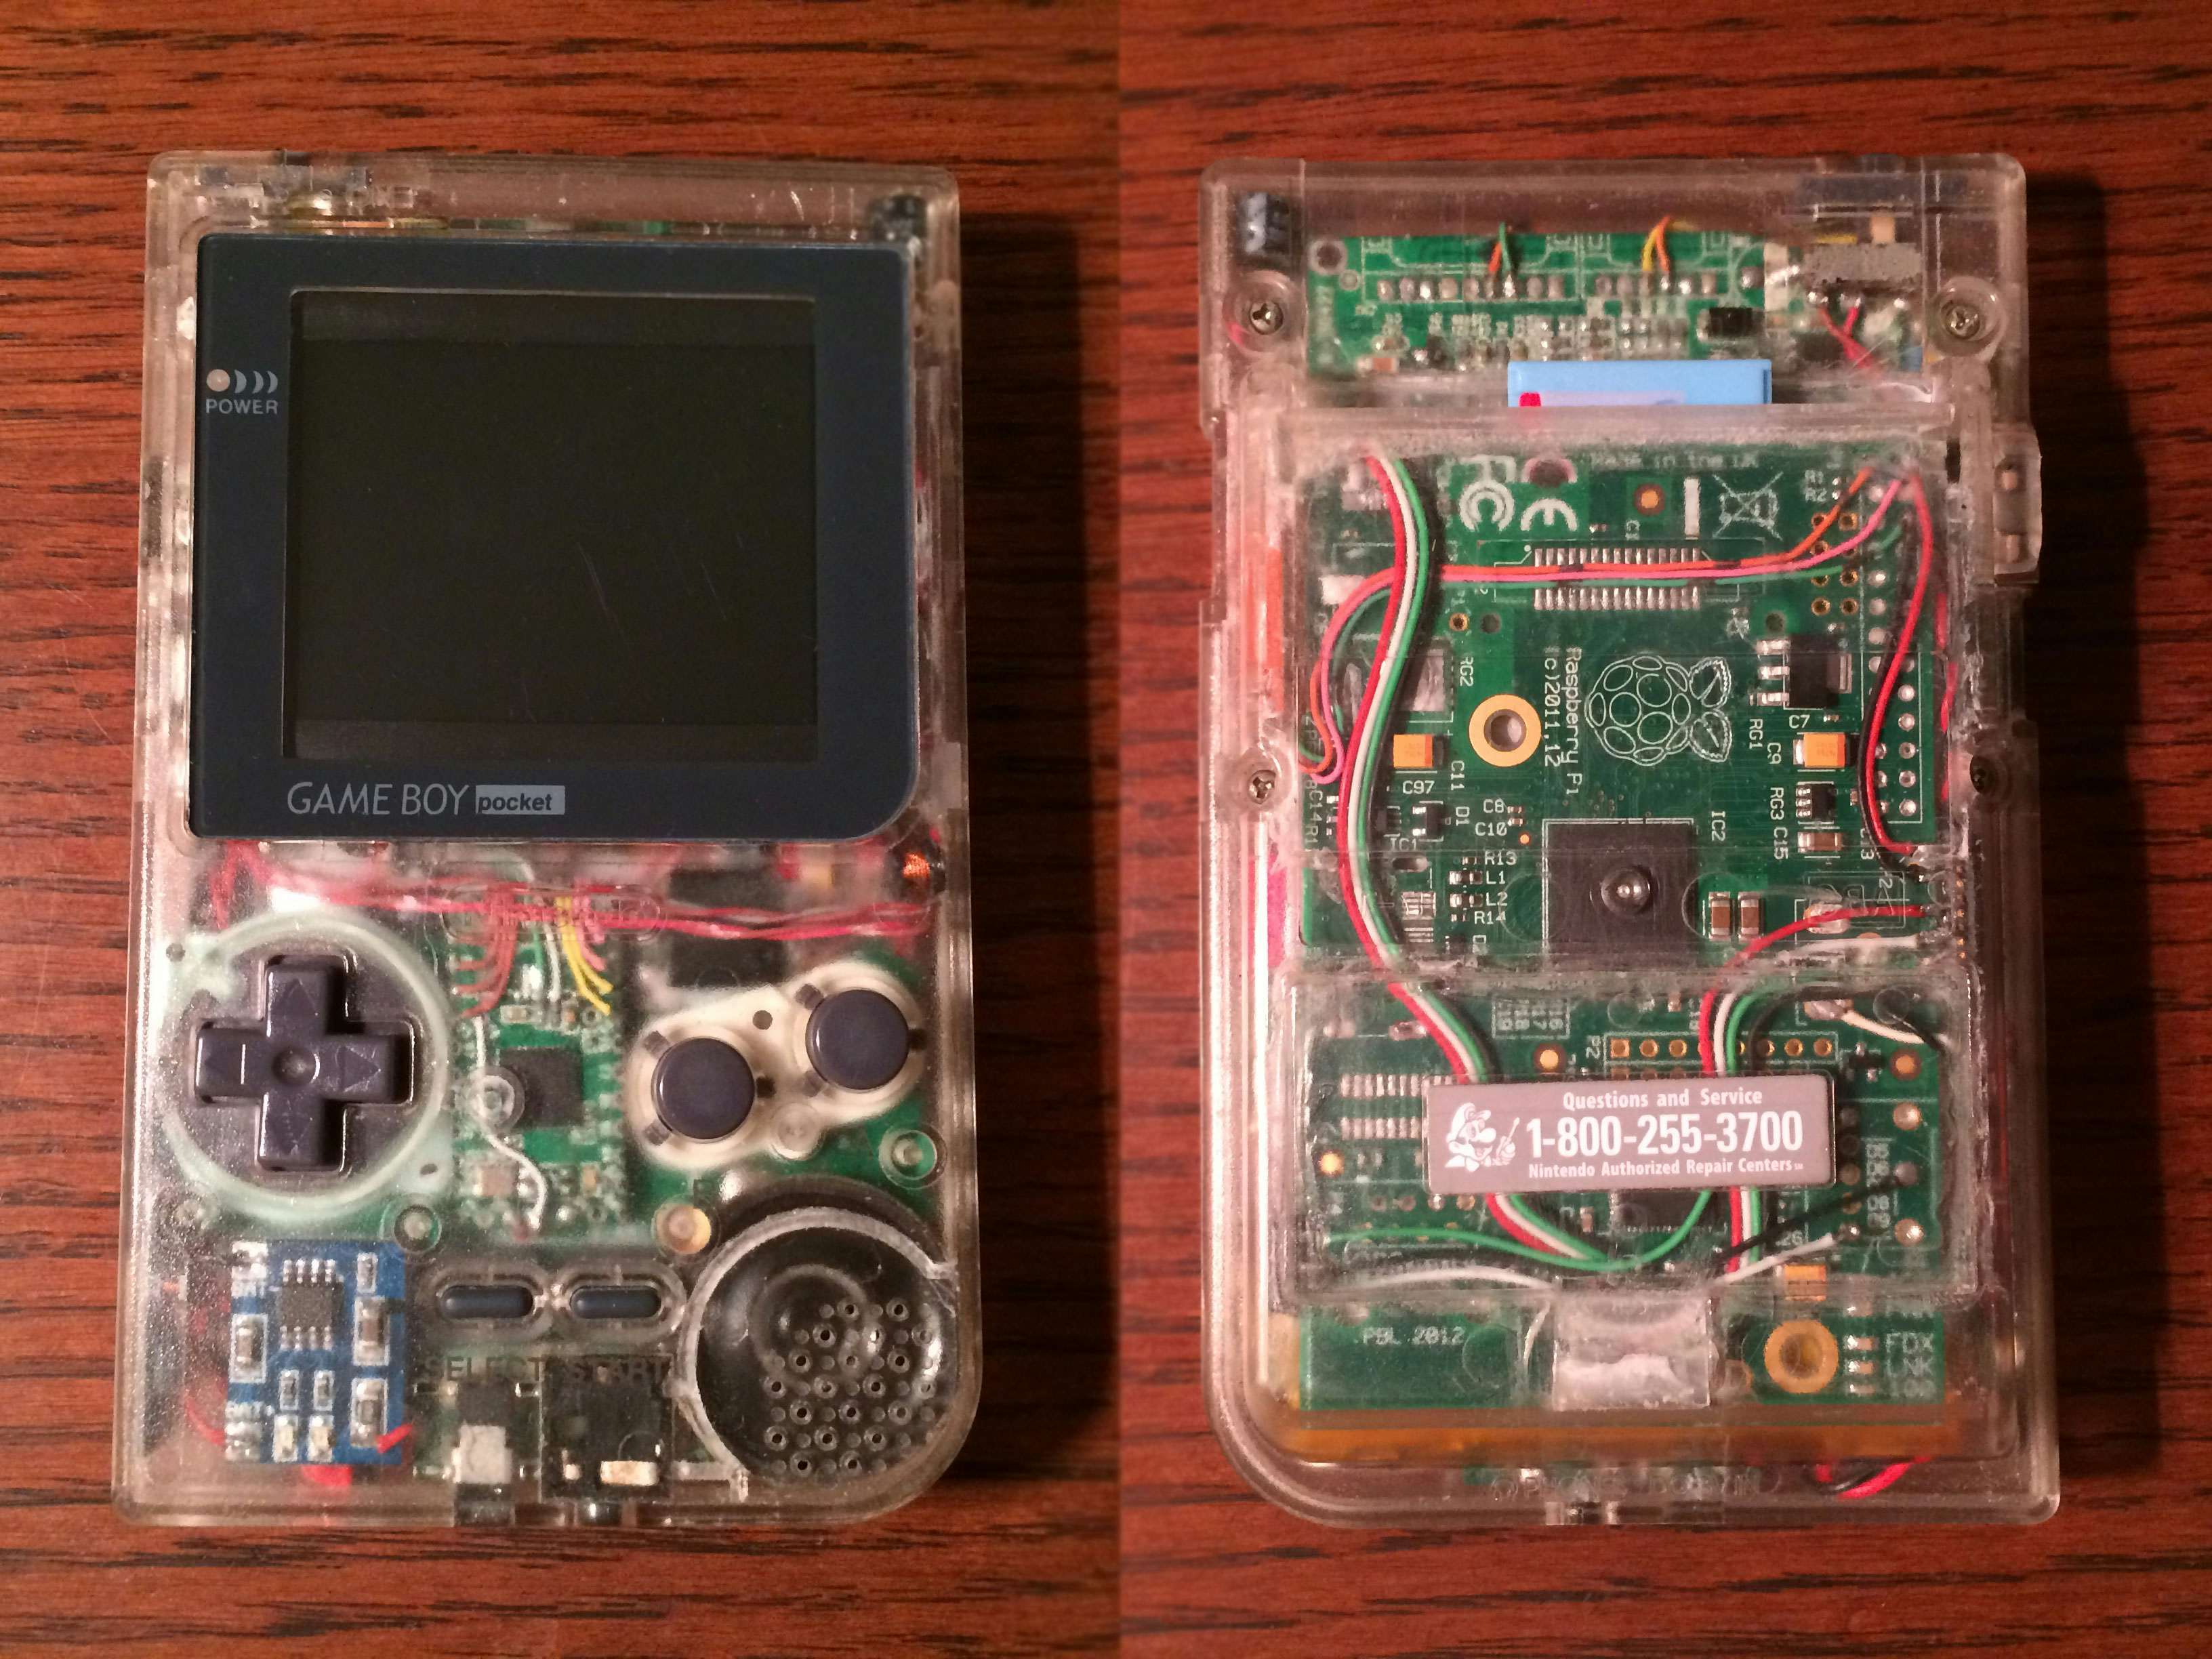
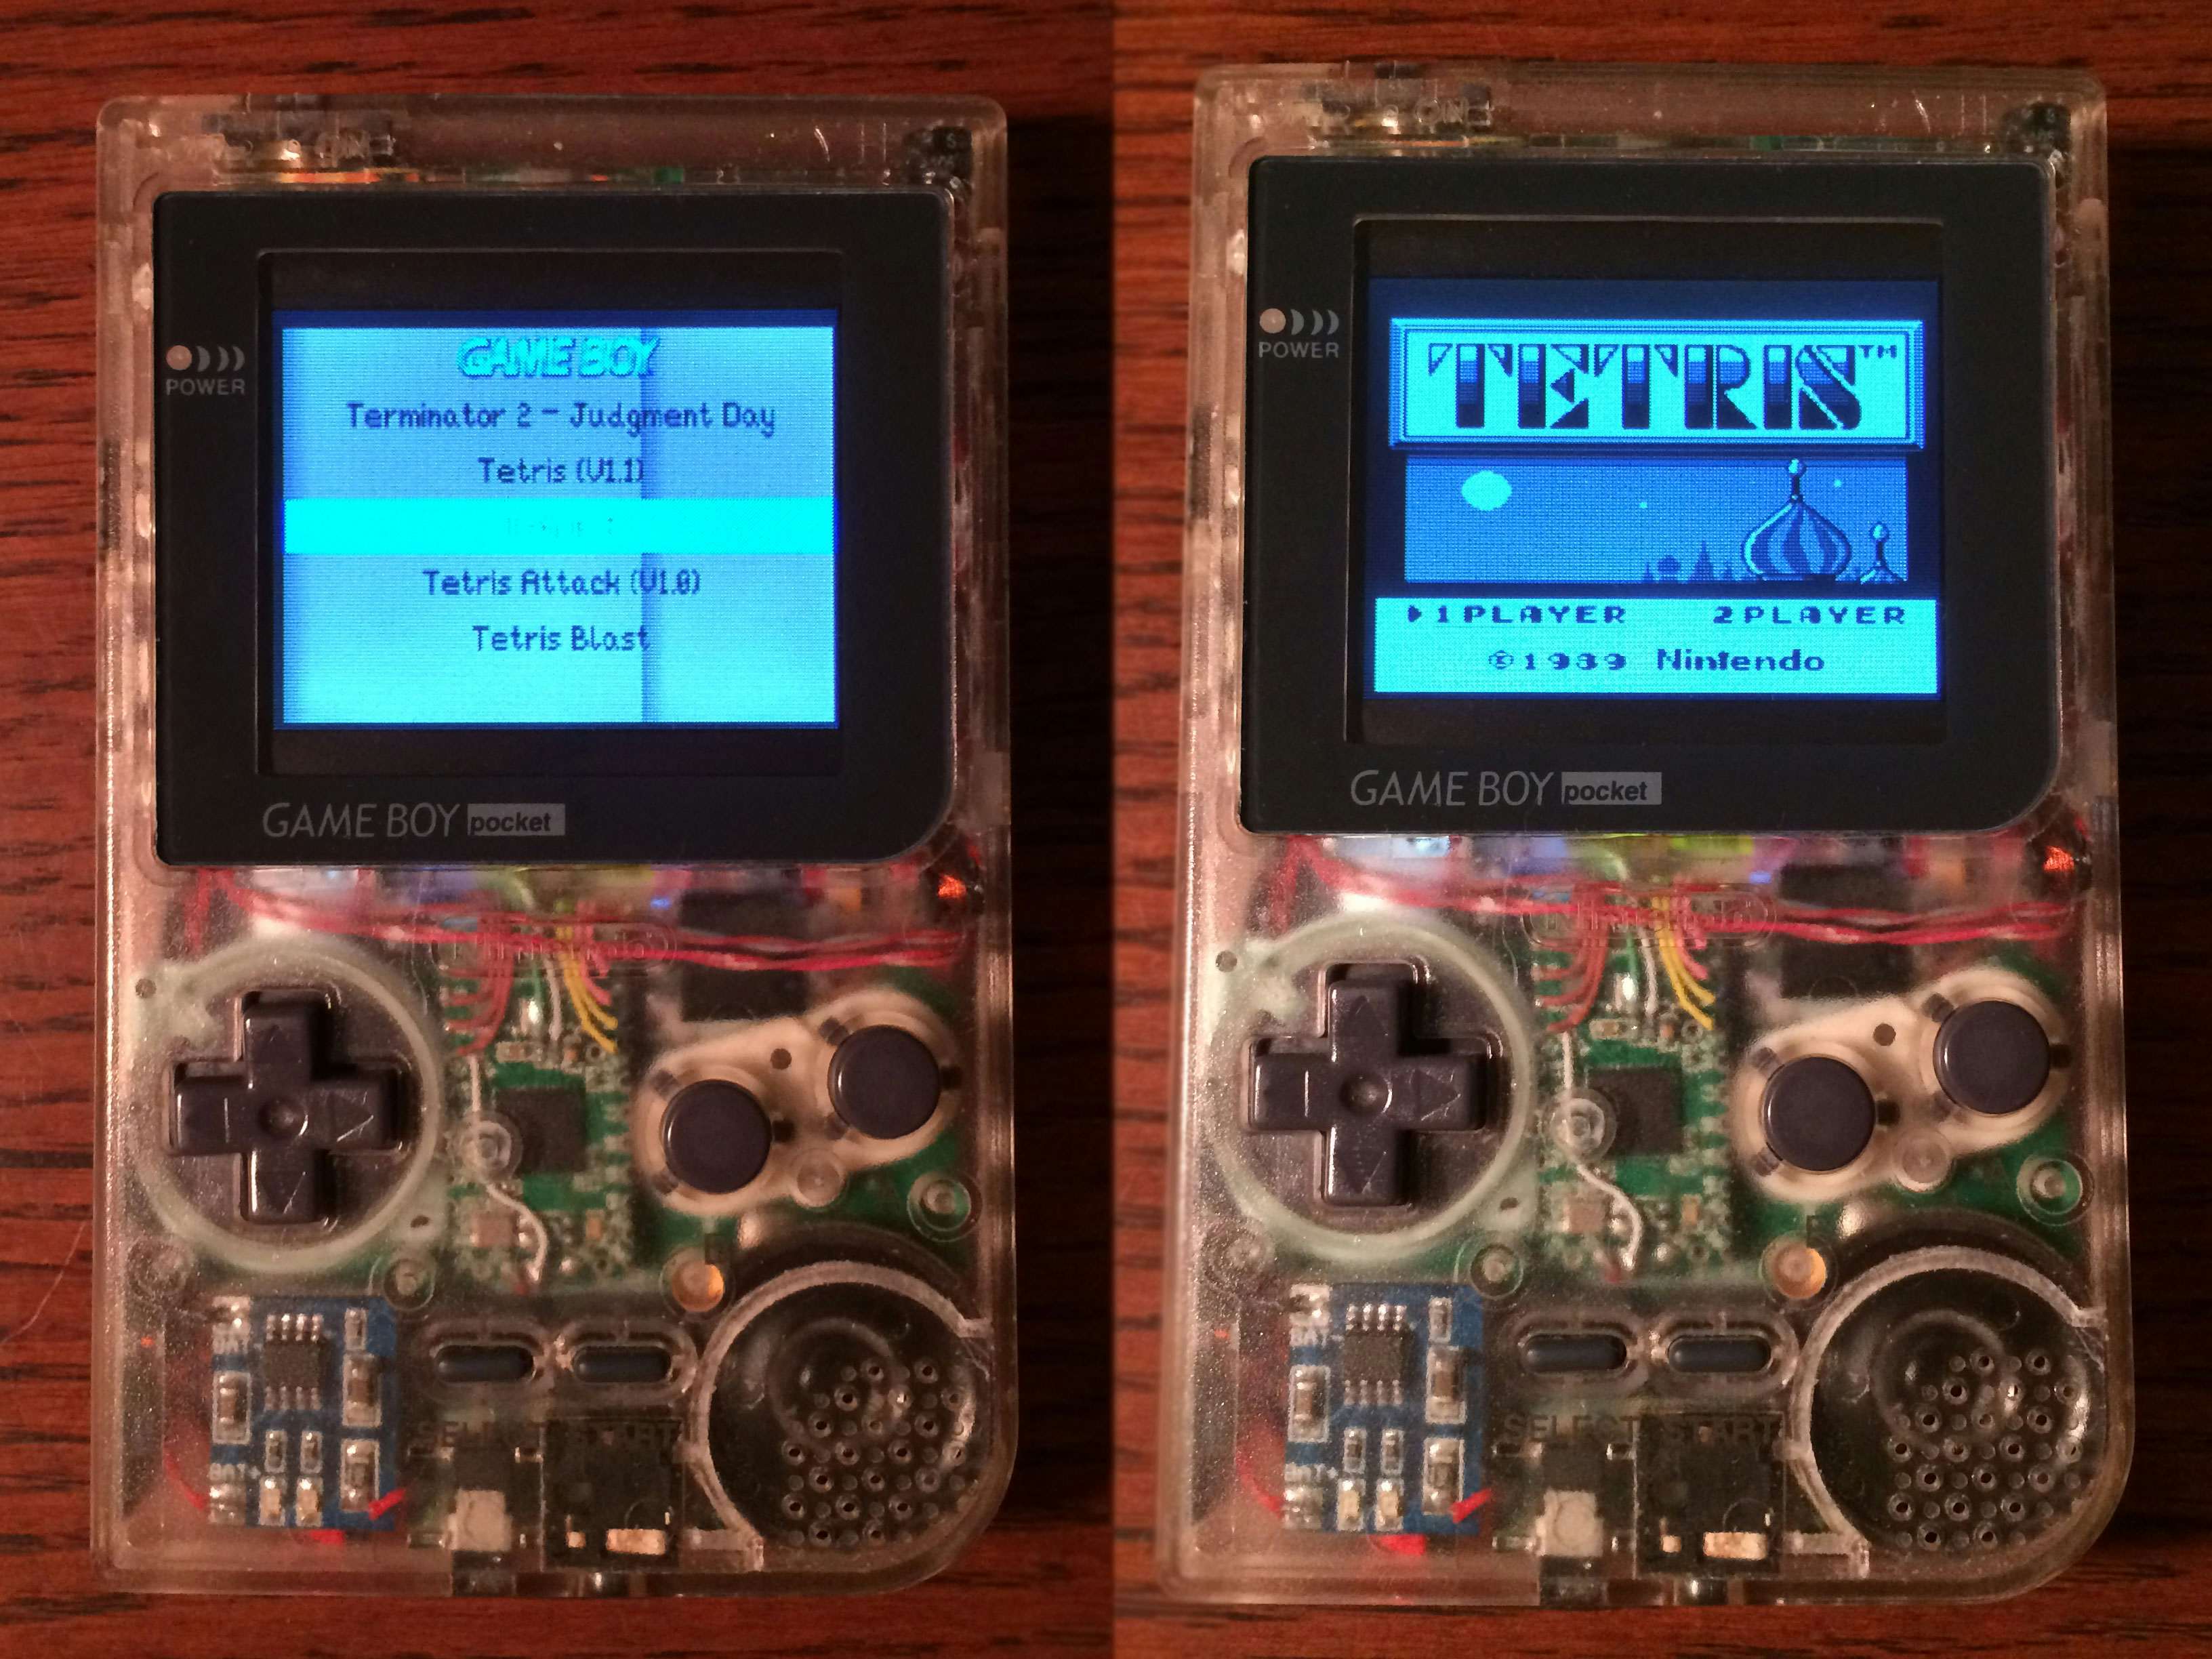
The Pi-Pocket is a mini portable games console capable of playing Gameboy, NES, Sega Master System, Game Gear games along with other popular Linux ported titles such as Doom and Duke Nukem using the popular Raspberry Pi emulator front-end known as RetroPie. Complete with a rechargeable and that classic retro feel the Pi-Pocket provides over 3 hours of continuous play with unlimited play time while charging via the original power input.
Introduction
We start with the Gameboy Pocket, one of the greatest handhelds that Nintendo has ever produced has ever produced featuring a slim design and an exceptionally comfortable button layout. Having owned at one point each of the original Gameboy systems except for.. Damn you Gameboy Micro and Gameboy Light for being too elusive or otherwise too expensive.. Wait a moment.. I know! What if we take a Raspberry Pi, all the games you can shake a stick at, and the color backlit screen Nintendo teased us with for years? Without further ado, lets begin!
Finished Project
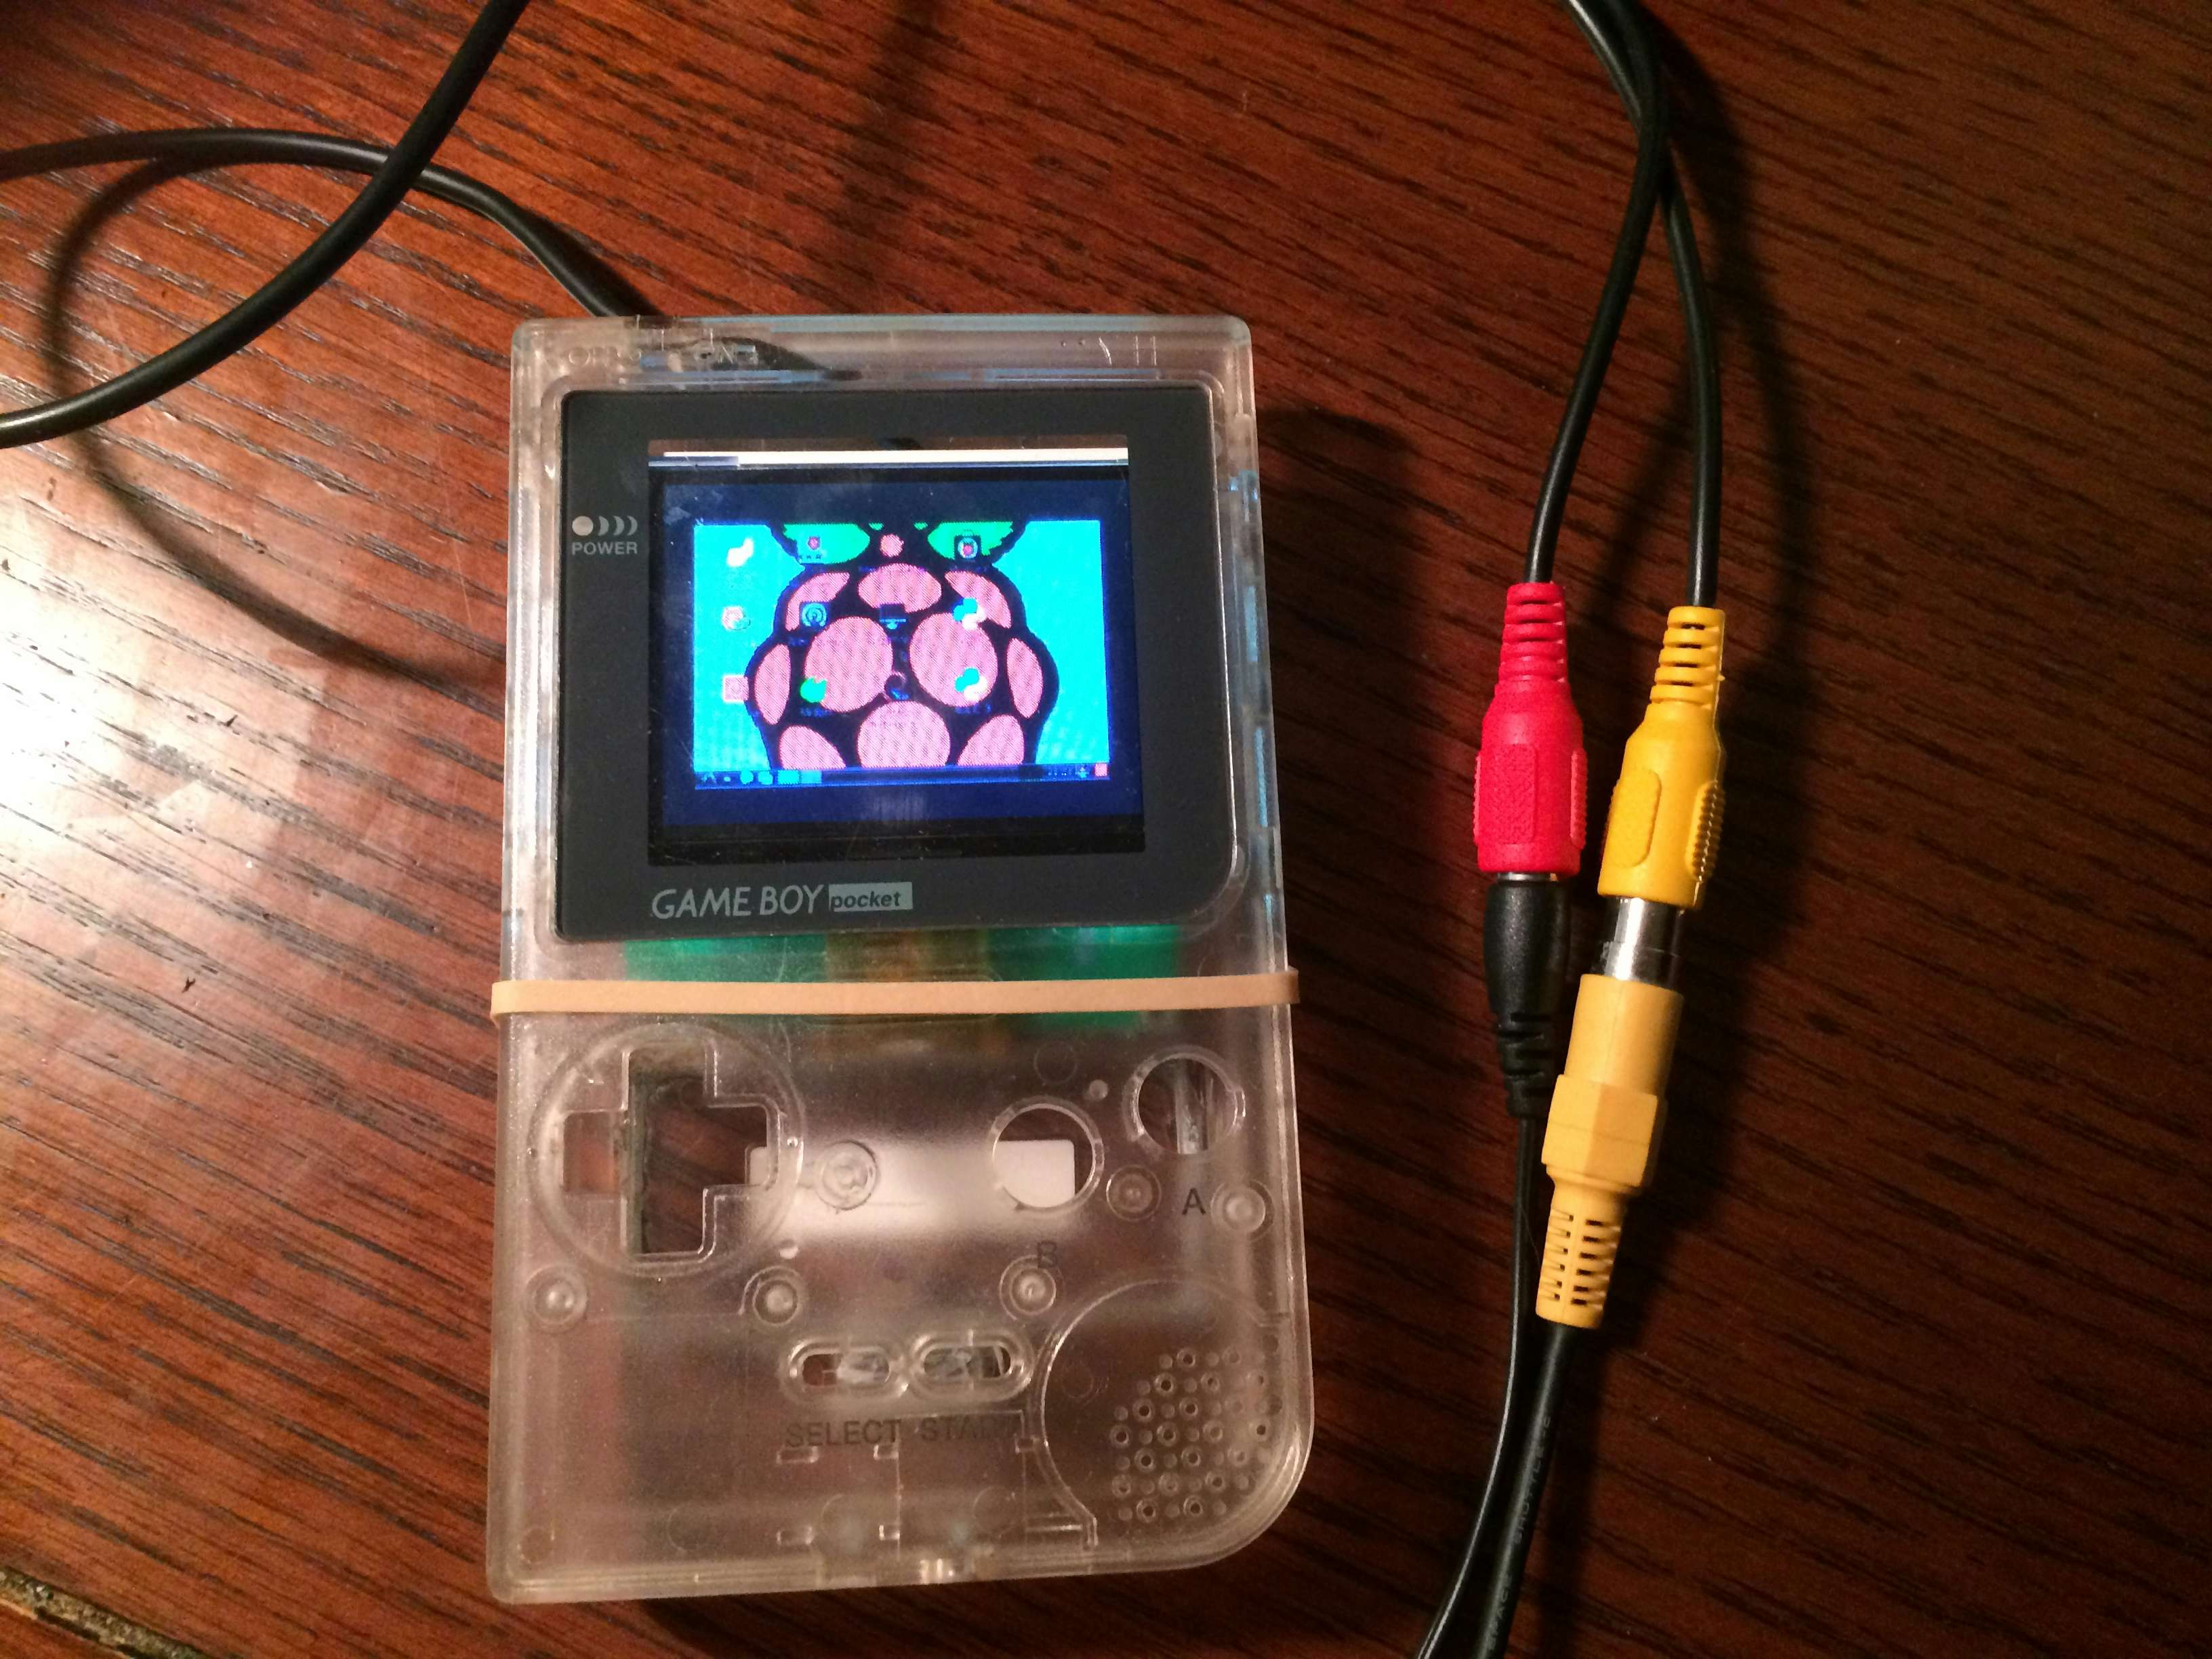
Video of the Pi-Pocket booting up and running a few of the many hundreds of games.
The entire project fits into the shell from an original Gameboy Pocket mostly unmodified on the exterior. With all new internals the Pi-Pocket is fitted with a Raspberry Pi Model B, Li-Ion rechargeable battery, Color LCD, and a Mini Audio Amplifier.
Case Modding
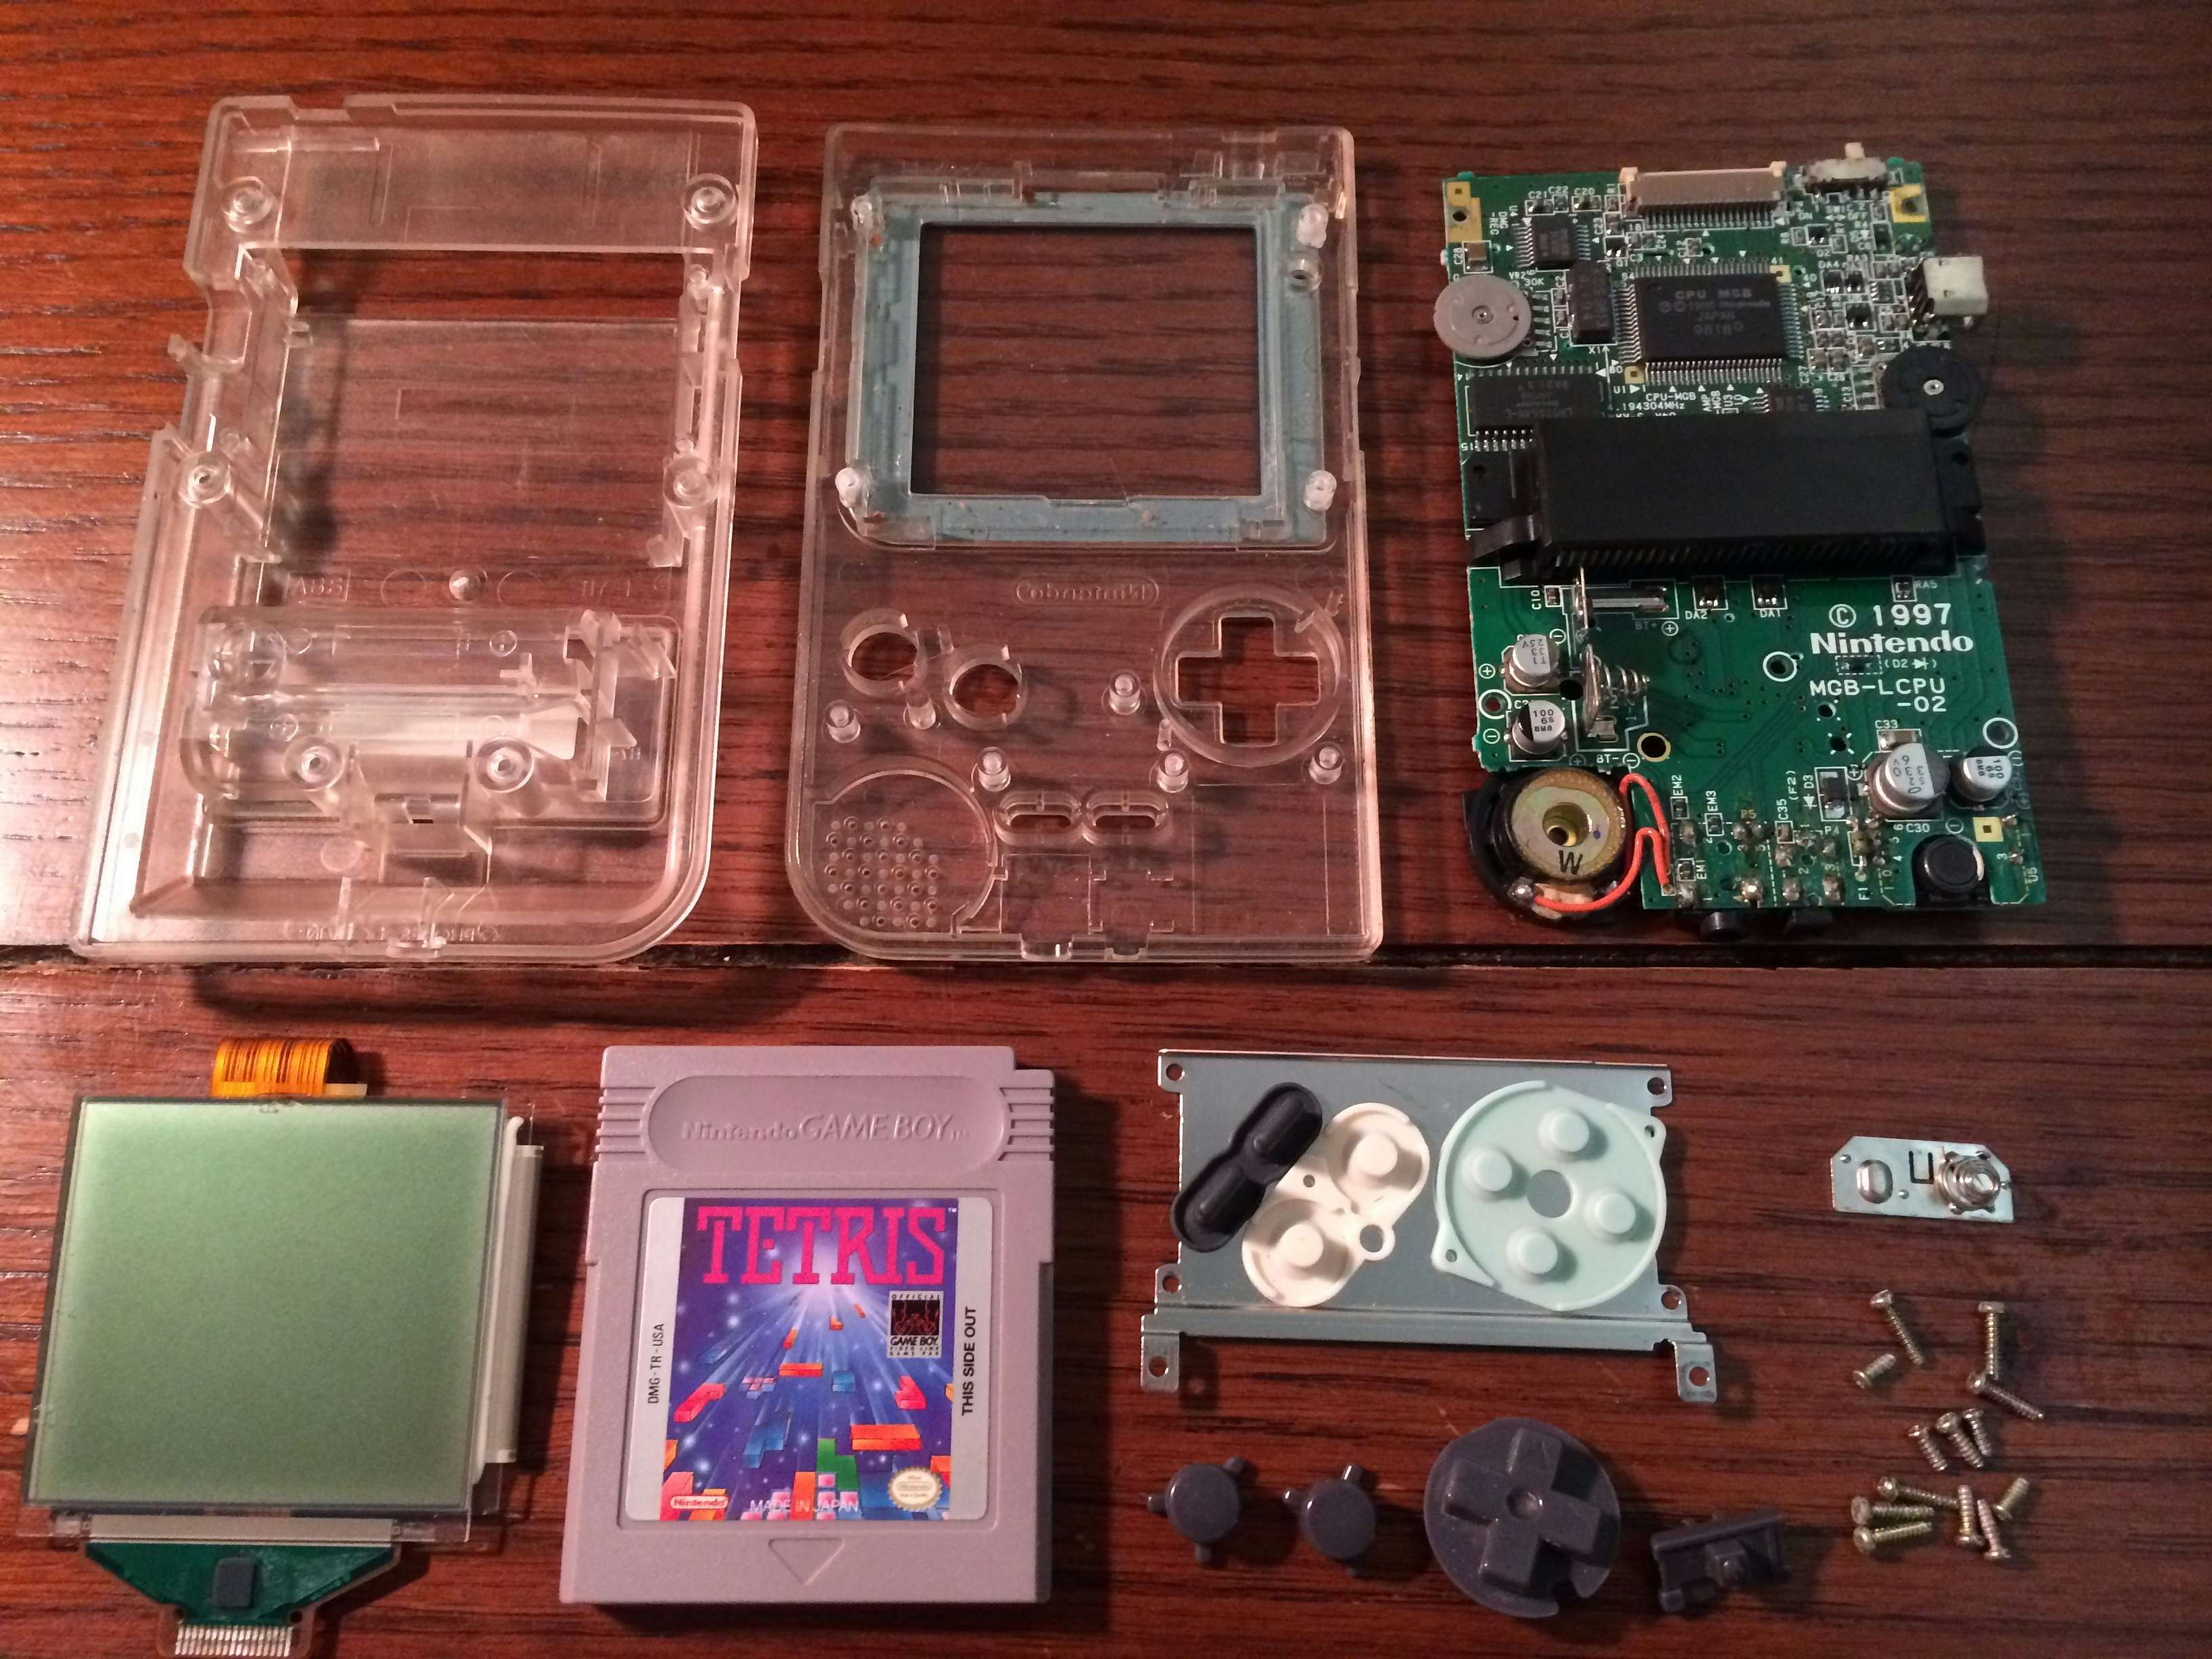
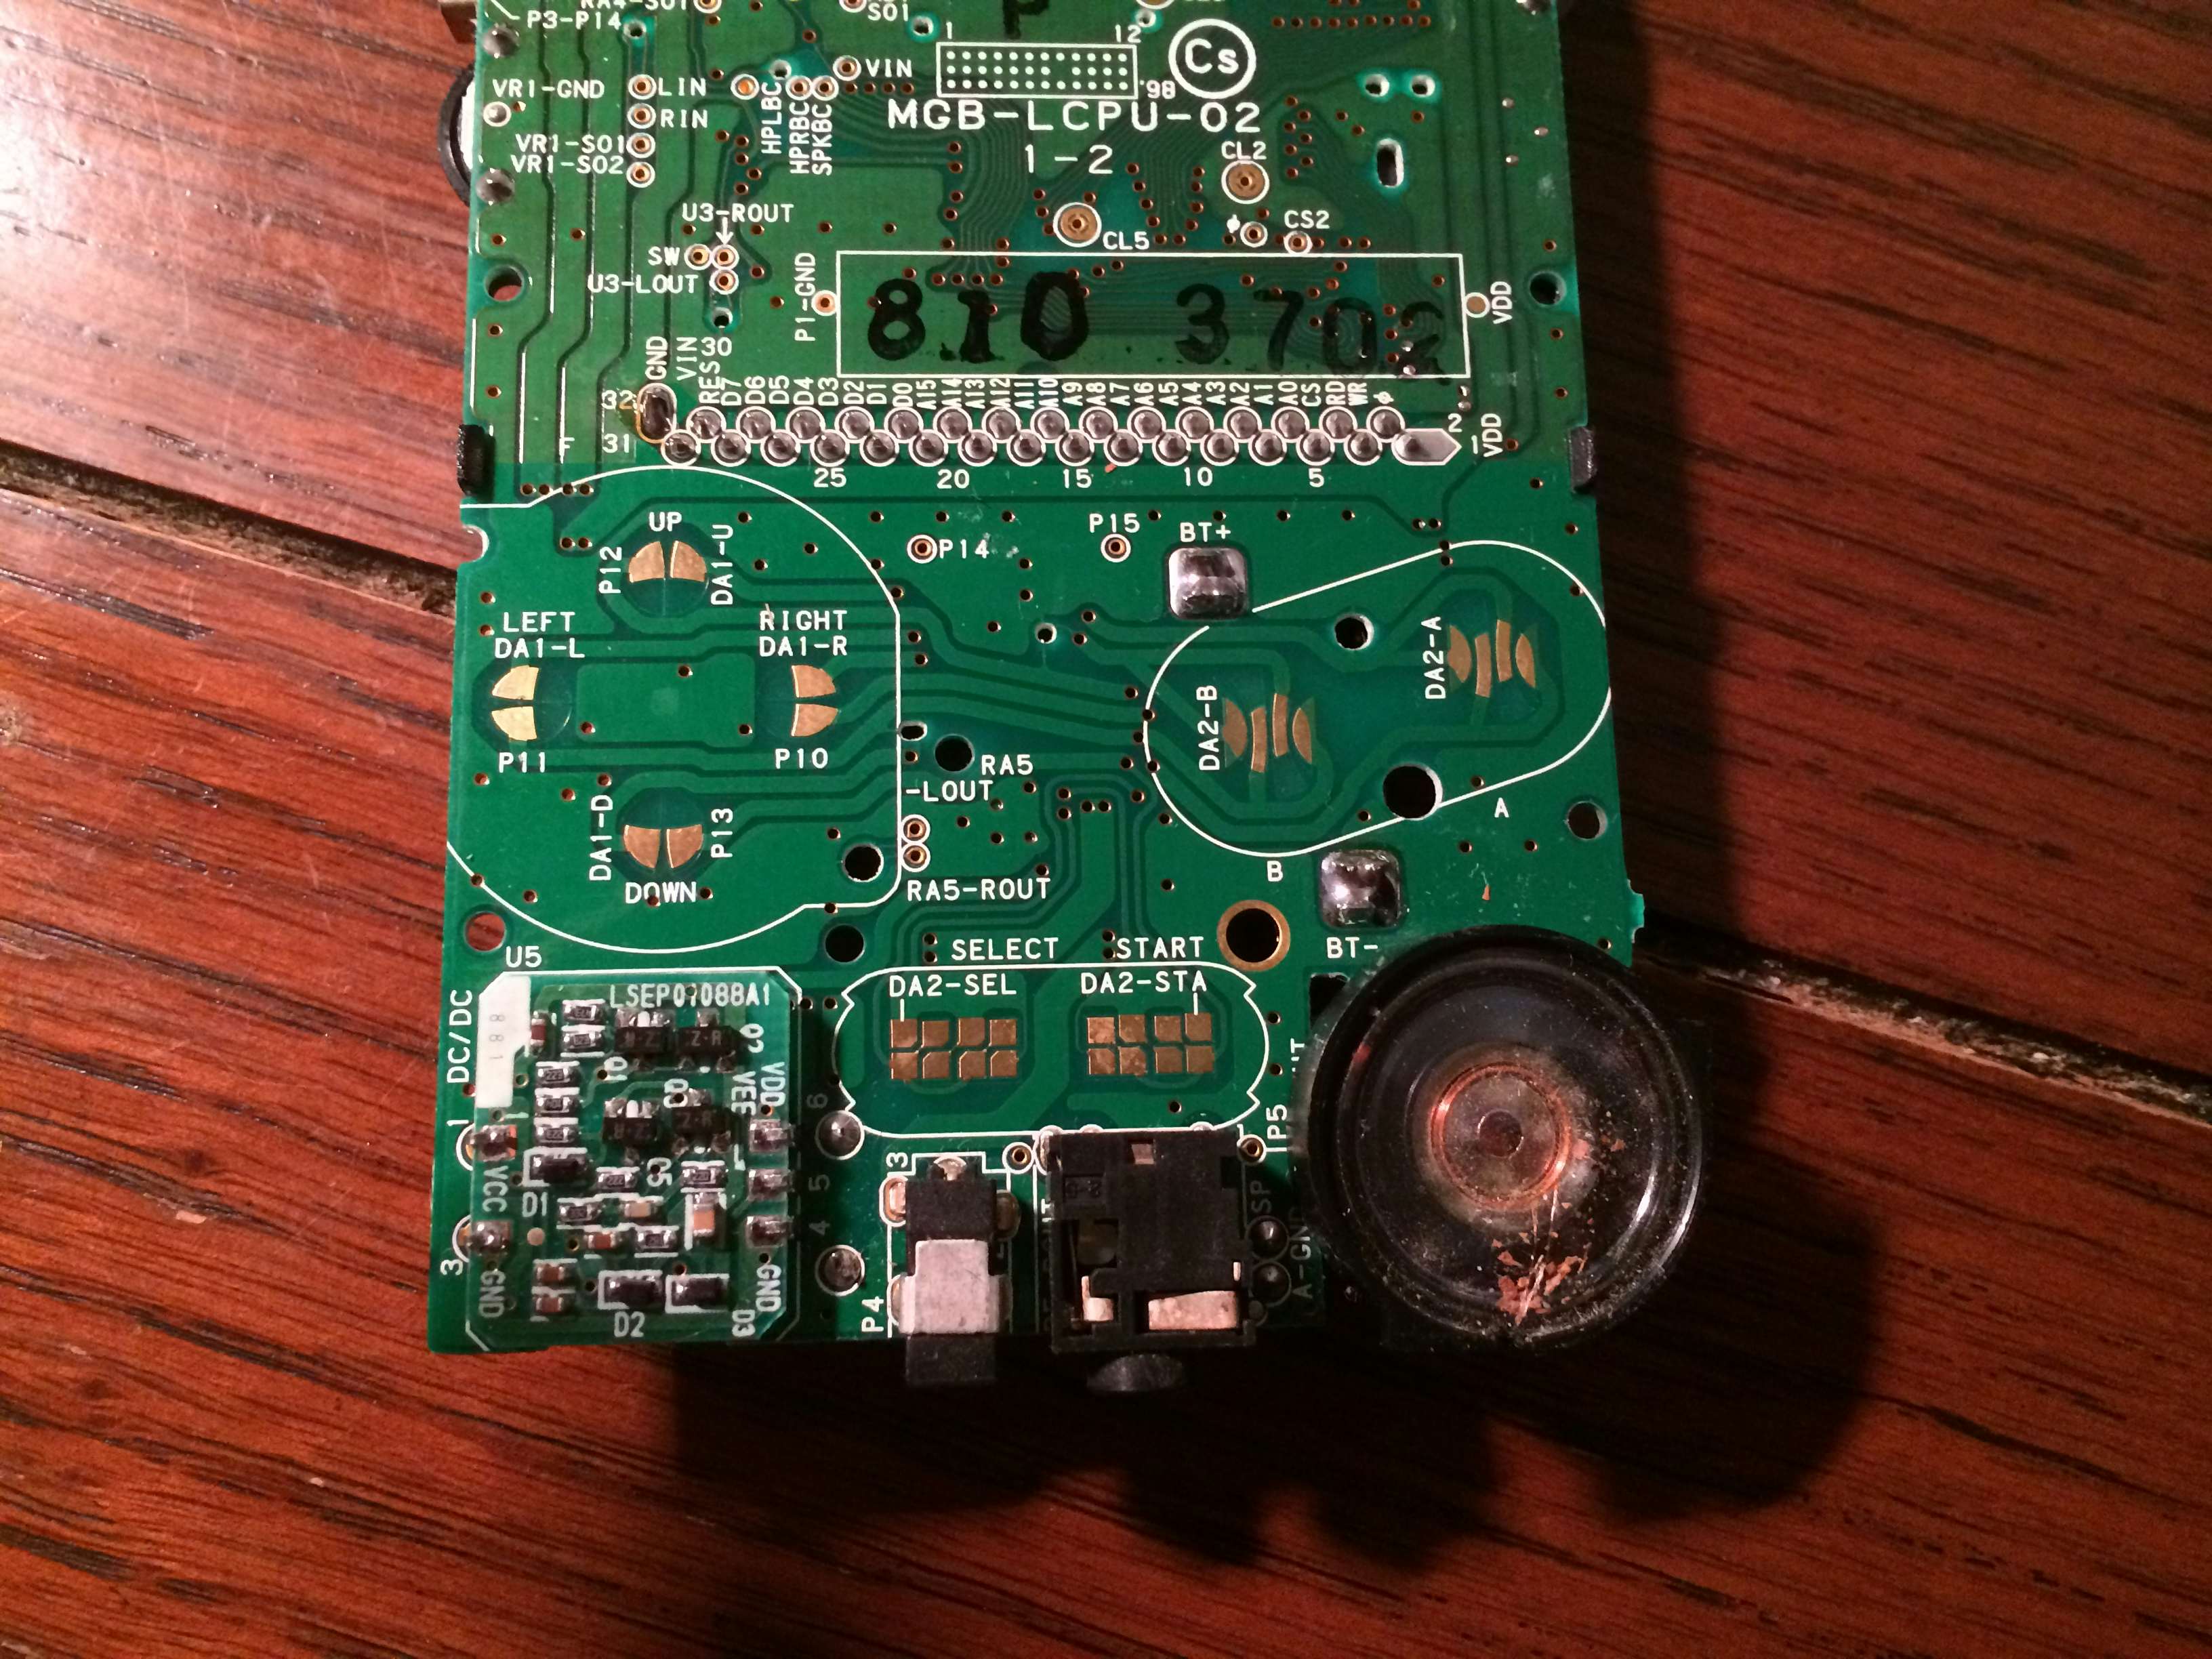
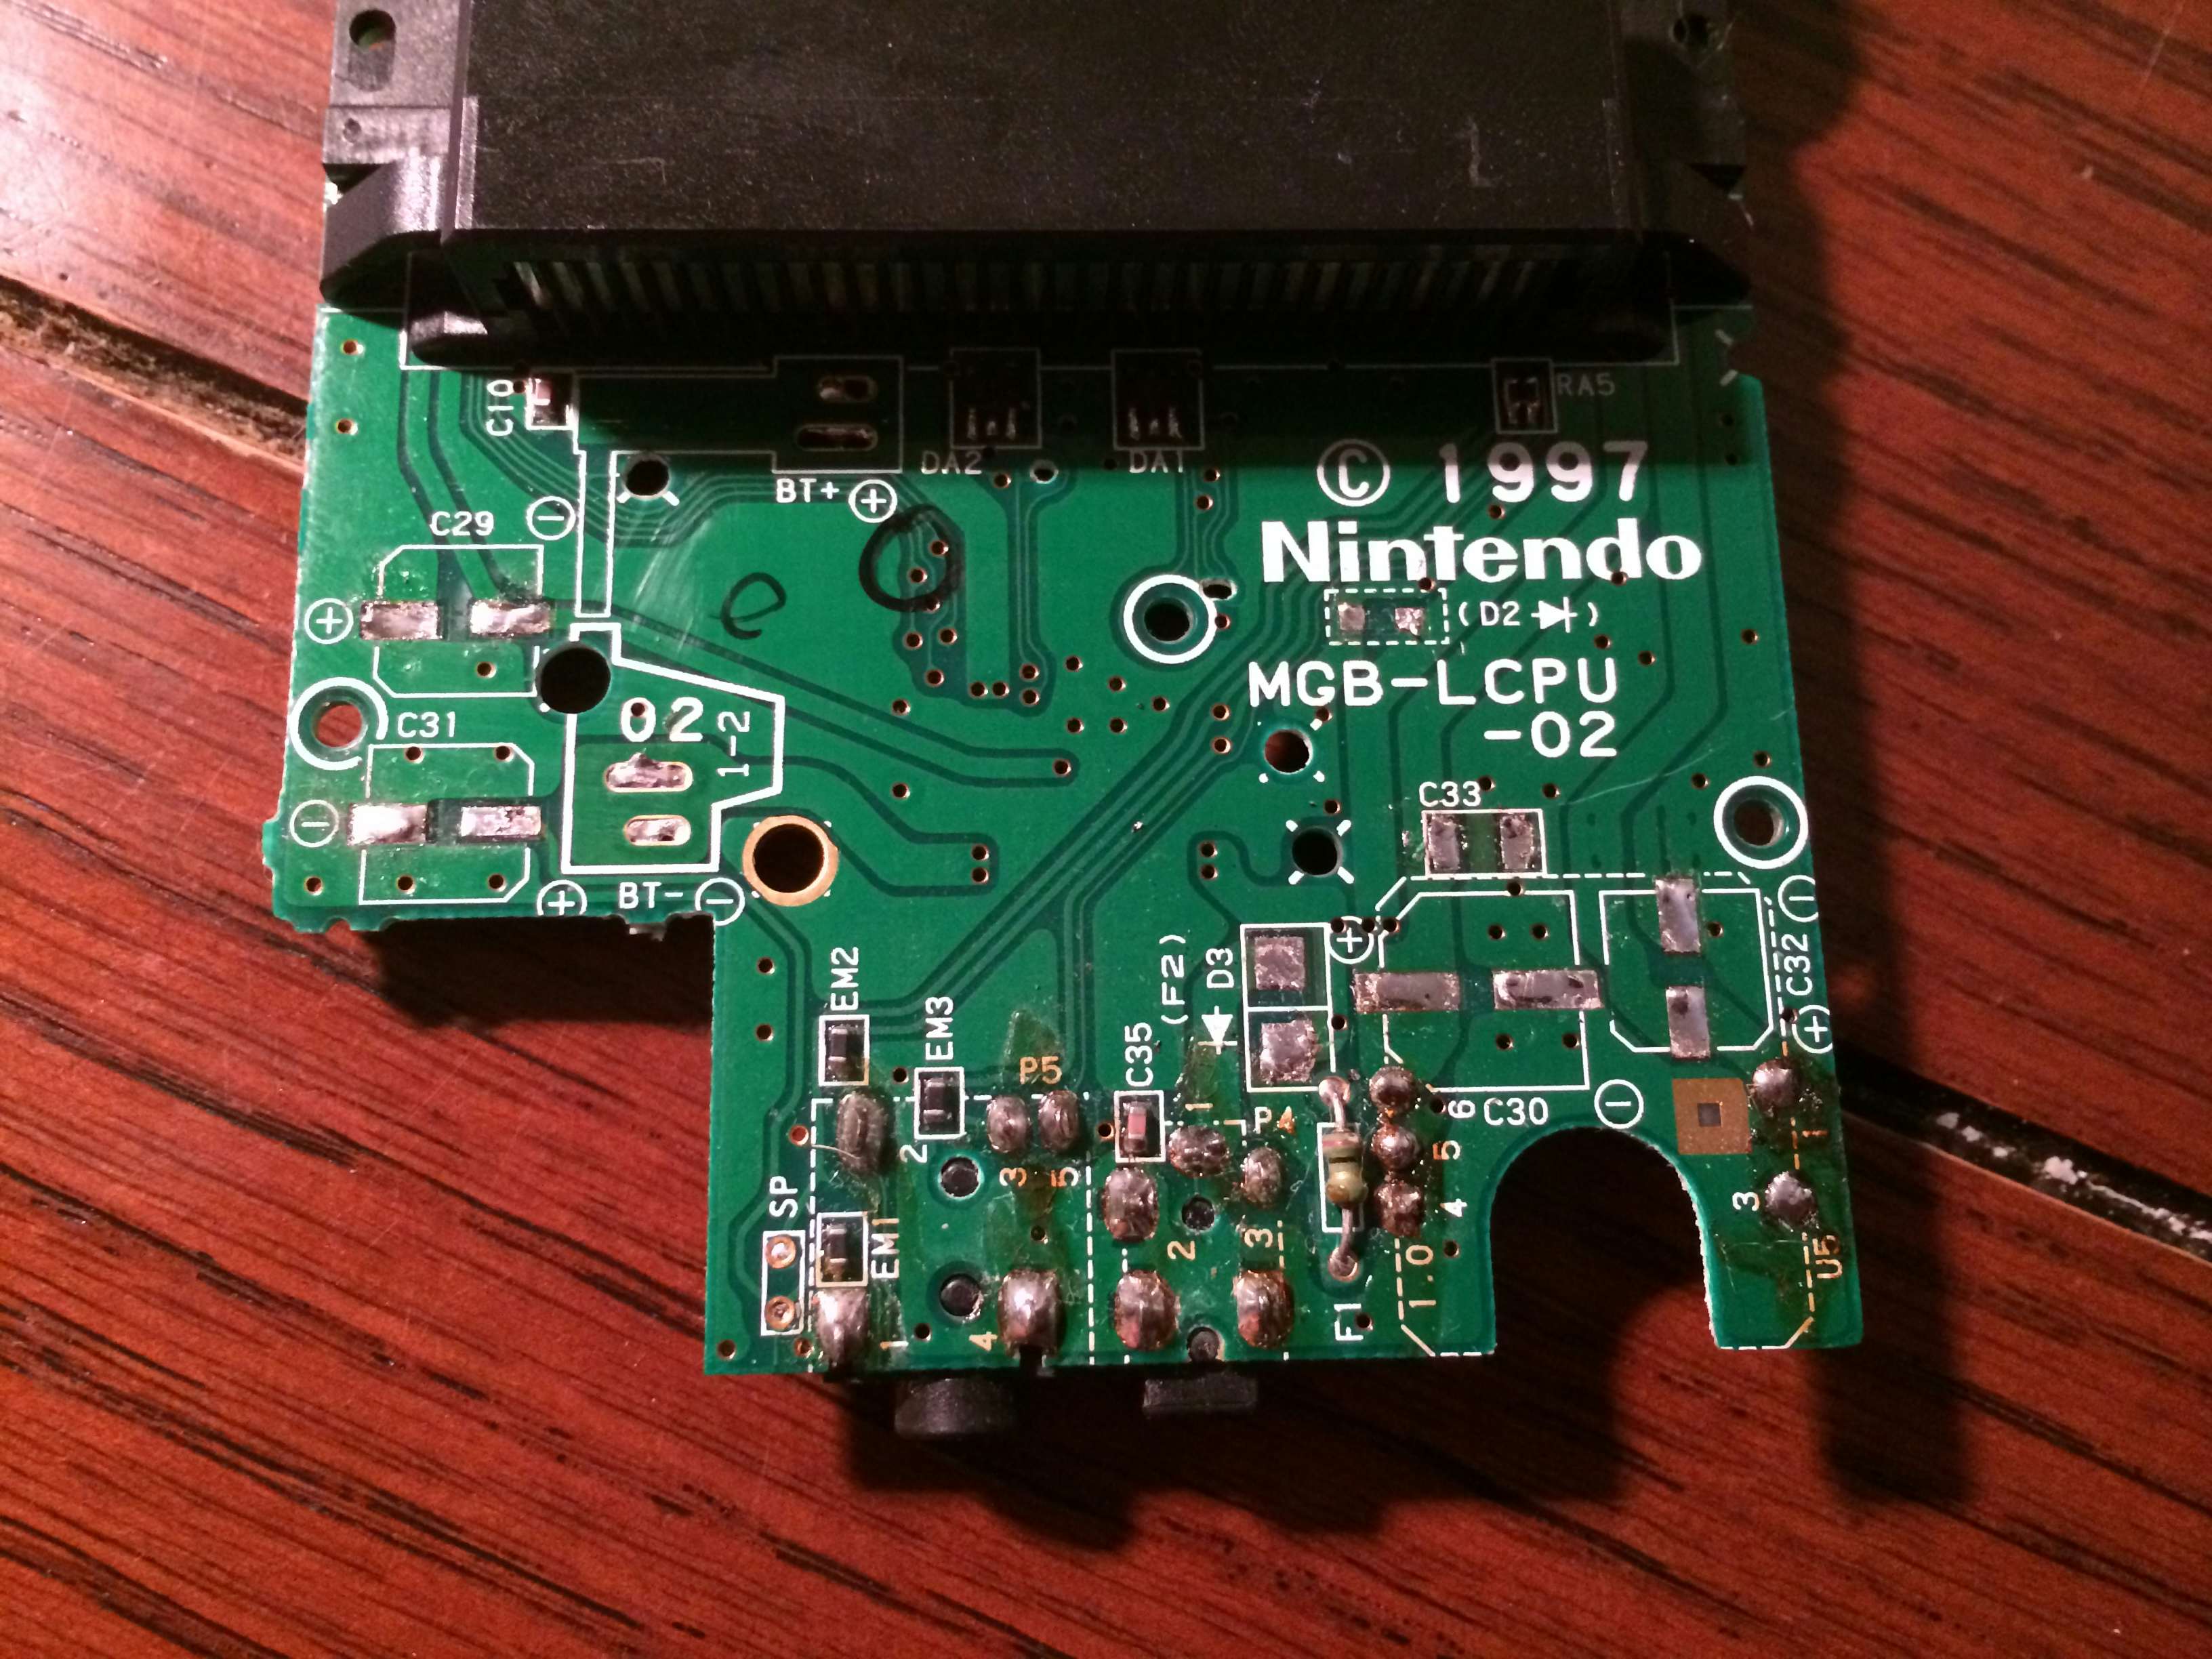
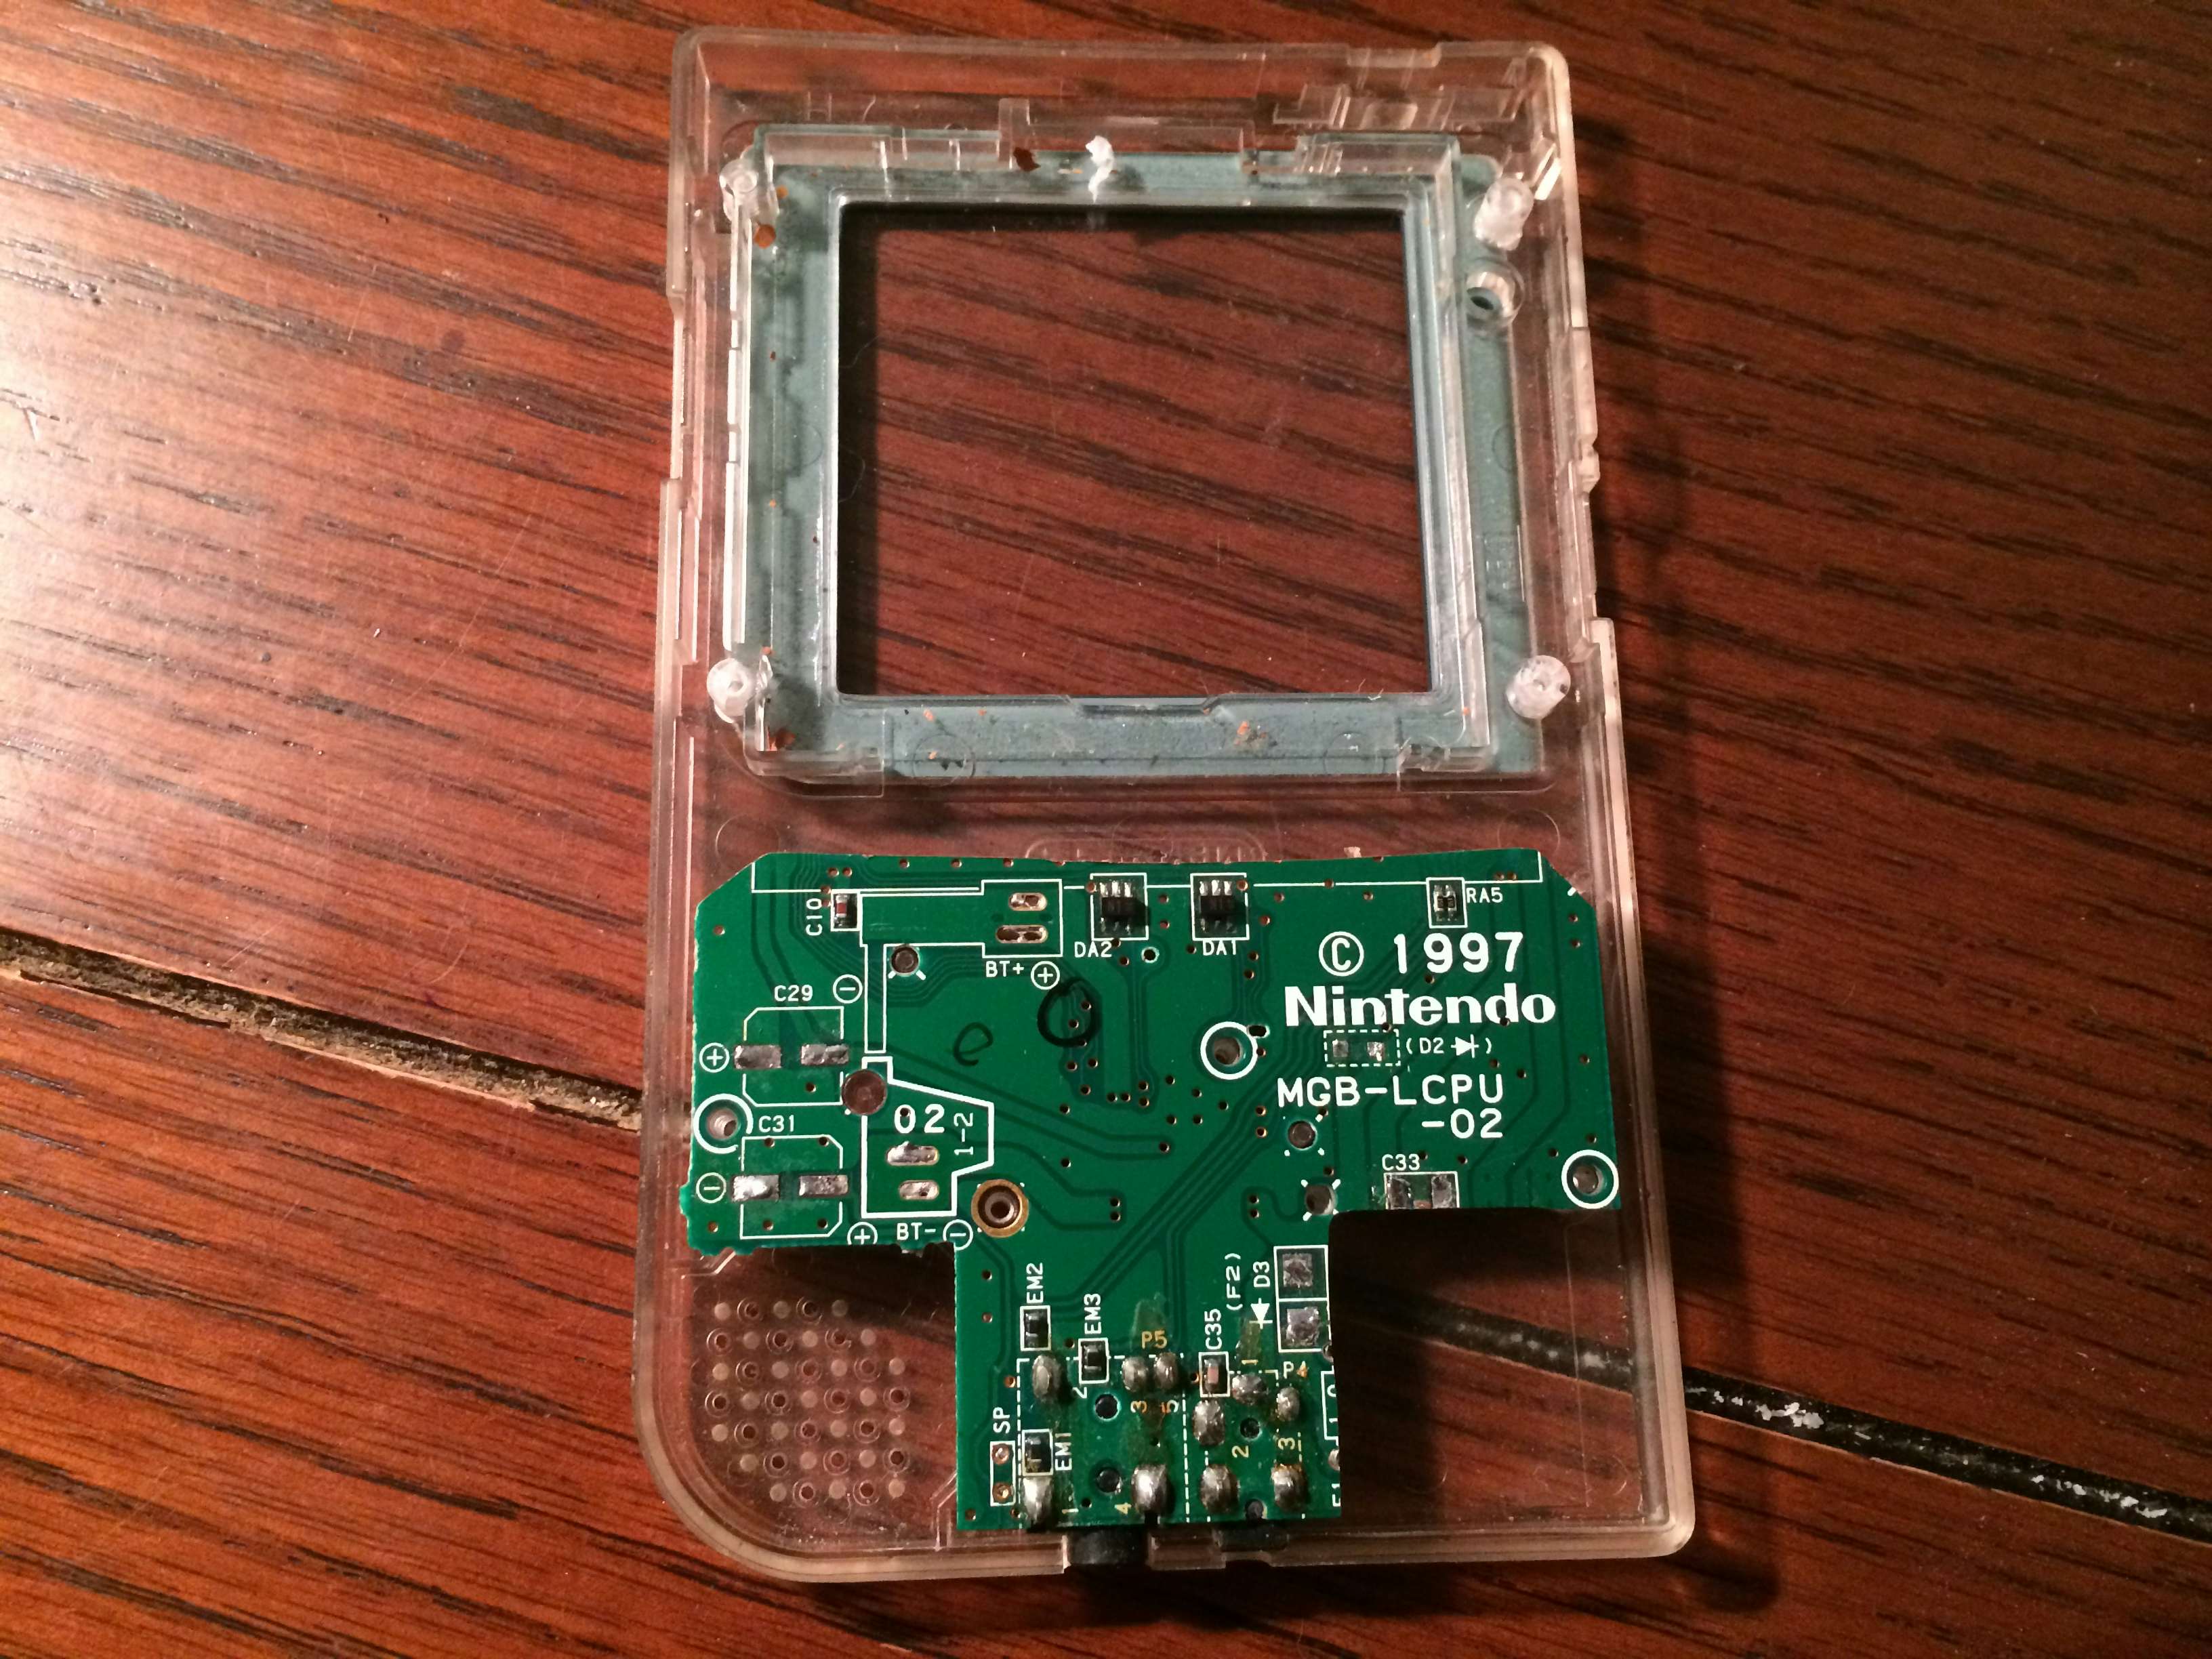
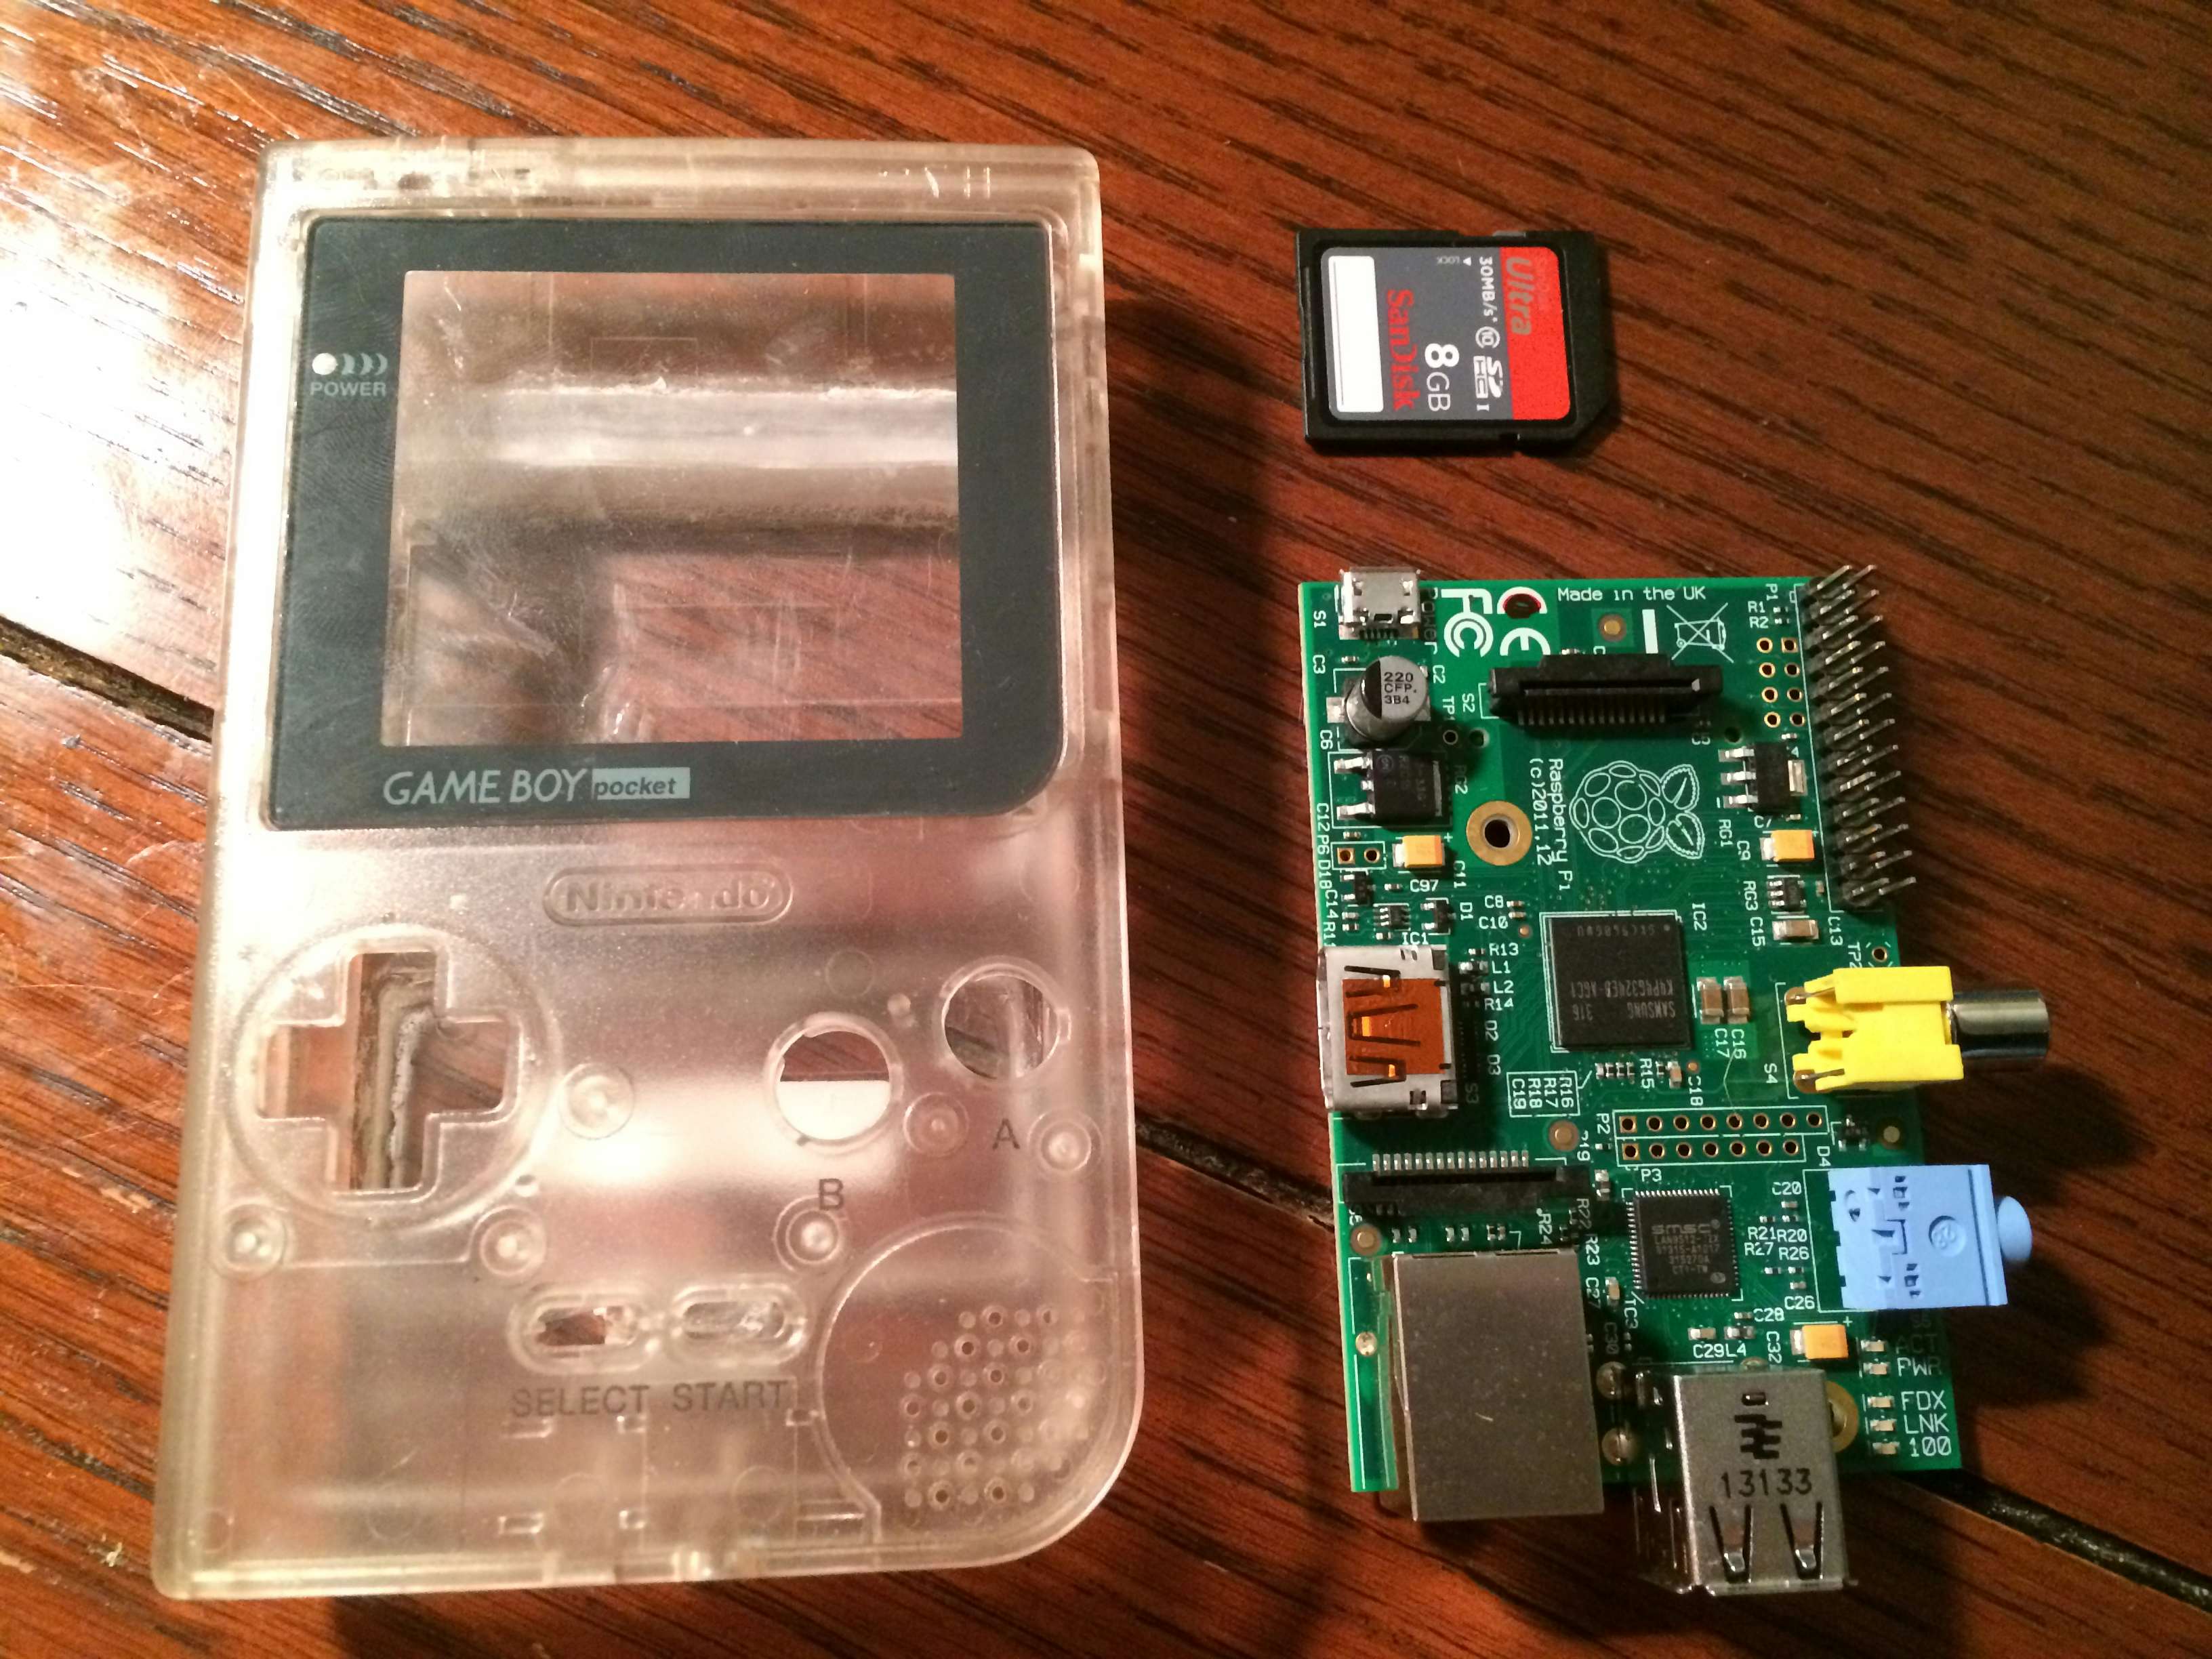
For this project I will be using a clear Gameboy Pocket since I didn’t want to end up with a final product that hides all the really interesting bits. Another convenience about the clear model is that it will be much easier to source clear plastic that doesn’t have to be painted and color matched with the other models. The very first step is to disassemble the Gameboy and get a sense for what can be reused and what else will make good additions to the black-hole that is my parts bin.
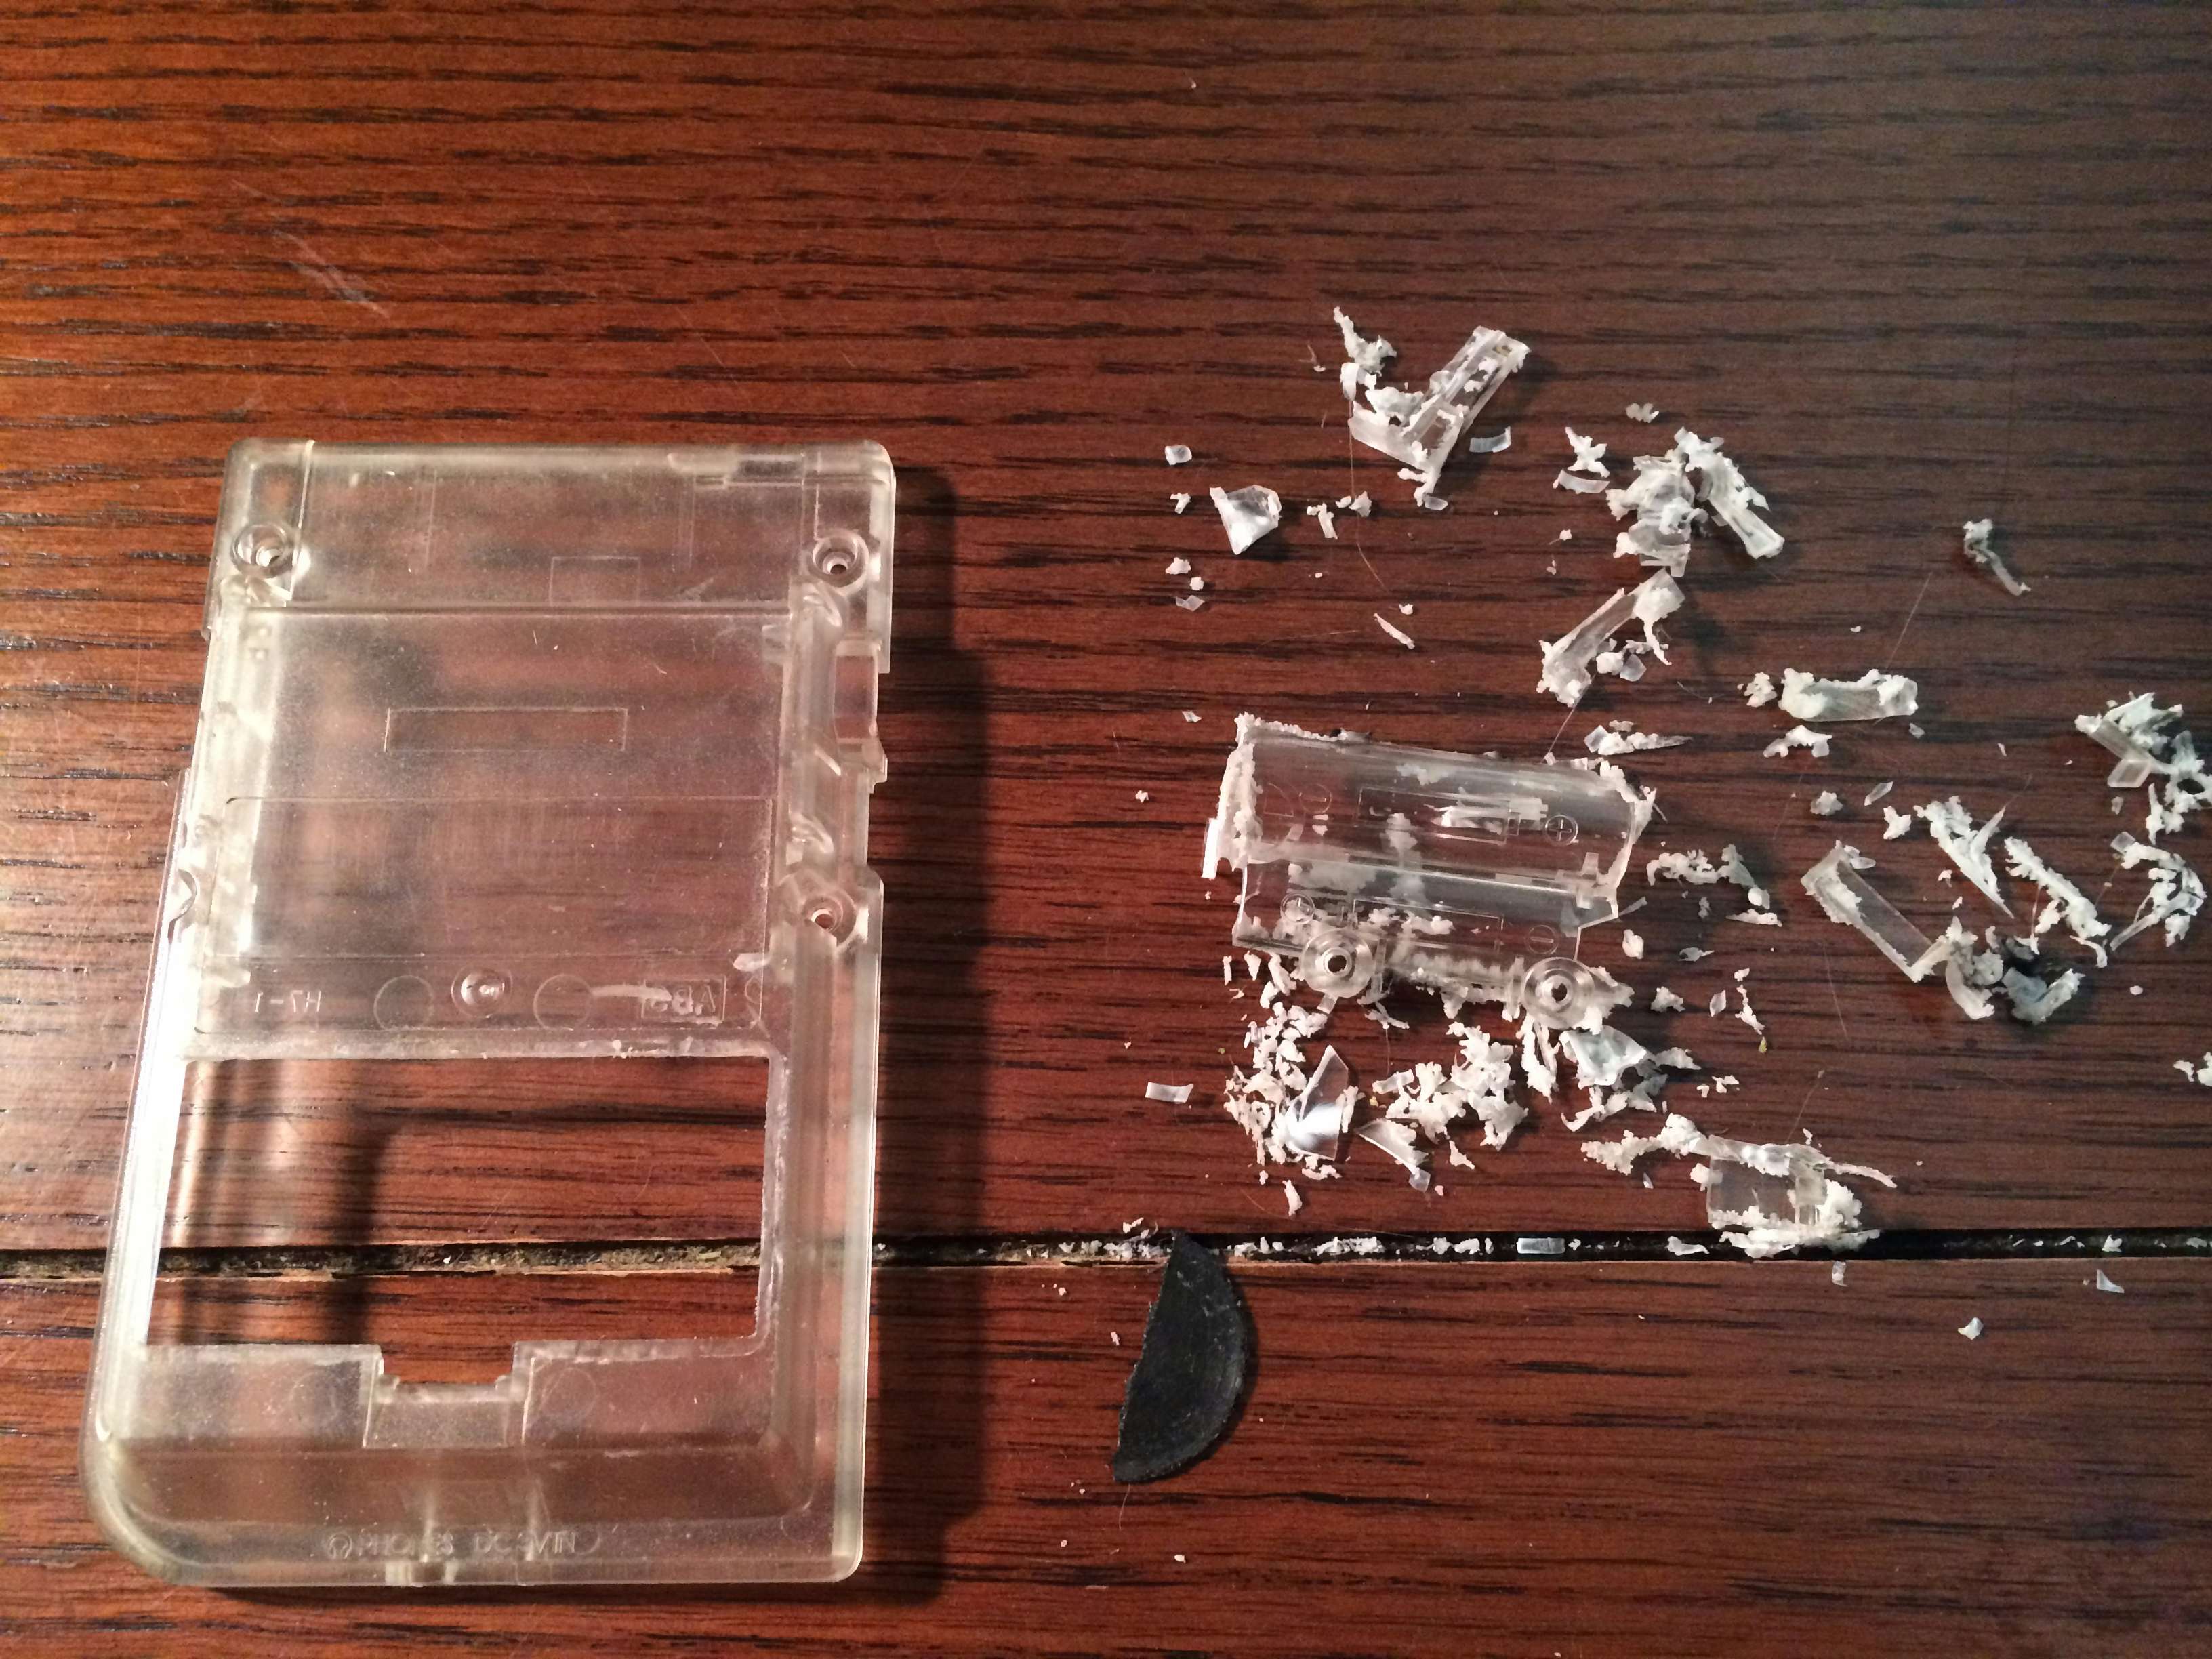
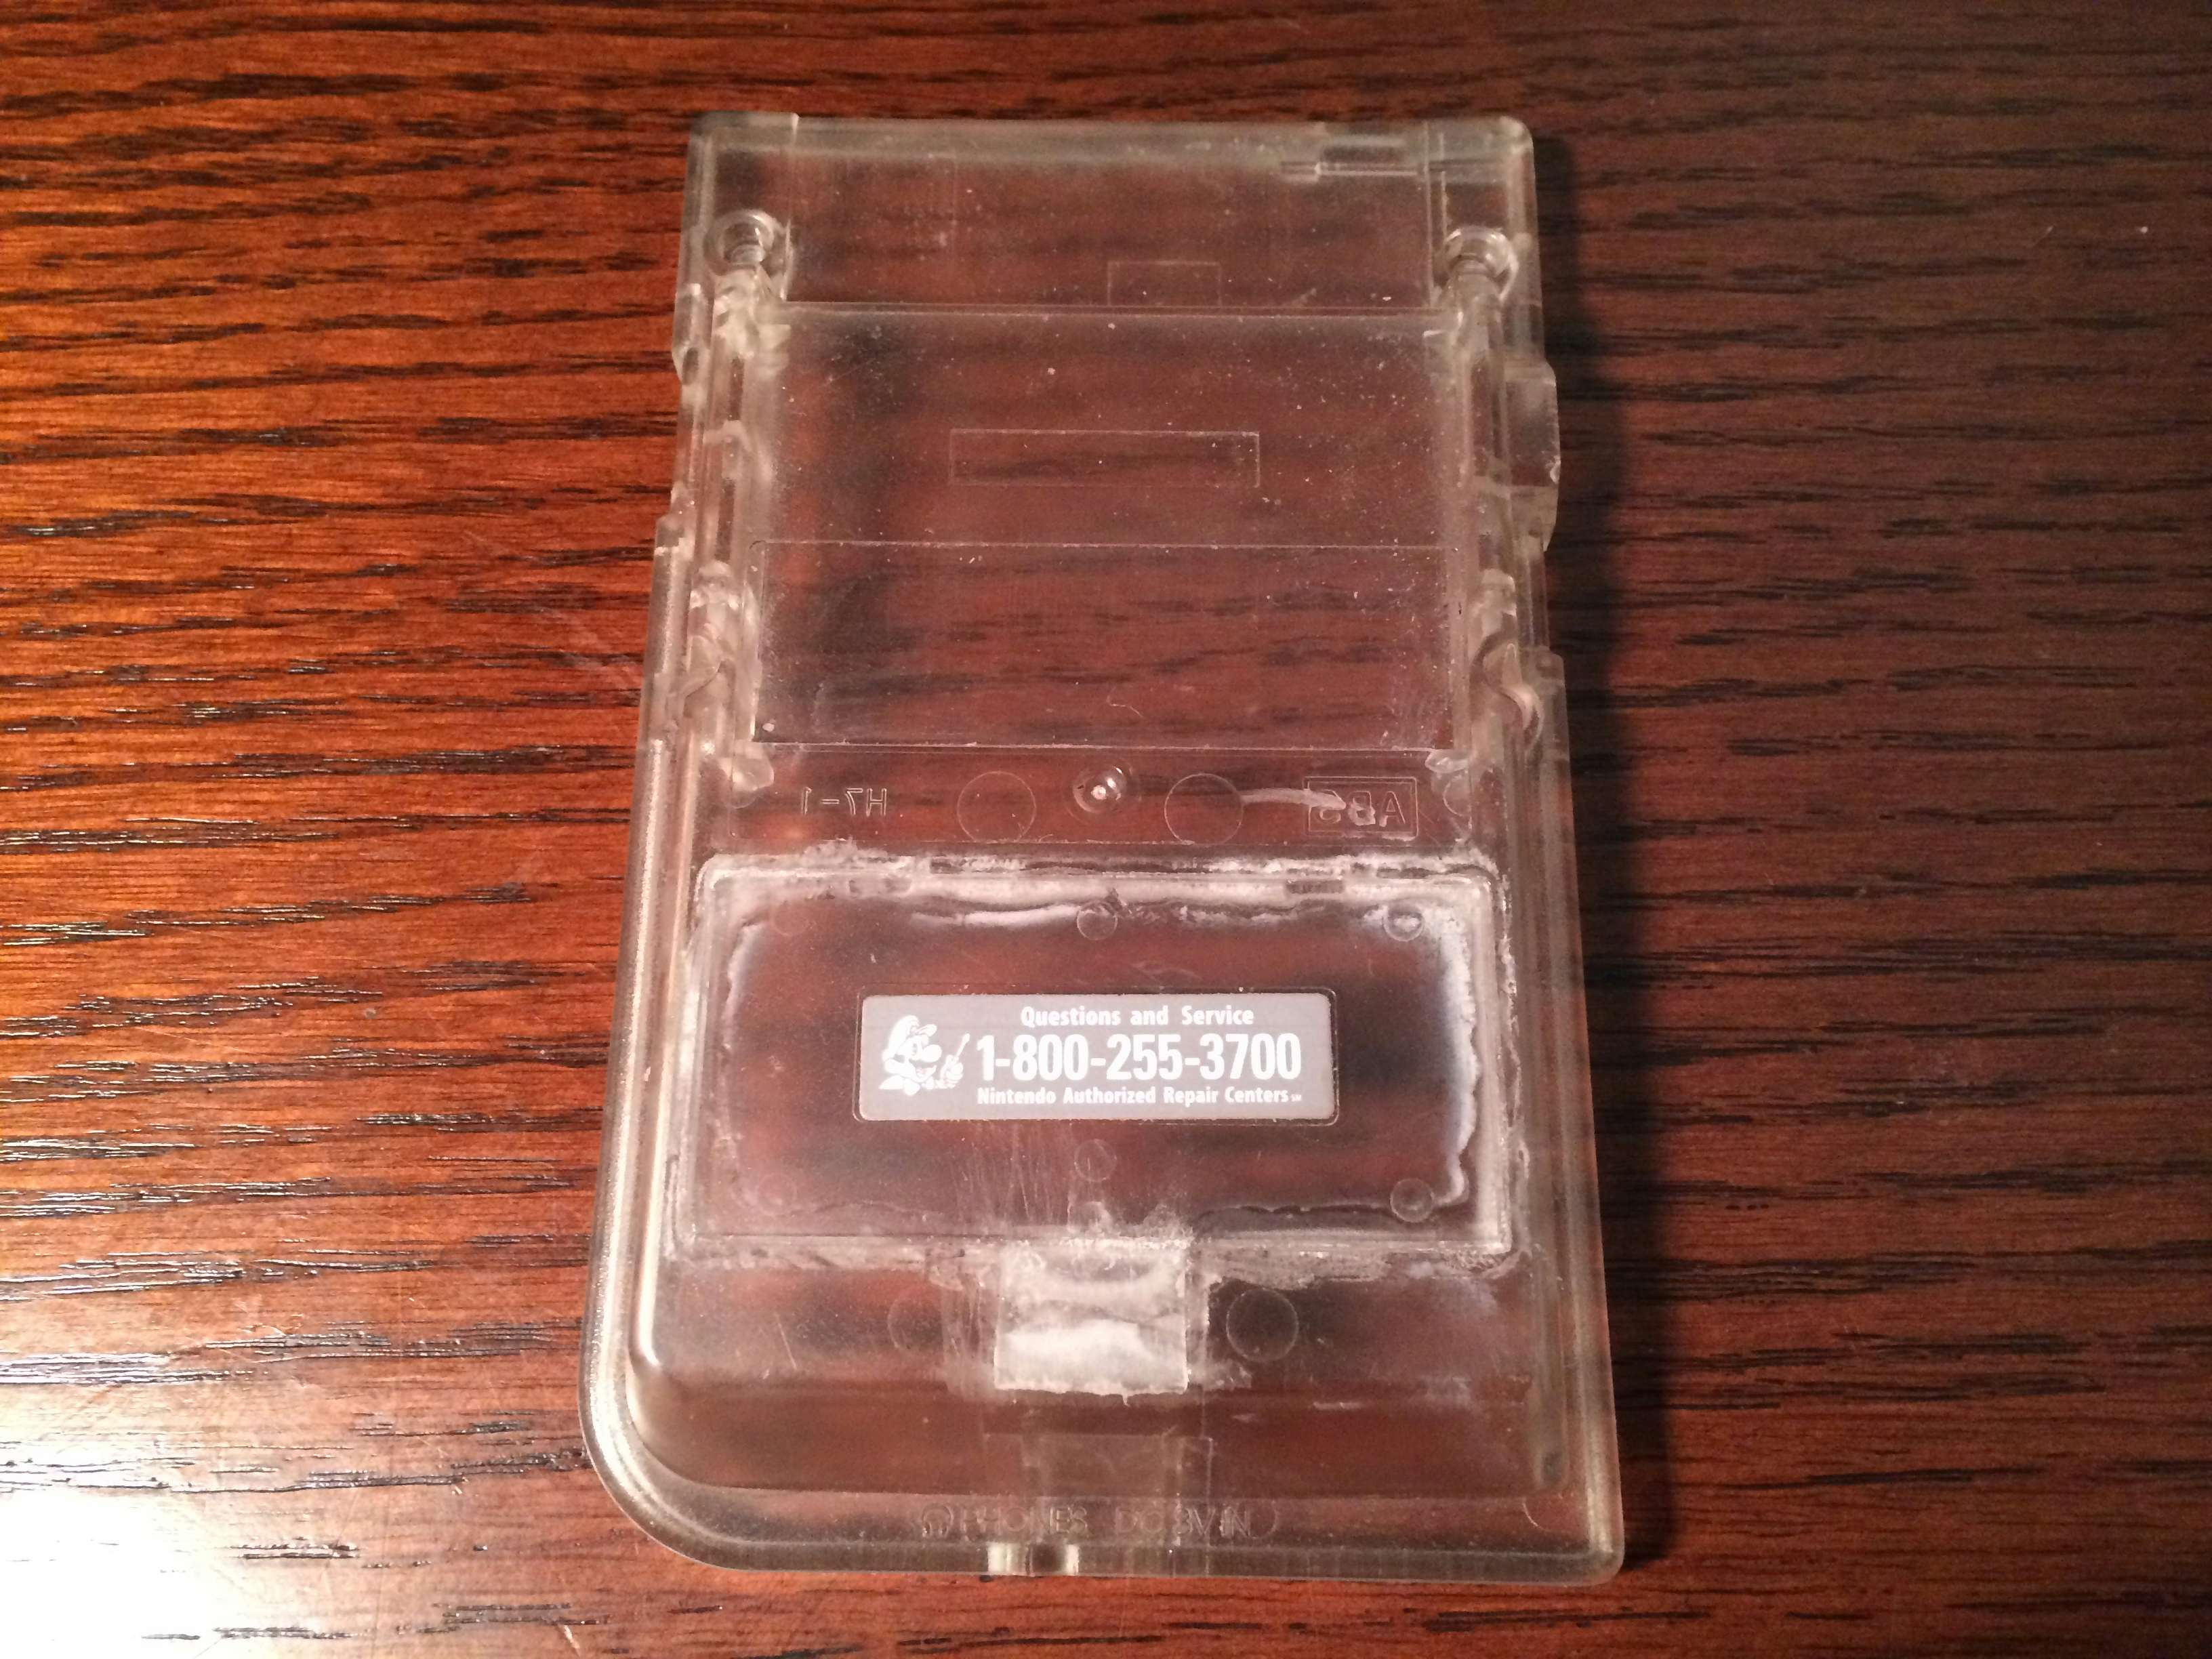
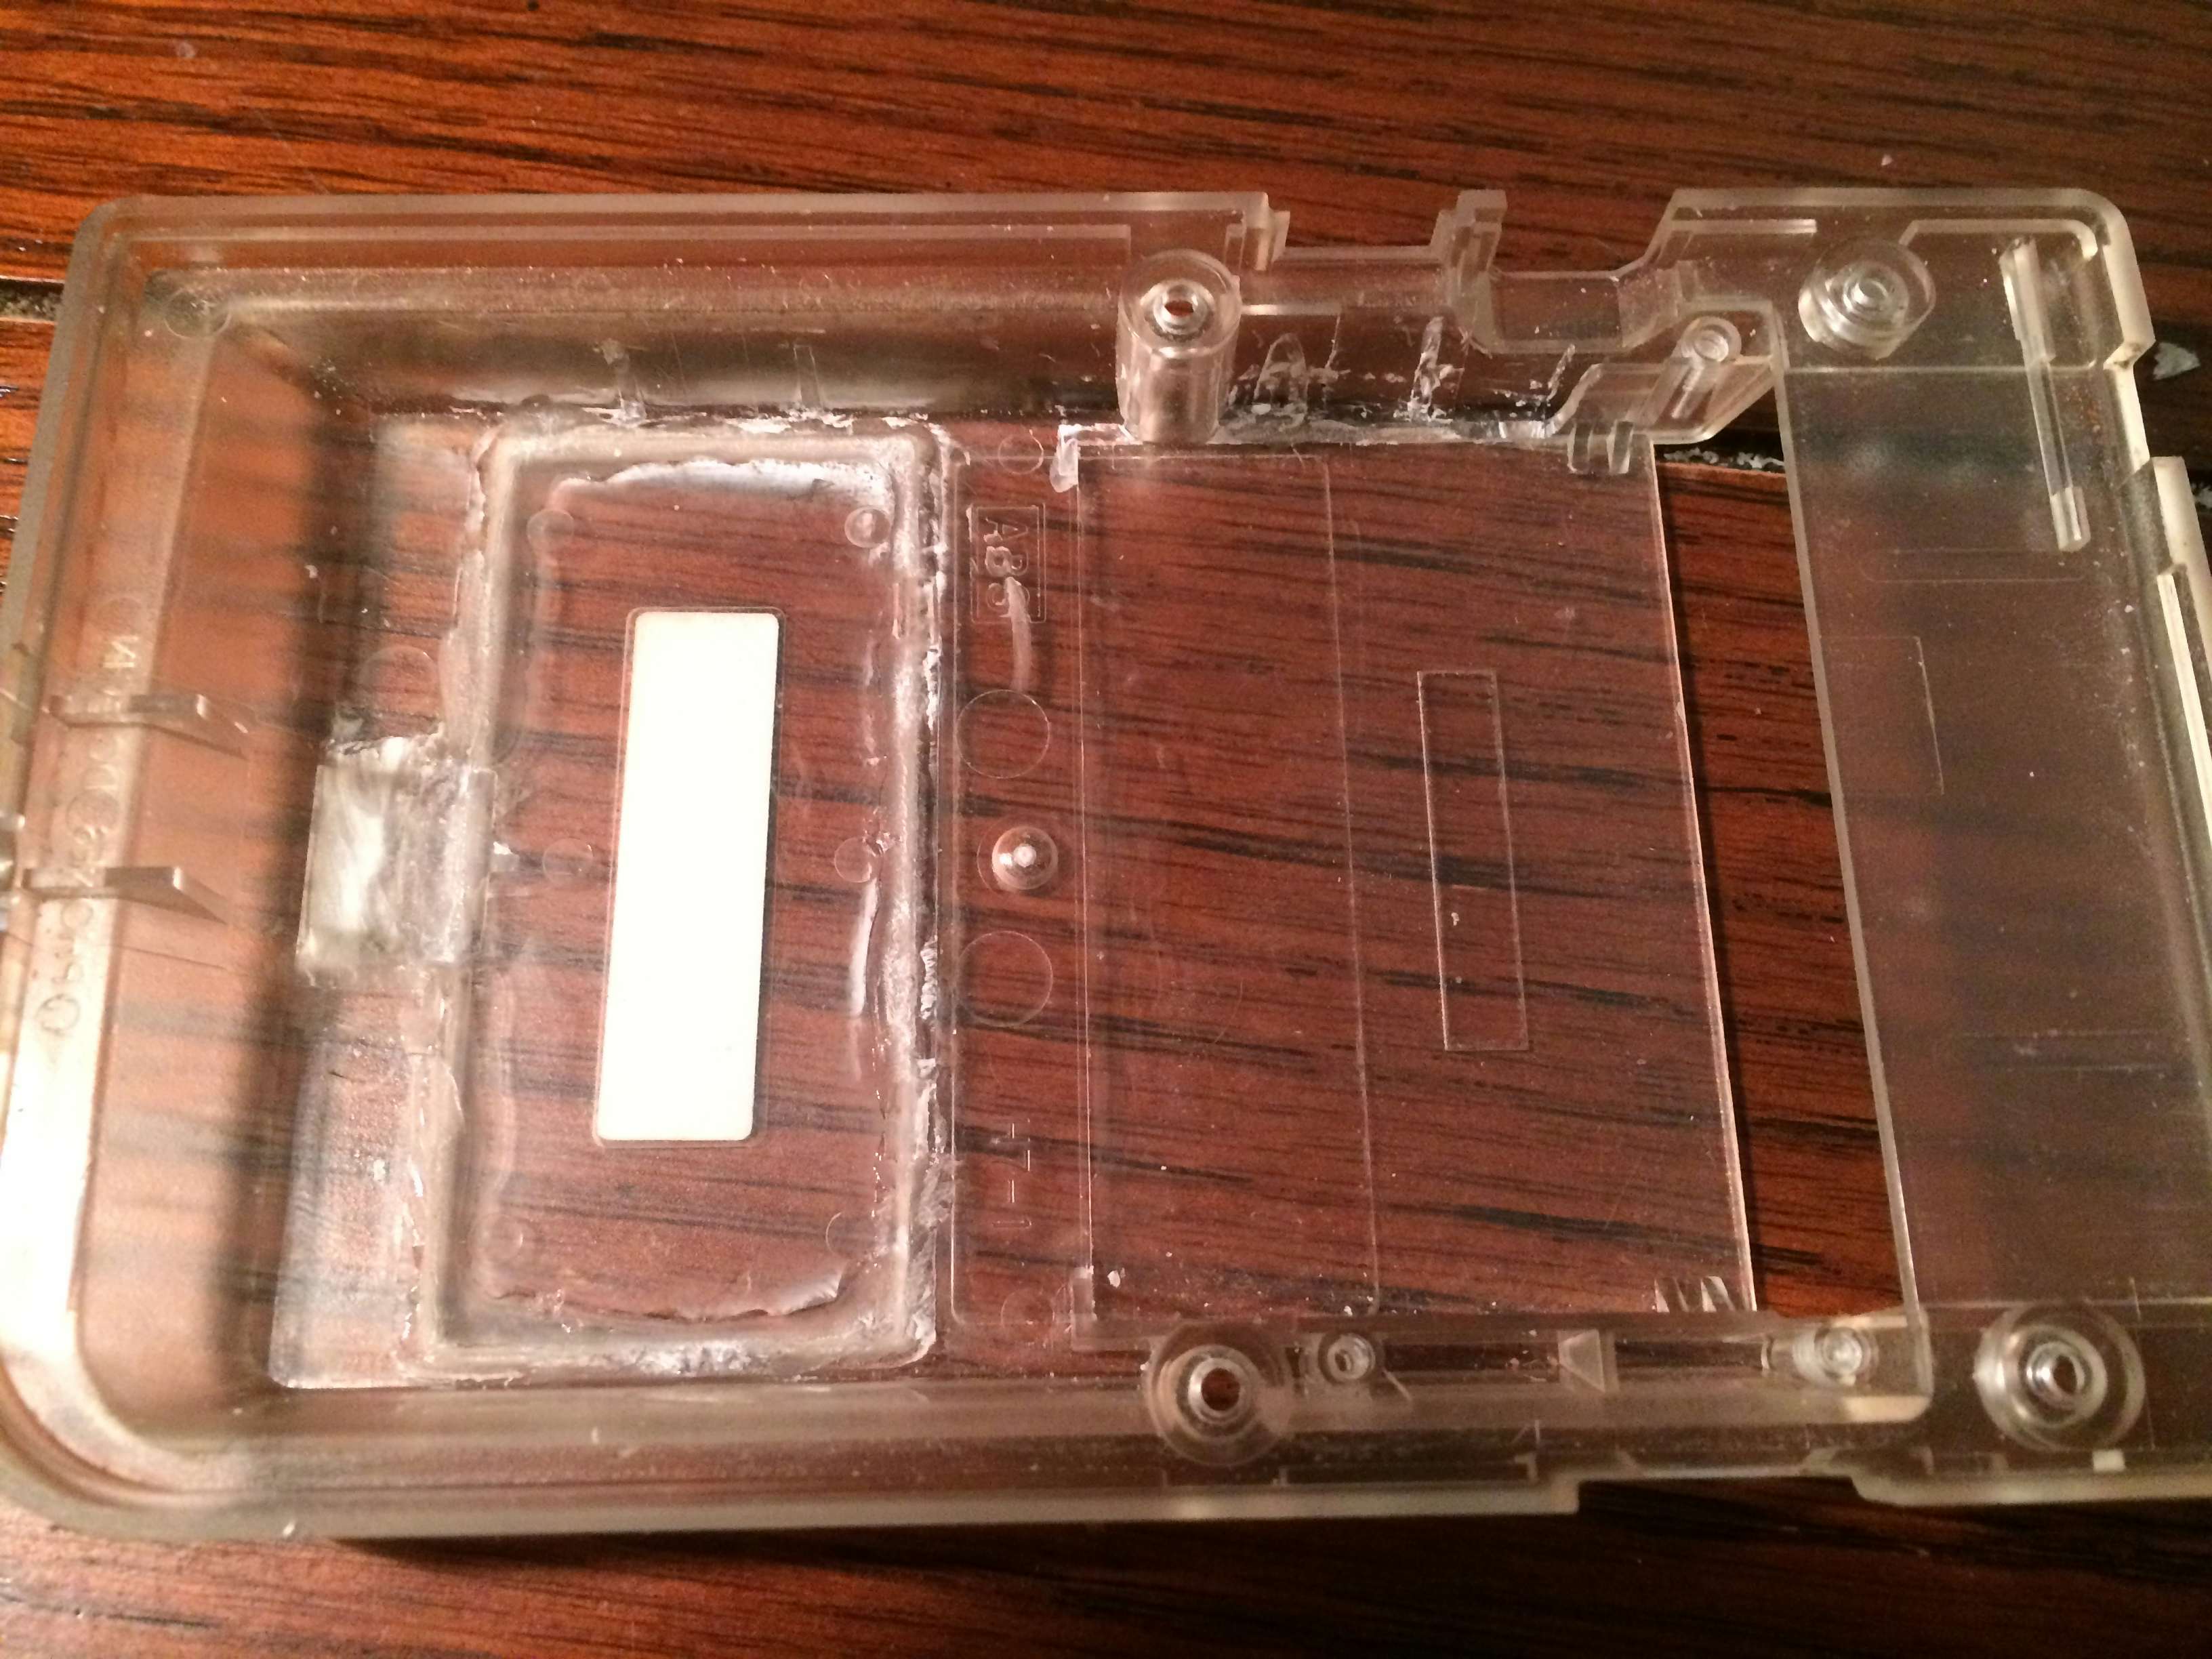
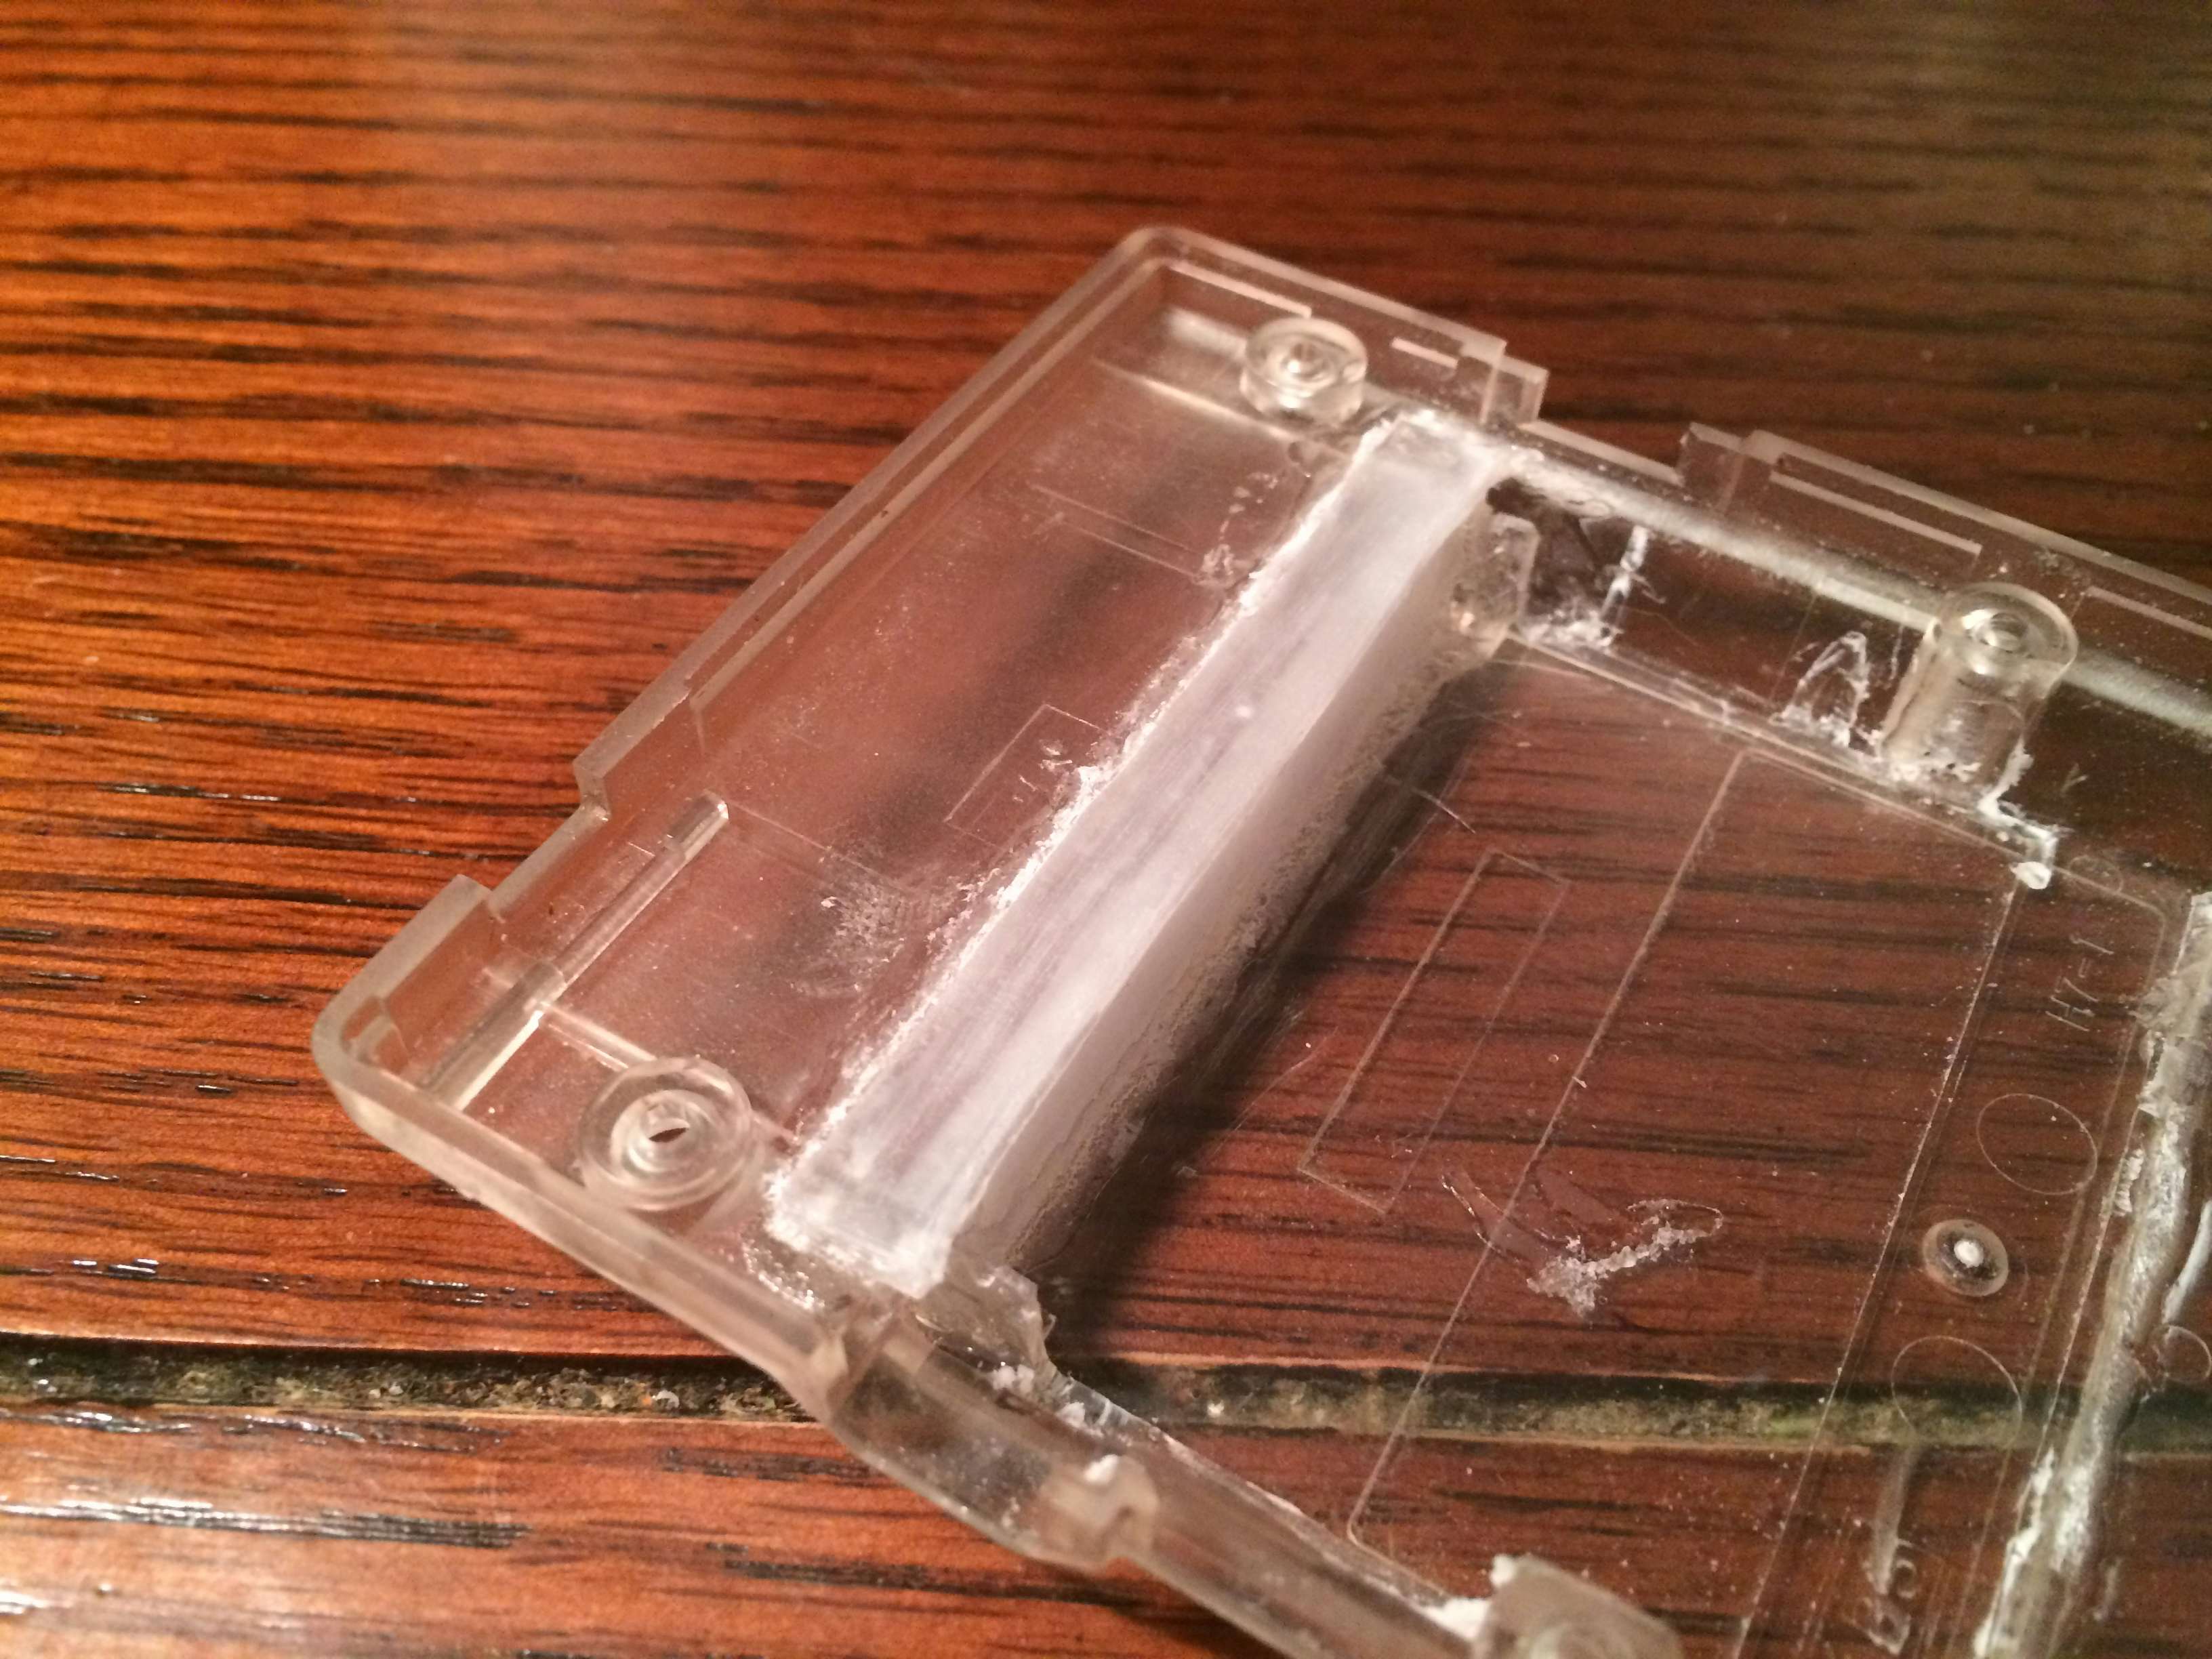
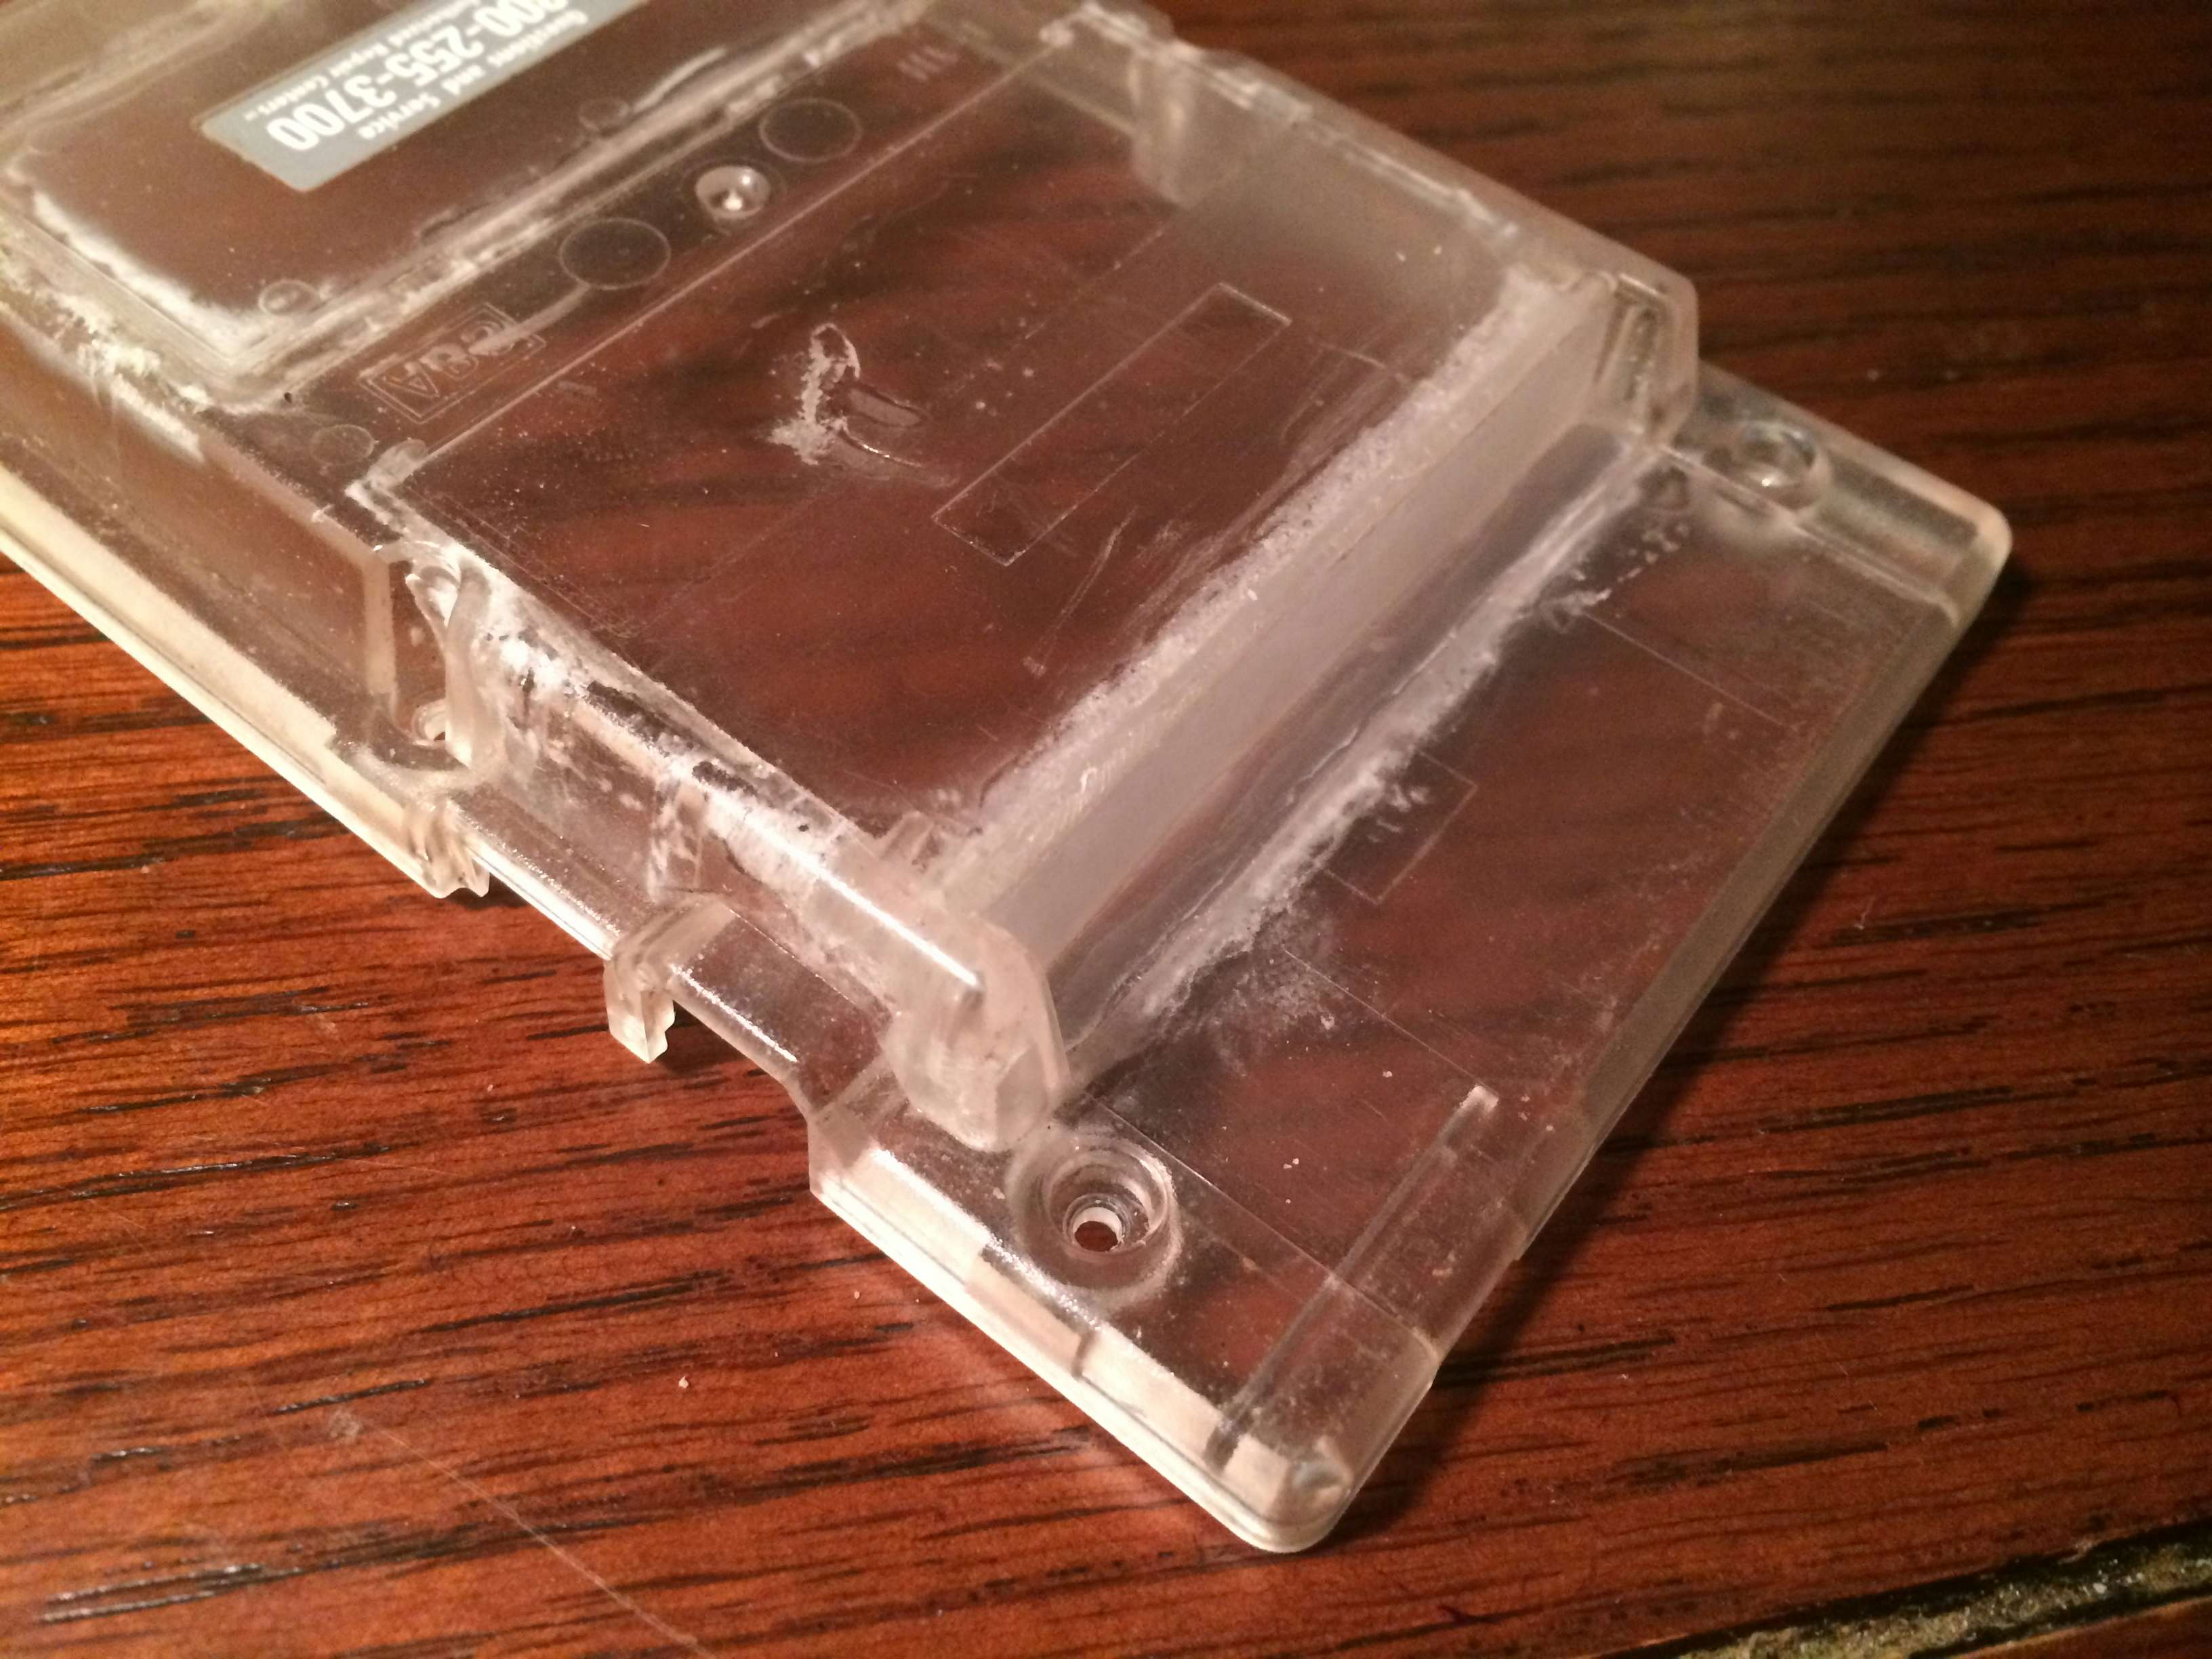
Since I won’t be powering the Pi-Pocket from two measly AAA batteries the compartment in which they formerly resided must be removed and filled in. With the compartment removed the battery door is then glued in place using my favorite super adhesive of choice.
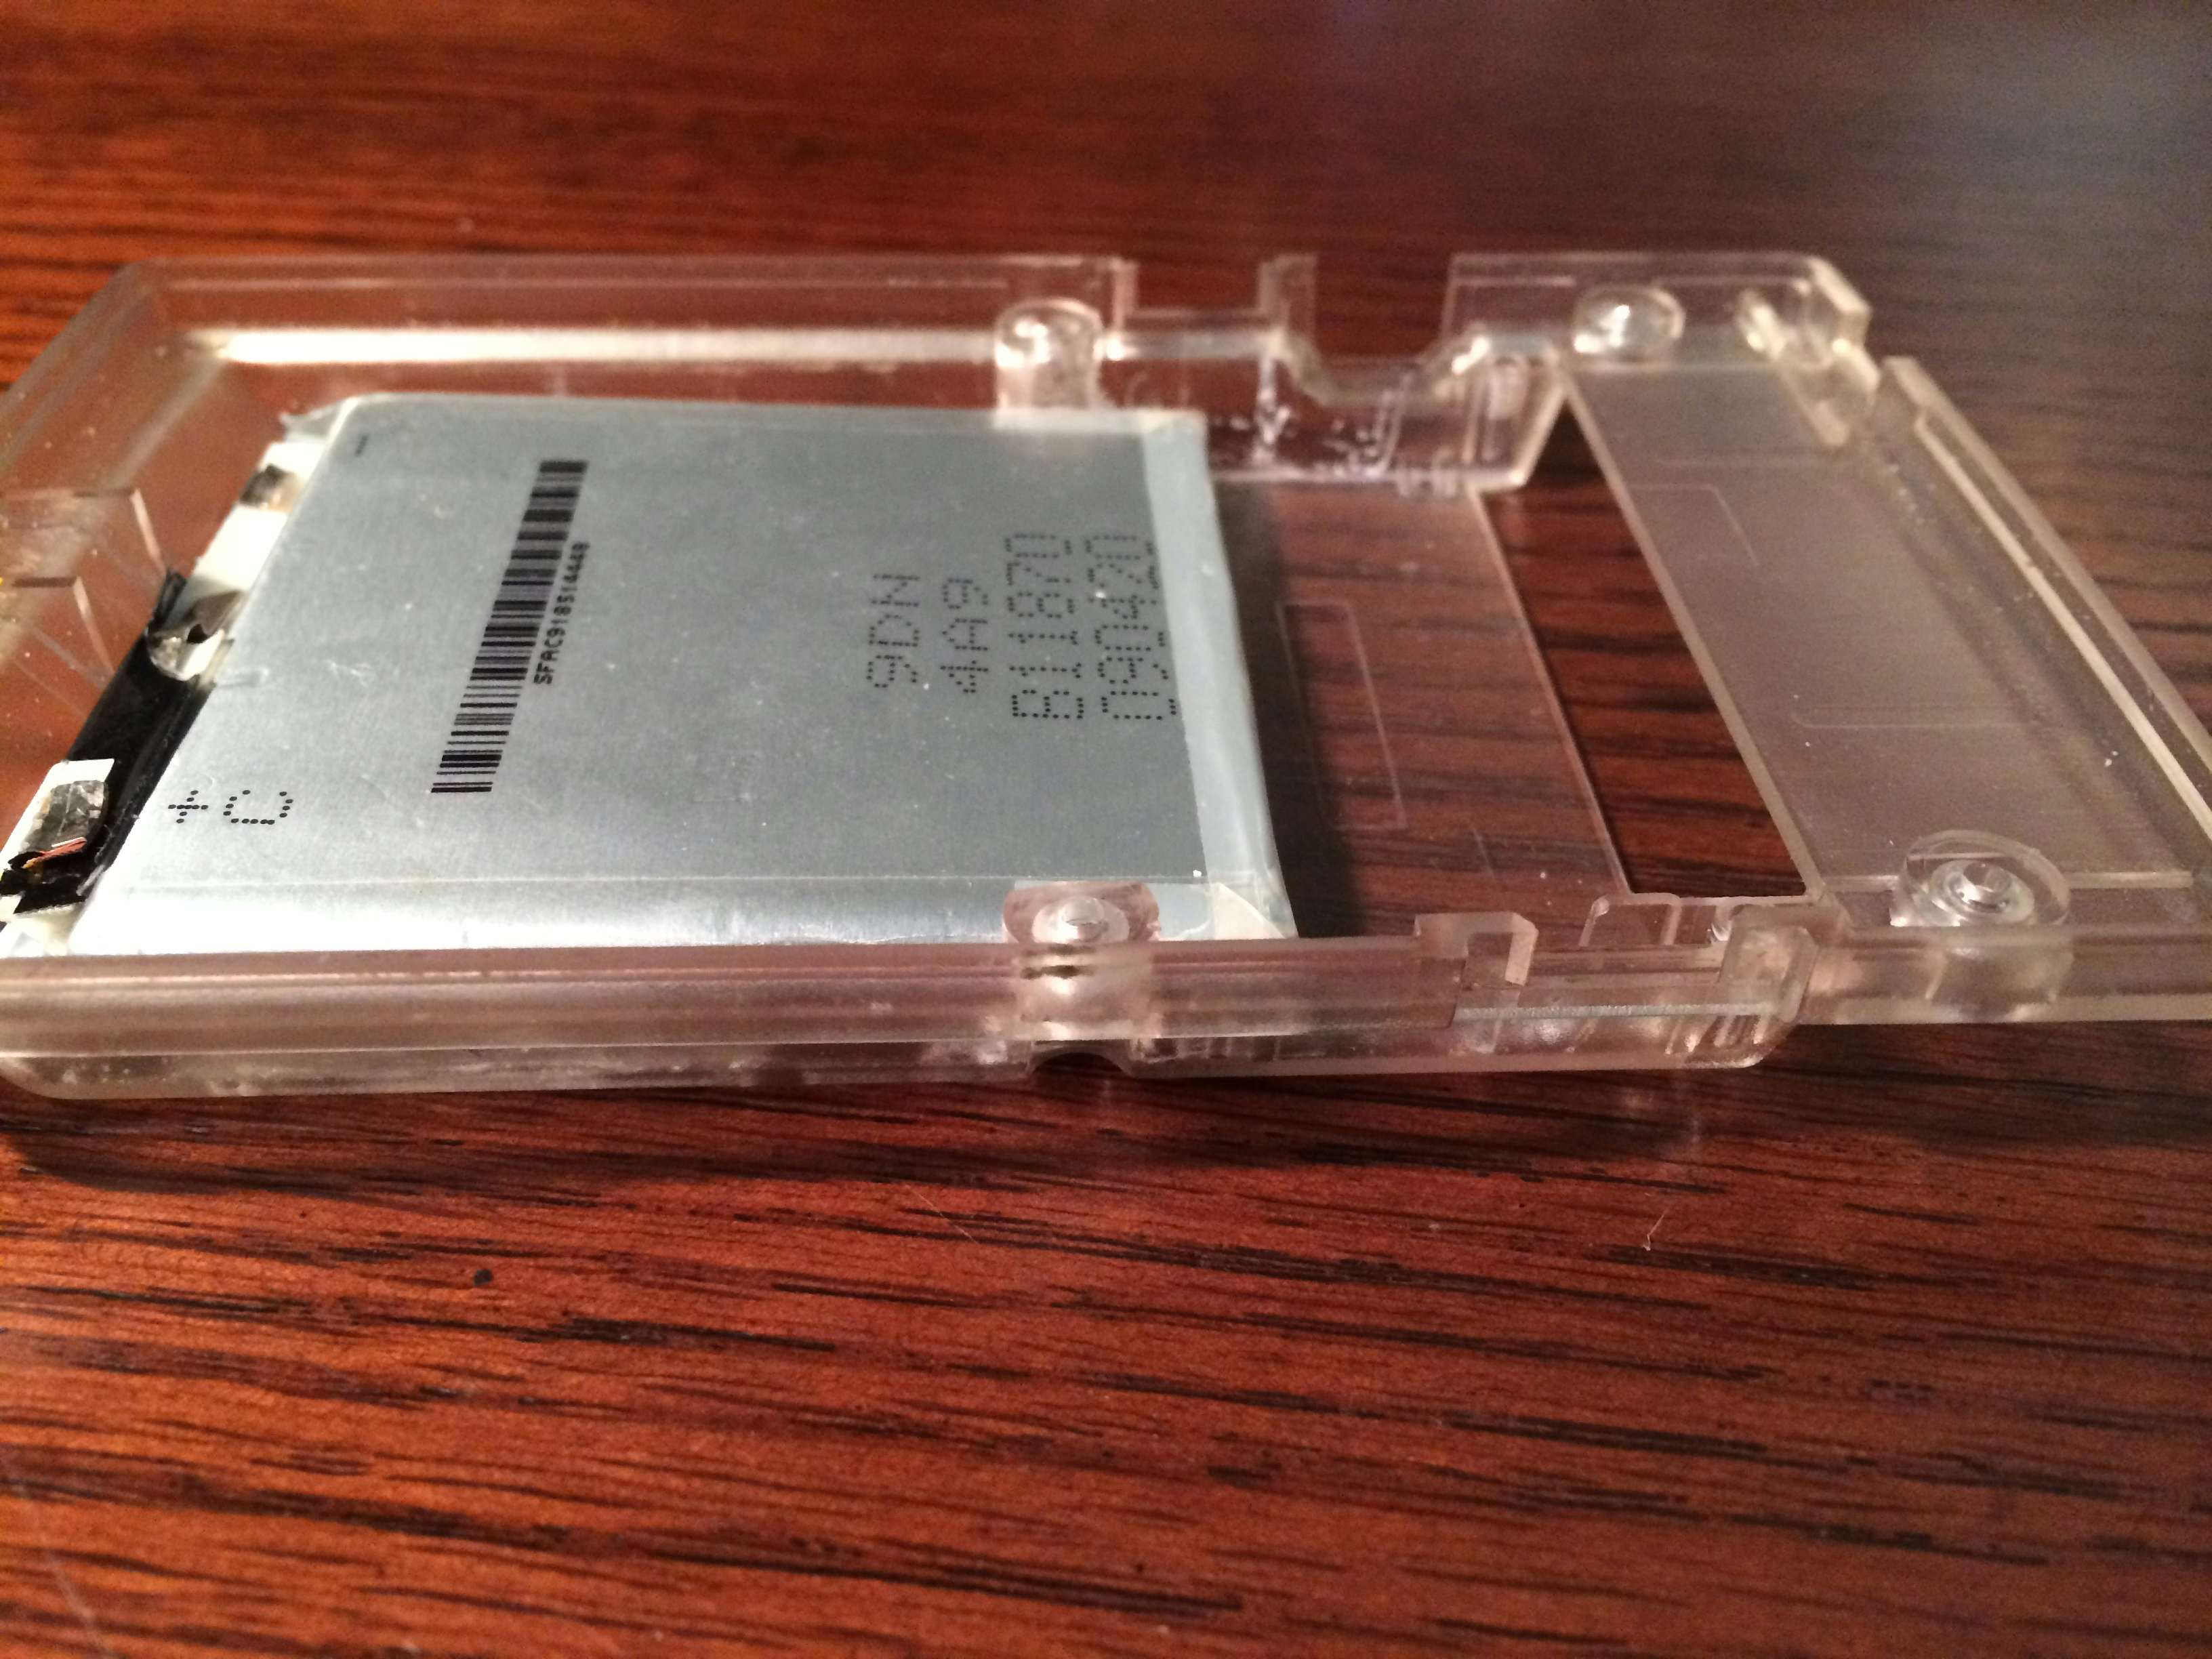
With the inside sanded down as flat to the back plate as possible it was then time to trim away some of the internal frame that was used to help guide in the cartridges. A flat-pack Lithium-Ion battery cell was then test fit in place which almost seems tailor made to fit inside the Gameboy Pocket. Once I have the Raspberry Pi desoldered I will find out if two cells will fit. For now it seems likely that only one cell will fit.
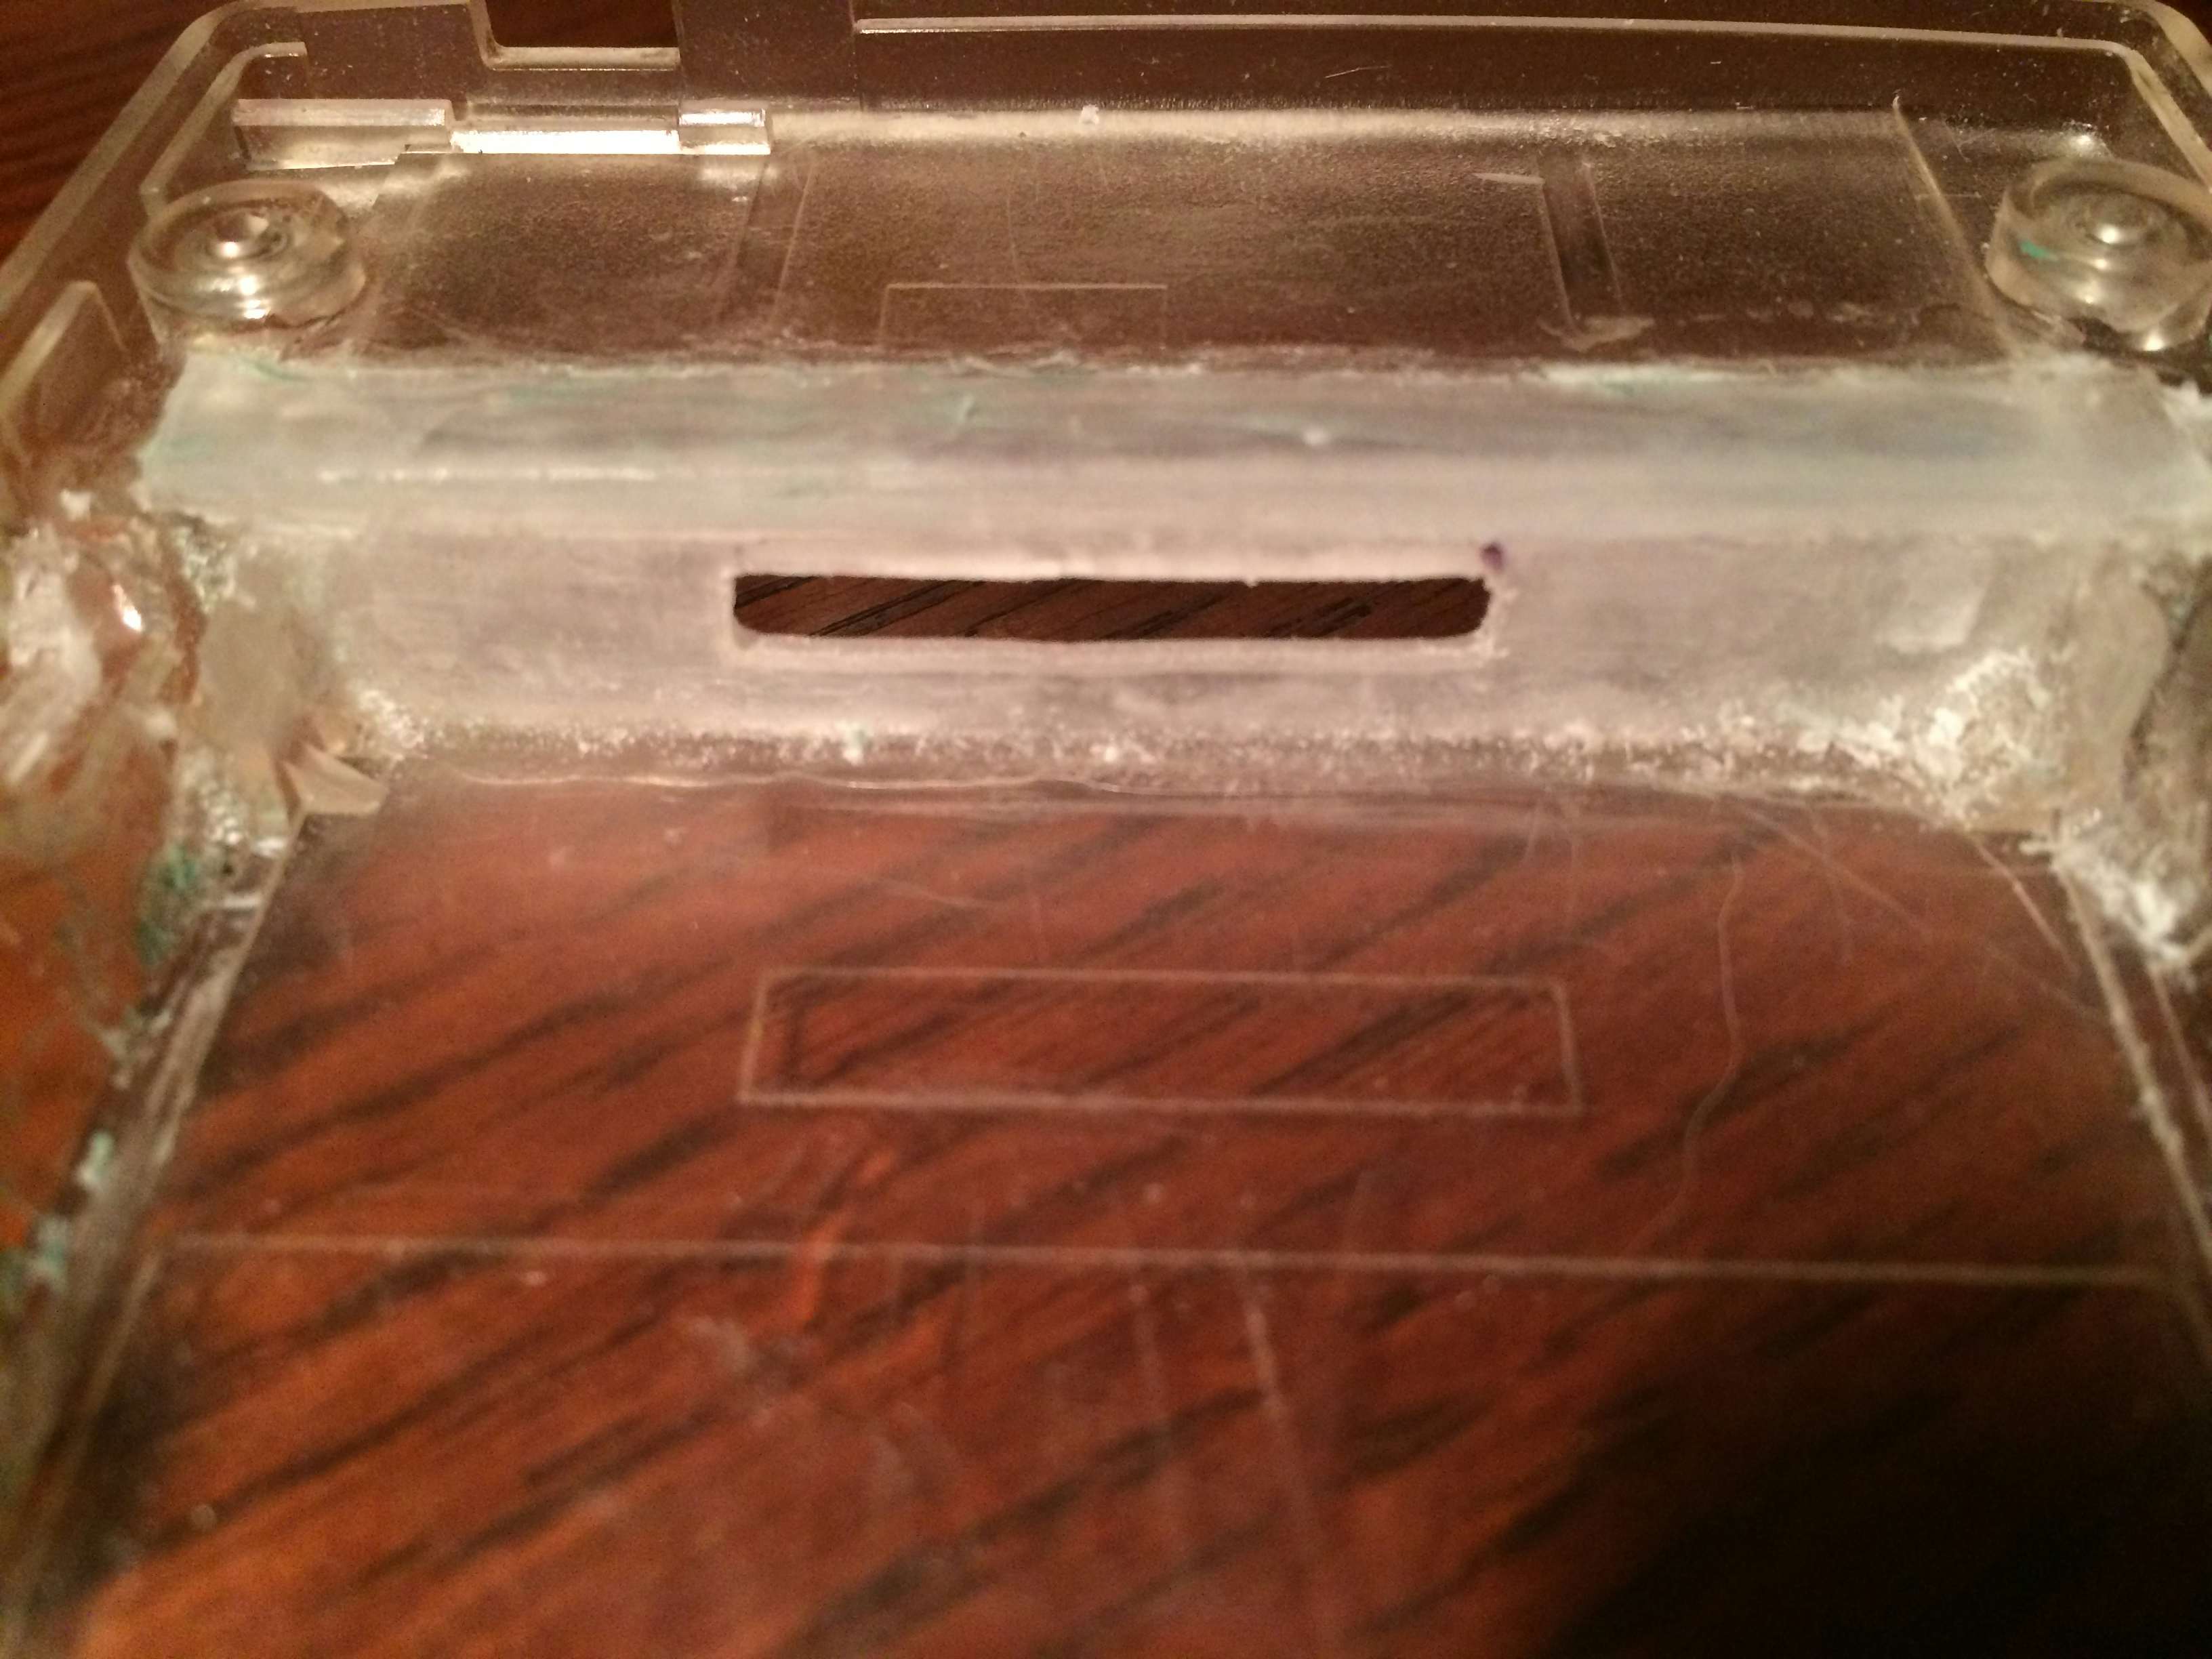
The Pi-Pocket will no longer use game cartridges since they will simply be stored on the Raspberry Pi’s SD Card. For this fact it was necessary to fill in the game slot with some plastic. The new flat area that this provides will be used to expose the Raspberry Pi SD Card and the remaining USB port to connect peripherals such as a Mini WiFi adapter.
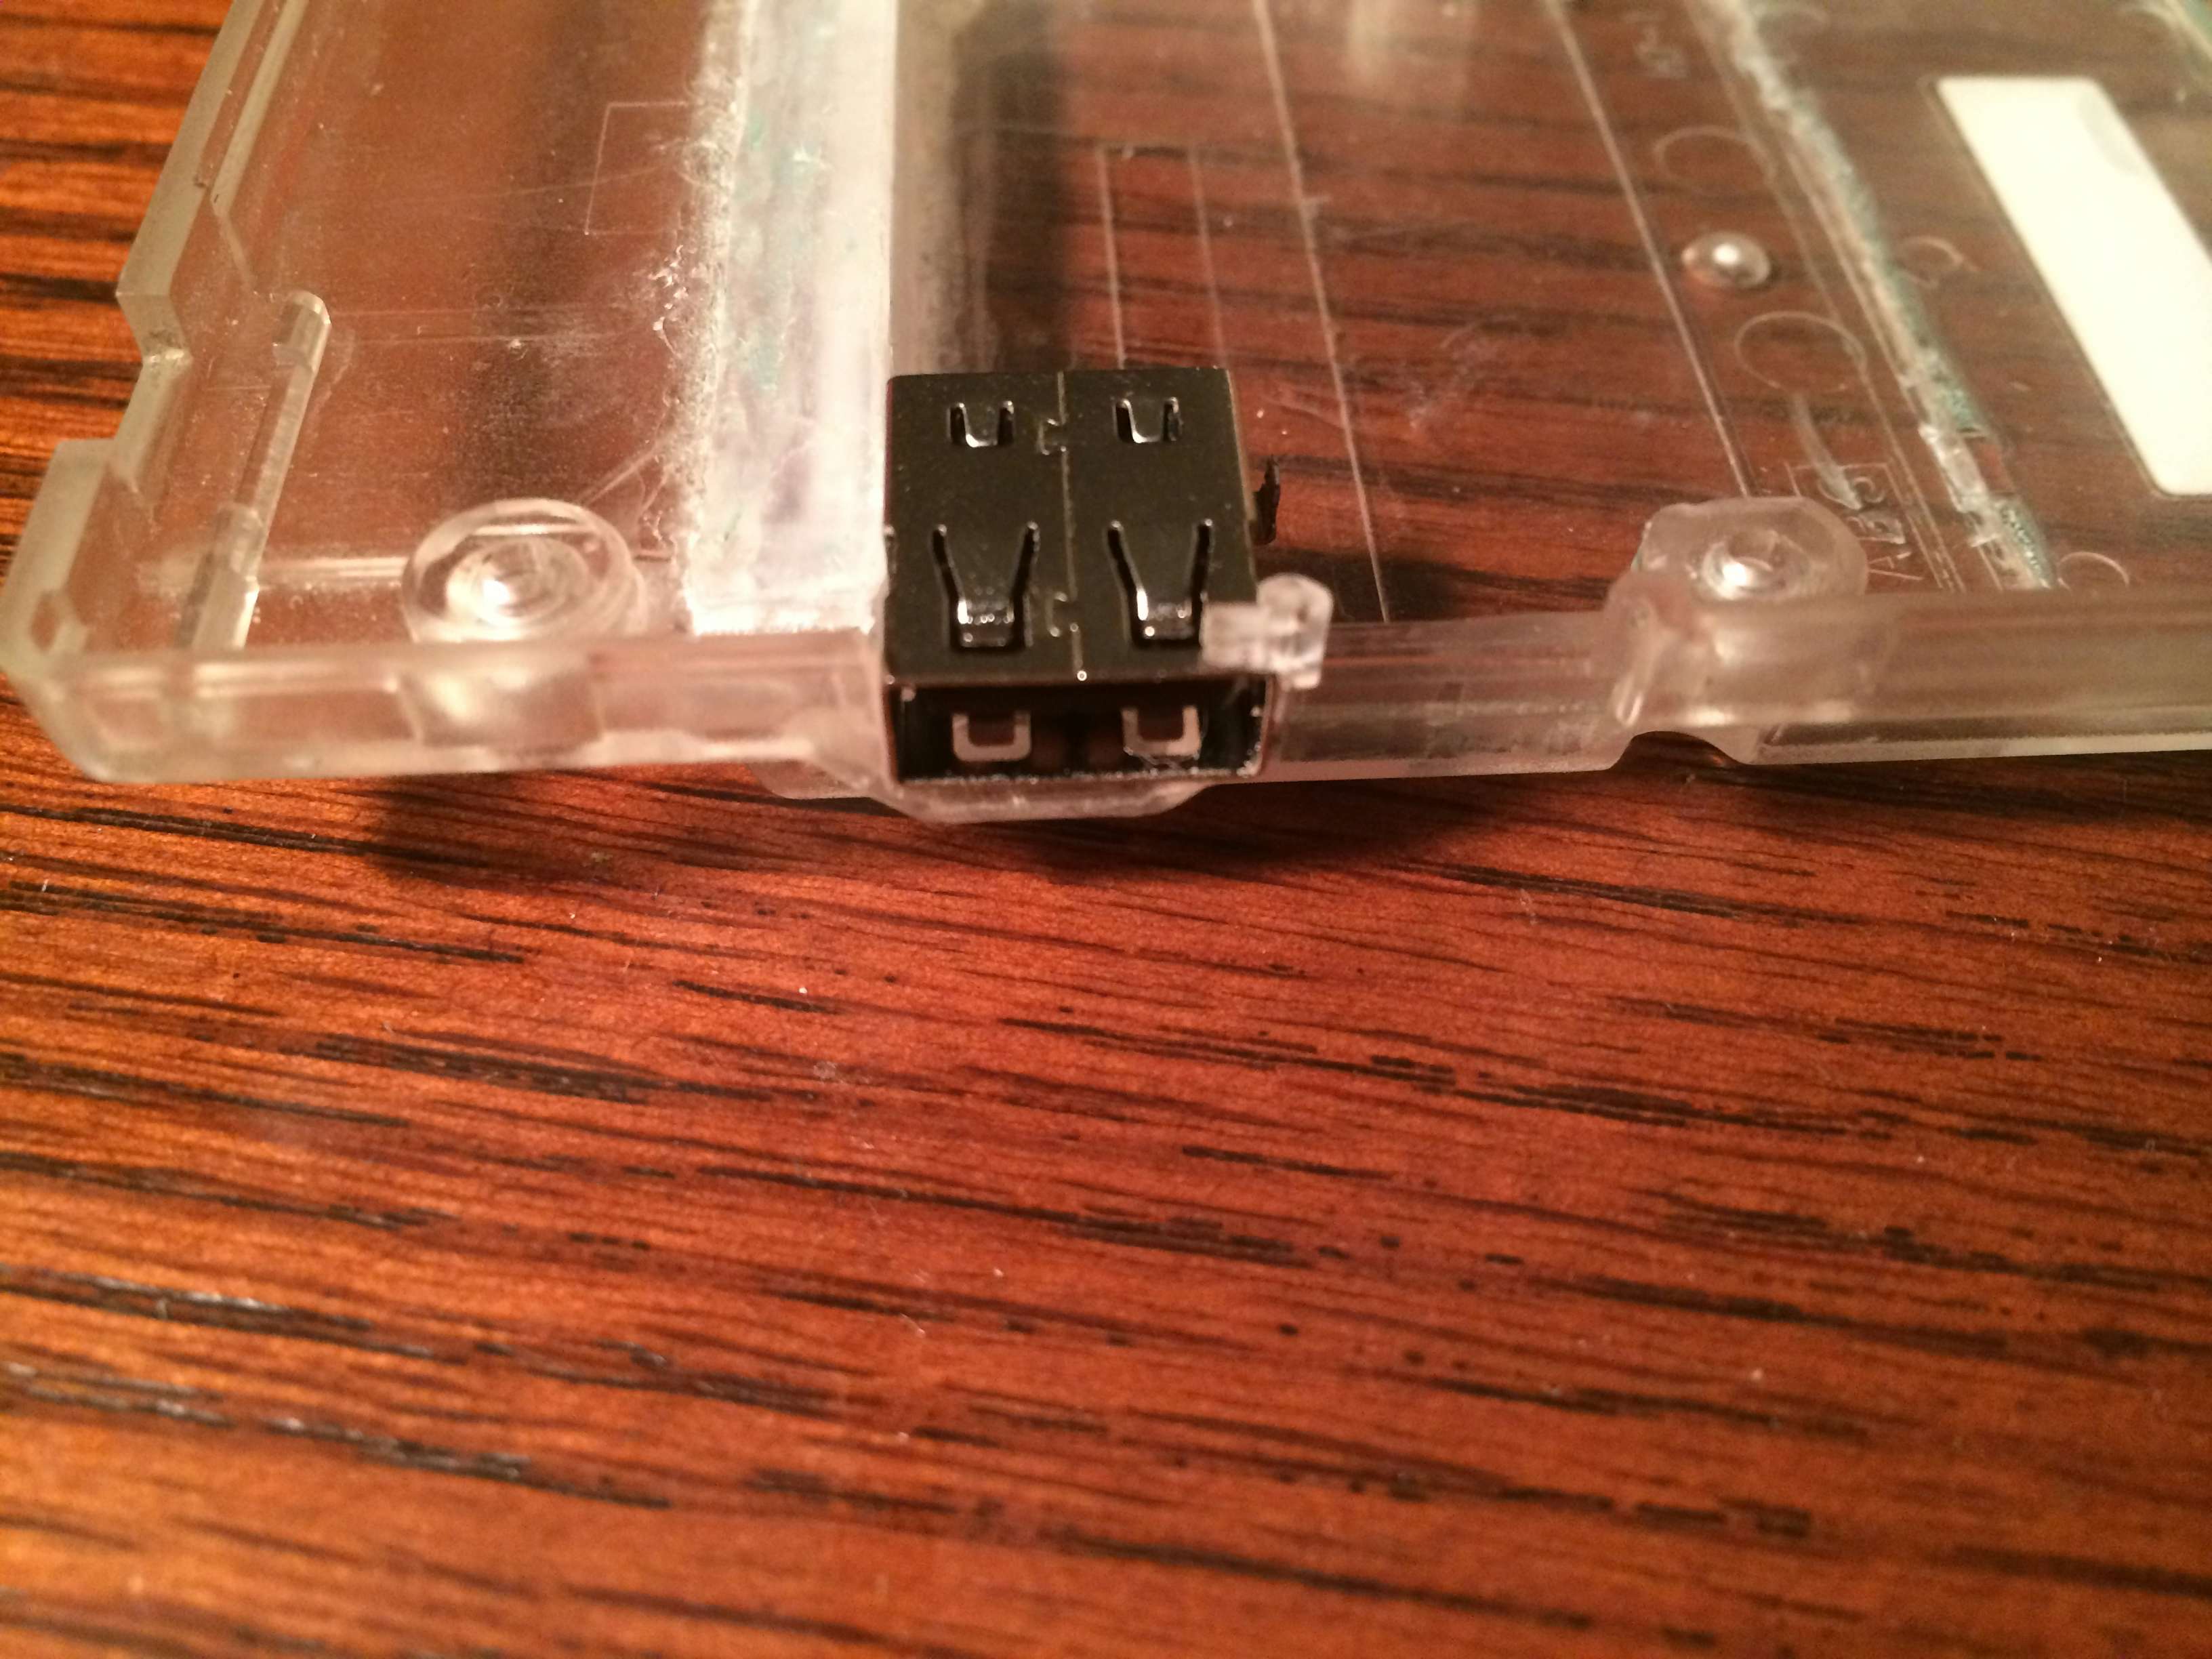
Speaking of SD Cards and USB ports it was time to cut some holes in the hole I just filled in o_O. First a slot that was slightly larger than the SD Card was cut in the top to align with the Raspberry Pi’s SD Card socket. At this point it became obvious that with the size of the battery it would not be possible to mount the USB port in the cartridge slot. This was fine as necessity is the mother of invention and the USB port was soon mounted in the area previously occupied by the EXT (Link Cable) connector. This actually solved another problem of needing to fill in the gap where the EXT port used to reside by filling it in with the modern PC’s equivalent of an EXT port.
Gamepad
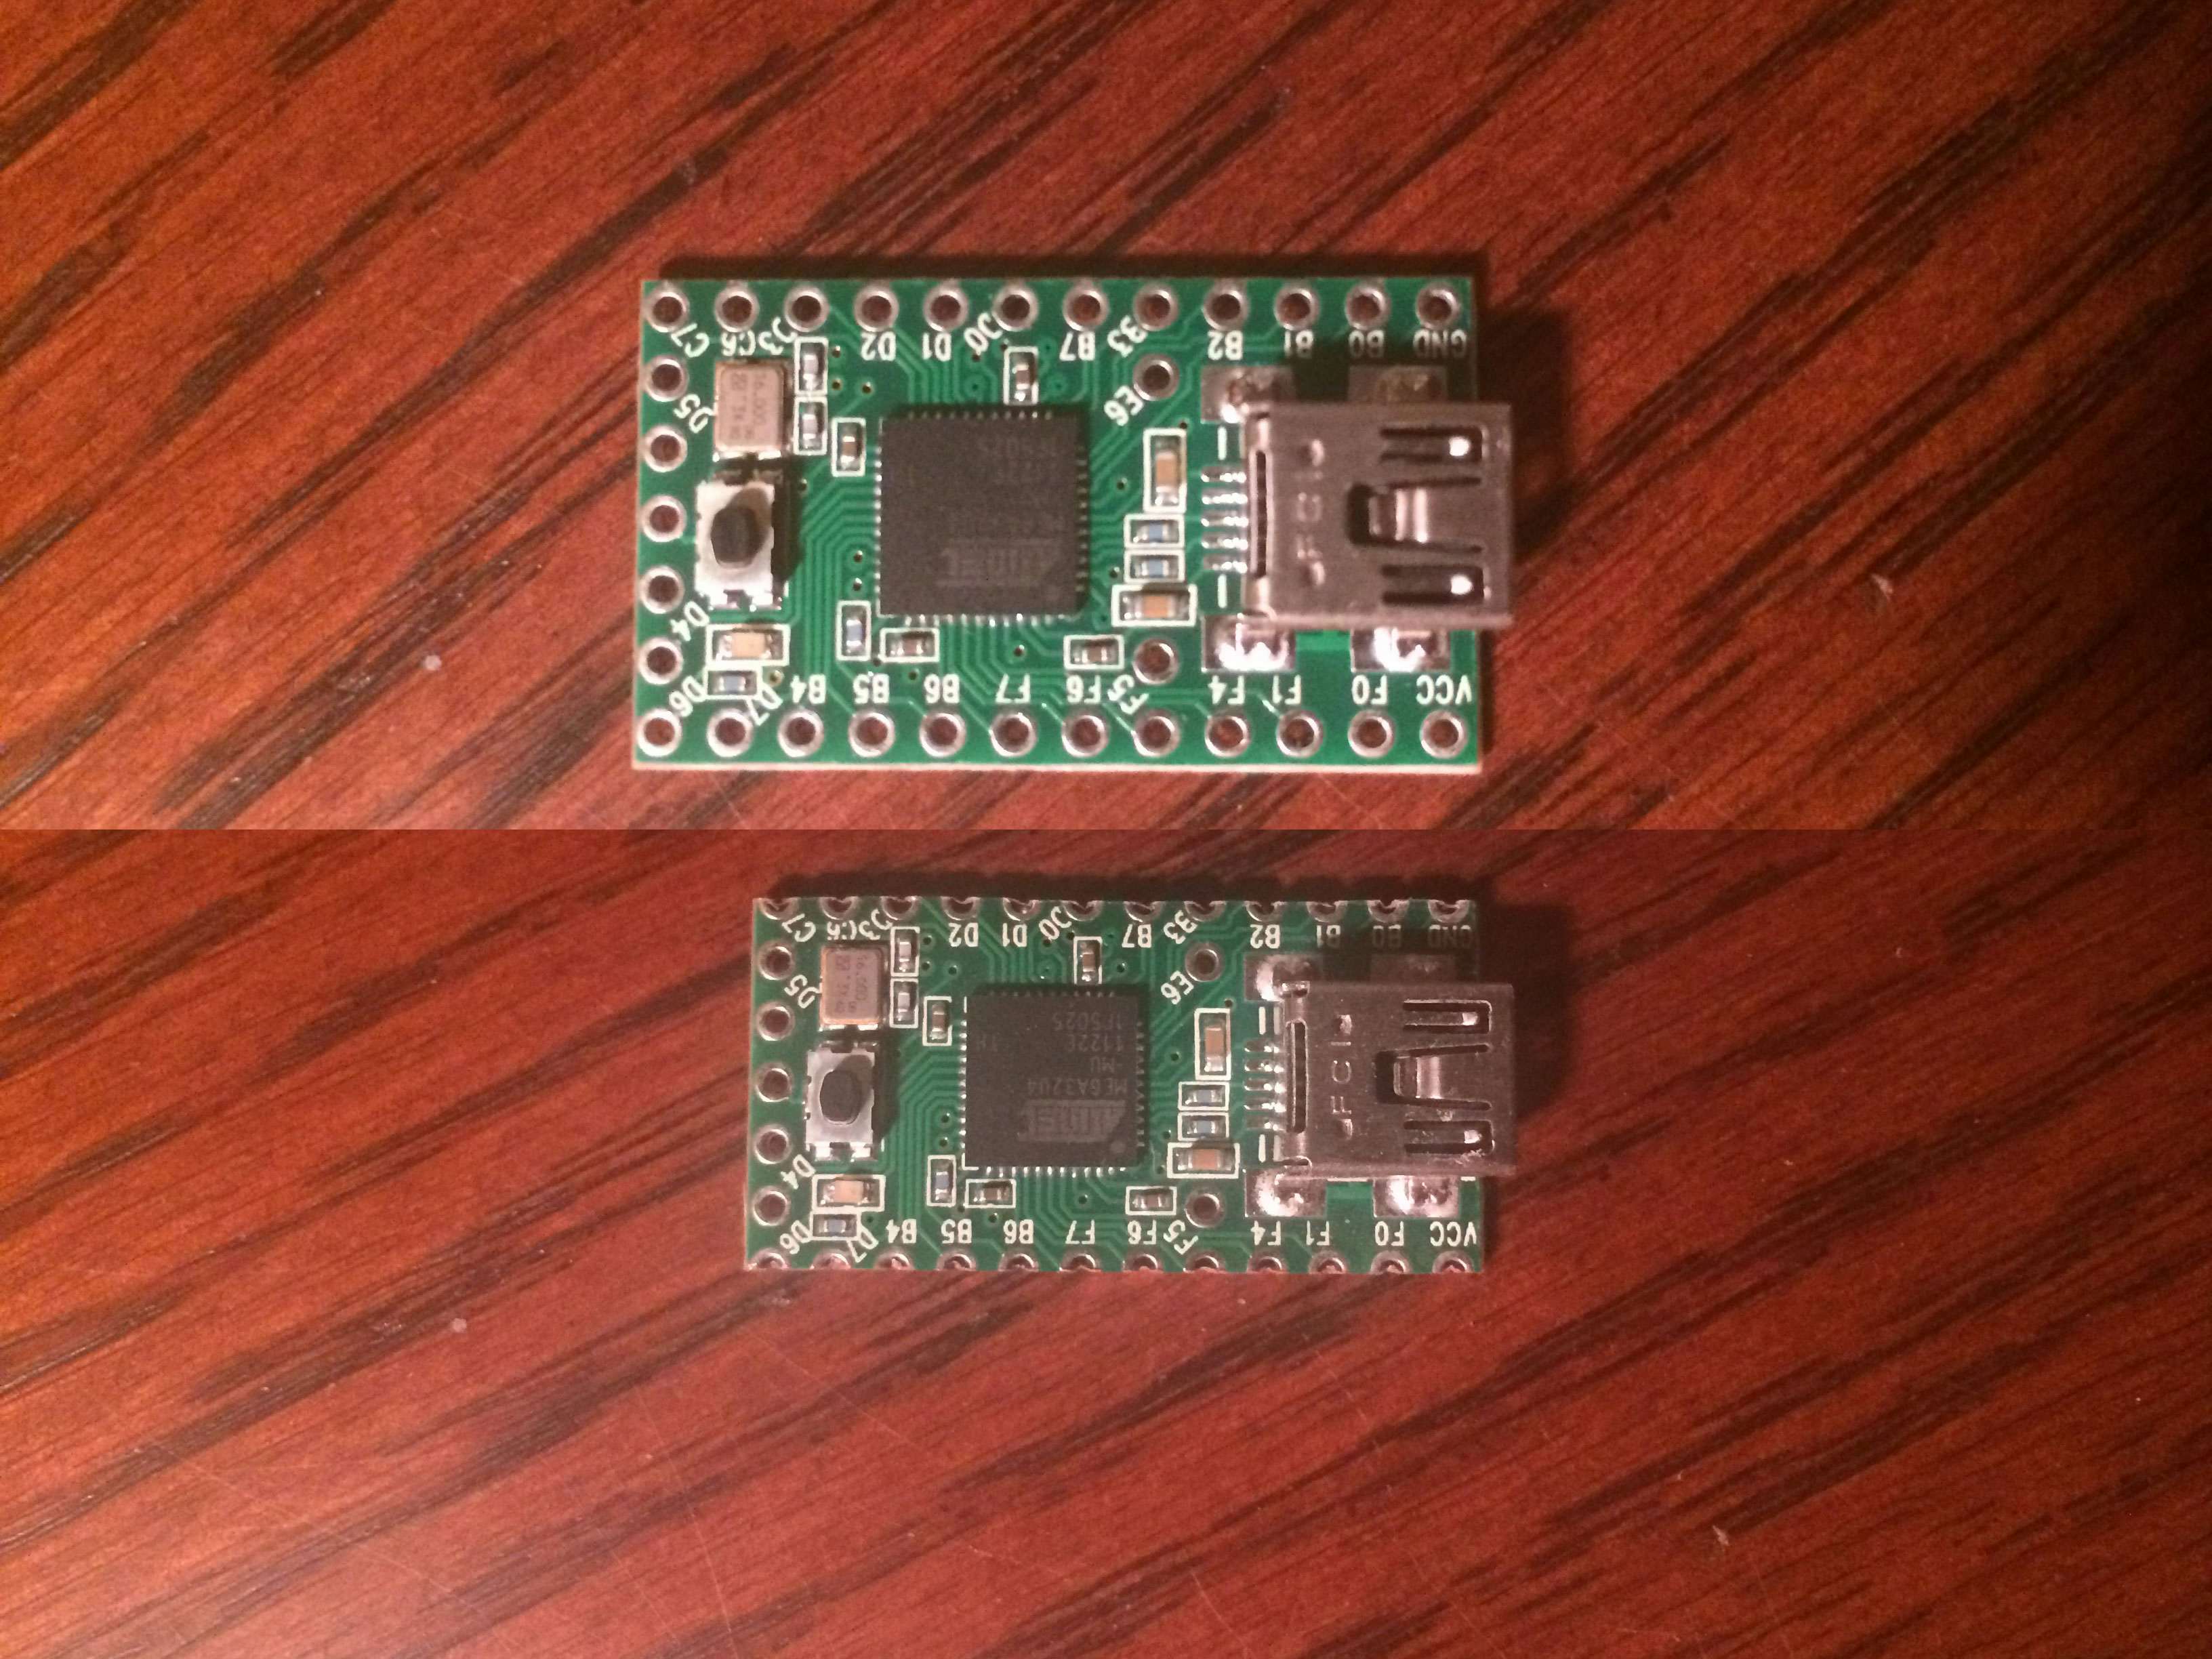
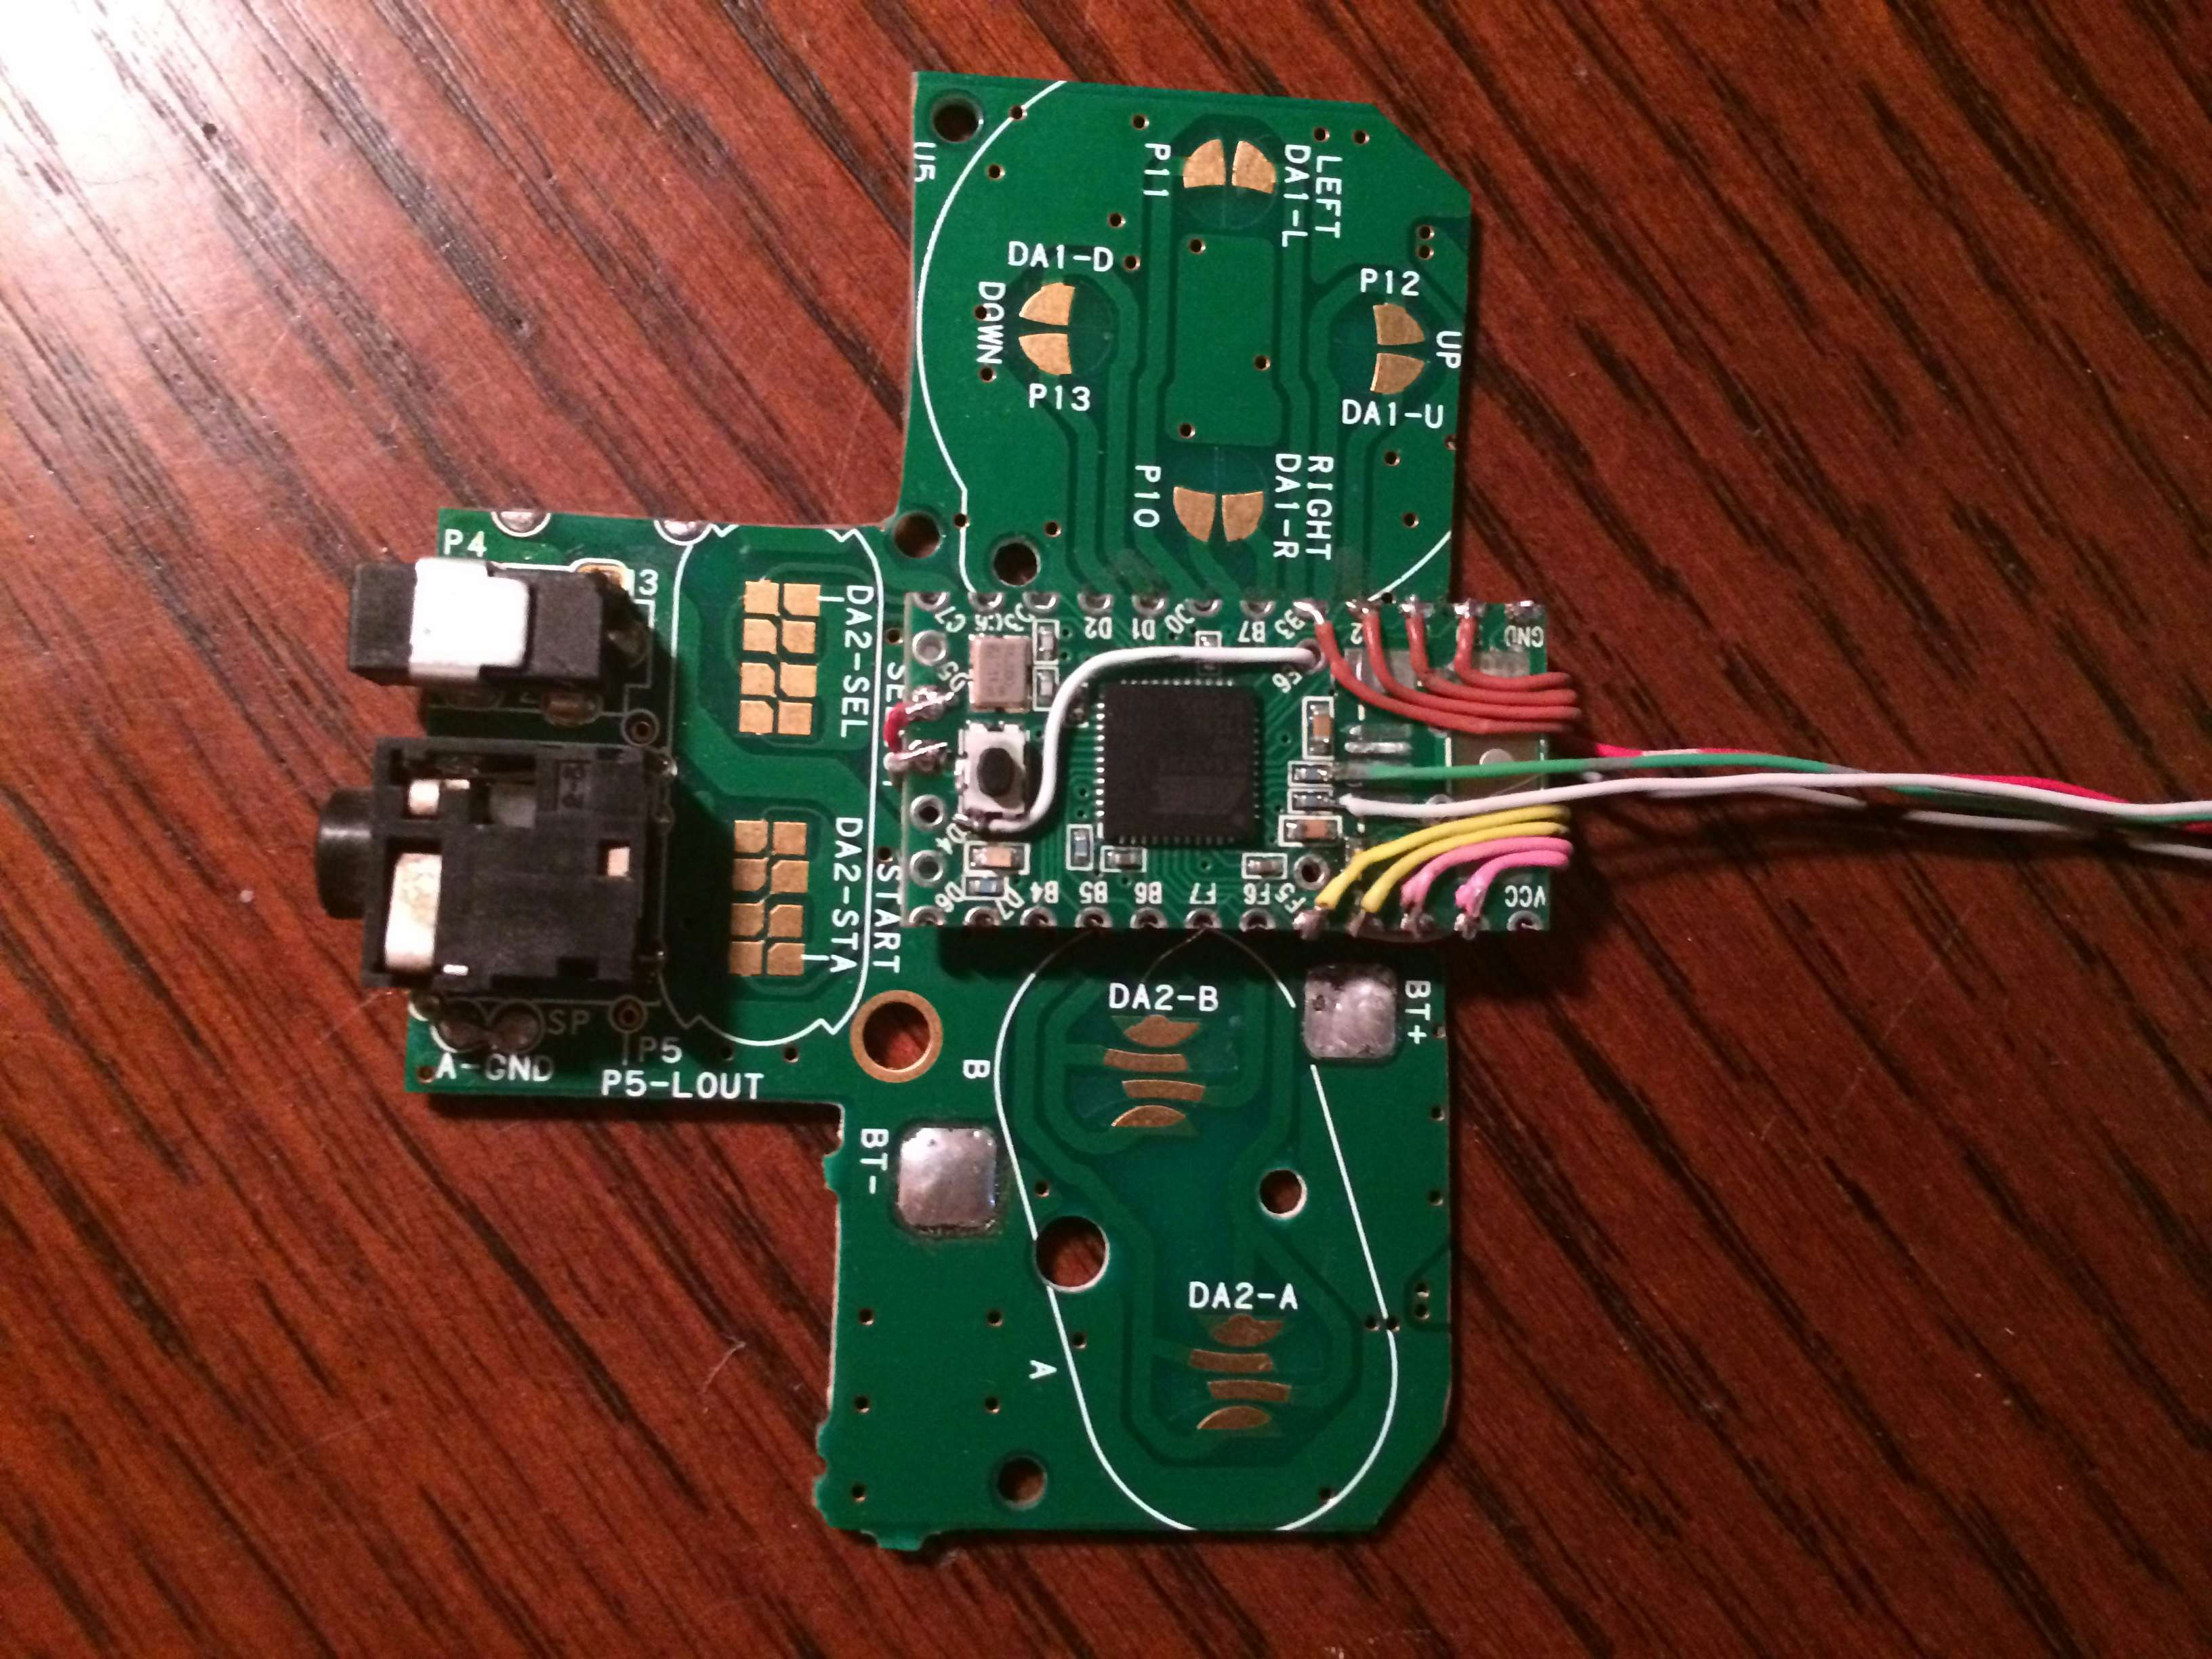
Input to the Raspberry Pi will be accomplished through the original Gameboy button pad. The button pad will then be interfaced using a Teensy 2.0 that will provide simulated keyboard input over USB in addition to other minor responsibilities.
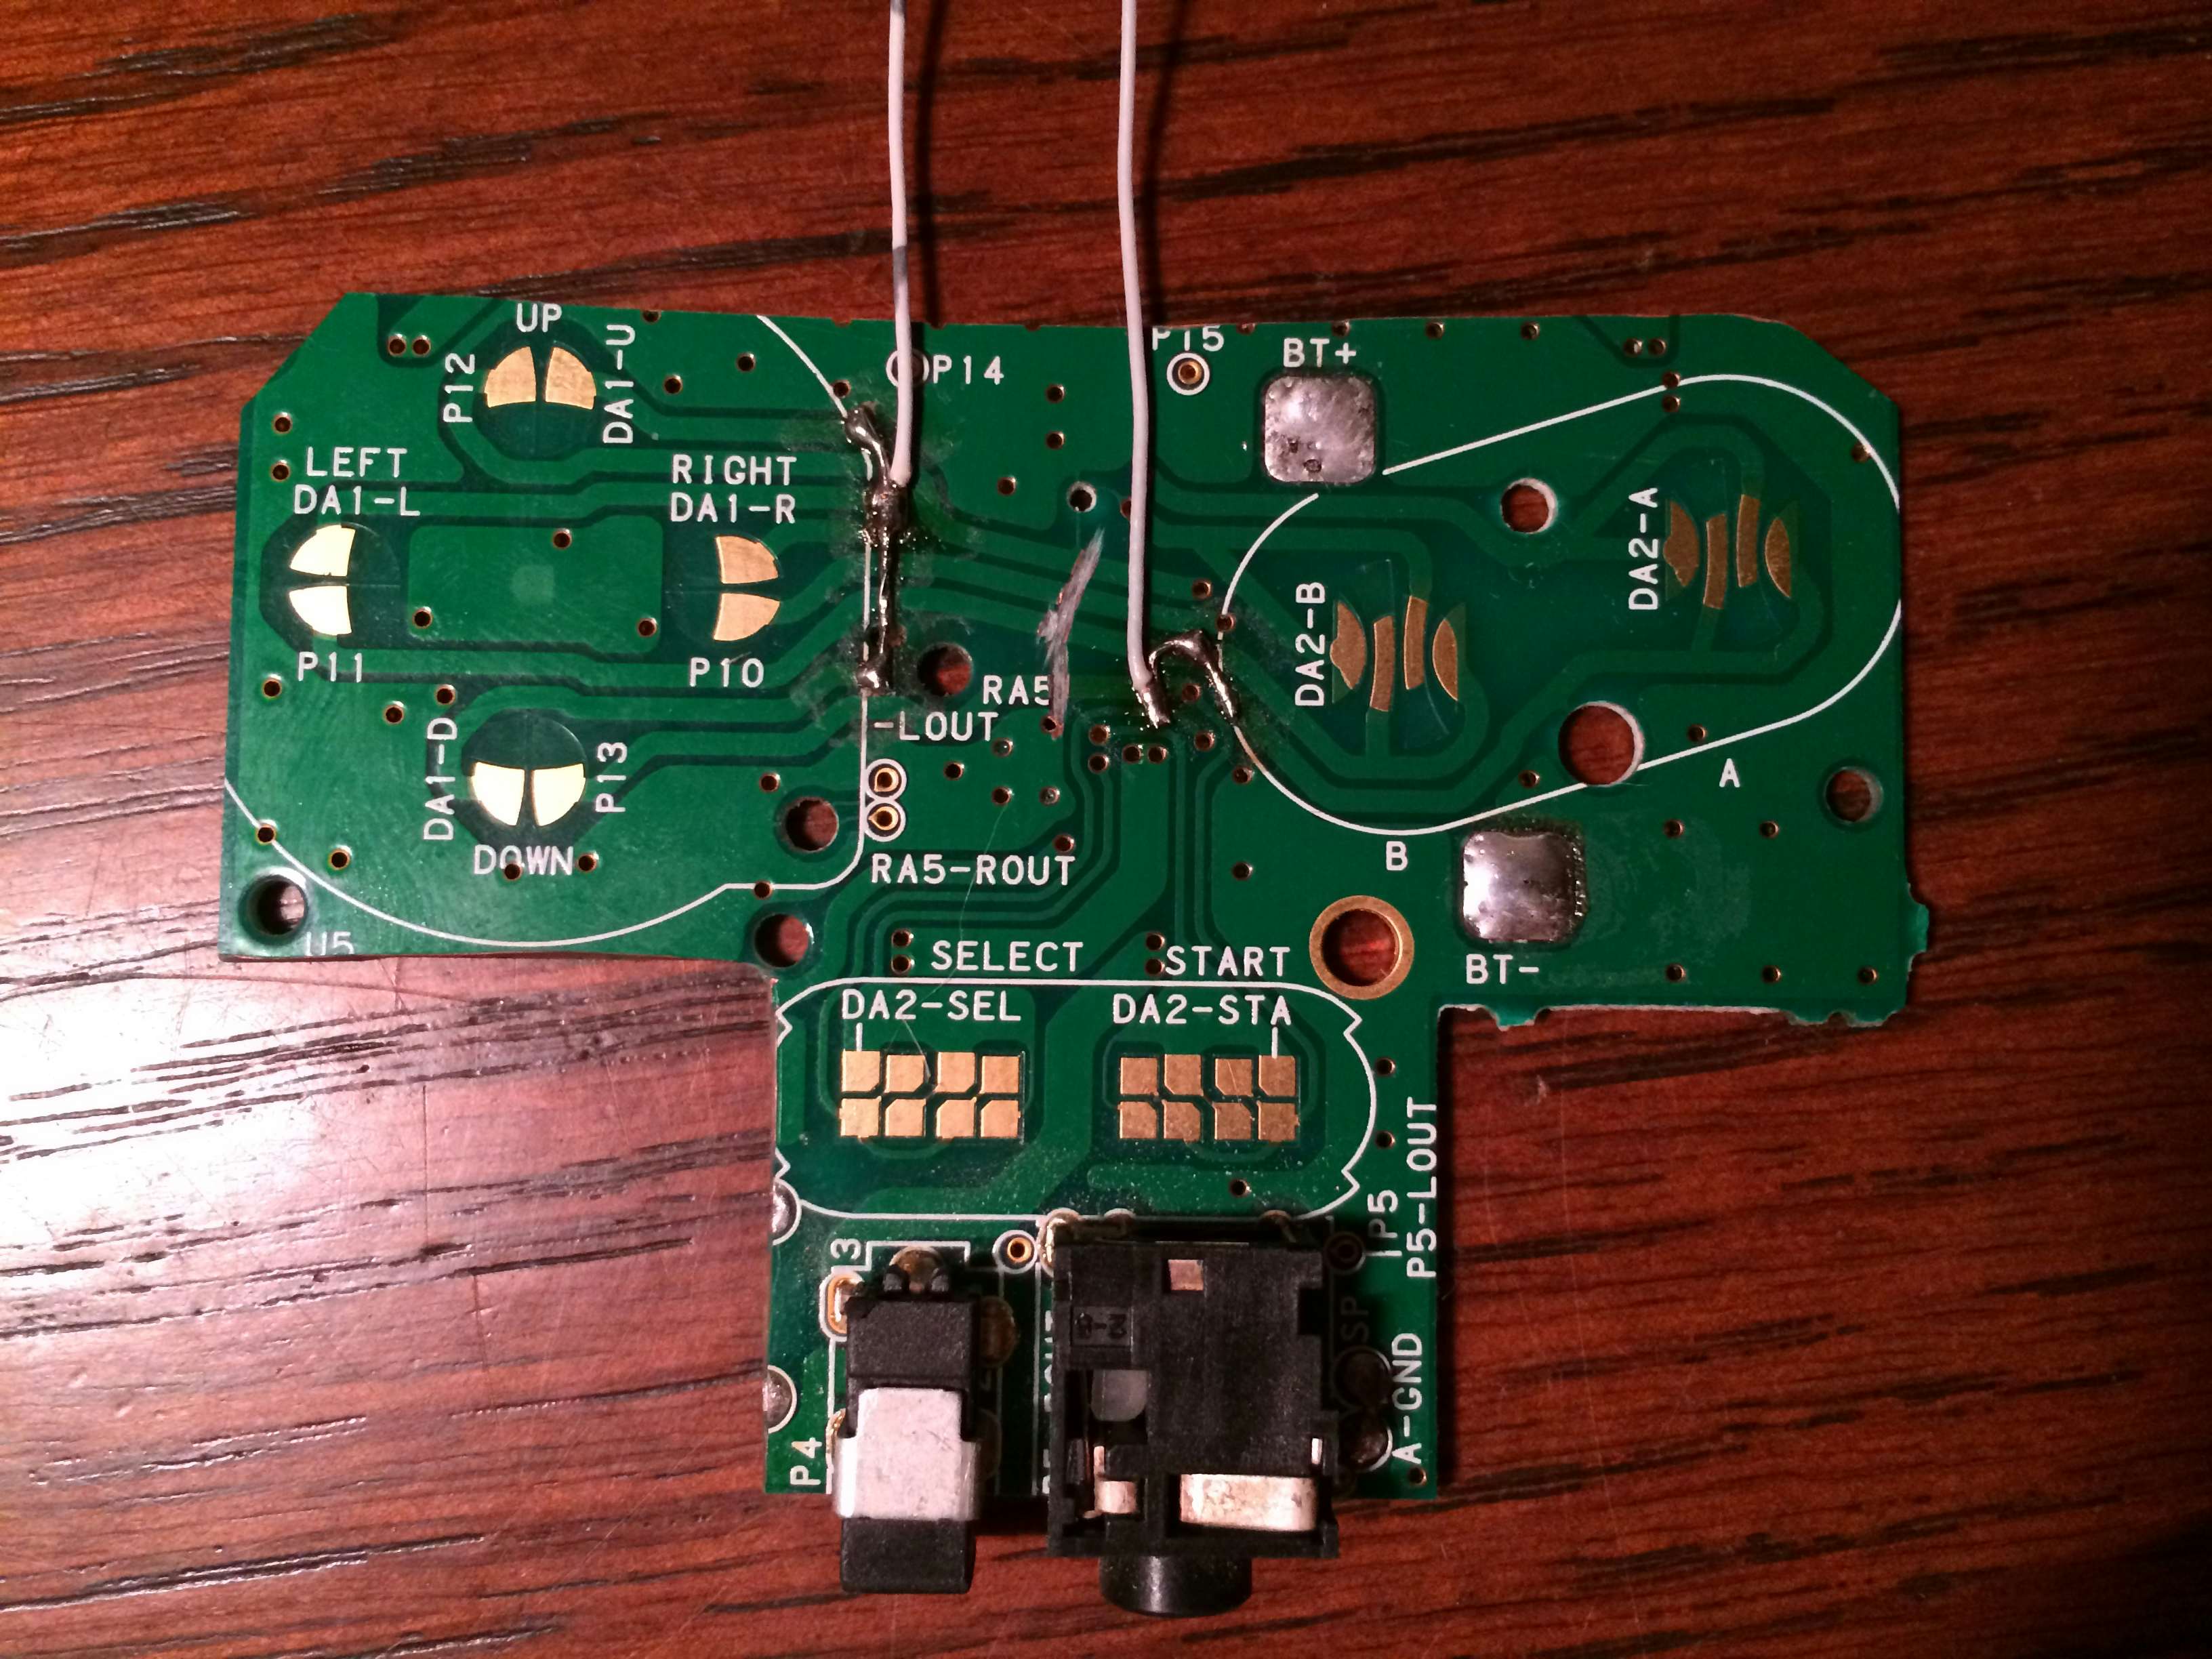
First it was necessary to desolder some of the components on the lower portion of the original PCB such as capacitors and the battery terminals.
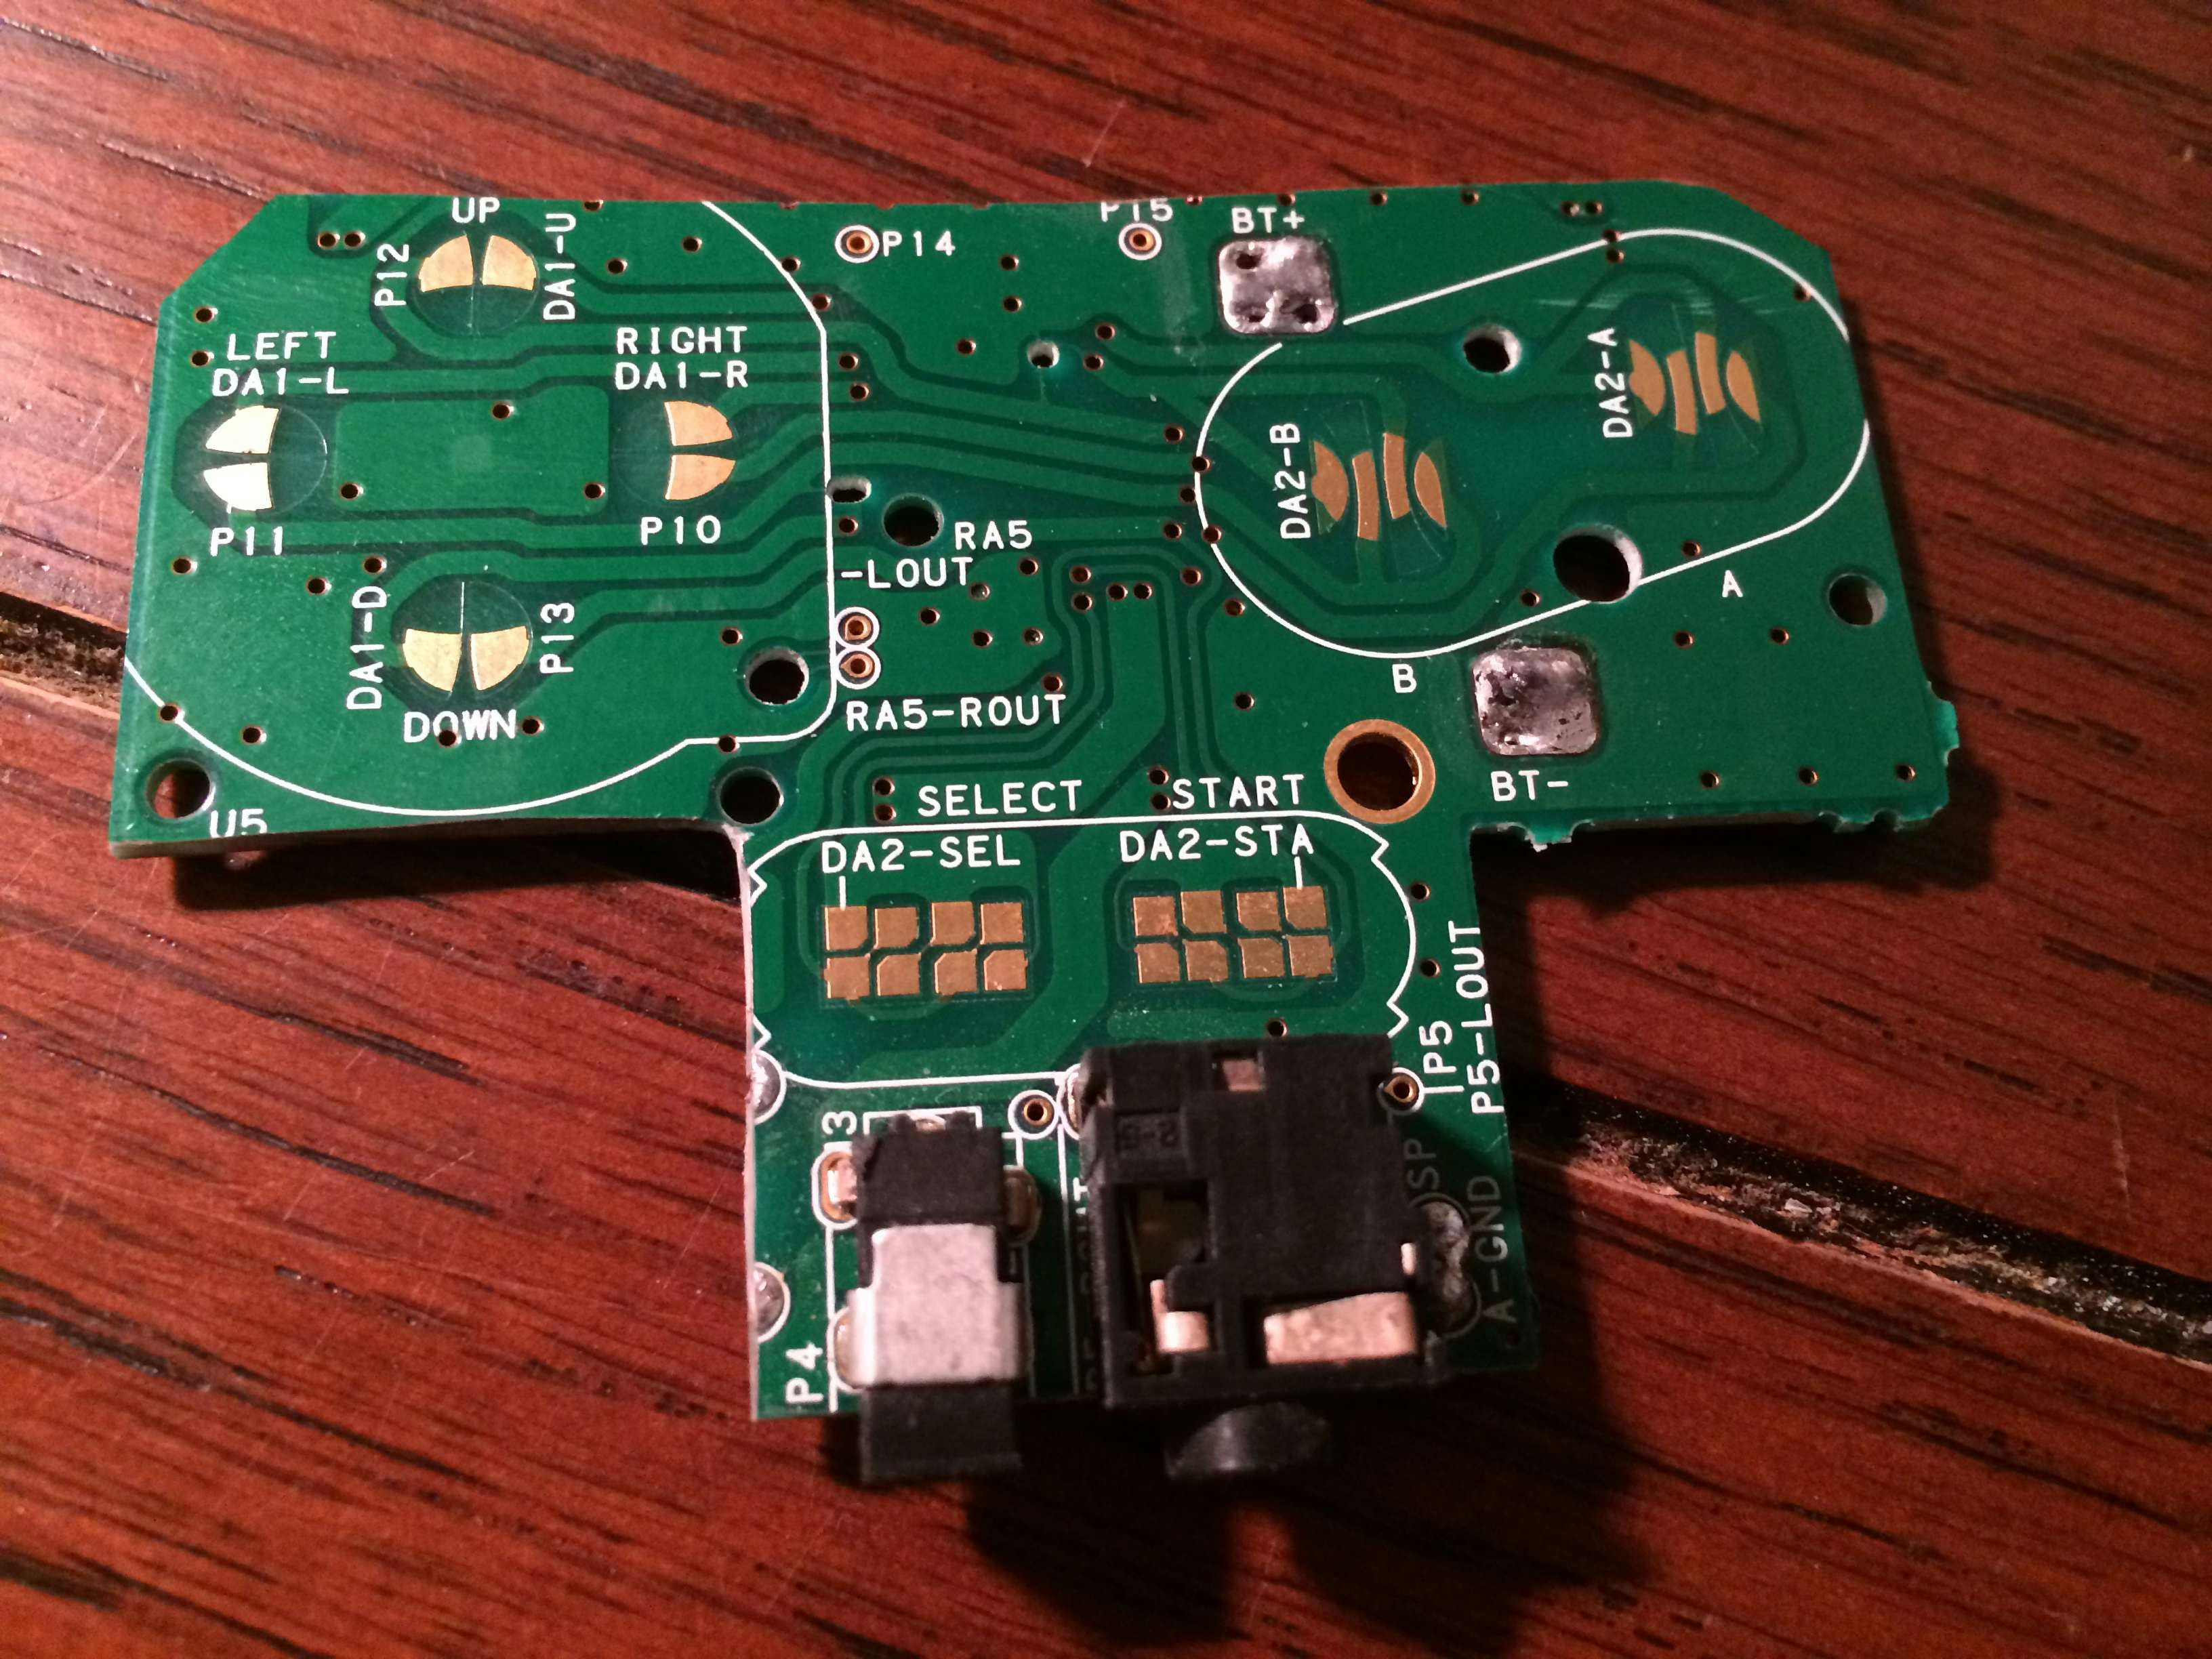
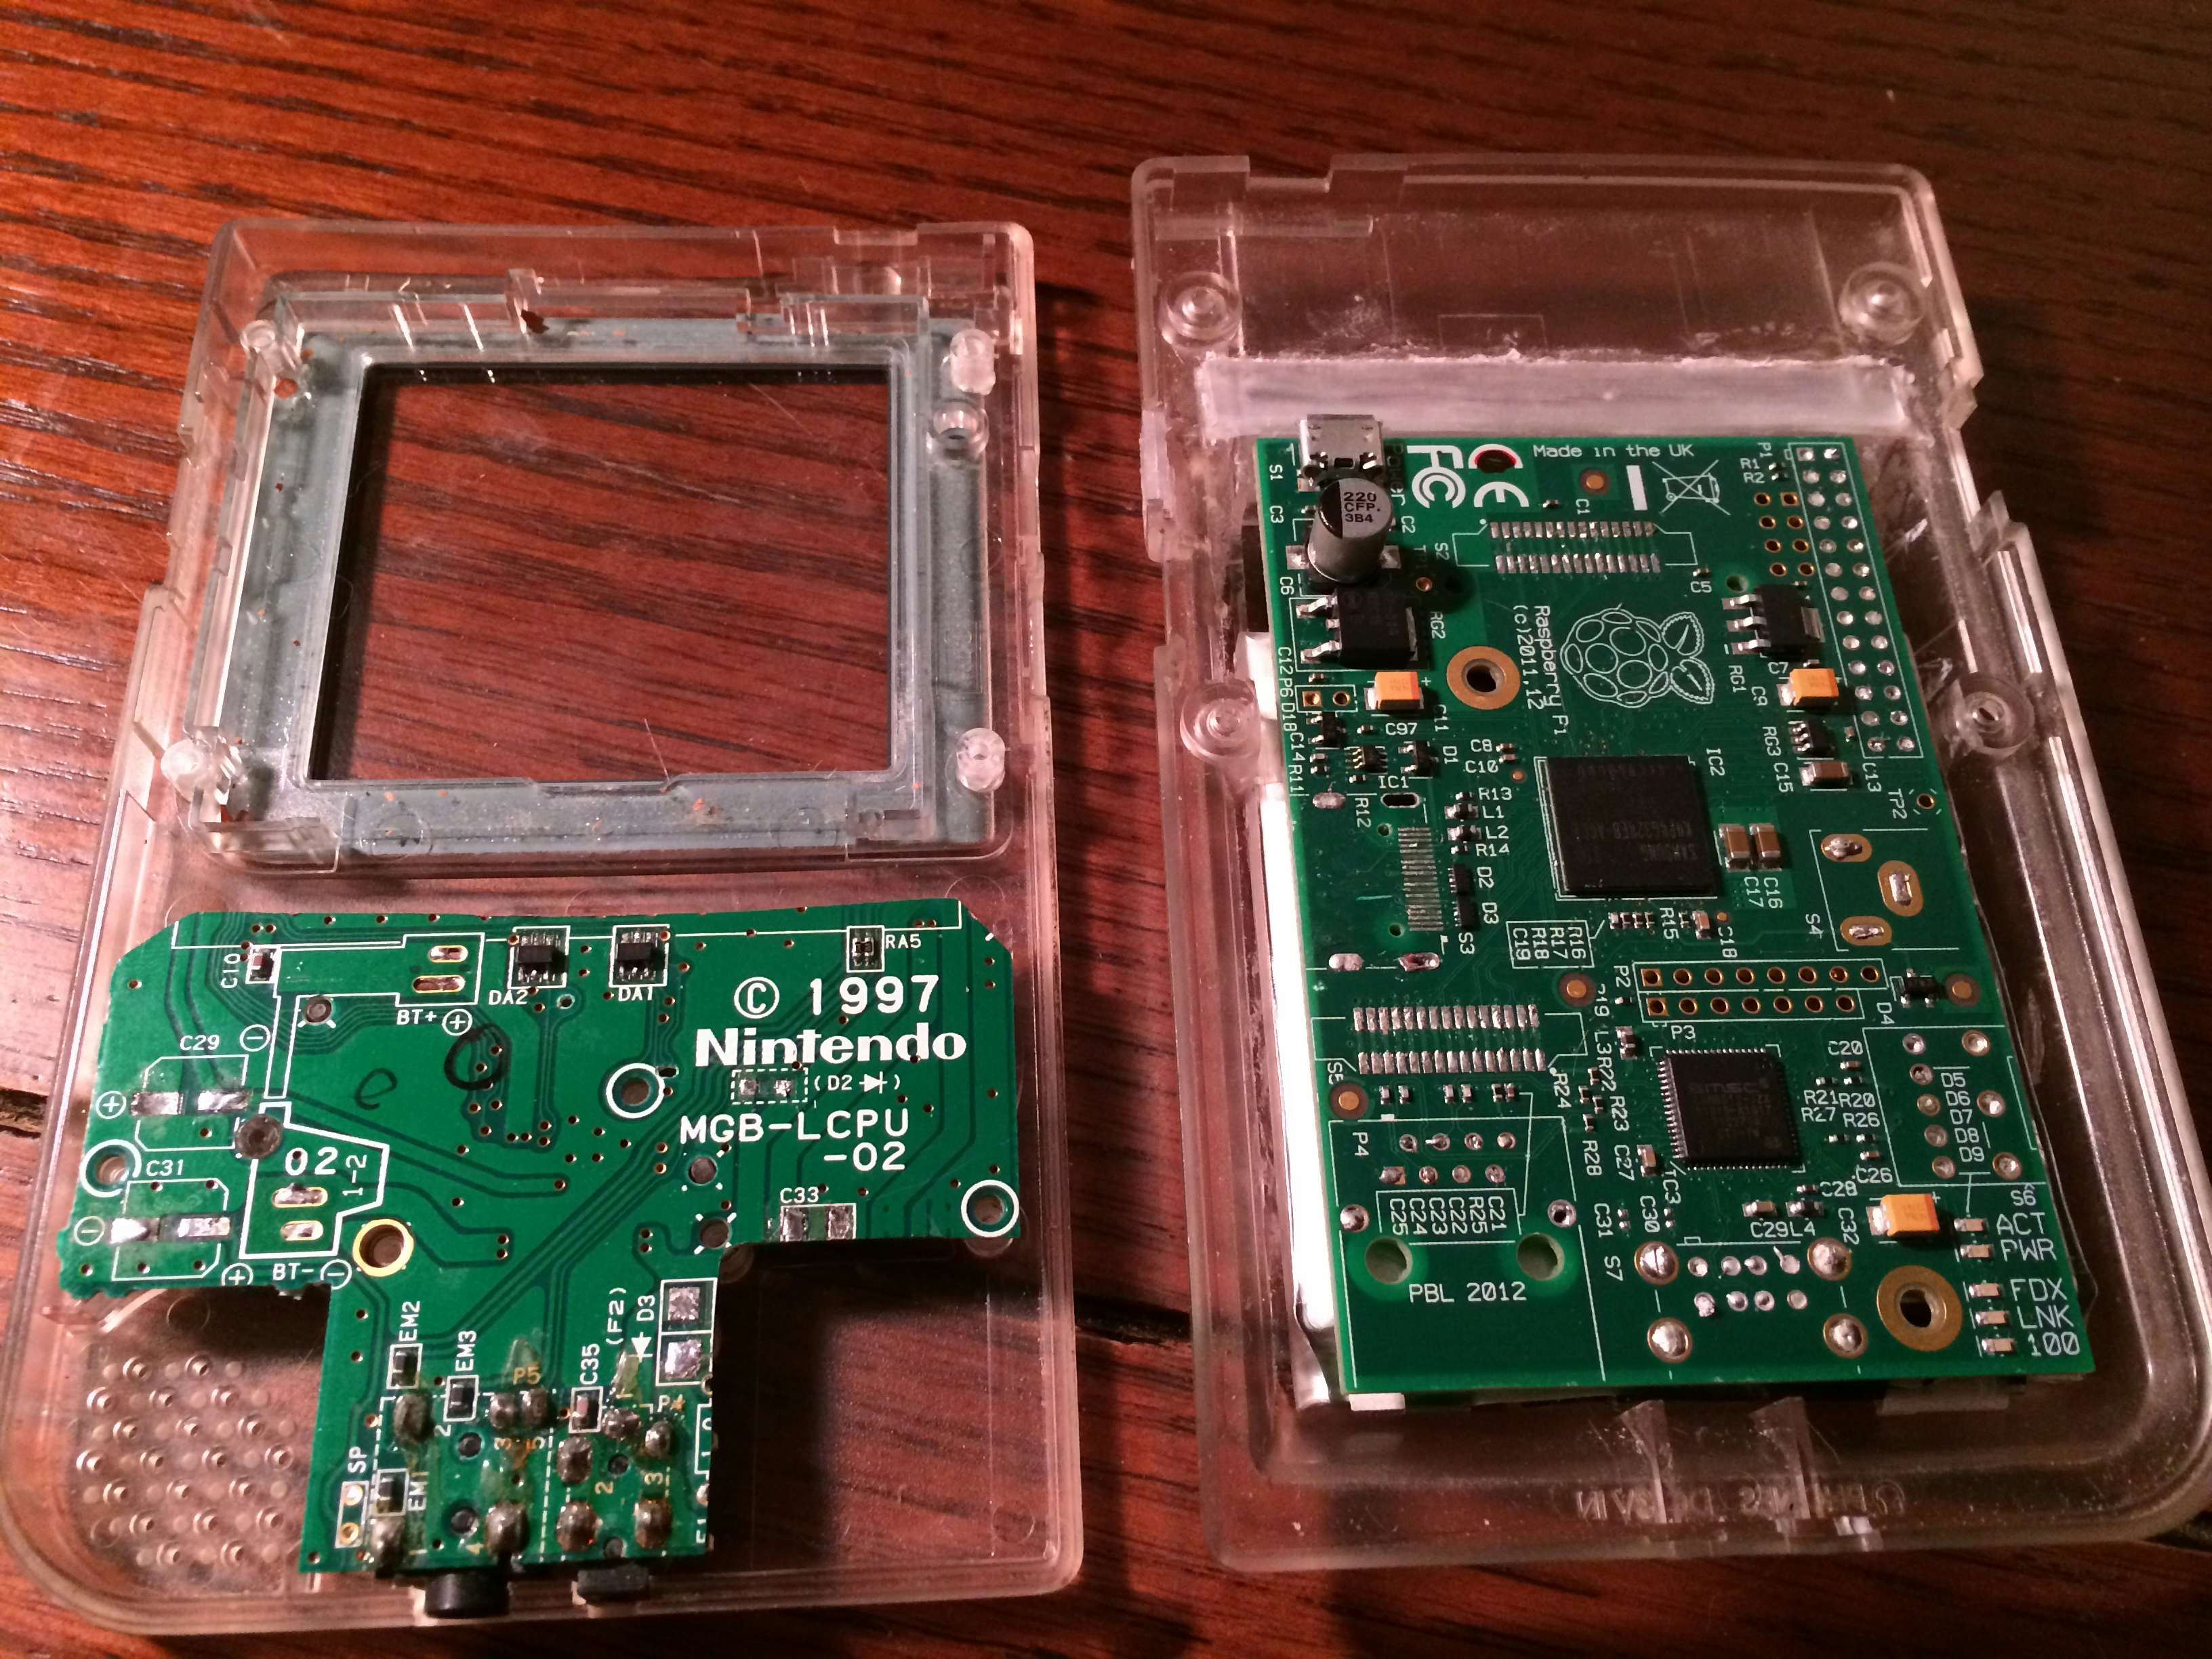
Next the PCB was cut to leave only the button pads and screw holes for mounting. The audio and power input jacks have been left in place as they will be reused during the project meaning no additional holes need to be cut in the case of the Gameboy to provide these functions.
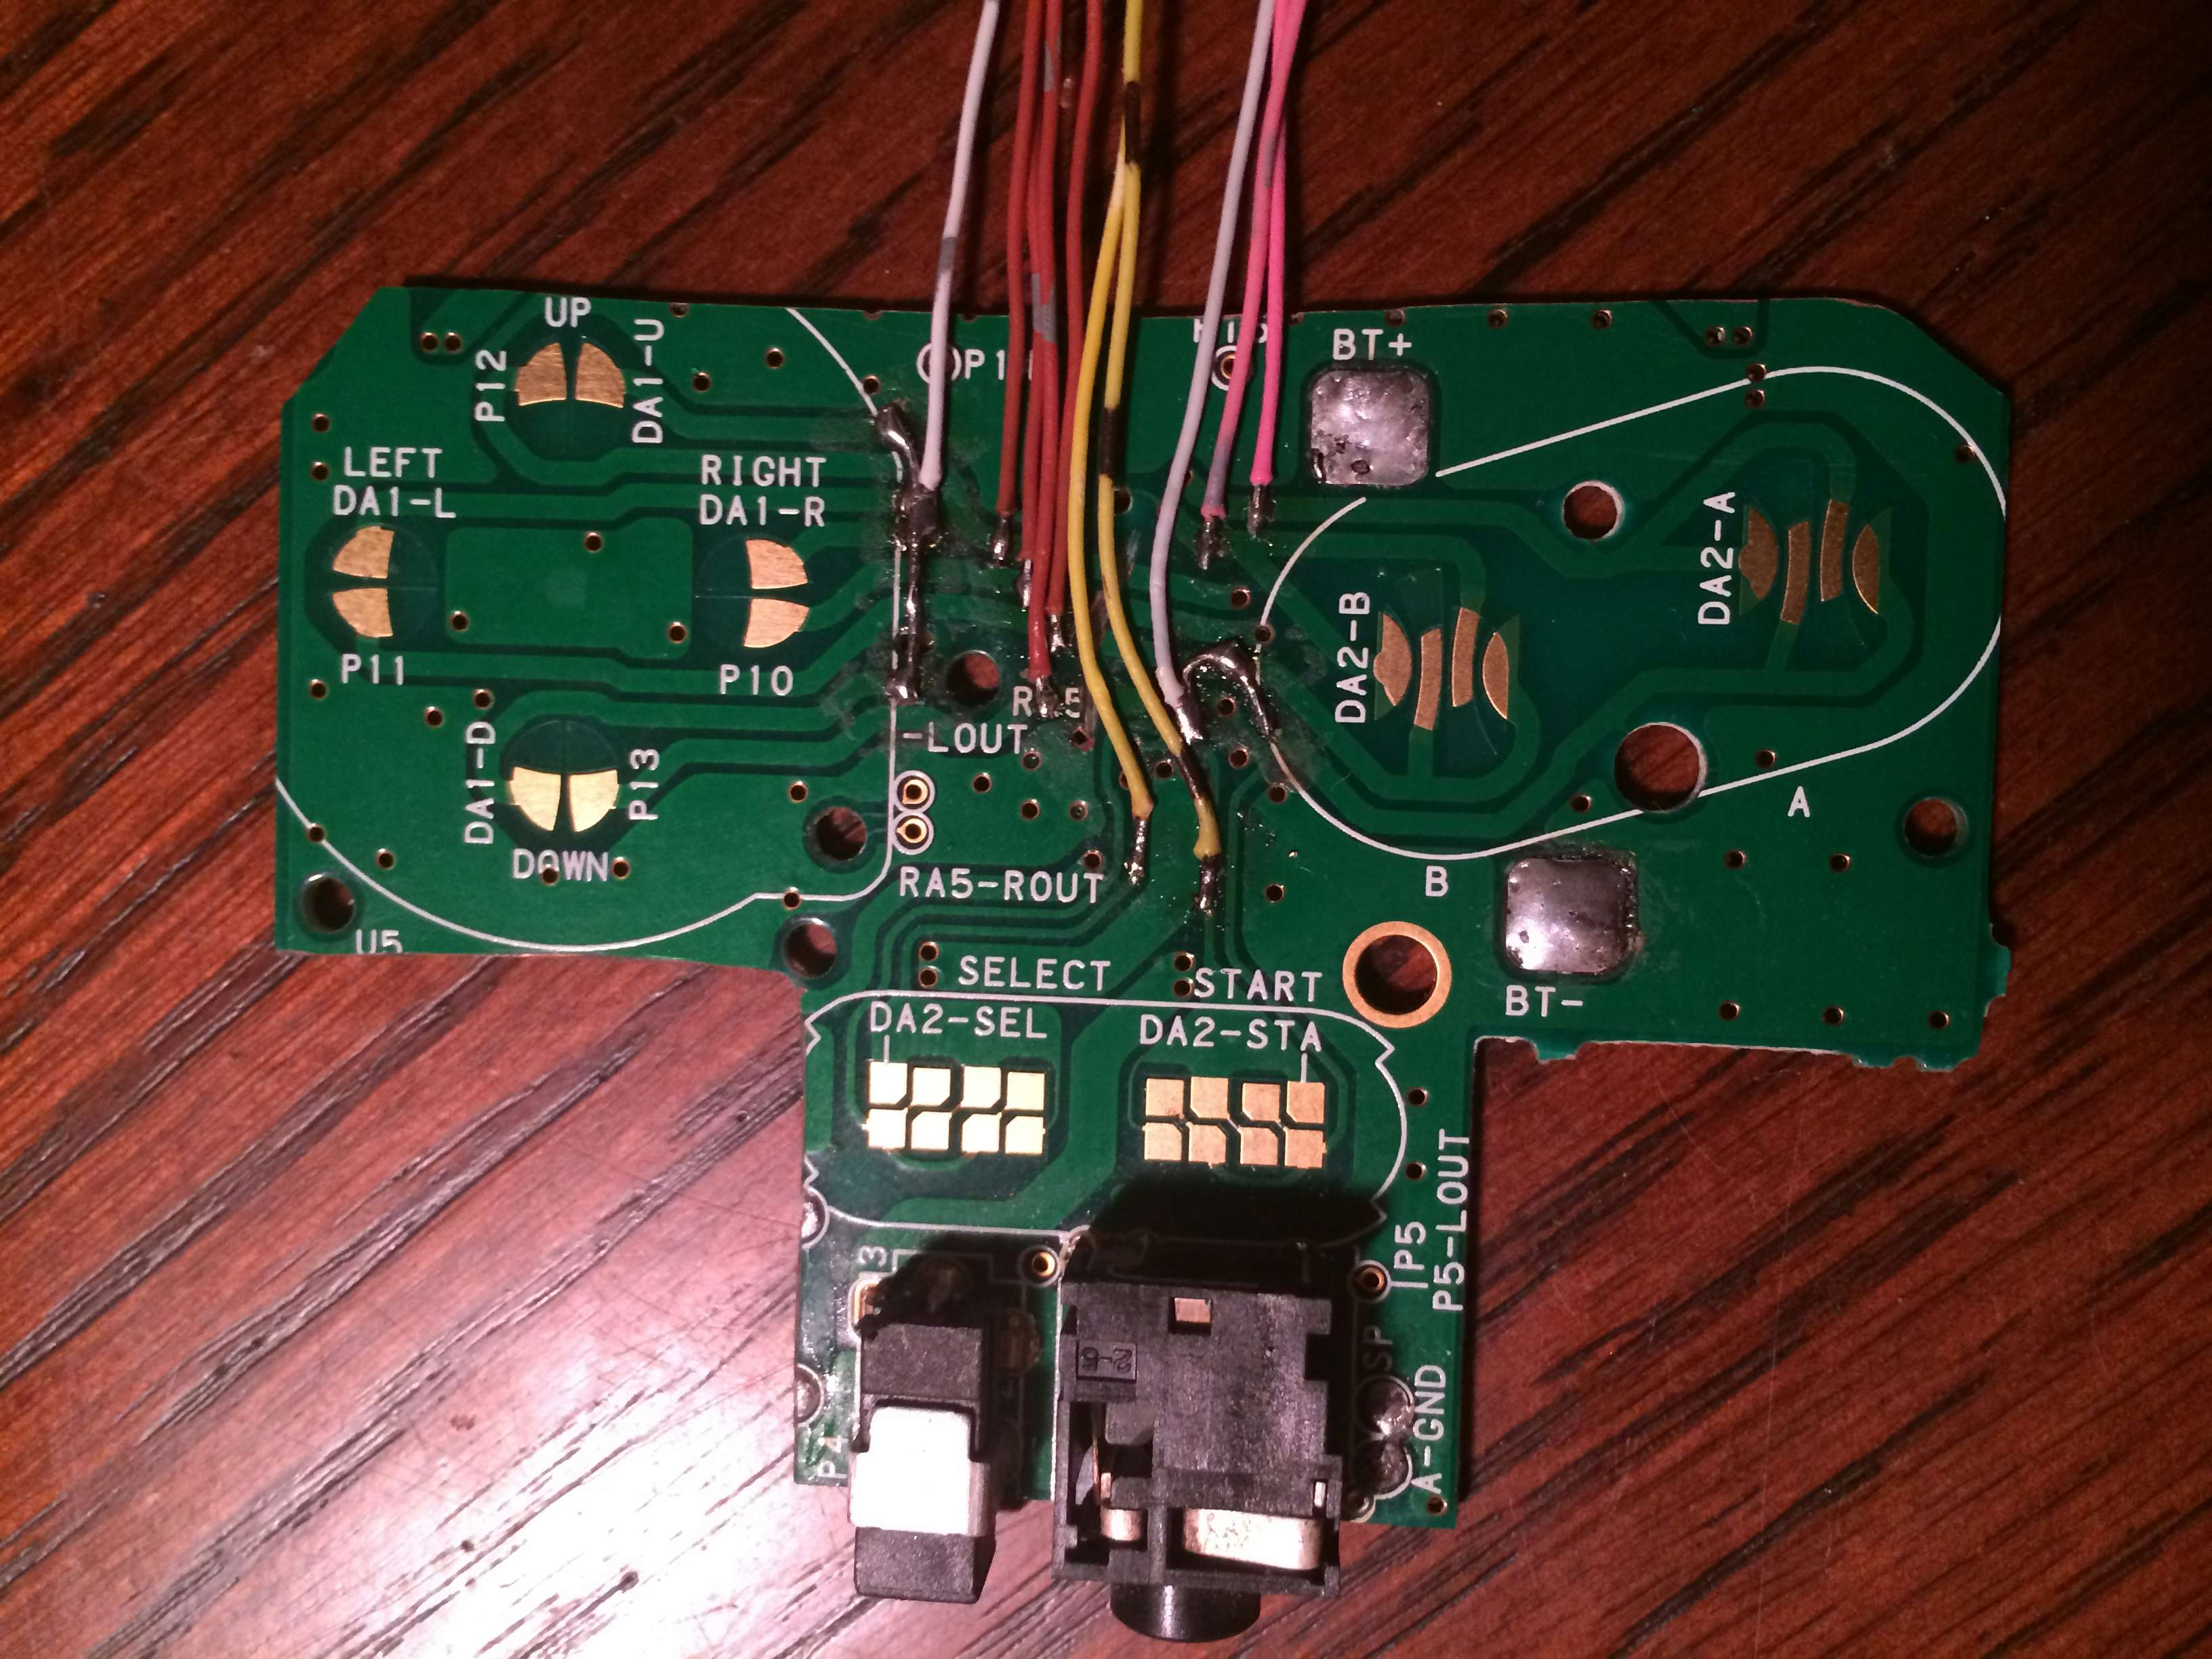
The first order of business was to cut several traces that connected some of the buttons in an unusual way. Next one side of each of the buttons are tied together into a common ground type setup. The Teensy has plenty of I/O available so there is no need to multiplex the buttons. Lastly an additional wire is added to the non-common side of each button. There are a total of 10 wires, representing 8 buttons and 2 grounds. The two grounds will be tied together once connected to the Teensy.
The Teensy by virtue is already very small and powerful however I still needed to trim the device down considerably before it could be used in the Pi-Pocket. First the sides were trimmed leaving only a small sliver of solder area where the through-hole pins formerly resided. Next the Teensy was mounted to the Gameboy’s button board and the wires trimmed and soldered. The USB port was also removed as it would not fit in the space between the buttons otherwise.
Raspberry Pi
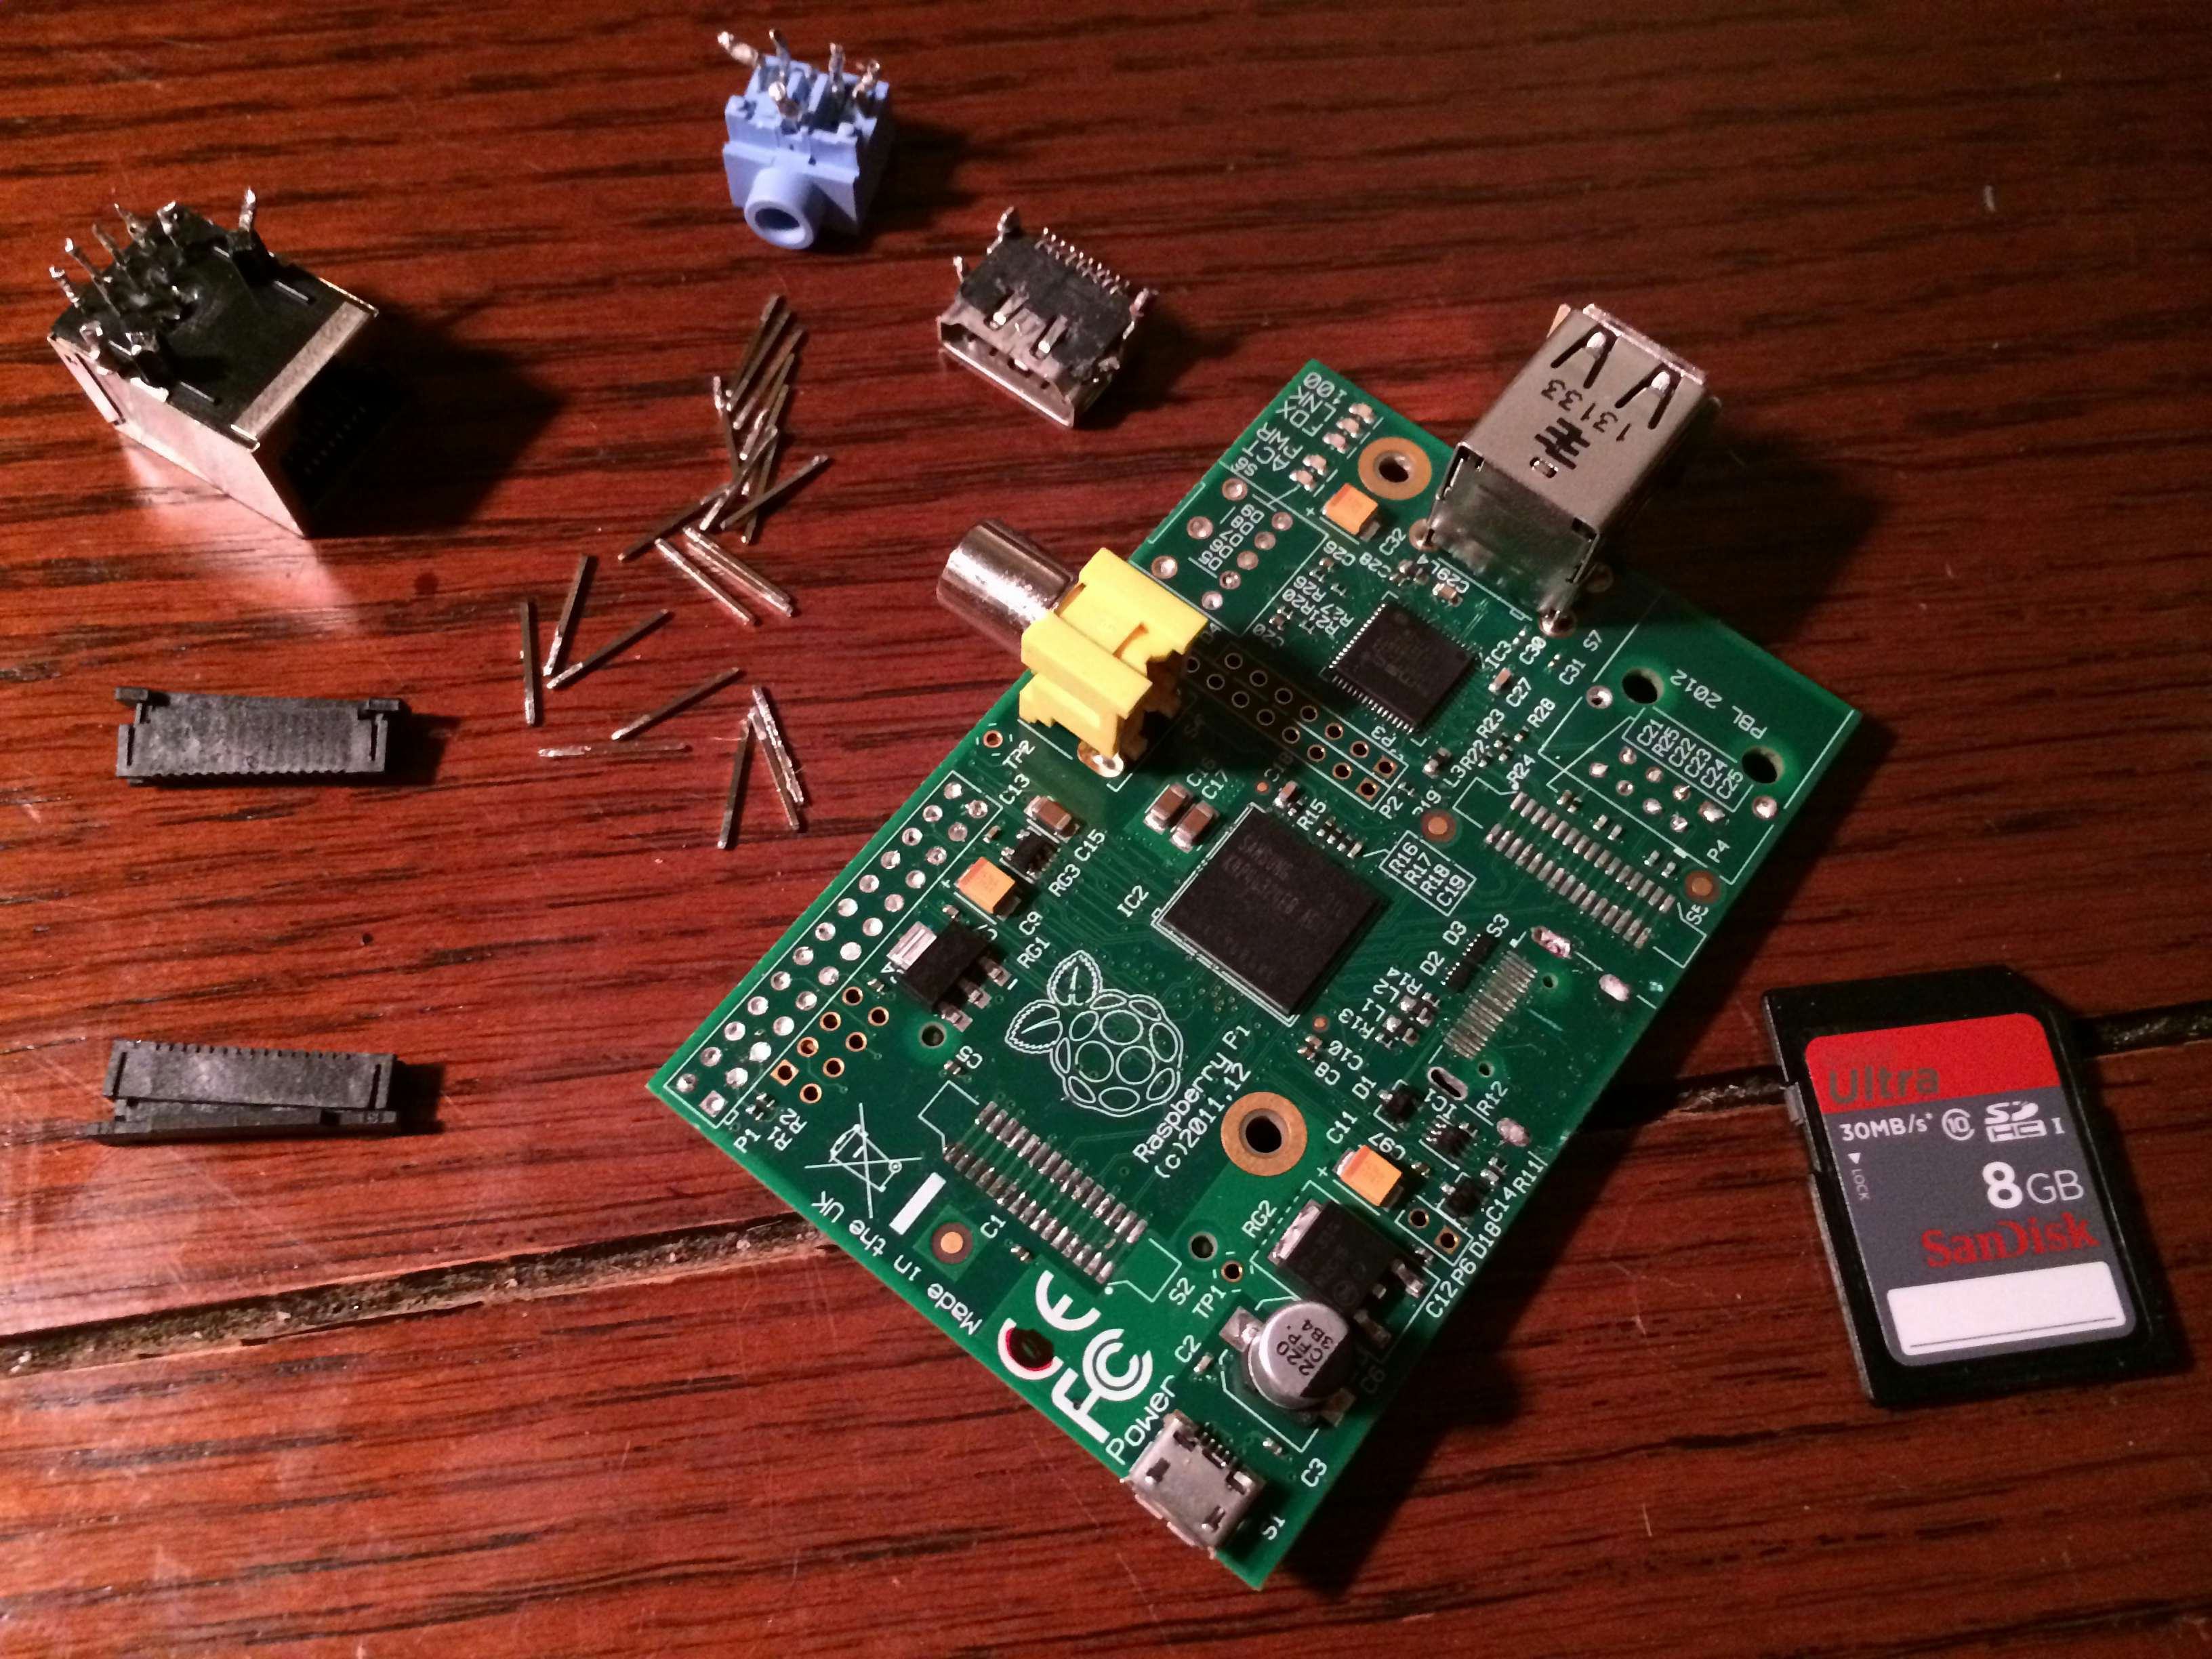
The Pi itself isn’t much smaller than the Gameboy Pocket with the thickness of the ports being the most prohibitive aspect of this project. Since the only interfaces that will be used on the Raspberry Pi are the composite video output, the USB ports, and the audio output it made sense that these and every other port be removed. Unlike the HDMI port it will be very easy to still wire into the necessary ports as they use large solder pads.
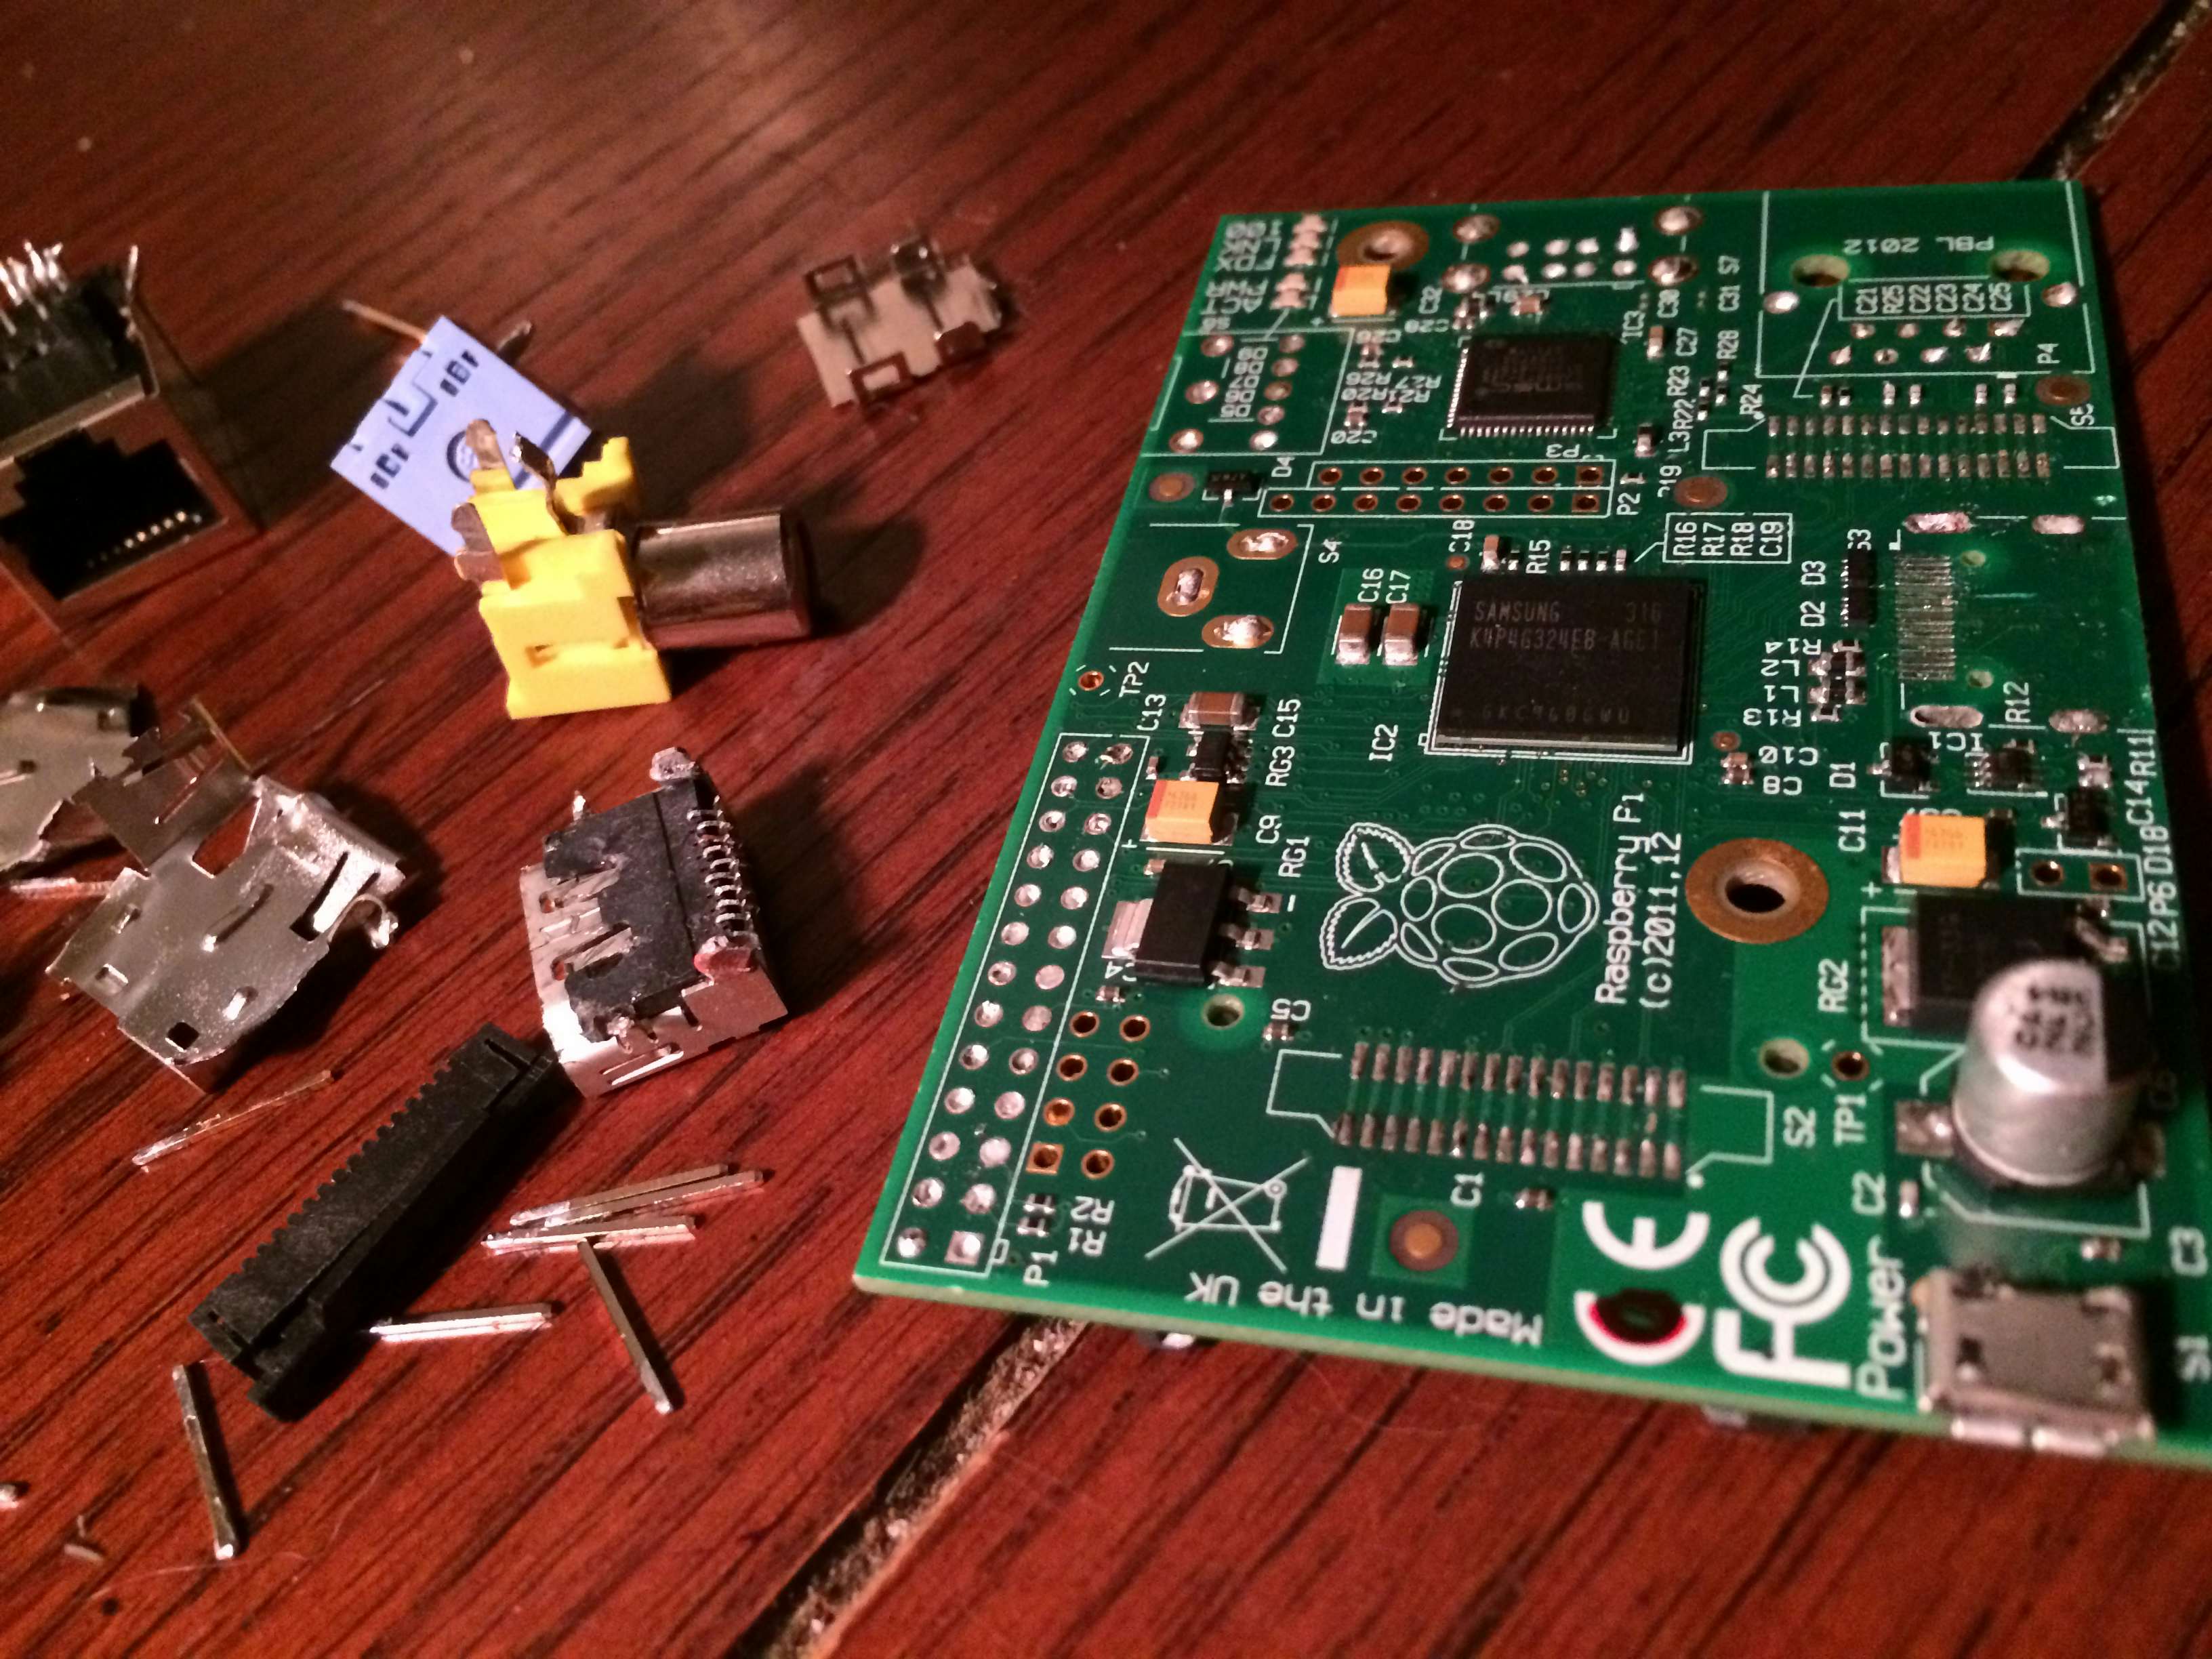
First on the chopping block were the digital display and camera connectors, GPIO header, Ethernet, HDMI, and the analog audio output. At this stage I went ahead and booted the Pi back up just to make sure that after the first pass of port removal that everything was still working properly.
Lastly the composite video and USB ports were removed revealing a very slim profiled Raspberry Pi. Later on the linear regulator will be removed in favor of a switching mode regulator and with it so will be removed the last relatively large component, a capacitor near the micro usb port. Next just a test mock-up to ensure the Pi fits inside the Gameboy Pocket along with the battery and front button board. The verdict — it fits!
LCD Screen
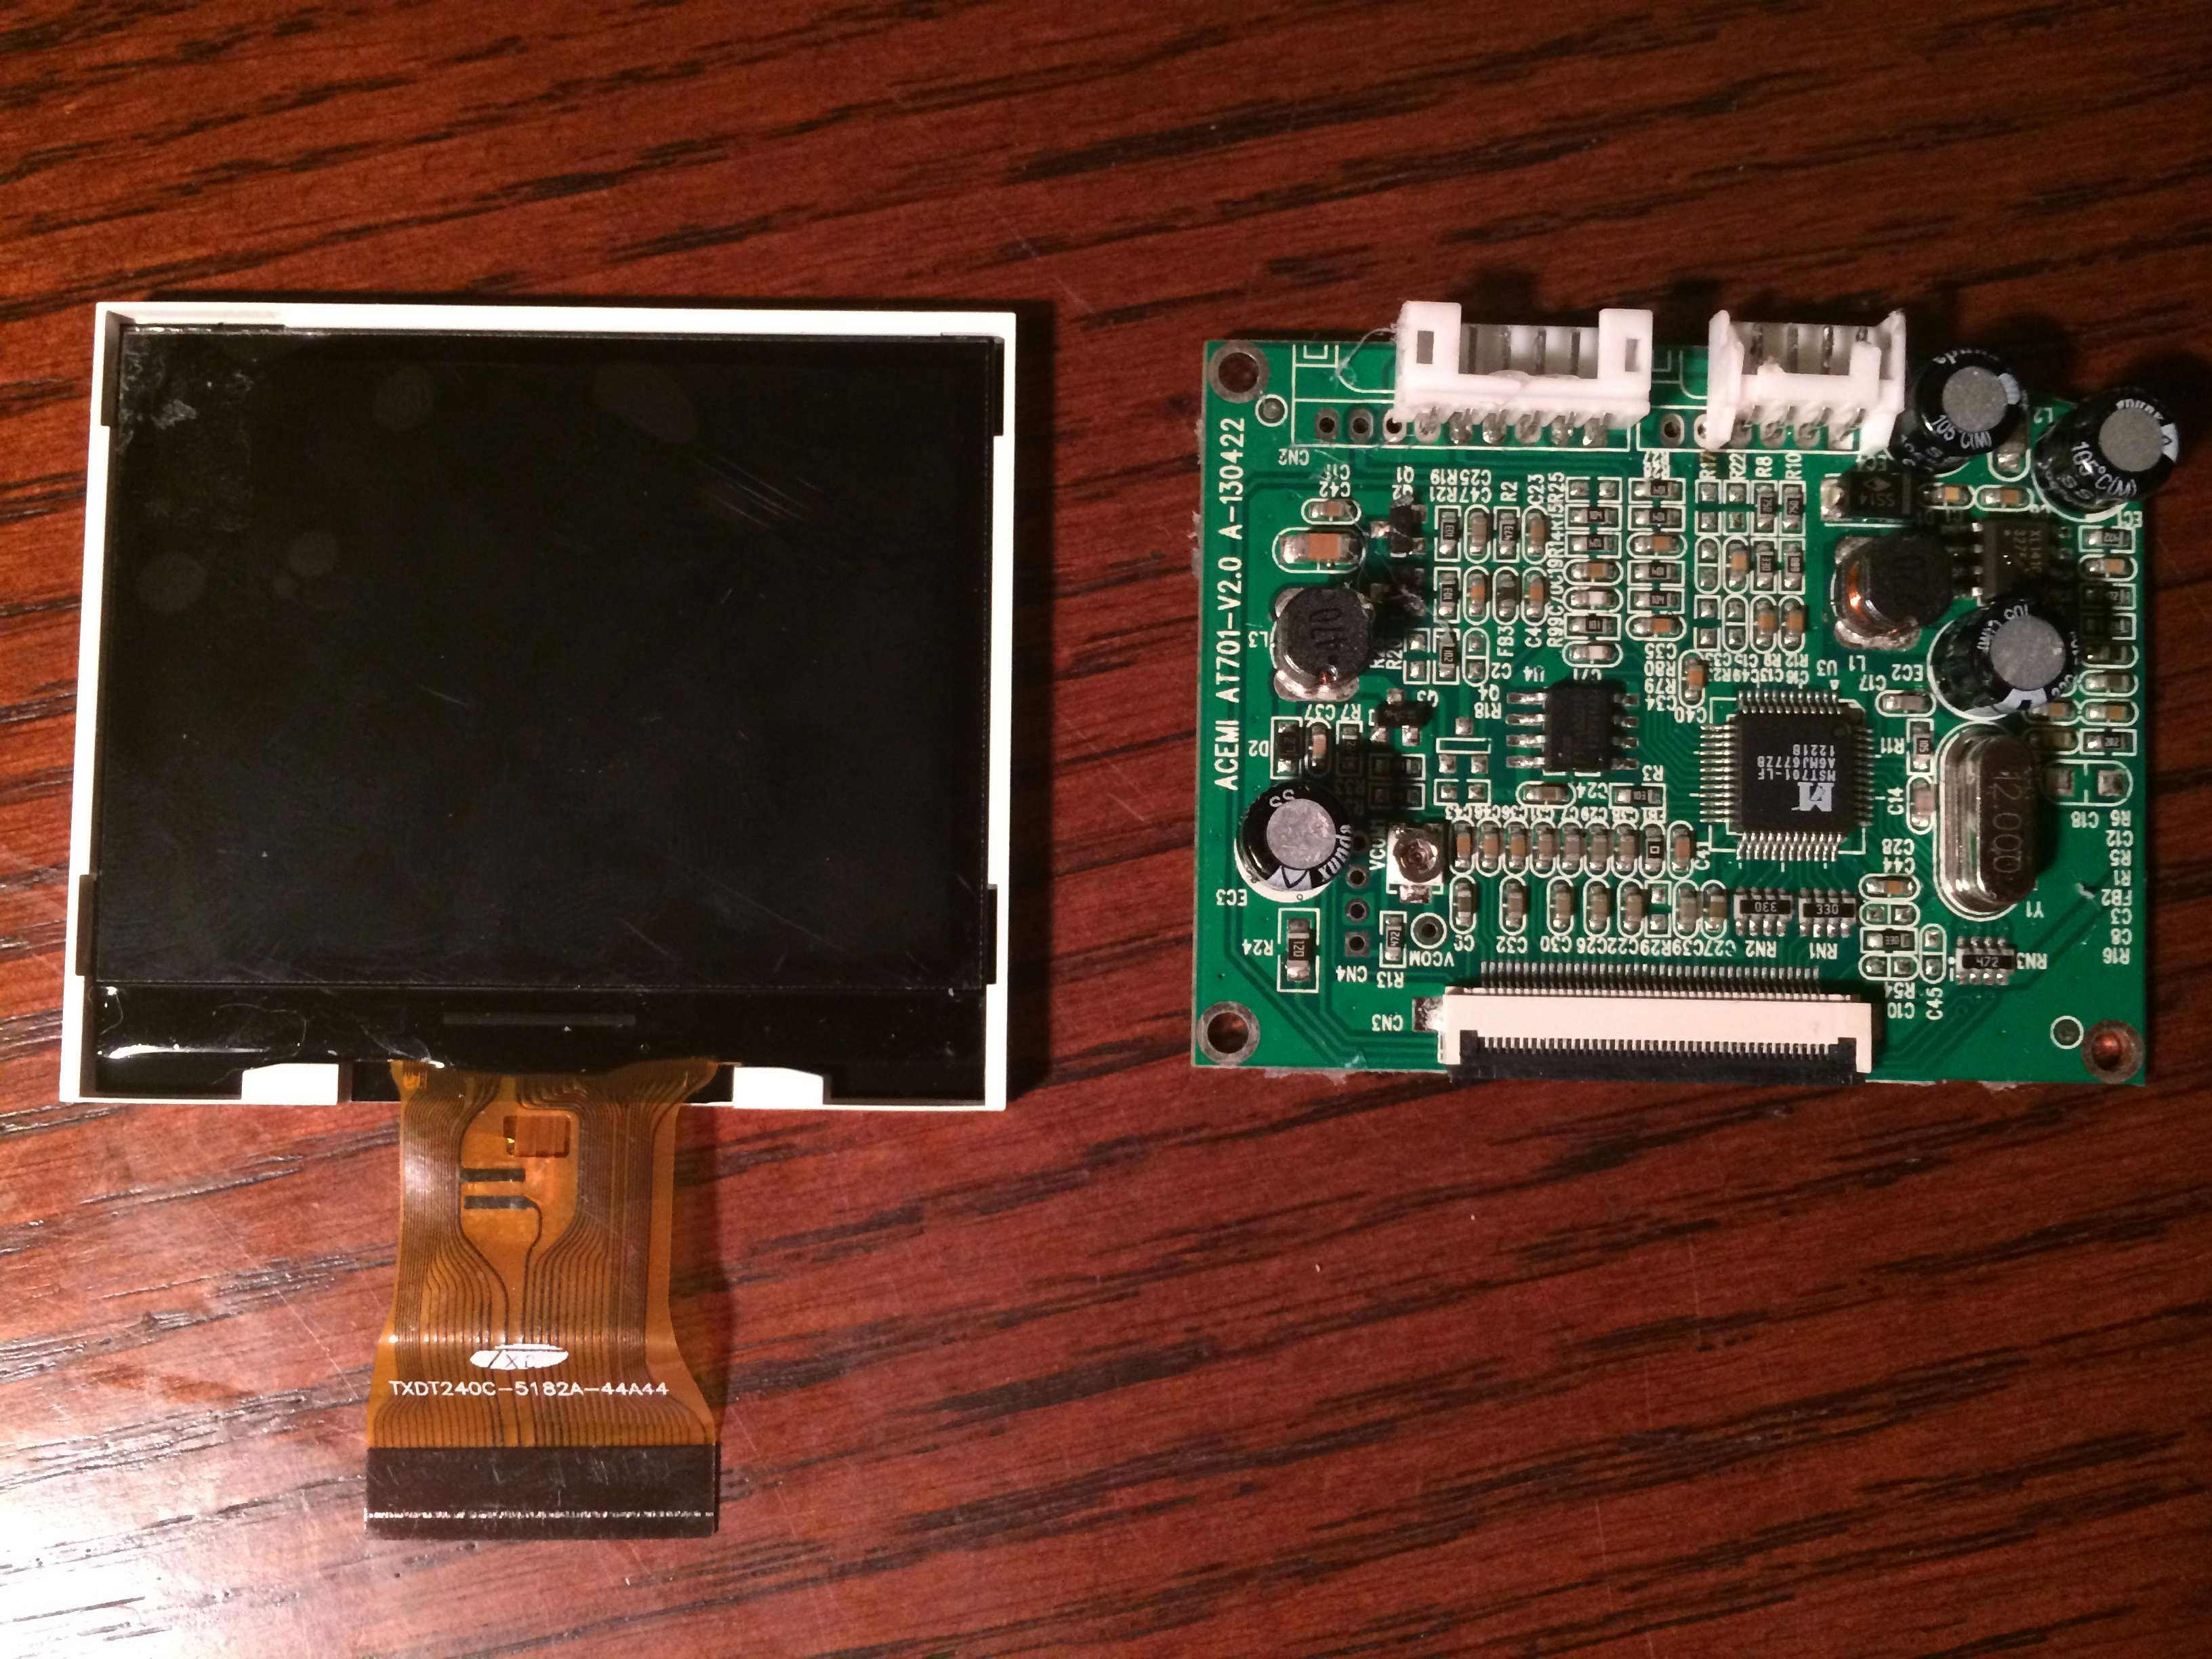
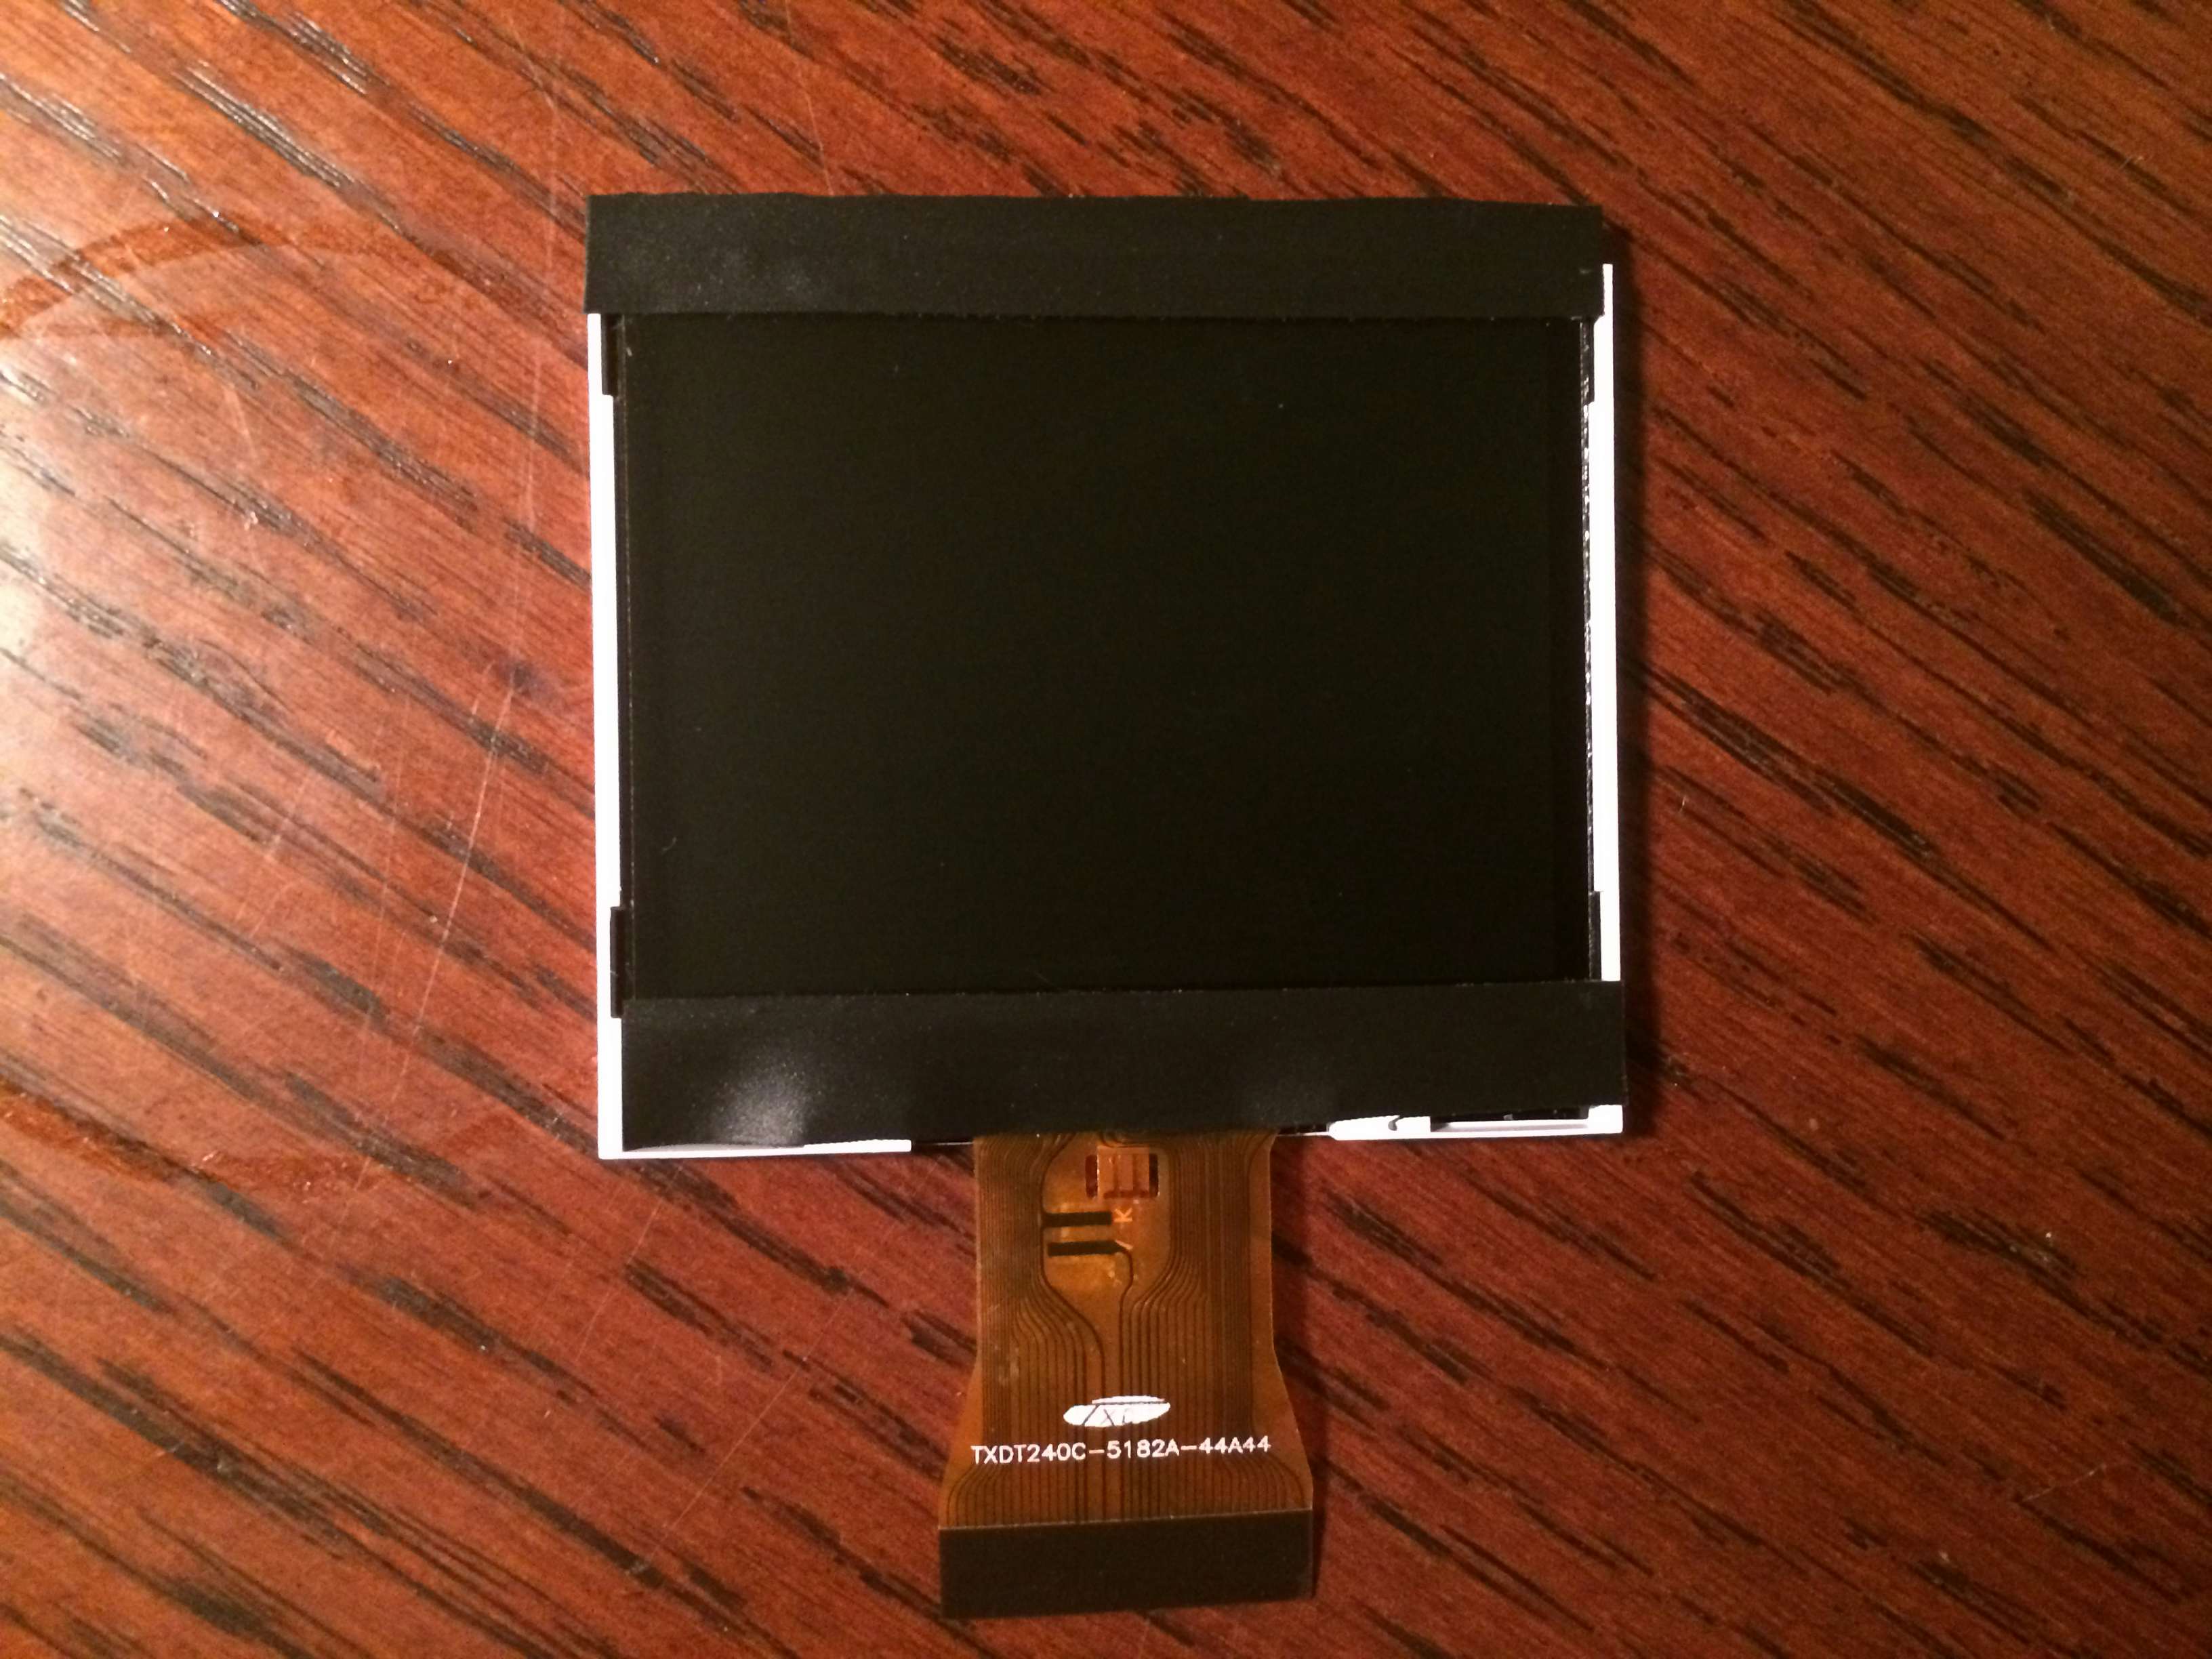
Not being able to find a 3 inch LCD that supports composite input I had to settle for a 2.5 inch screen which will still make Gameboy and NES games exceptionally playable. I was able to find 3 inch screens but none with a standard input meaning they would require some sort of driver board which would be a project all by itself.
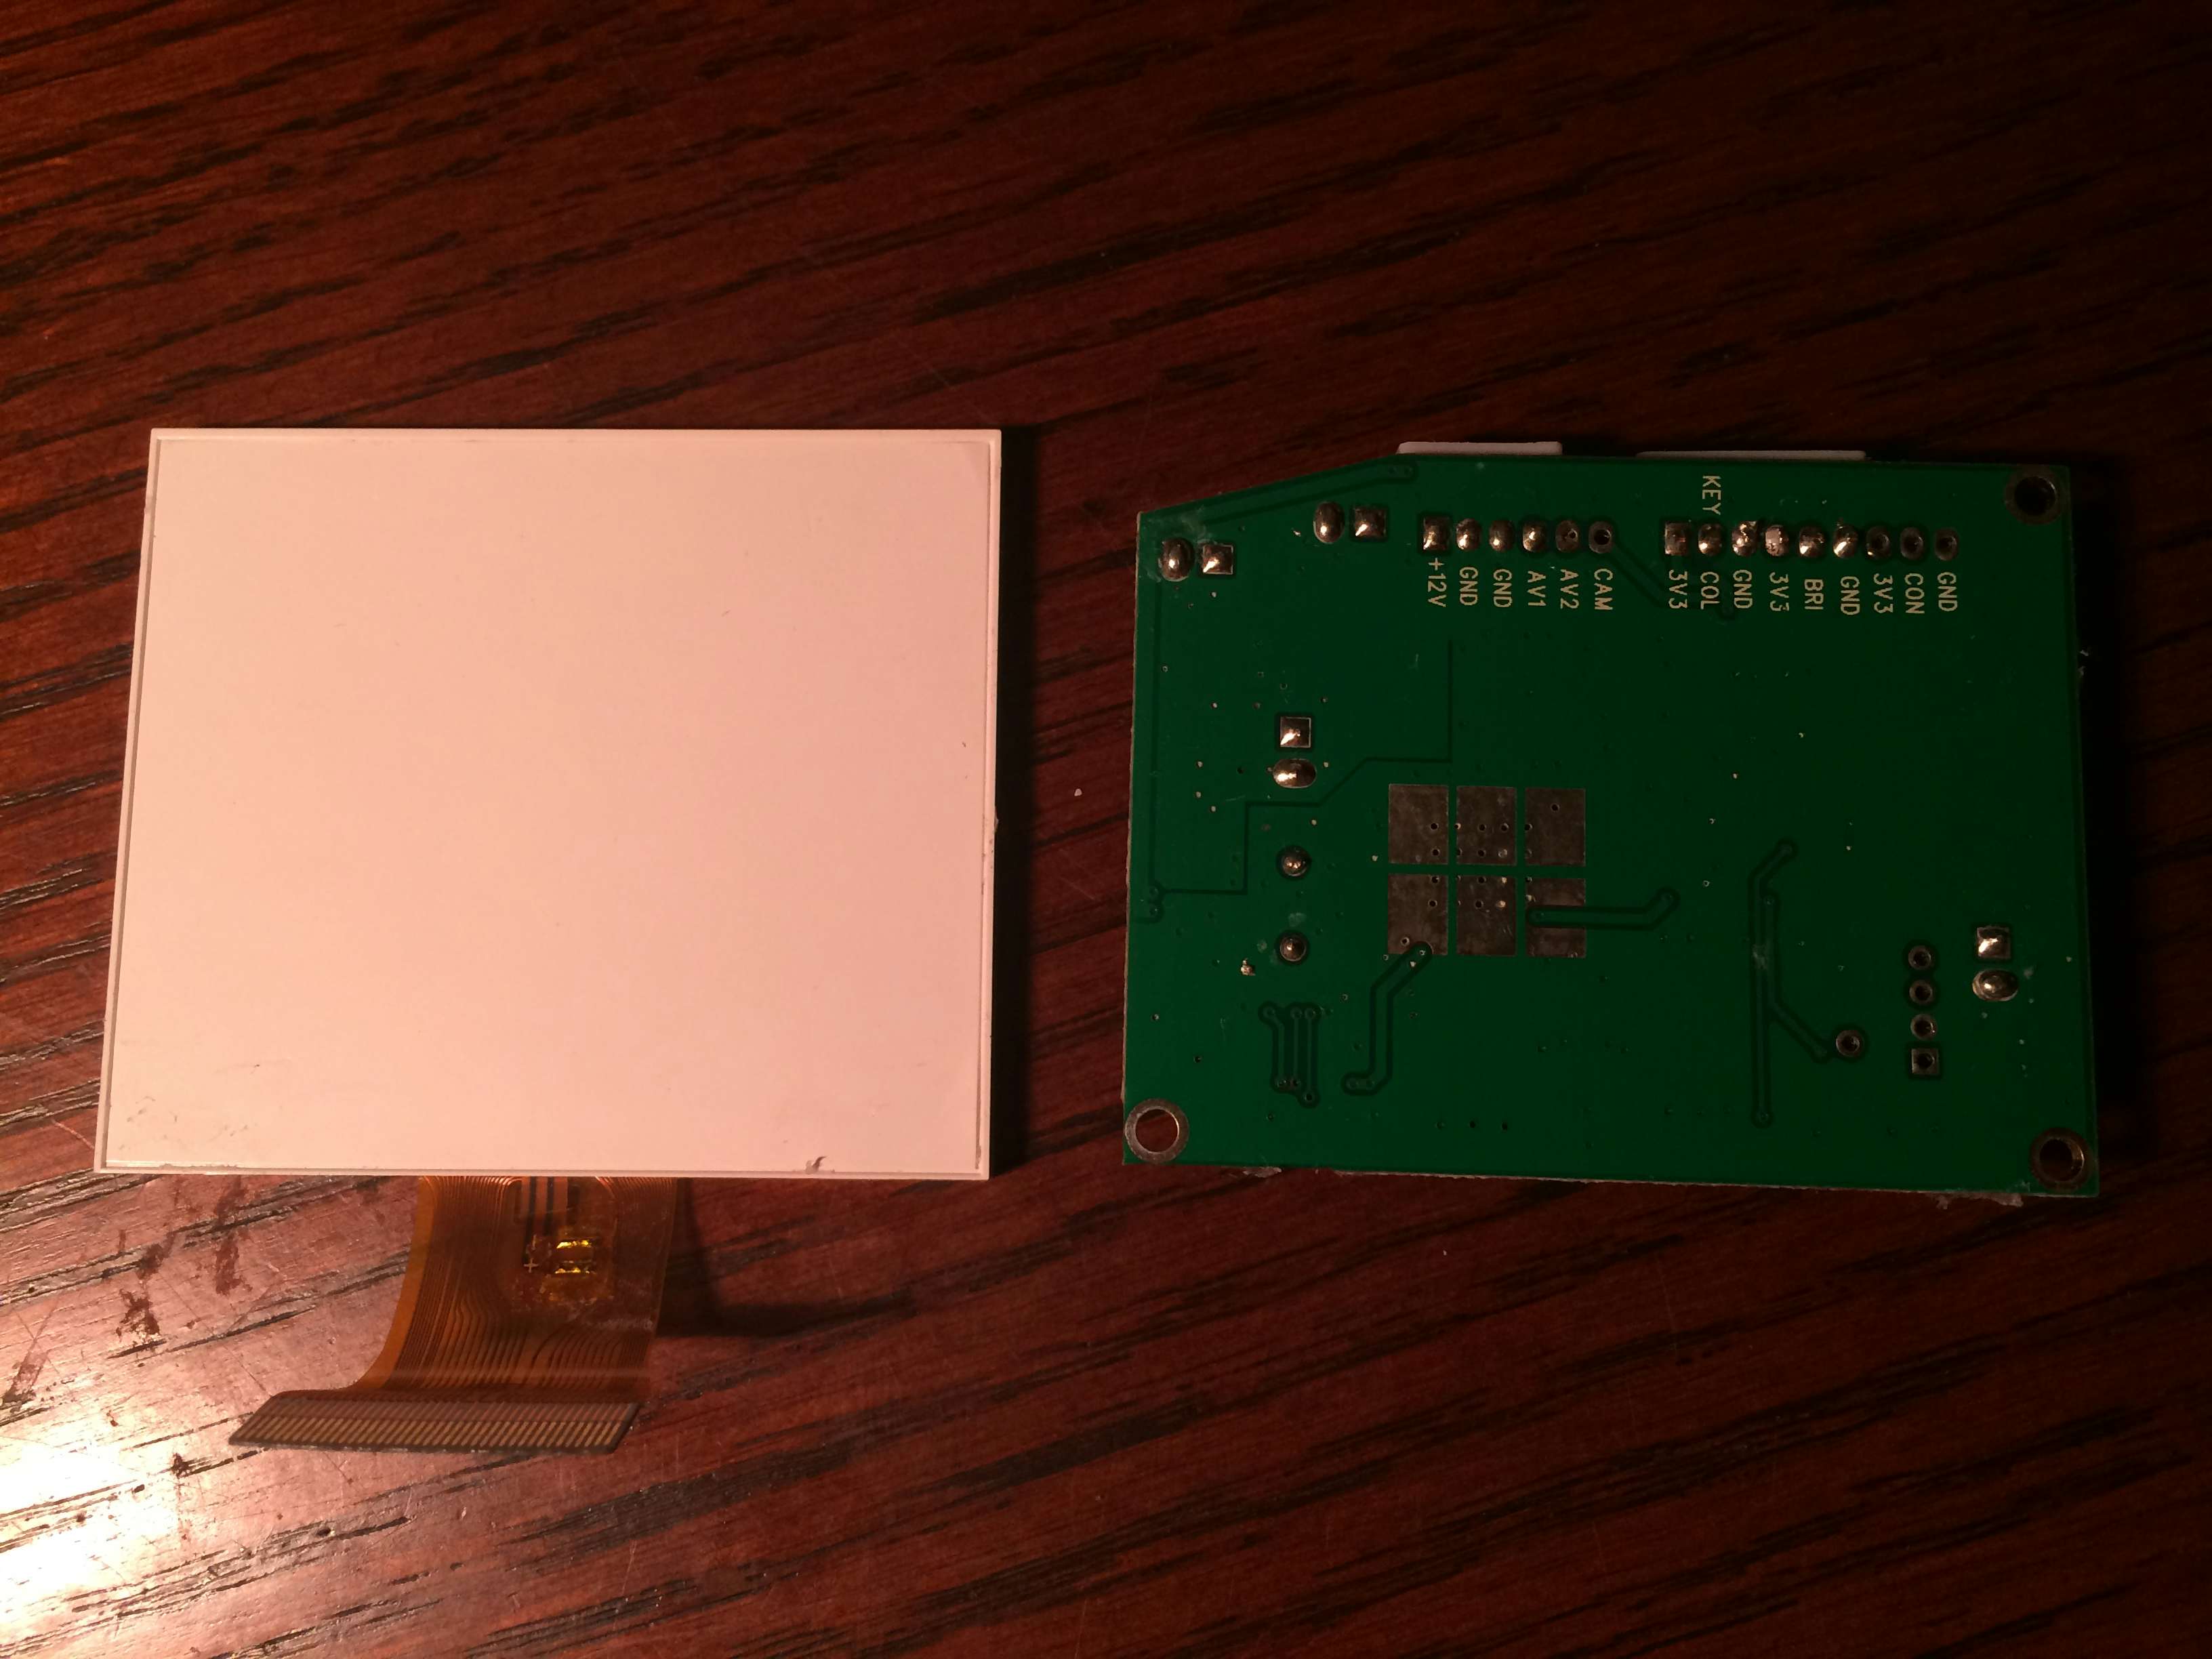
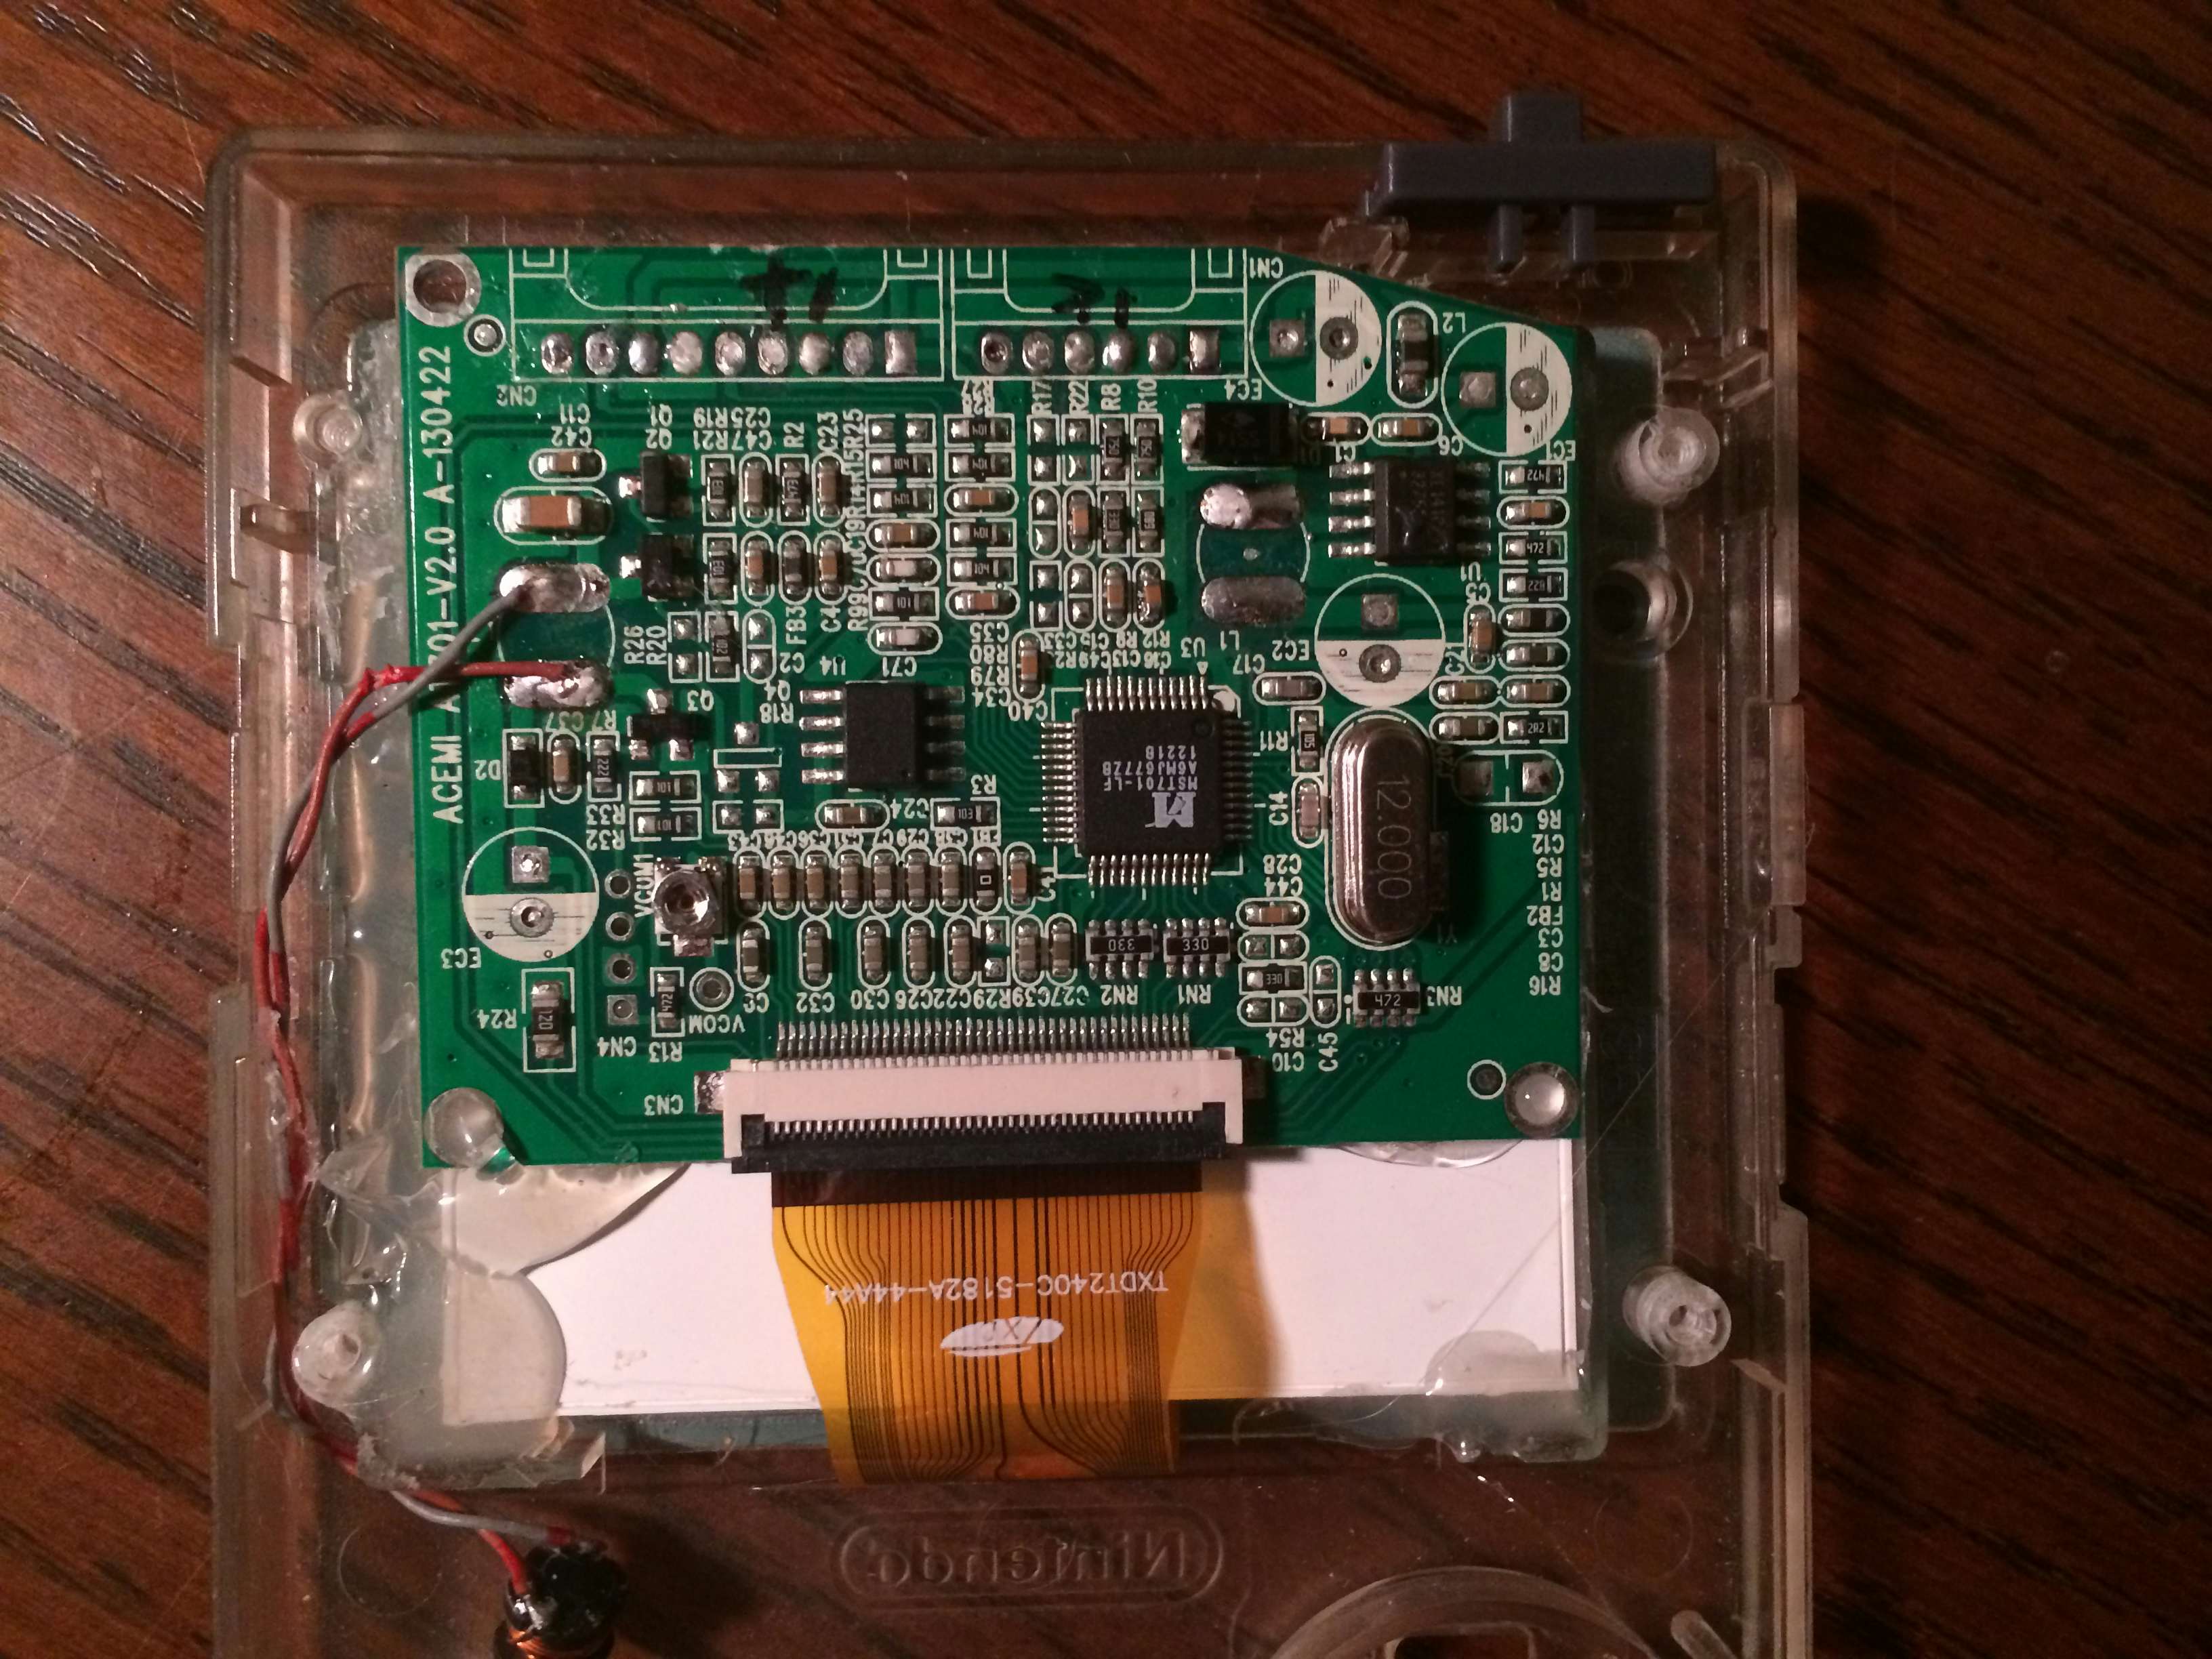
With the LCD and driver board removed from their original case it was time to take an assessment of what components would need relocating and what sort of power options exist. I read in another log that this same LCD can be powered by as little as 5V from the 12V input, and this is definitely true. There is an almost imperceivable difference in brightness when powering the screen in this way. After examining the board in further detail it was easy to notice the two headers had labels with two of them labelled as 3V3 short of 3.3V. On a hunch that this meant 3.3V could be supplied to these pins to power the LCD I wired up the switching mode regulator that was purchased for the Raspberry Pi. Viola it fired right up and when tested the screen only draws a total of 100mA, compared to supplying 5V to the 12V input which drew 130mA, every little bit counts.
Next a quick mock-up of the LCD inside the Pi-Pocket’s shell, it will fit with minimal Dremeling of the front case. The only down-side is that the LCD doesn’t quite fill out the available space vertically but is a near perfect fit horizontally. This is due to the unique shape of the original Gameboy Pocket’s LCD being more square whereas LCD’s such as this are a 4:3 ratio. The new LCD features a resolution of 480 x 234 which is quite a bit more than the 160 x 144 grey-scale screen of the Gameboy. In the image above the overscan and other TV output settings have not been adjusted to fill out the entire screen but a general idea for the visible area can be seen by the area illuminated by the backlight.
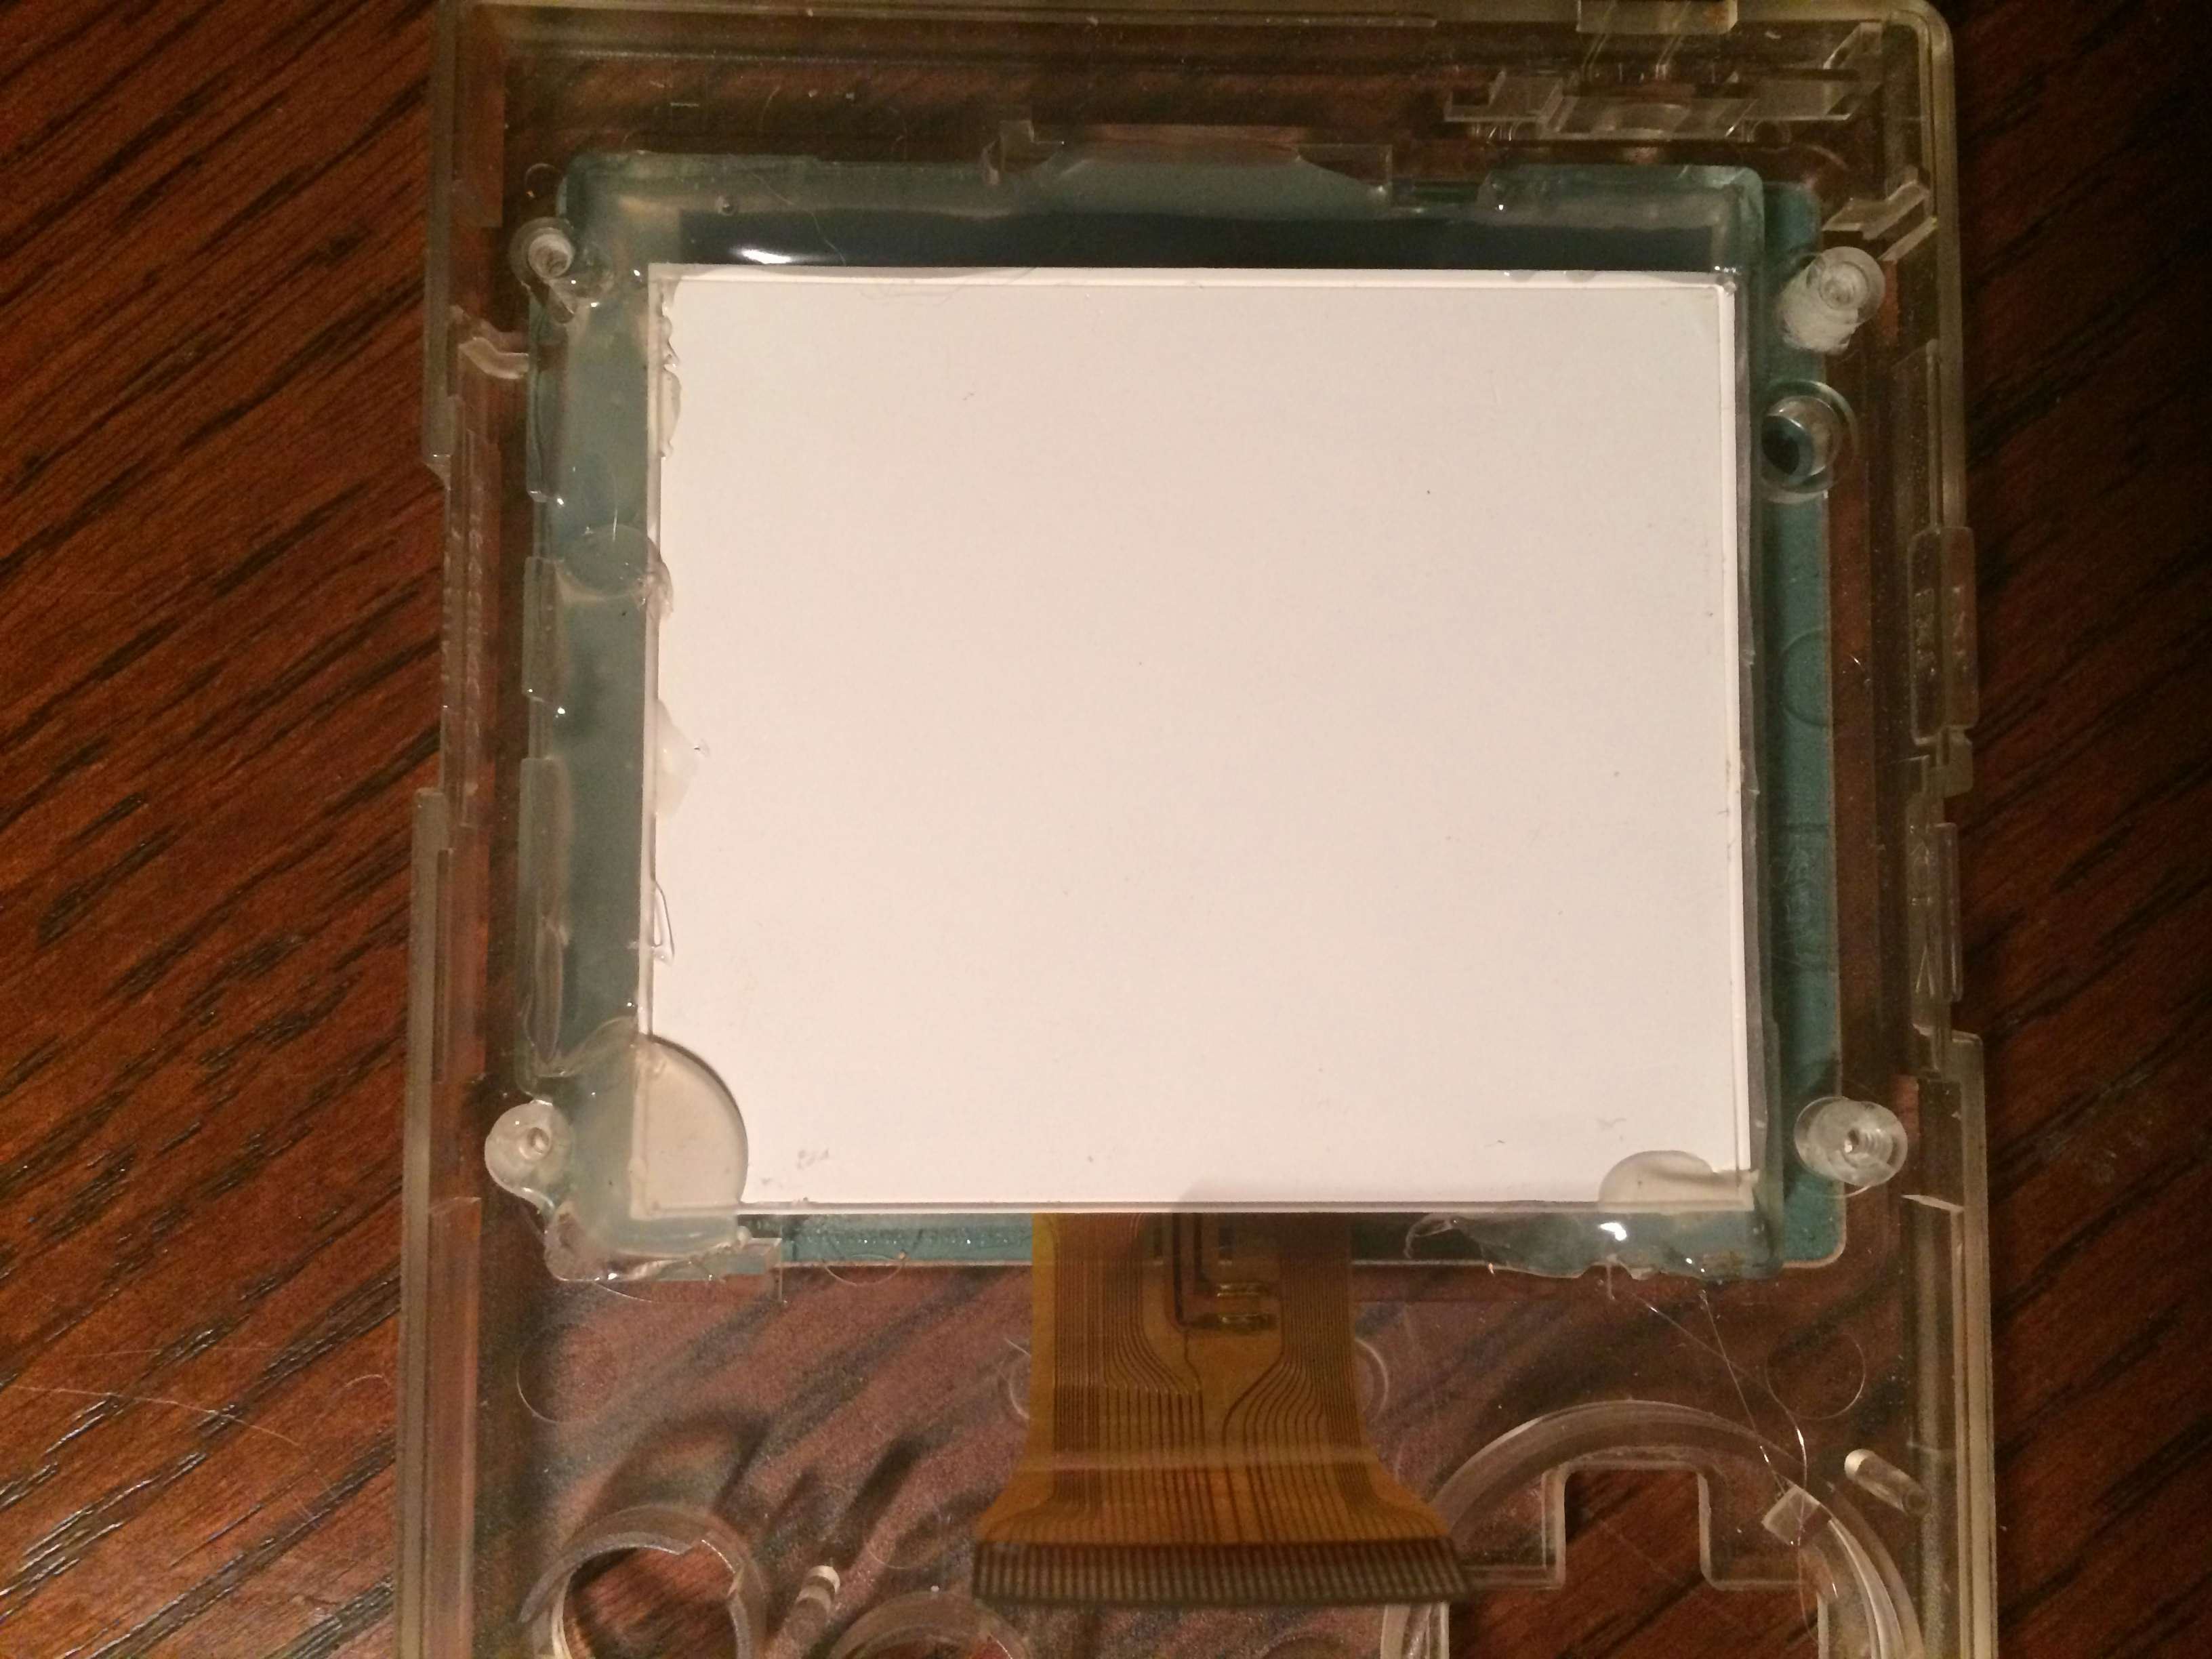
First the borders at the top and bottom of the LCD needed to be filled in, this was made quick by using some strips of electrical tape. Black paper would have worked better but its not something I had on and so tape was used in a pinch. Next a small amount of plastic was cut away and the the LCD was hot glued into place, fixing it semi-permanently to the front of the Gameboy Pocket’s shell. Once illuminated one hardly notices the top and bottom borders with the screen still being larger than that of a Gameboy color.
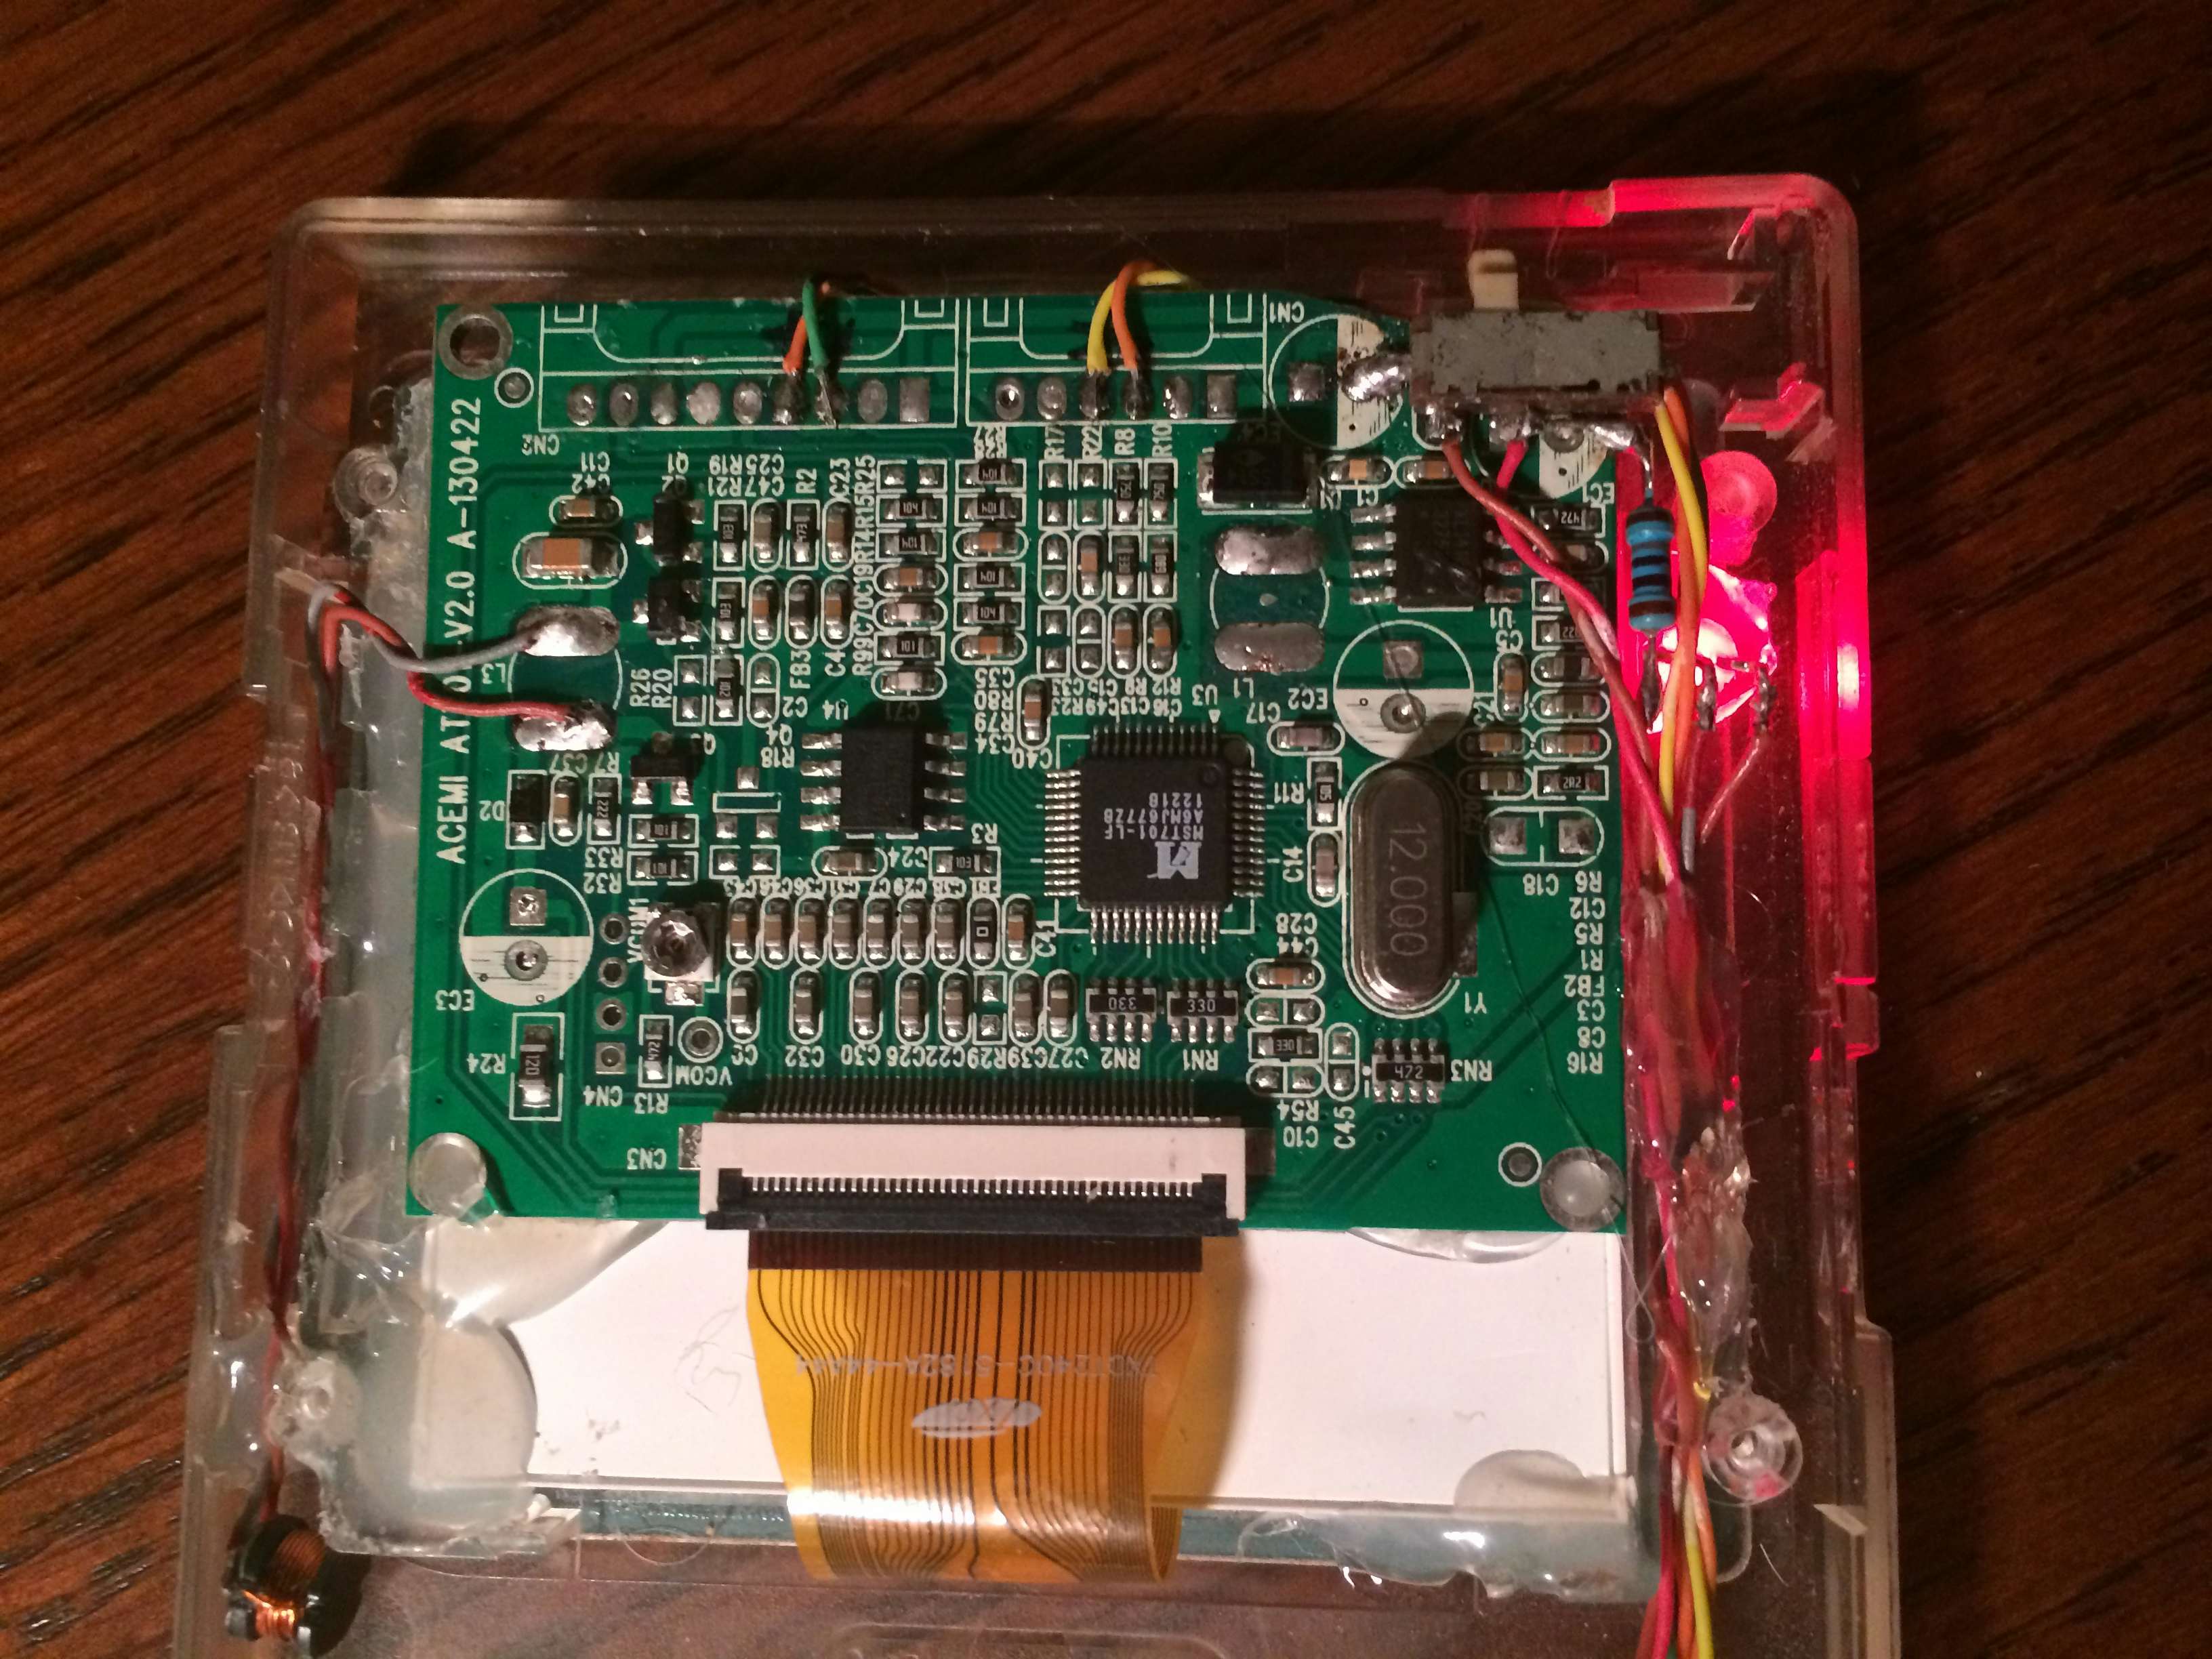
Next all of the now unnecessary components related to the power supply on the LCD’s driver board were removed which included 3 capacitors and an inductor. One inductor and capacitor were still necessary for regulating the 2V supply to the LED backlight and was relocated below the LCD area as the rear housing for the Gameboy Pocket wouldn’t fit otherwise. In the upper right corner of the LCD’s driver board the original Gameboy power switch was soldered on the left and glued on the right. A two color LED is added in the same position as the original LED which will indicate power level and charging status. Lastly some lengths of wire were soldered for LCD power/video, the power switch, and the LED.
Power Supply
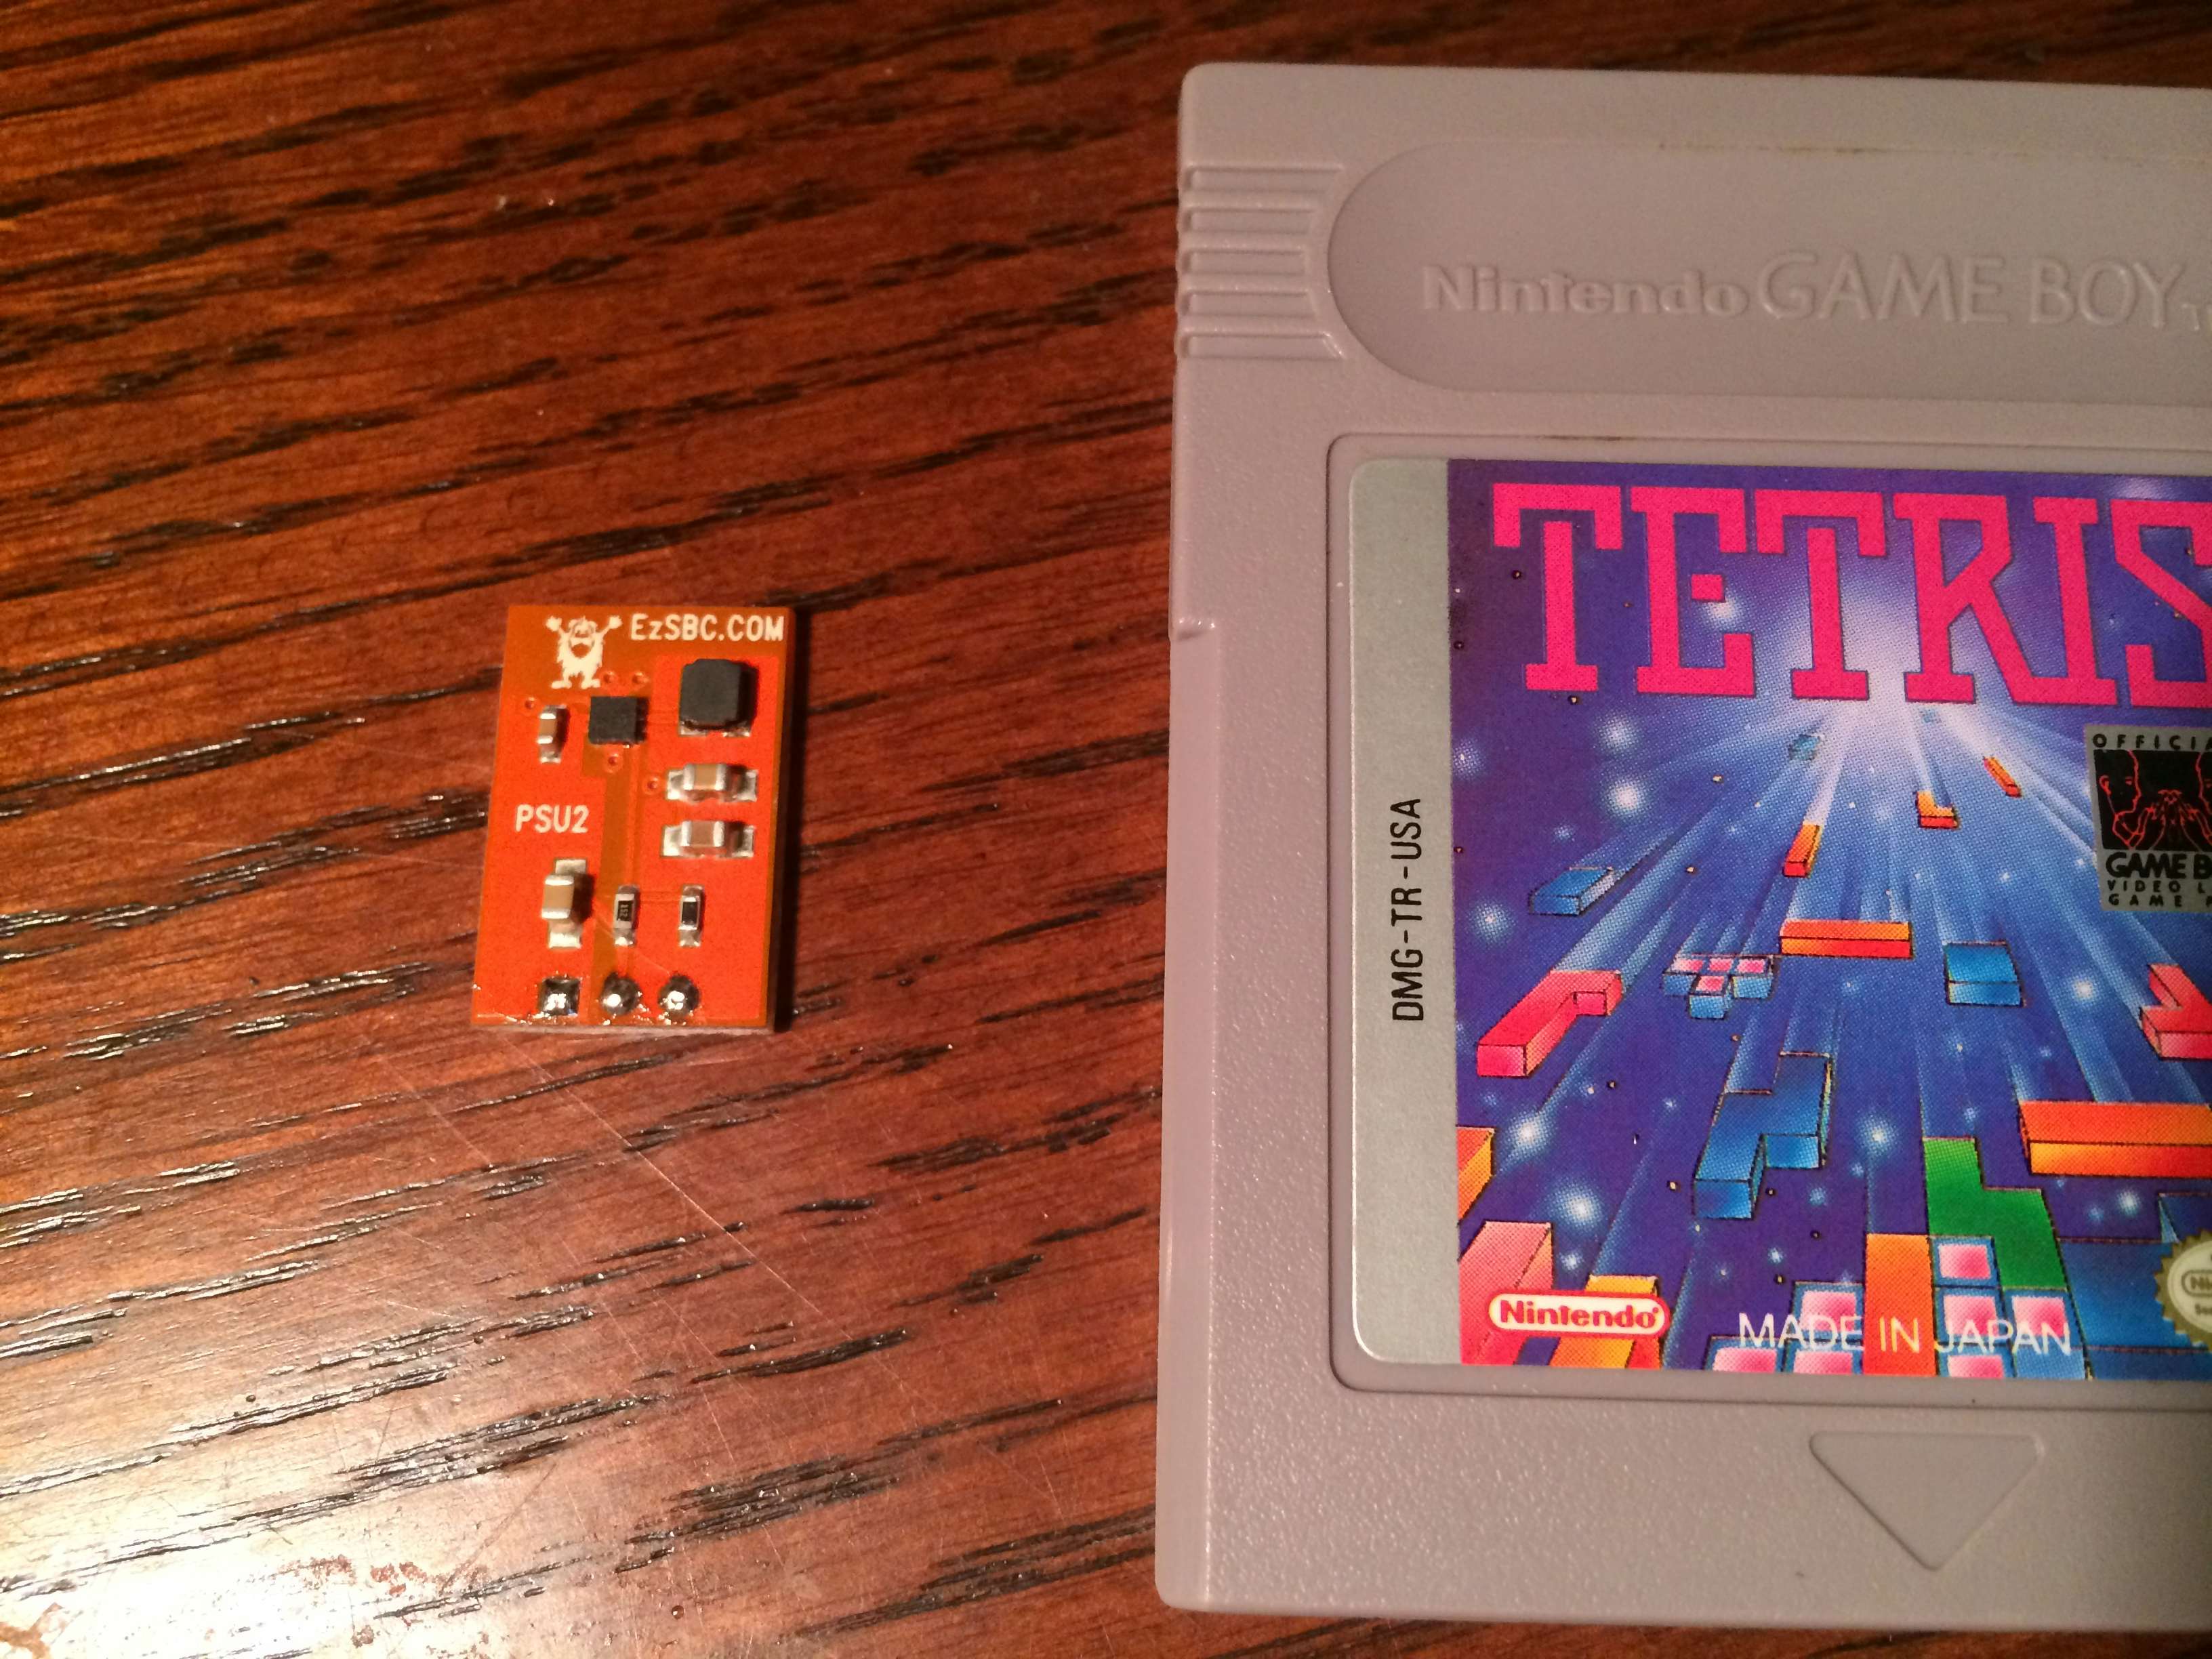
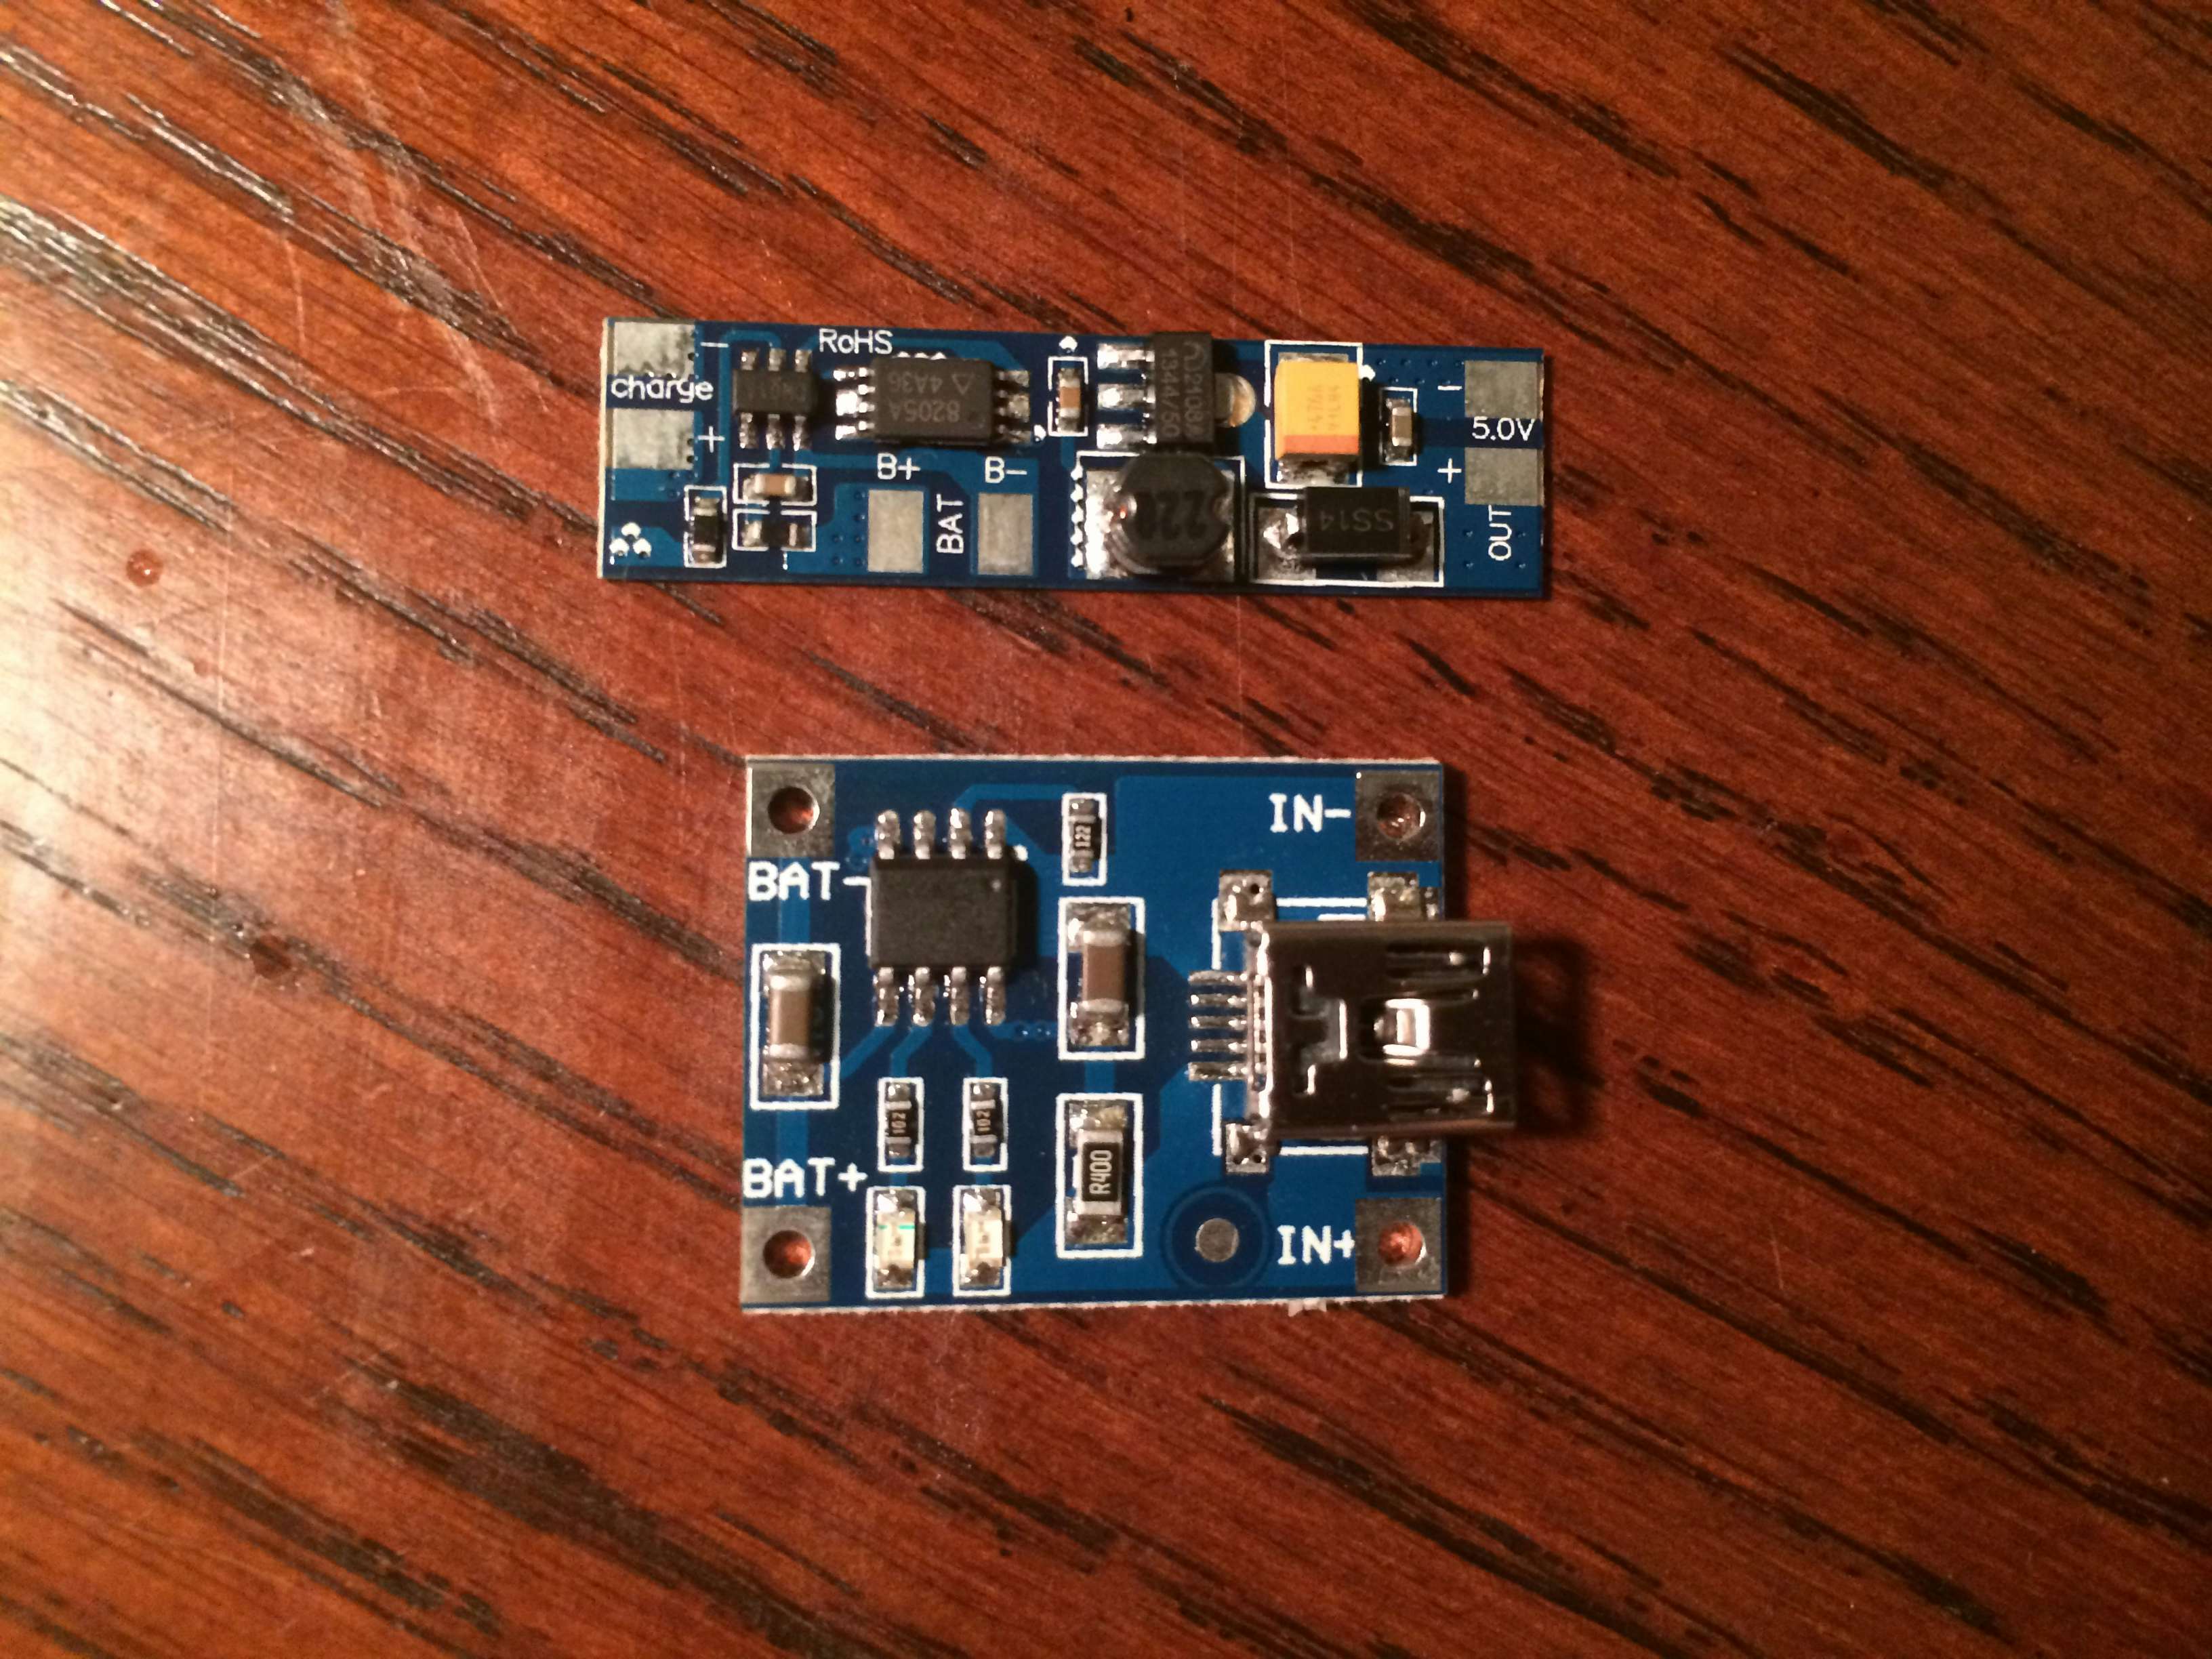
There will be 3 main power supplies/regulators used in the Pi-Pocket to provide the necessary power to the Raspberry Pi and the LCD. The first is a 3.3V switching regulator used to decrease power consumption by the Raspberry Pi. By Default the Pi comes with a linear regulator for the 3.3V required by the CPU and generally by swapping this for a switching regulator one can reduce consumption by 25%. The second regulator will be used to regulate the 3.7V source from the Li-Po battery and additionally provide a level of protection by preventing shorts from reaching the battery itself. Lastly a charging regulator will be used to supply power to the battery from the 5V input at the bottom of the Pi-Pocket.
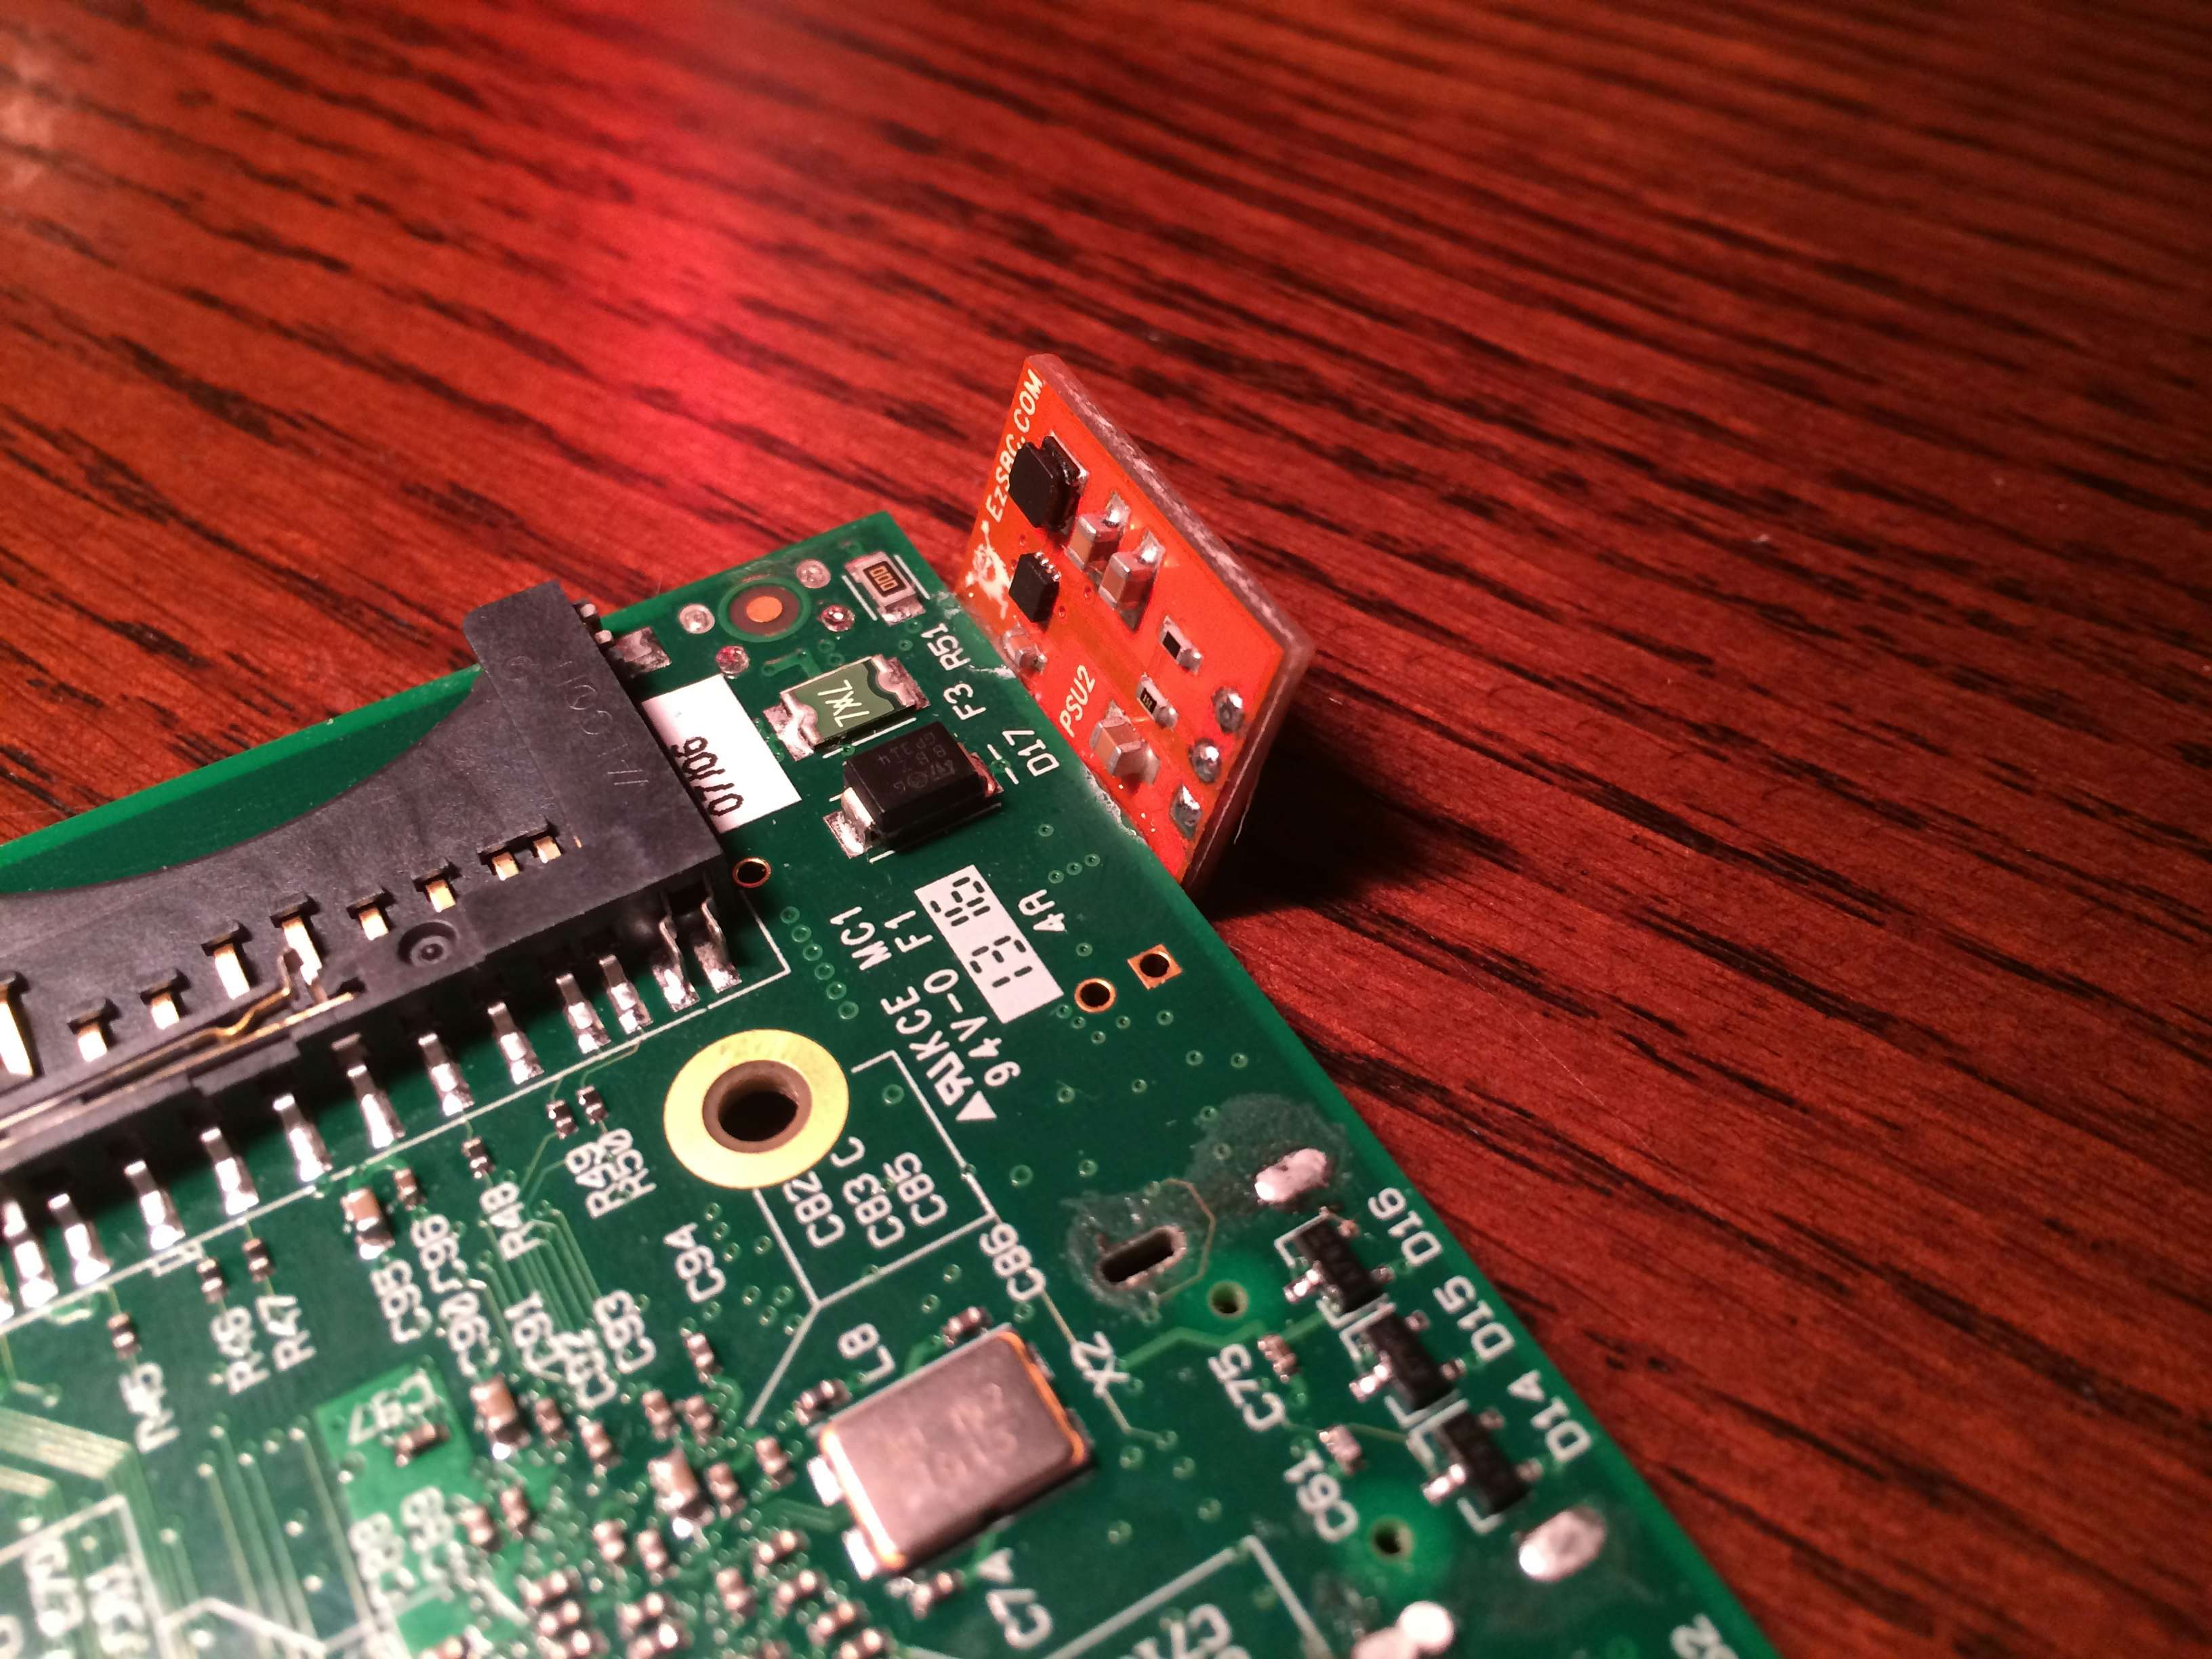
The 3.3V switching regulator is extremely tiny and was designed to fit in the footprint of a TO-220 style linear regulator. This item found a home on some free space on the site of Raspberry Pi. The regulator is placed at an angle to match the contour of the rear shell of the Gameboy Pocket.
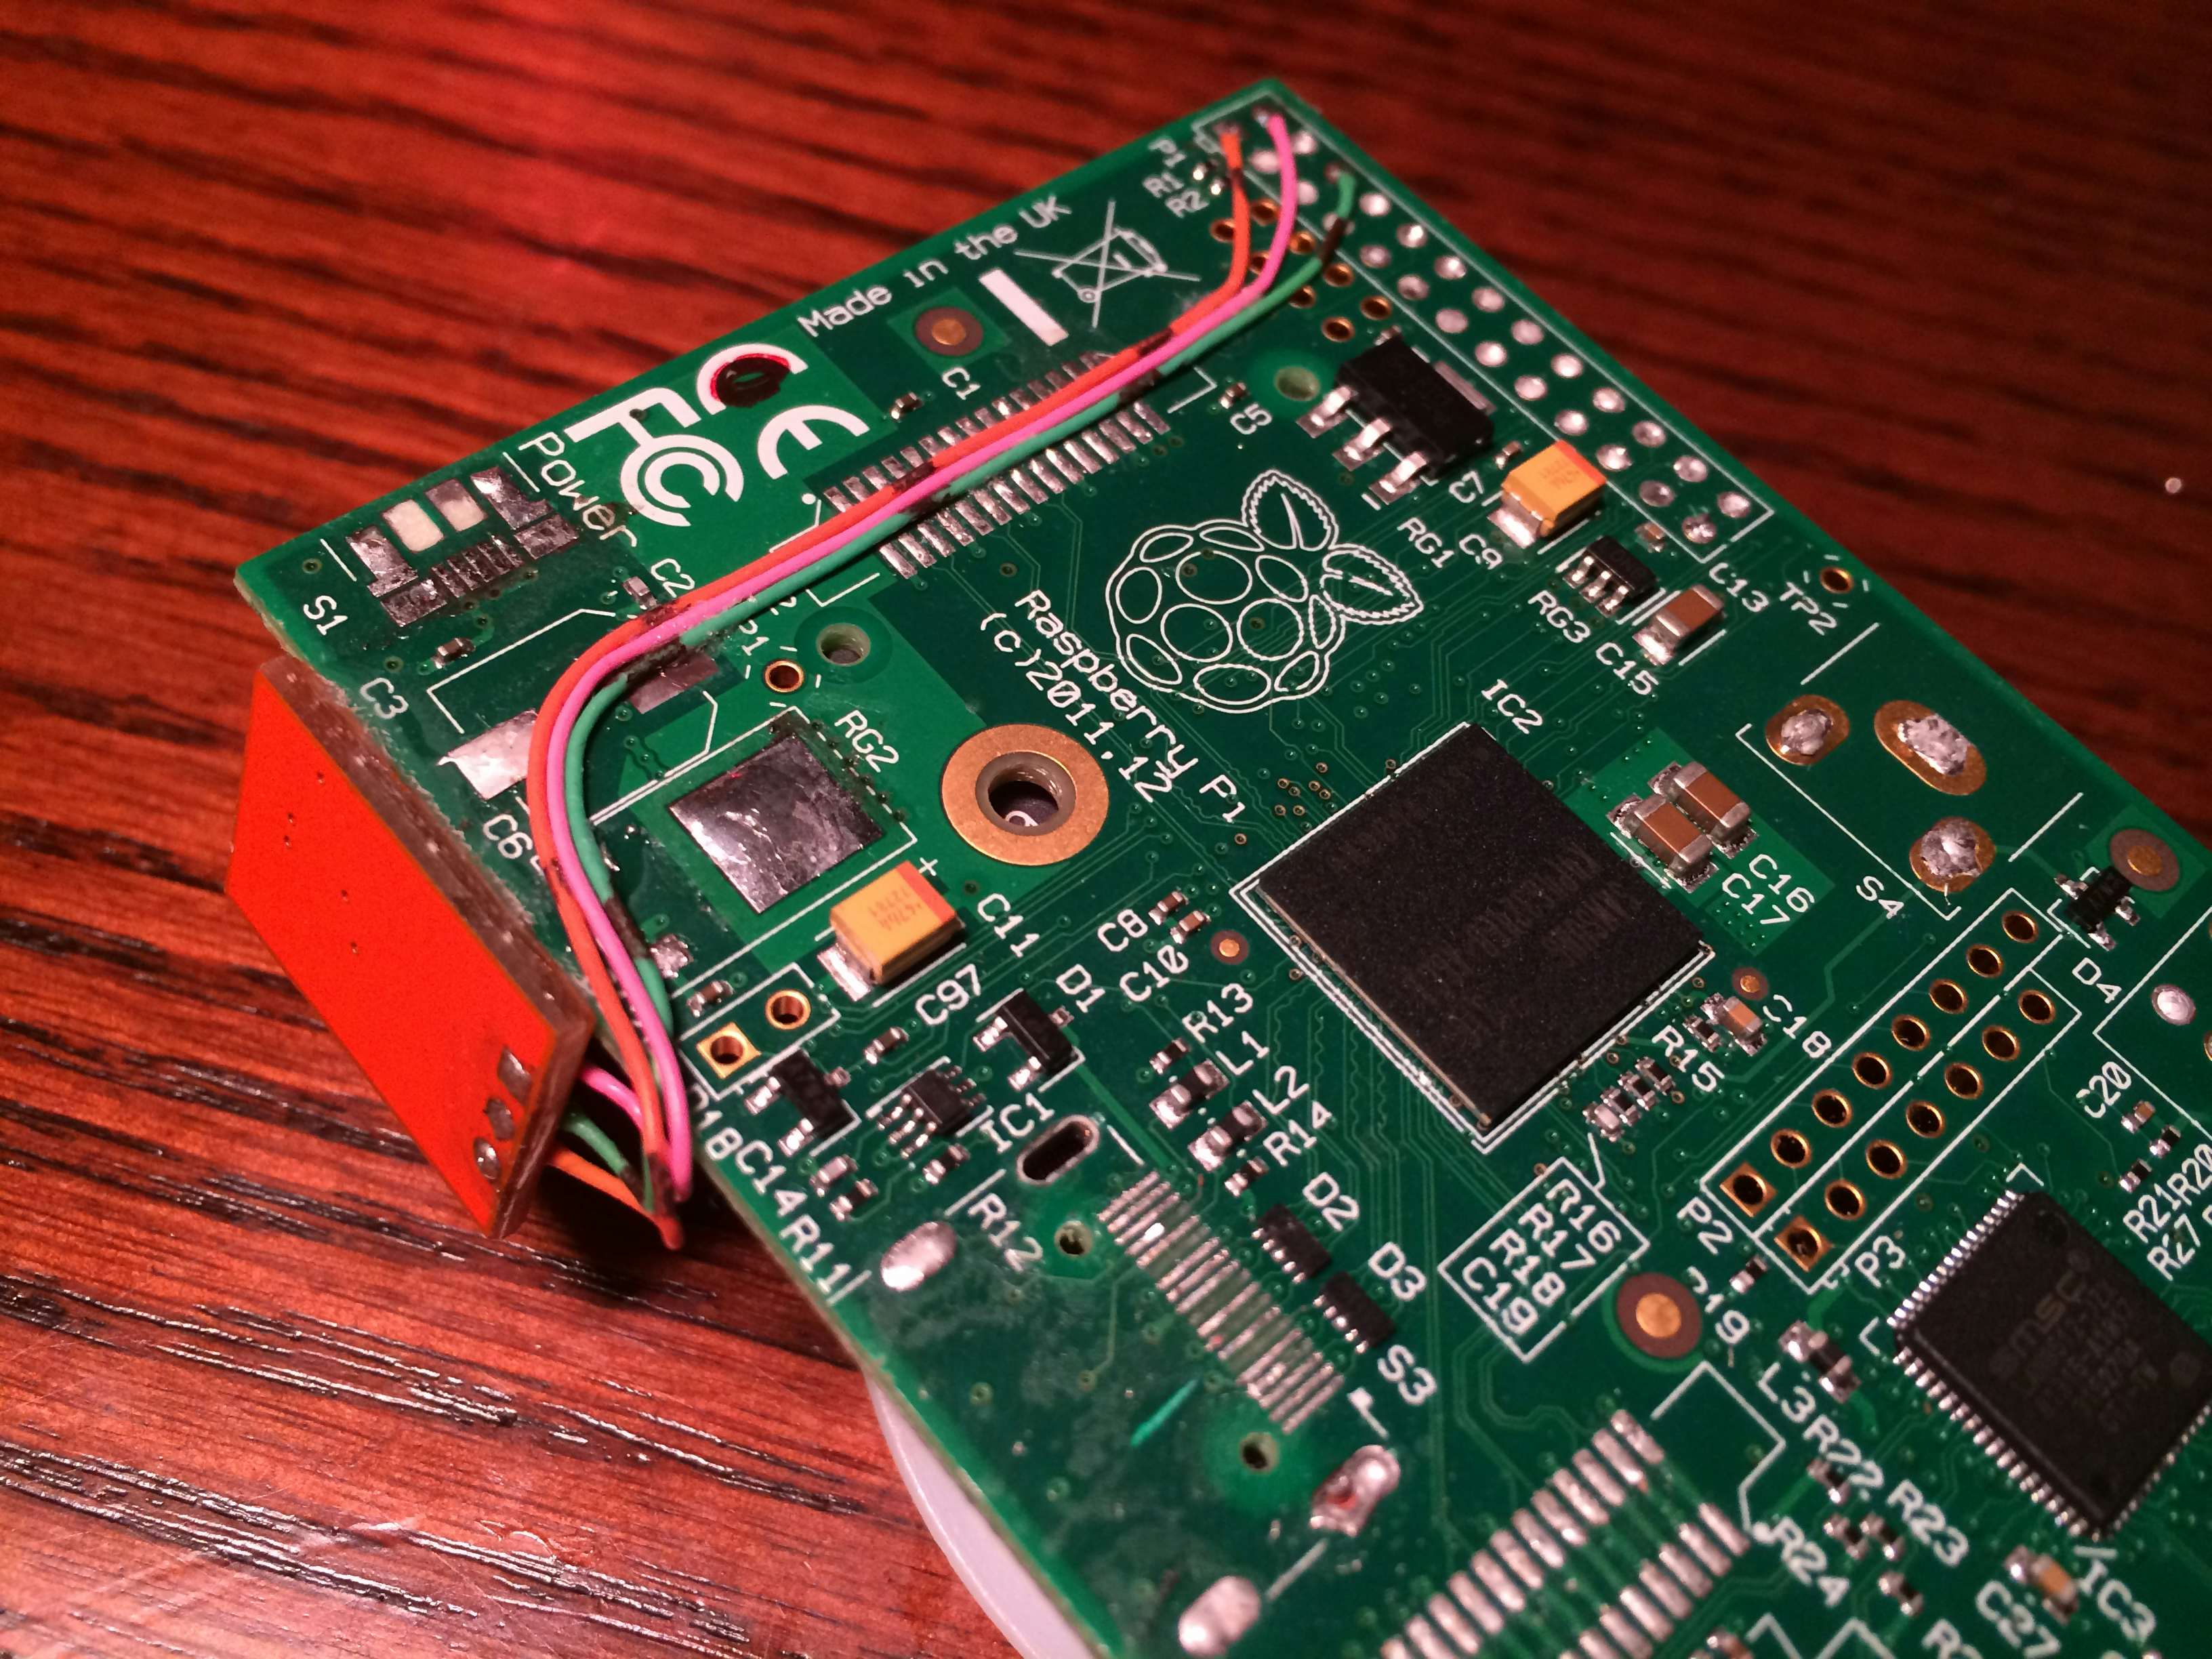
Next the pins of the switching regulator board are wired to the GPIO connector on the Raspberry Pi. This feeds off the 5V that will be also connected to the GPIO header and returns the 3.3V necessary for the CPU and other components. Additionally the power input of the LCD will be connected to the GPIO header simplifying the internal wiring.
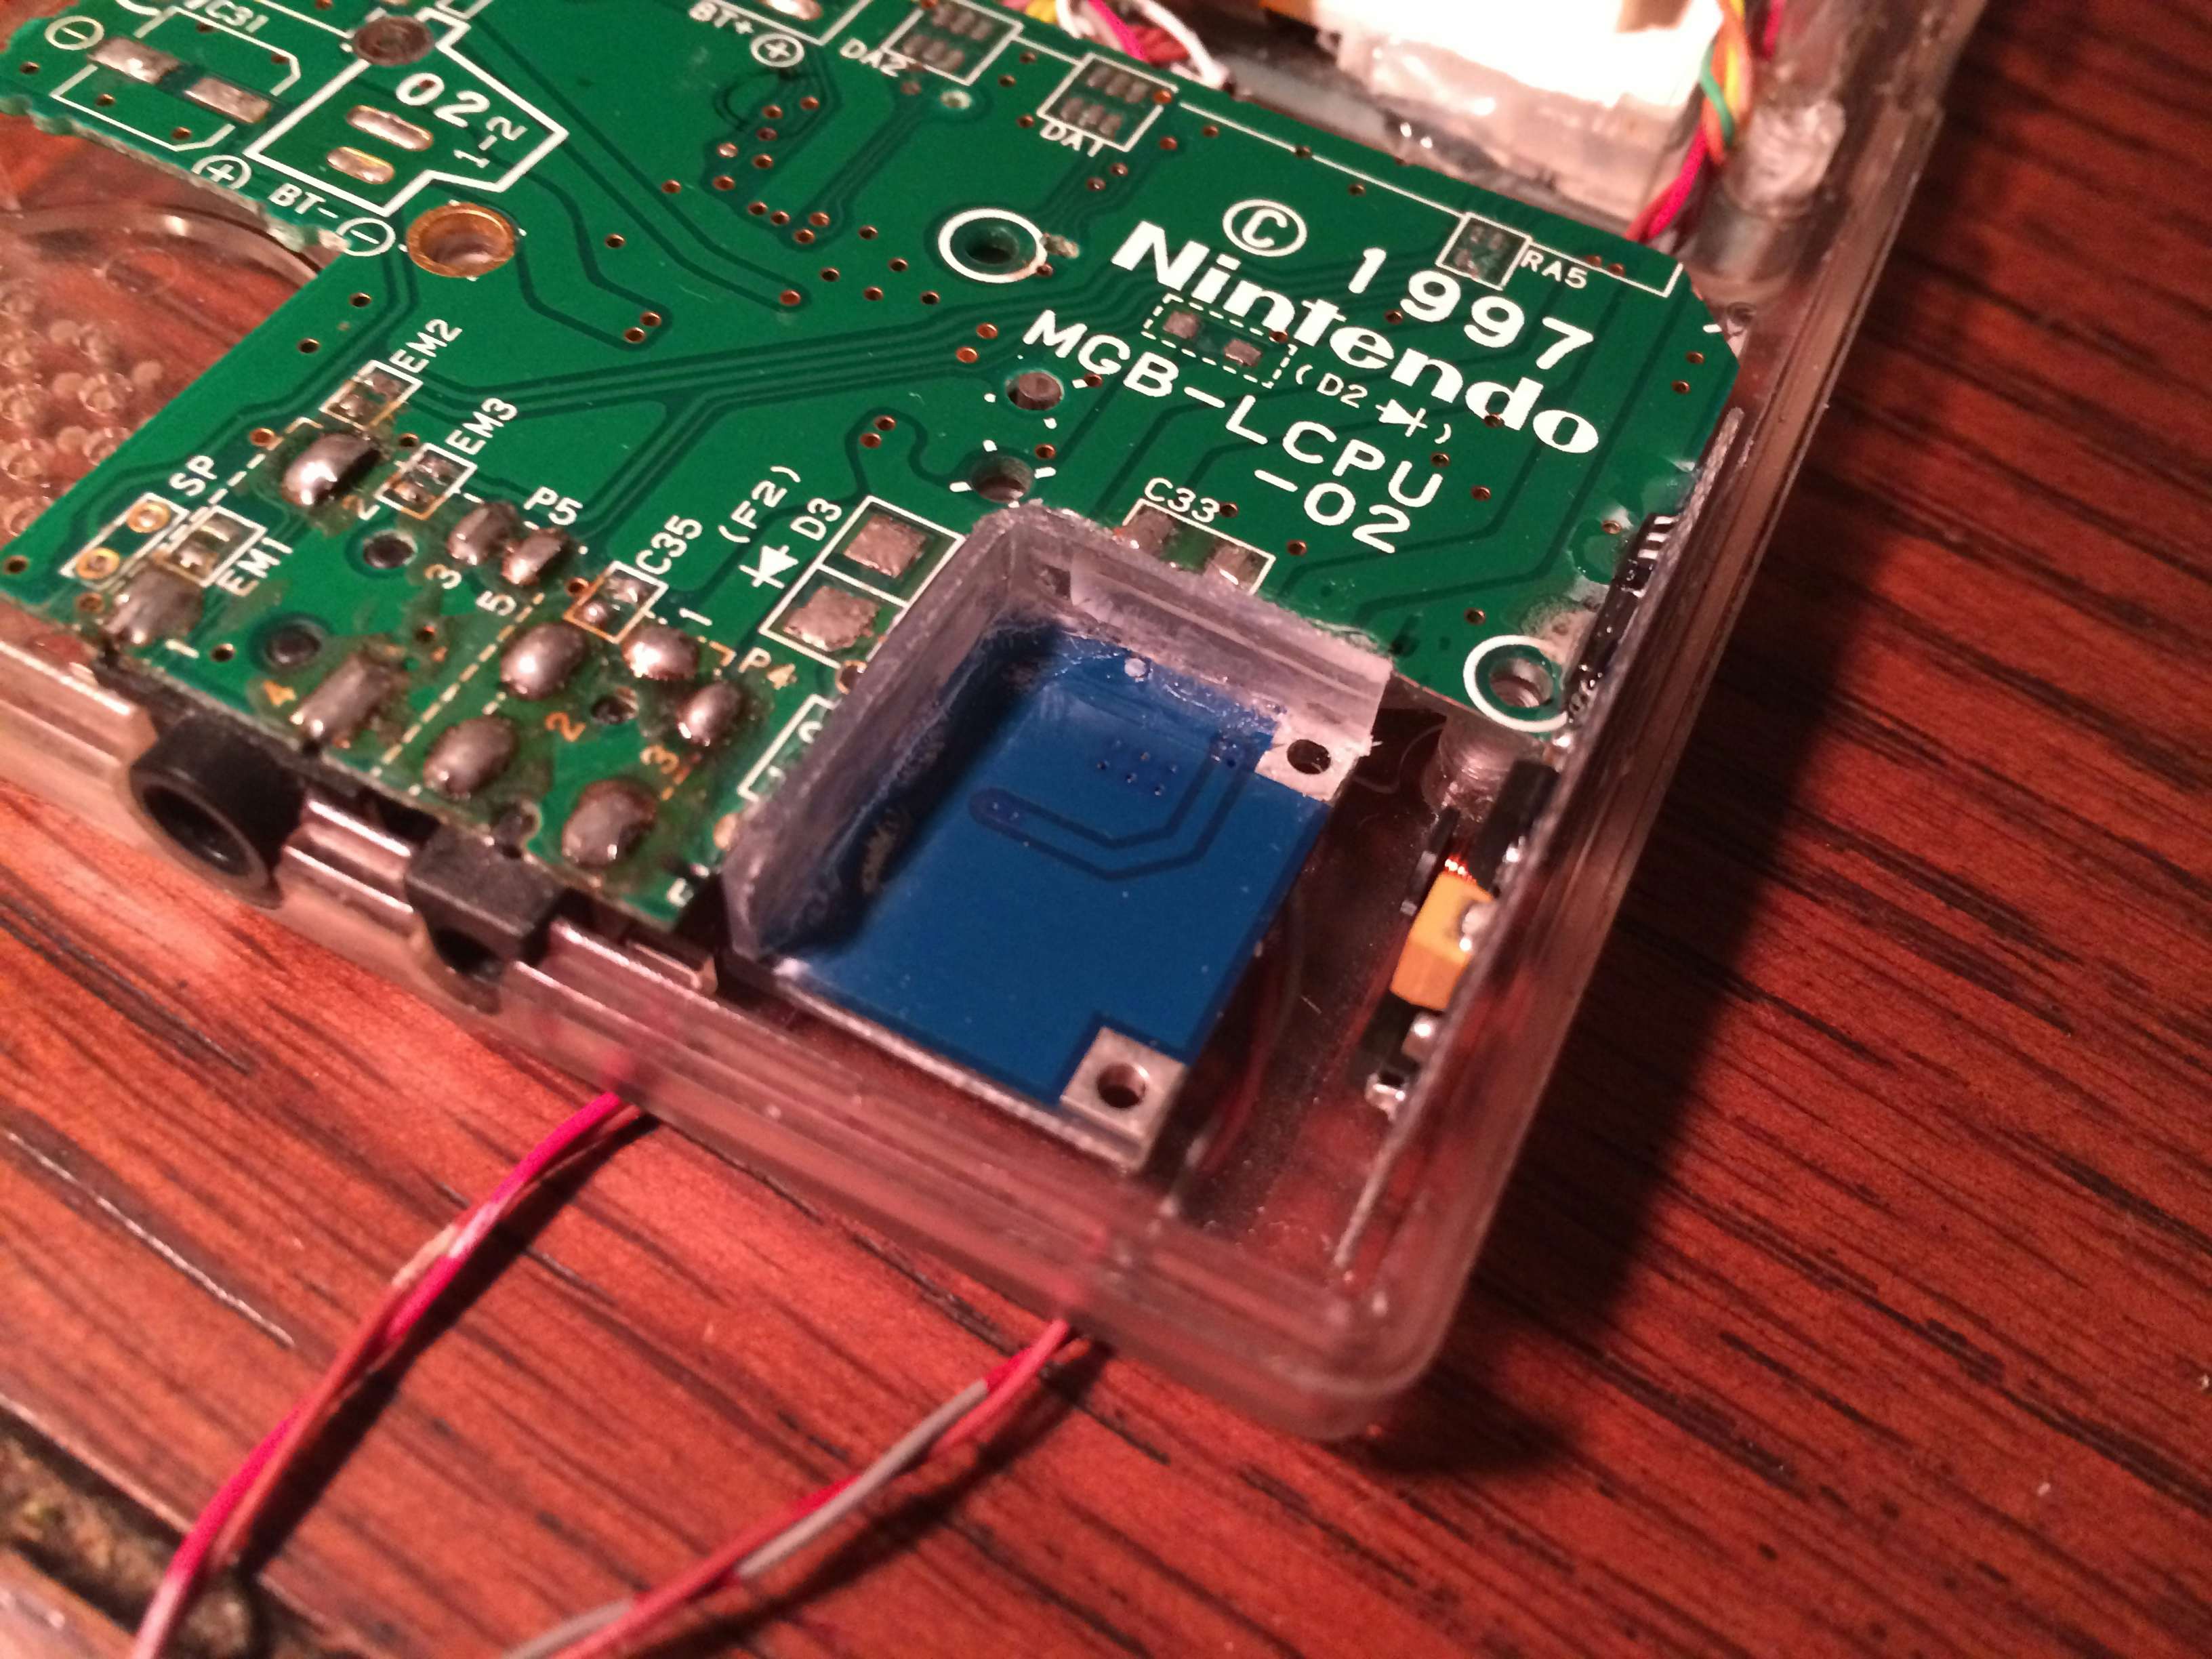
It was then time to place the 5V regulator output board (top) and the 3.7V Li-Ion (Li-Poly) battery charger (bottom). First a spacer was cut from the plastic case the SD Card came in and awesome glued in the space where the original Gameboy Pocket regulator was located. Next the output regulator was placed in the thin free space between the gamepad board and the side of the Pocket’s shell.
Sound
Where would a round of Tetris be without the iconic music that goes with that brick stacking madness? There were several issues to overcome when adding sound to the Pi-Pocket since the Raspberry Pi outputs line level (headphone) output. This would mean a speaker like the one found in the original Gameboy would barely make any sound. The original speaker is quite large in depth and would no longer fit when sandwiched in with the Pi and Li-Ion battery.
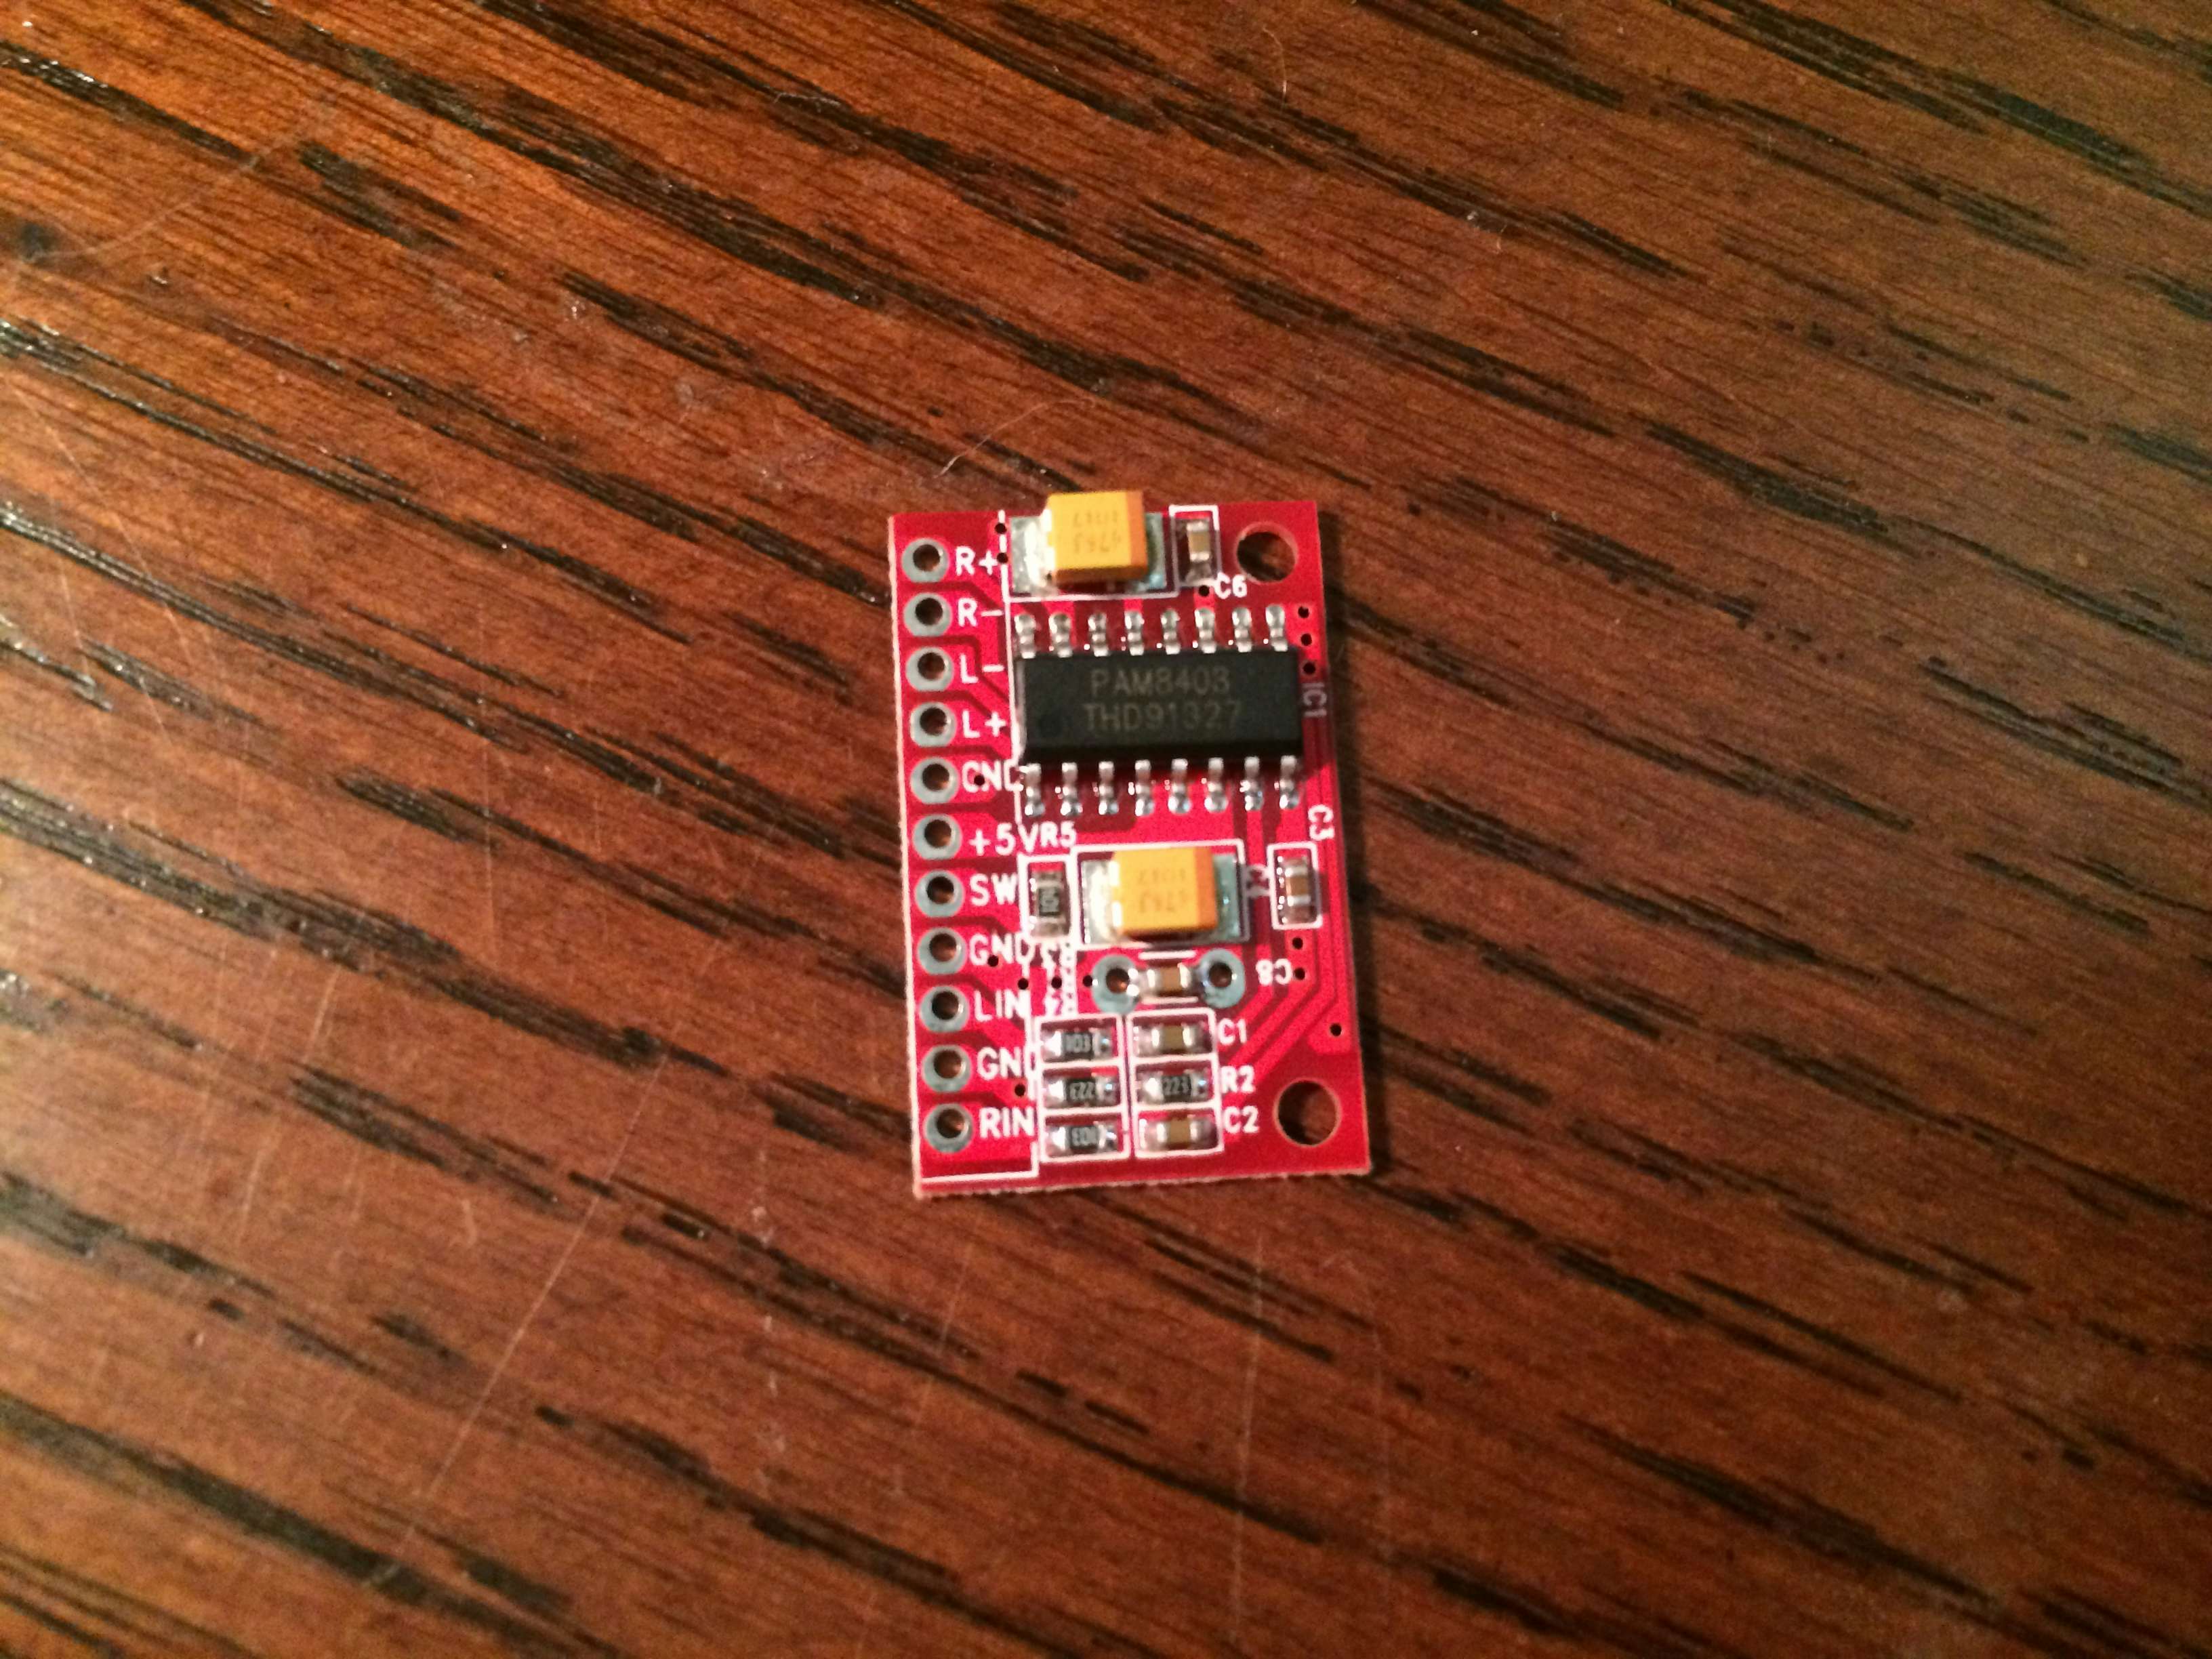
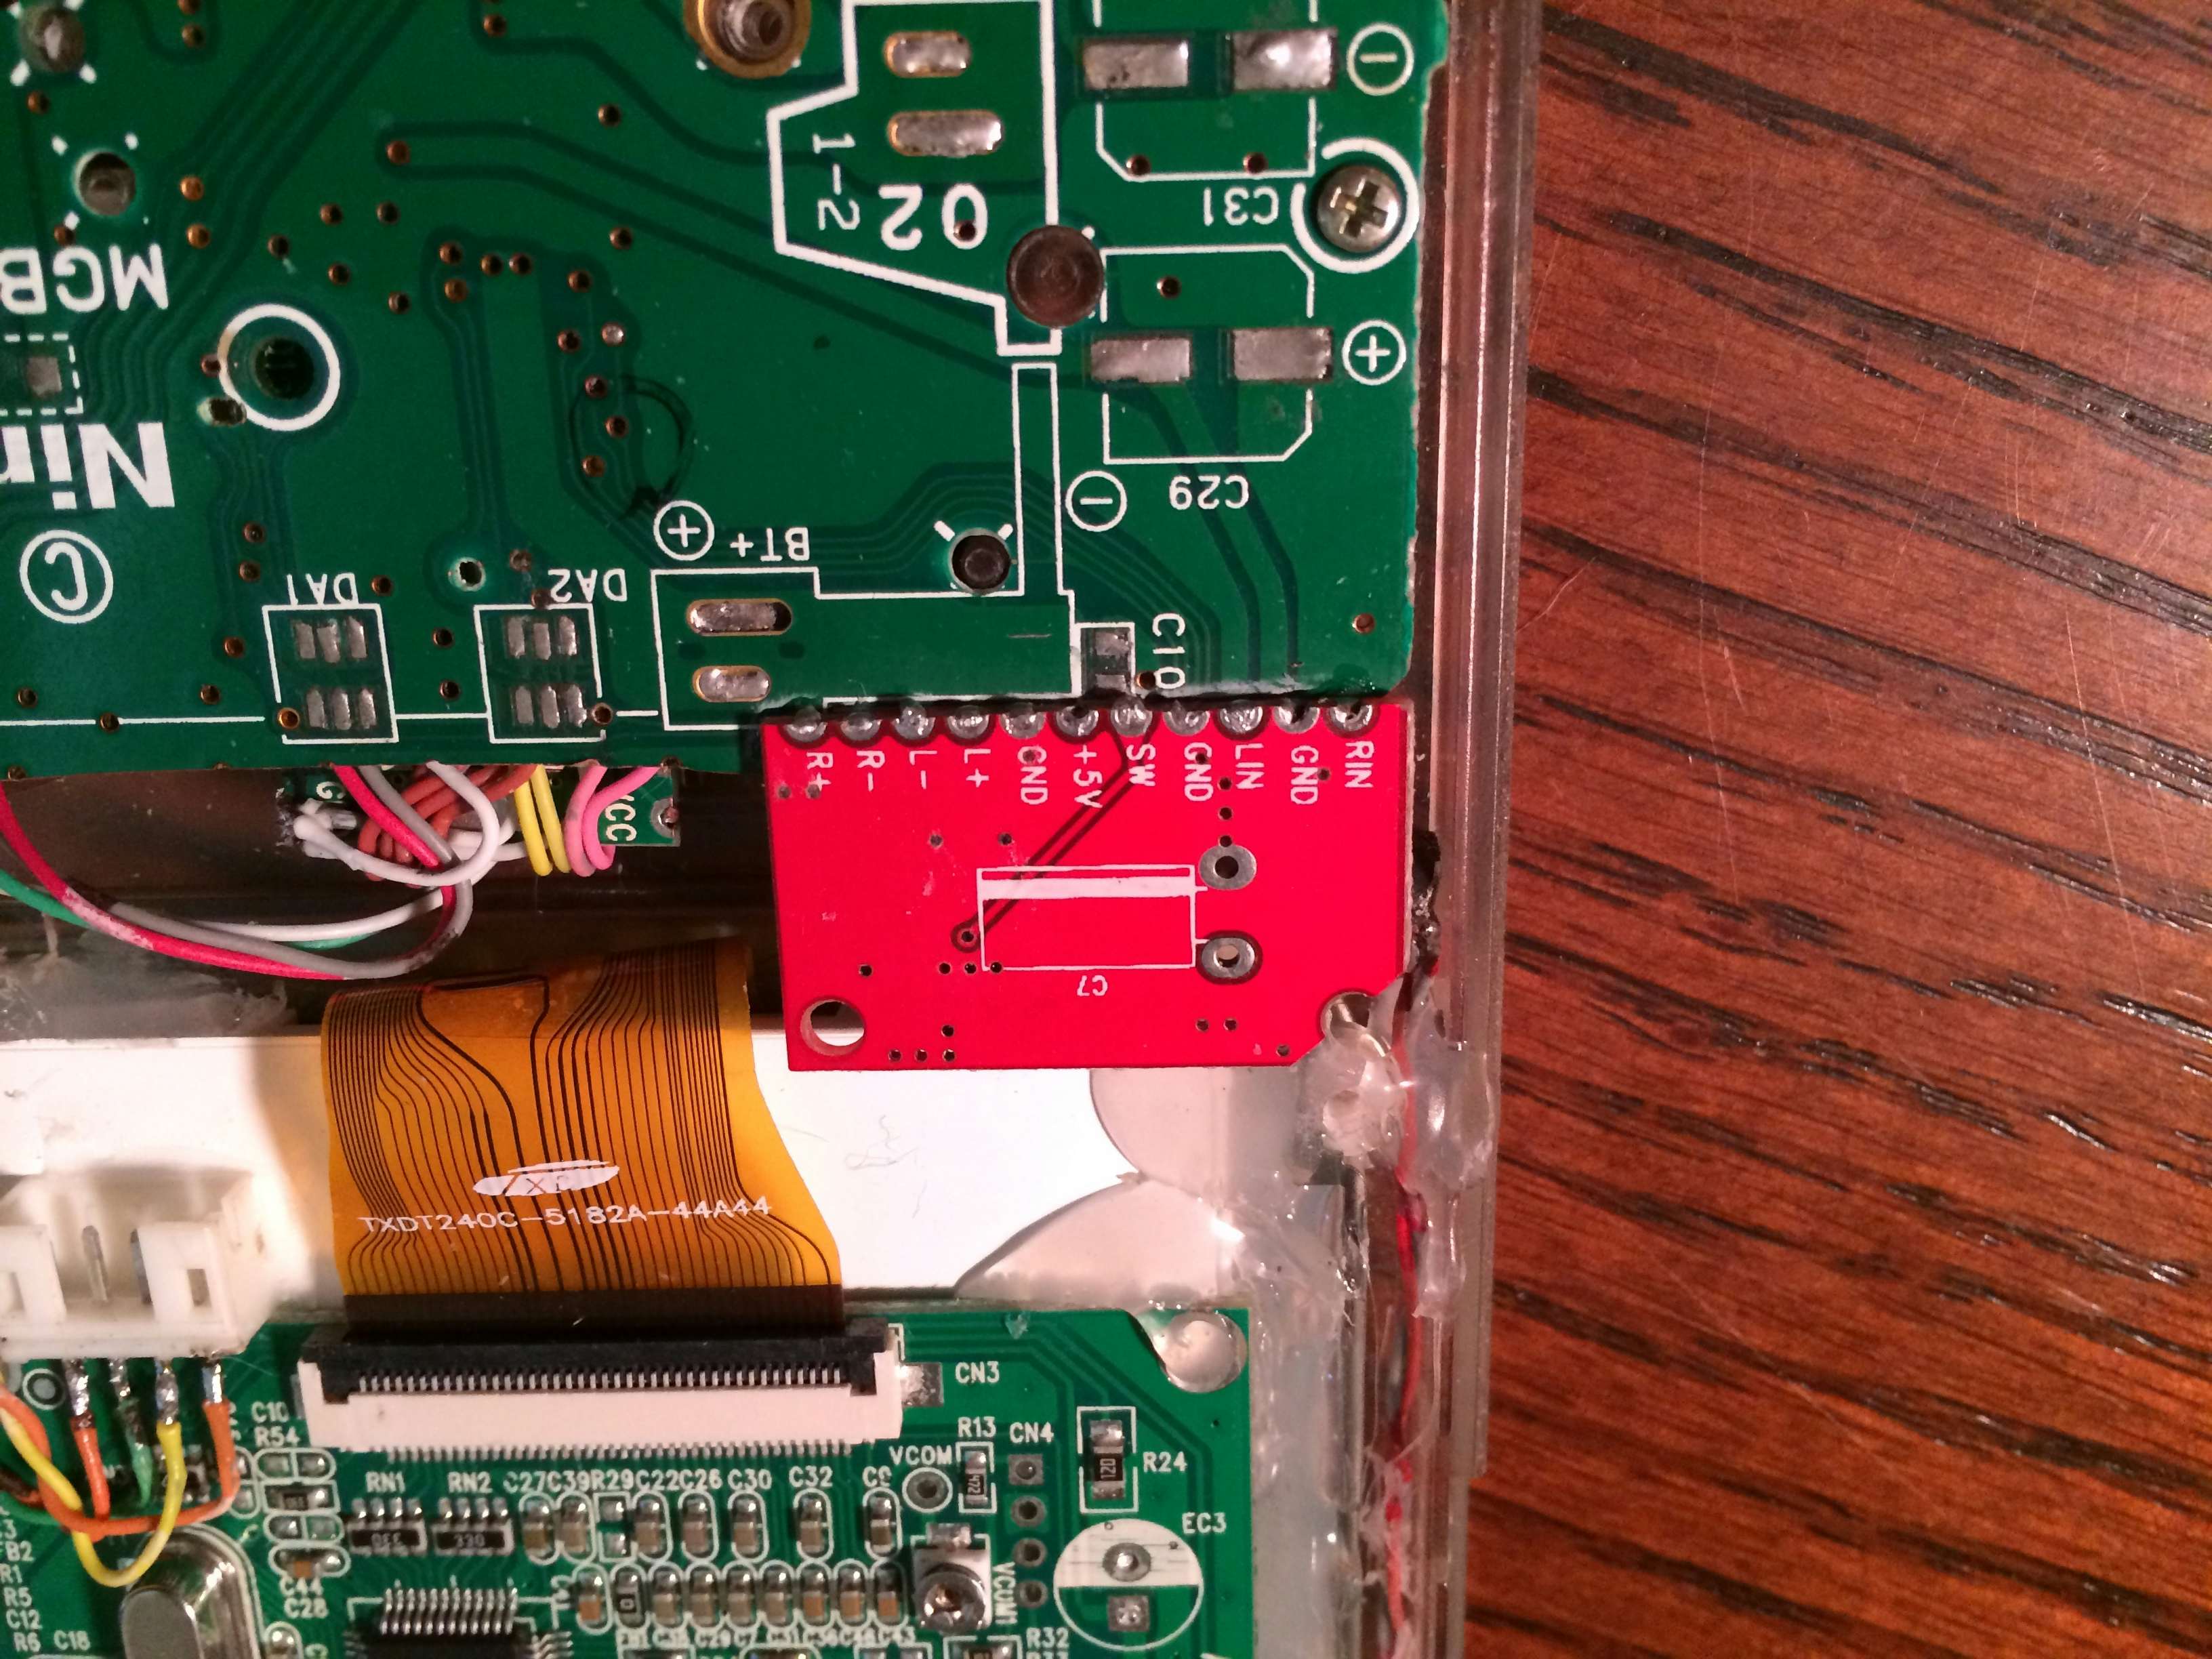
A miniature amplifier was chosen with a small footprint and a 5V input. The board was then trimmed slightly, much as basically every other component has been. Next the board was glued in some free space to the gamepad board which serves as host to the main regulators and allows easy removal of large sets of “modular” components. The word modular used loosely only to describe the ability for the project to be disassembled without having to break out a soldering iron.
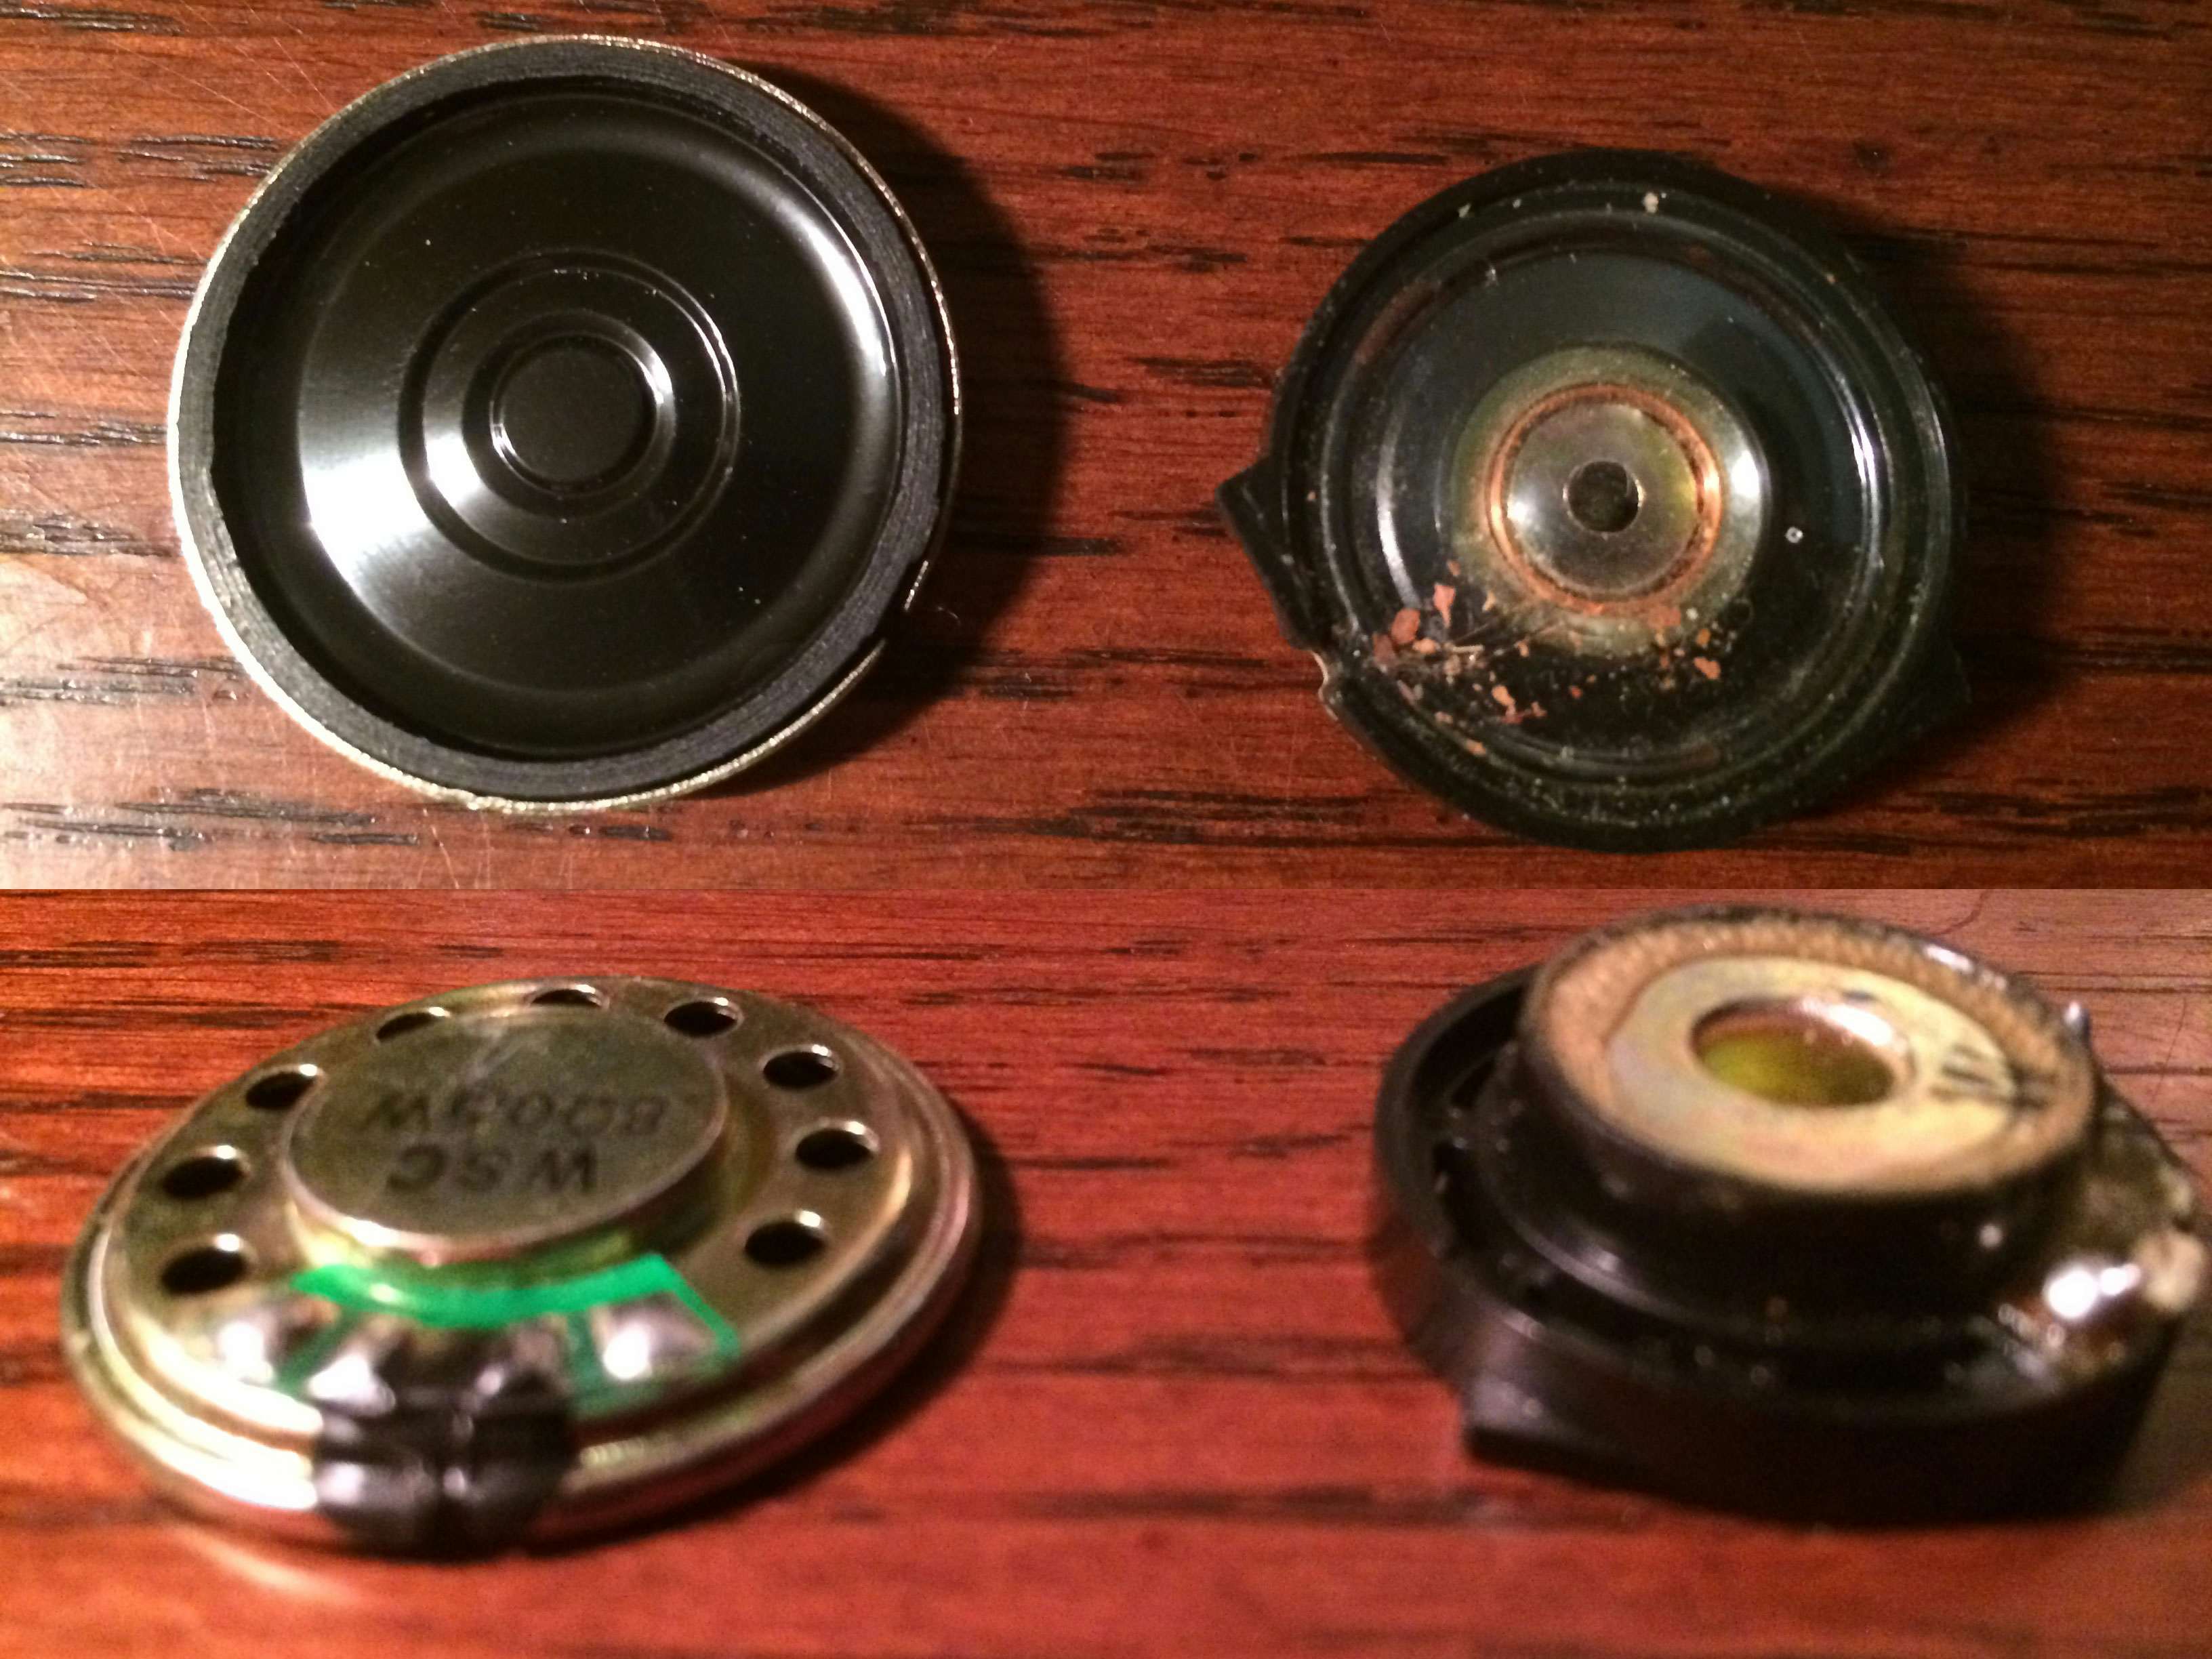
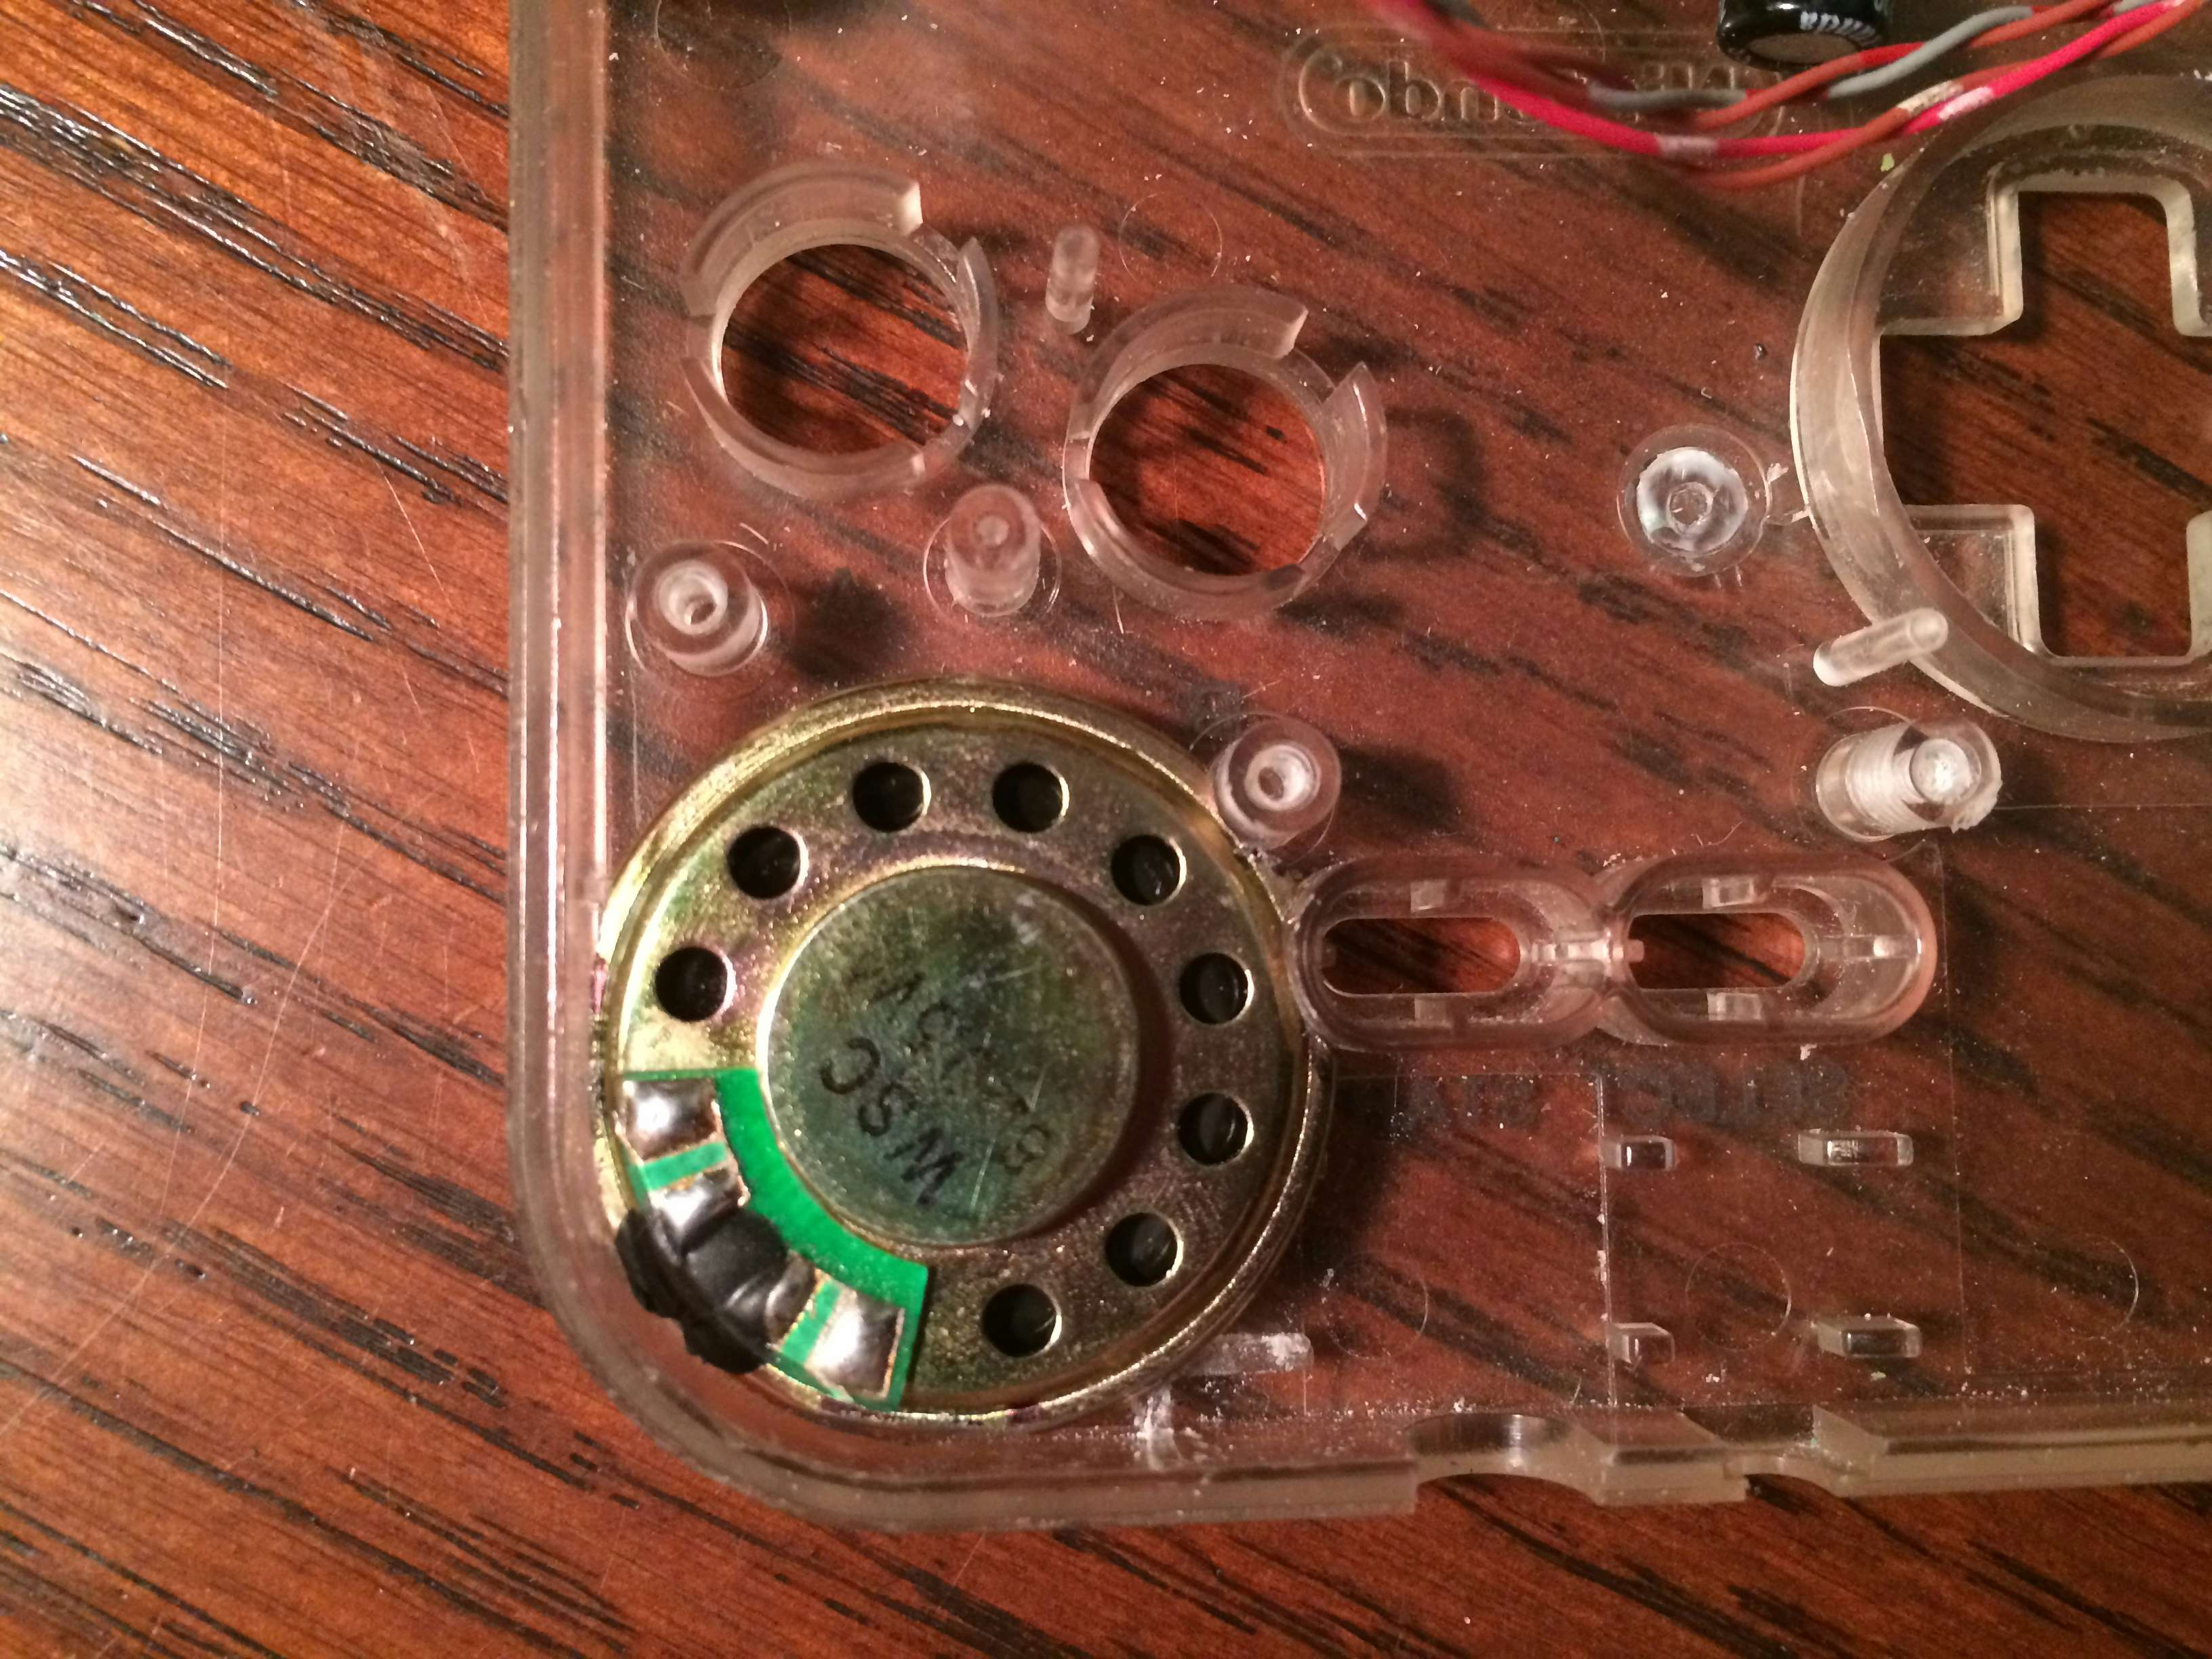
Super strong magnets were much less common and thus more expensive 17 years ago when the Gameboy Pocket was built. The new speaker has several times the wattage rating of the original speaker while being half as deep. The downside was not being able to find a speaker the same diameter meant a few cuts would need to be made to shape the speaker to fit in the front shell.
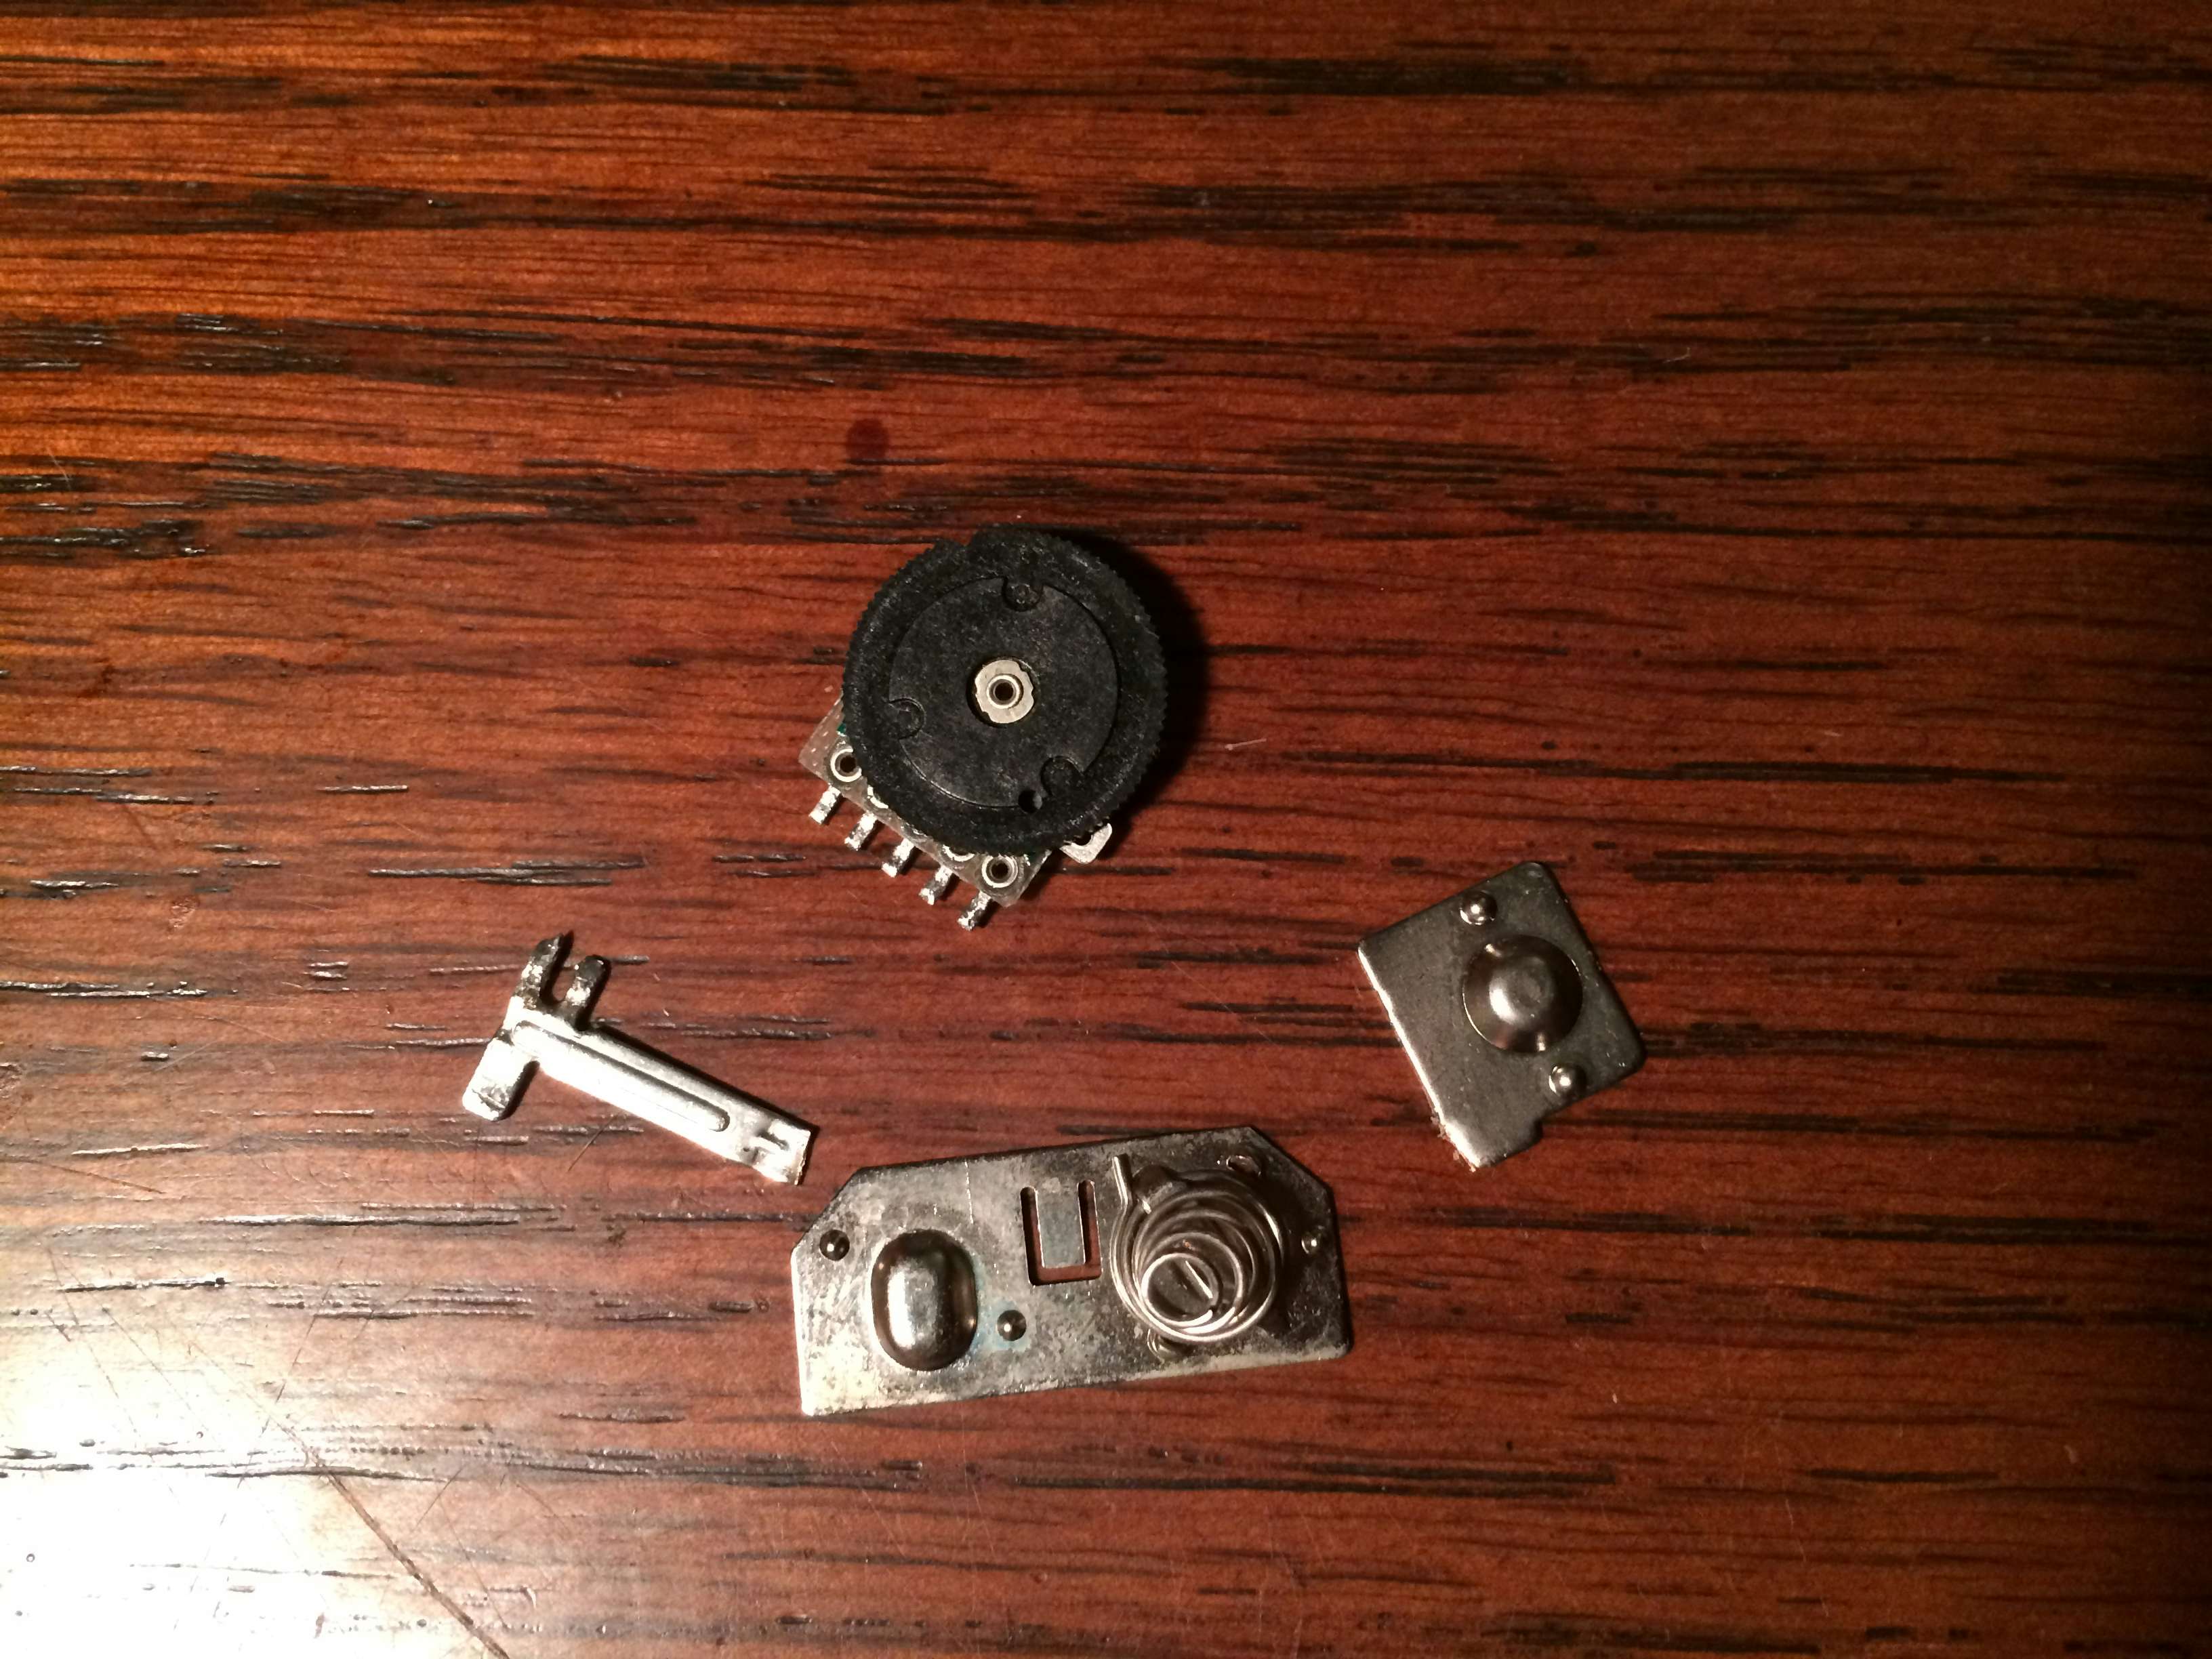
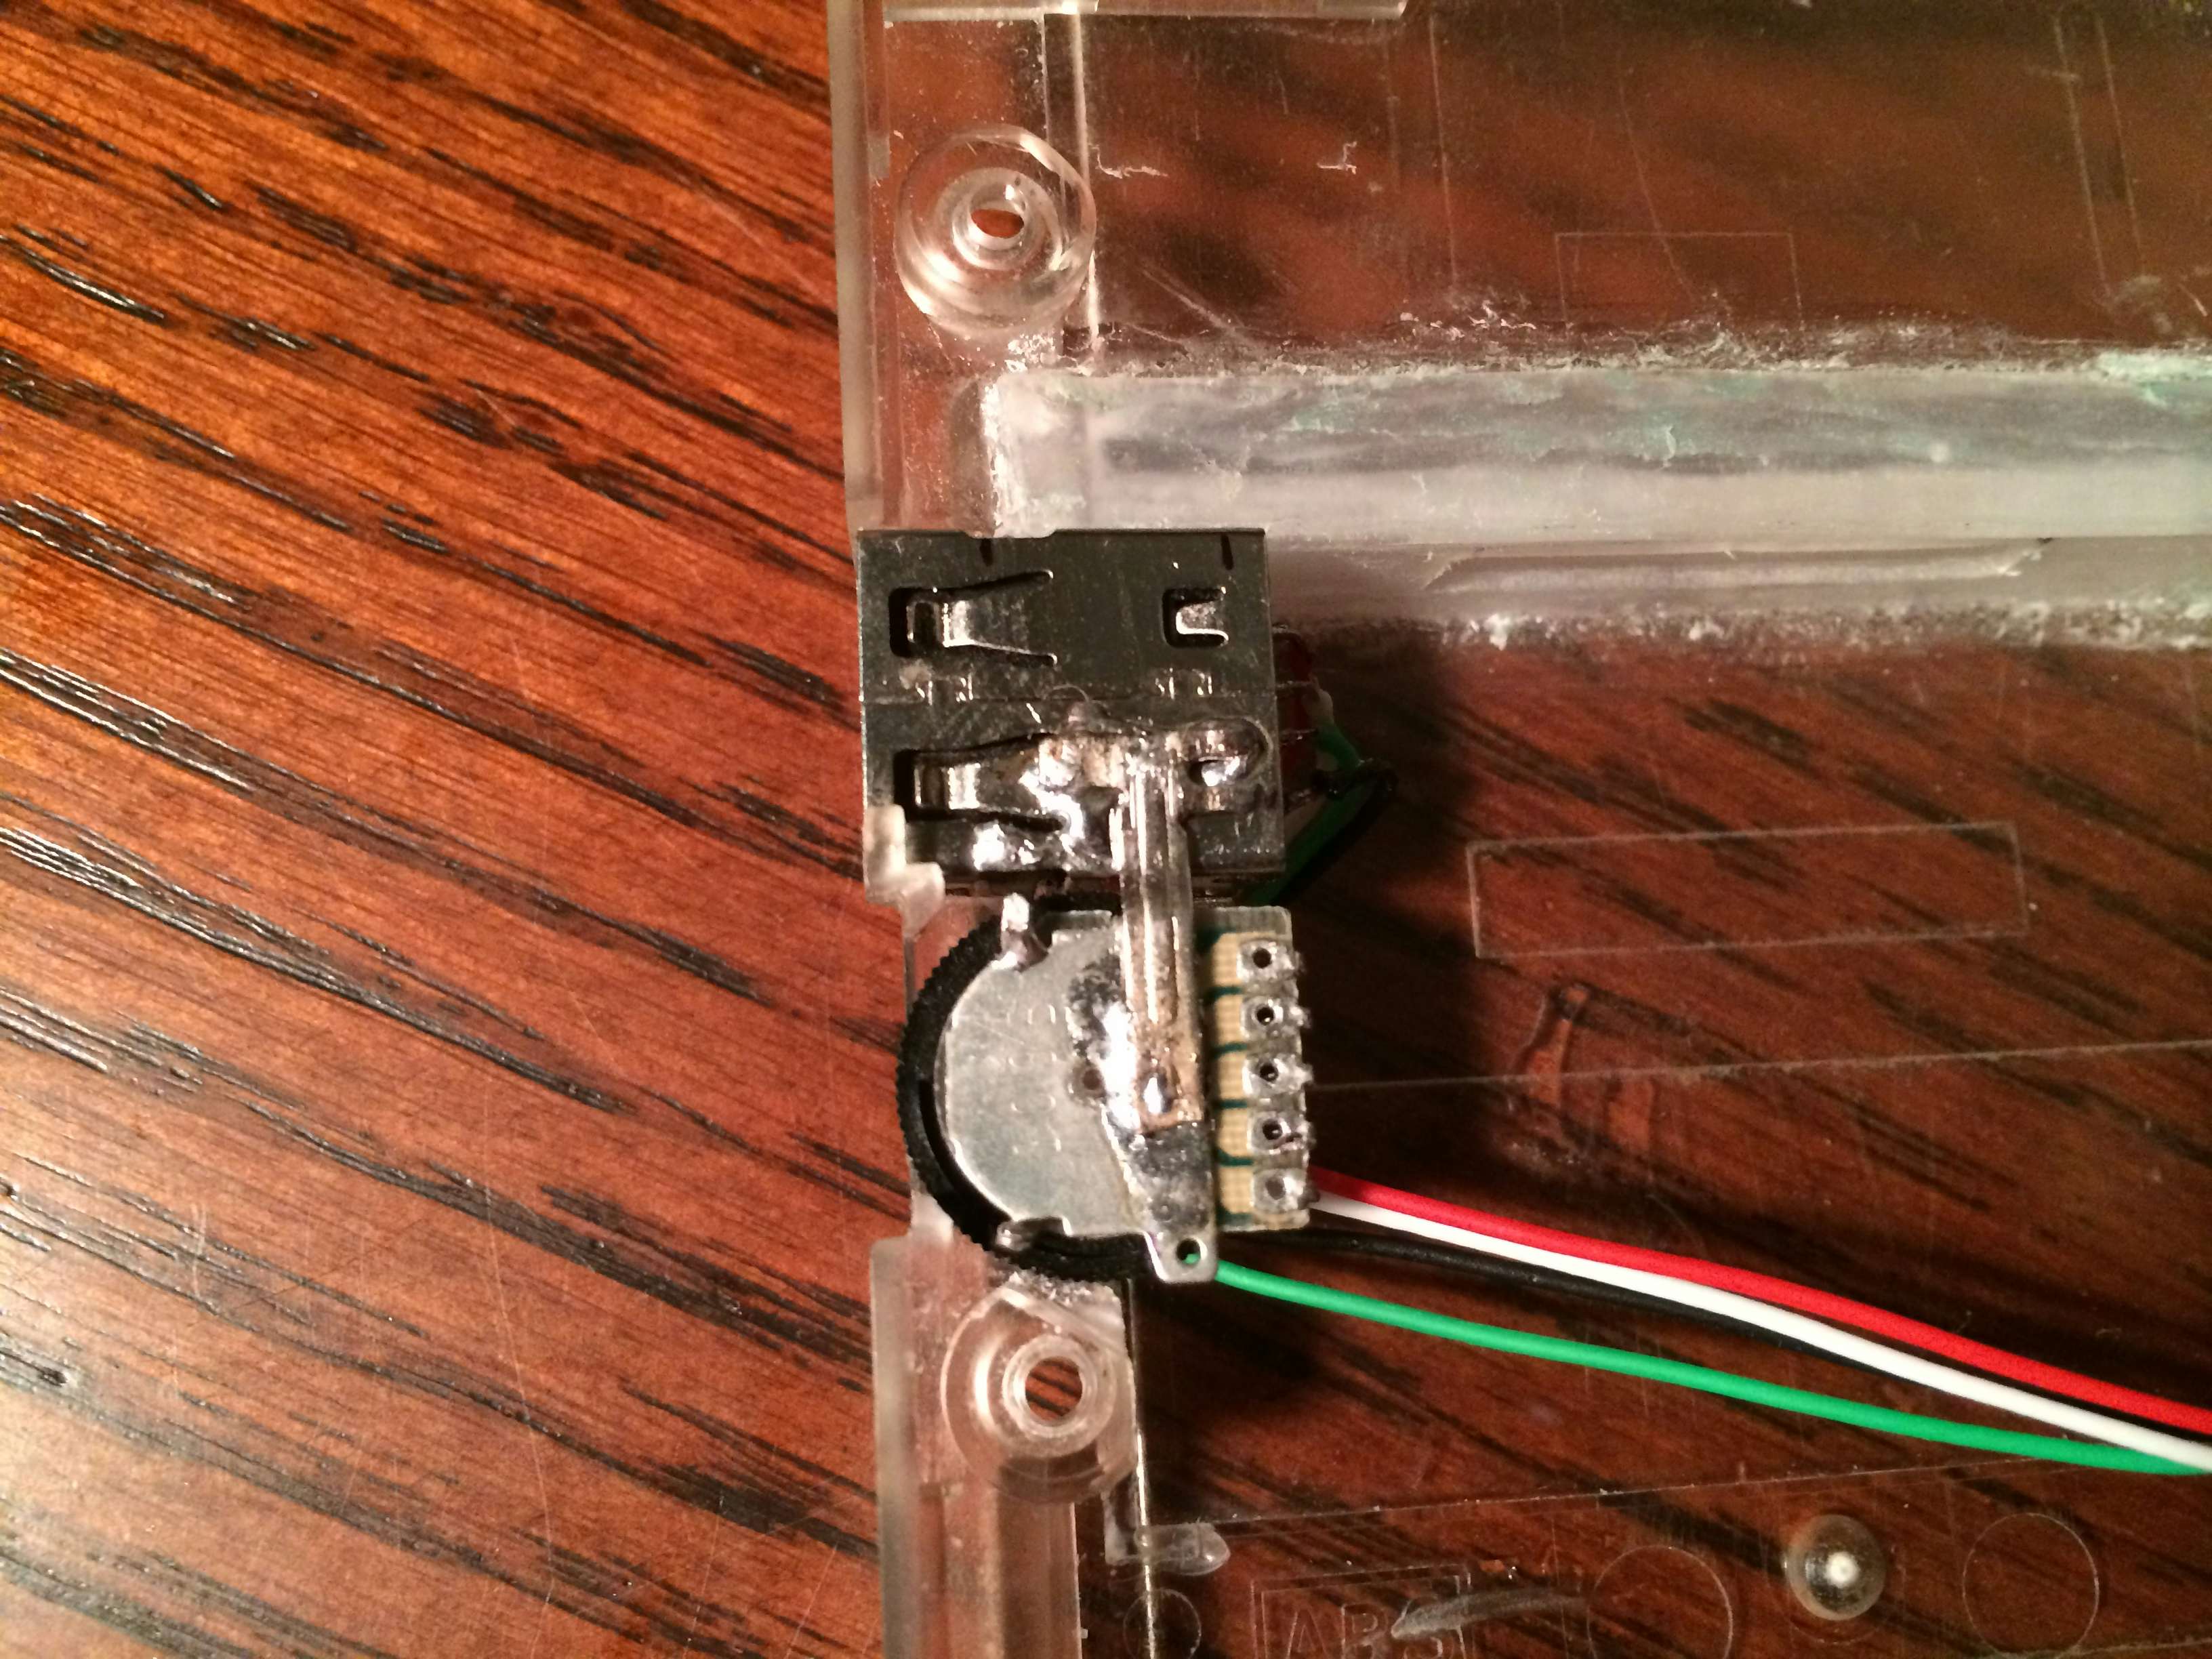
Needing some way to control the audio it made sense to reuse the original Gameboy volume potentiometer. With the knob liberated from the Gameboy’s motherboard it was time to find a way to mount it. Since both the USB port and the potentiometer are both made of metal that solder sticks to readily it was easy to create a small mounting bracket using some bits of the old battery contacts. With the knob mounted in place wires and an additional connector were added to keep with the theme of modularity.
Putting It All Together
The next few bits progressed quicker with the excitement of several key components finally arriving in the mail. Mostly this includes a large amount of point to point soldering, test fitting, and giving everything connectors. Being a total sucker for connectors it was important that the major components disconnect with the rear half being completely removable. There is a sacrifice in space when using many connectors, however, it can be accomplished with some creative thinking.
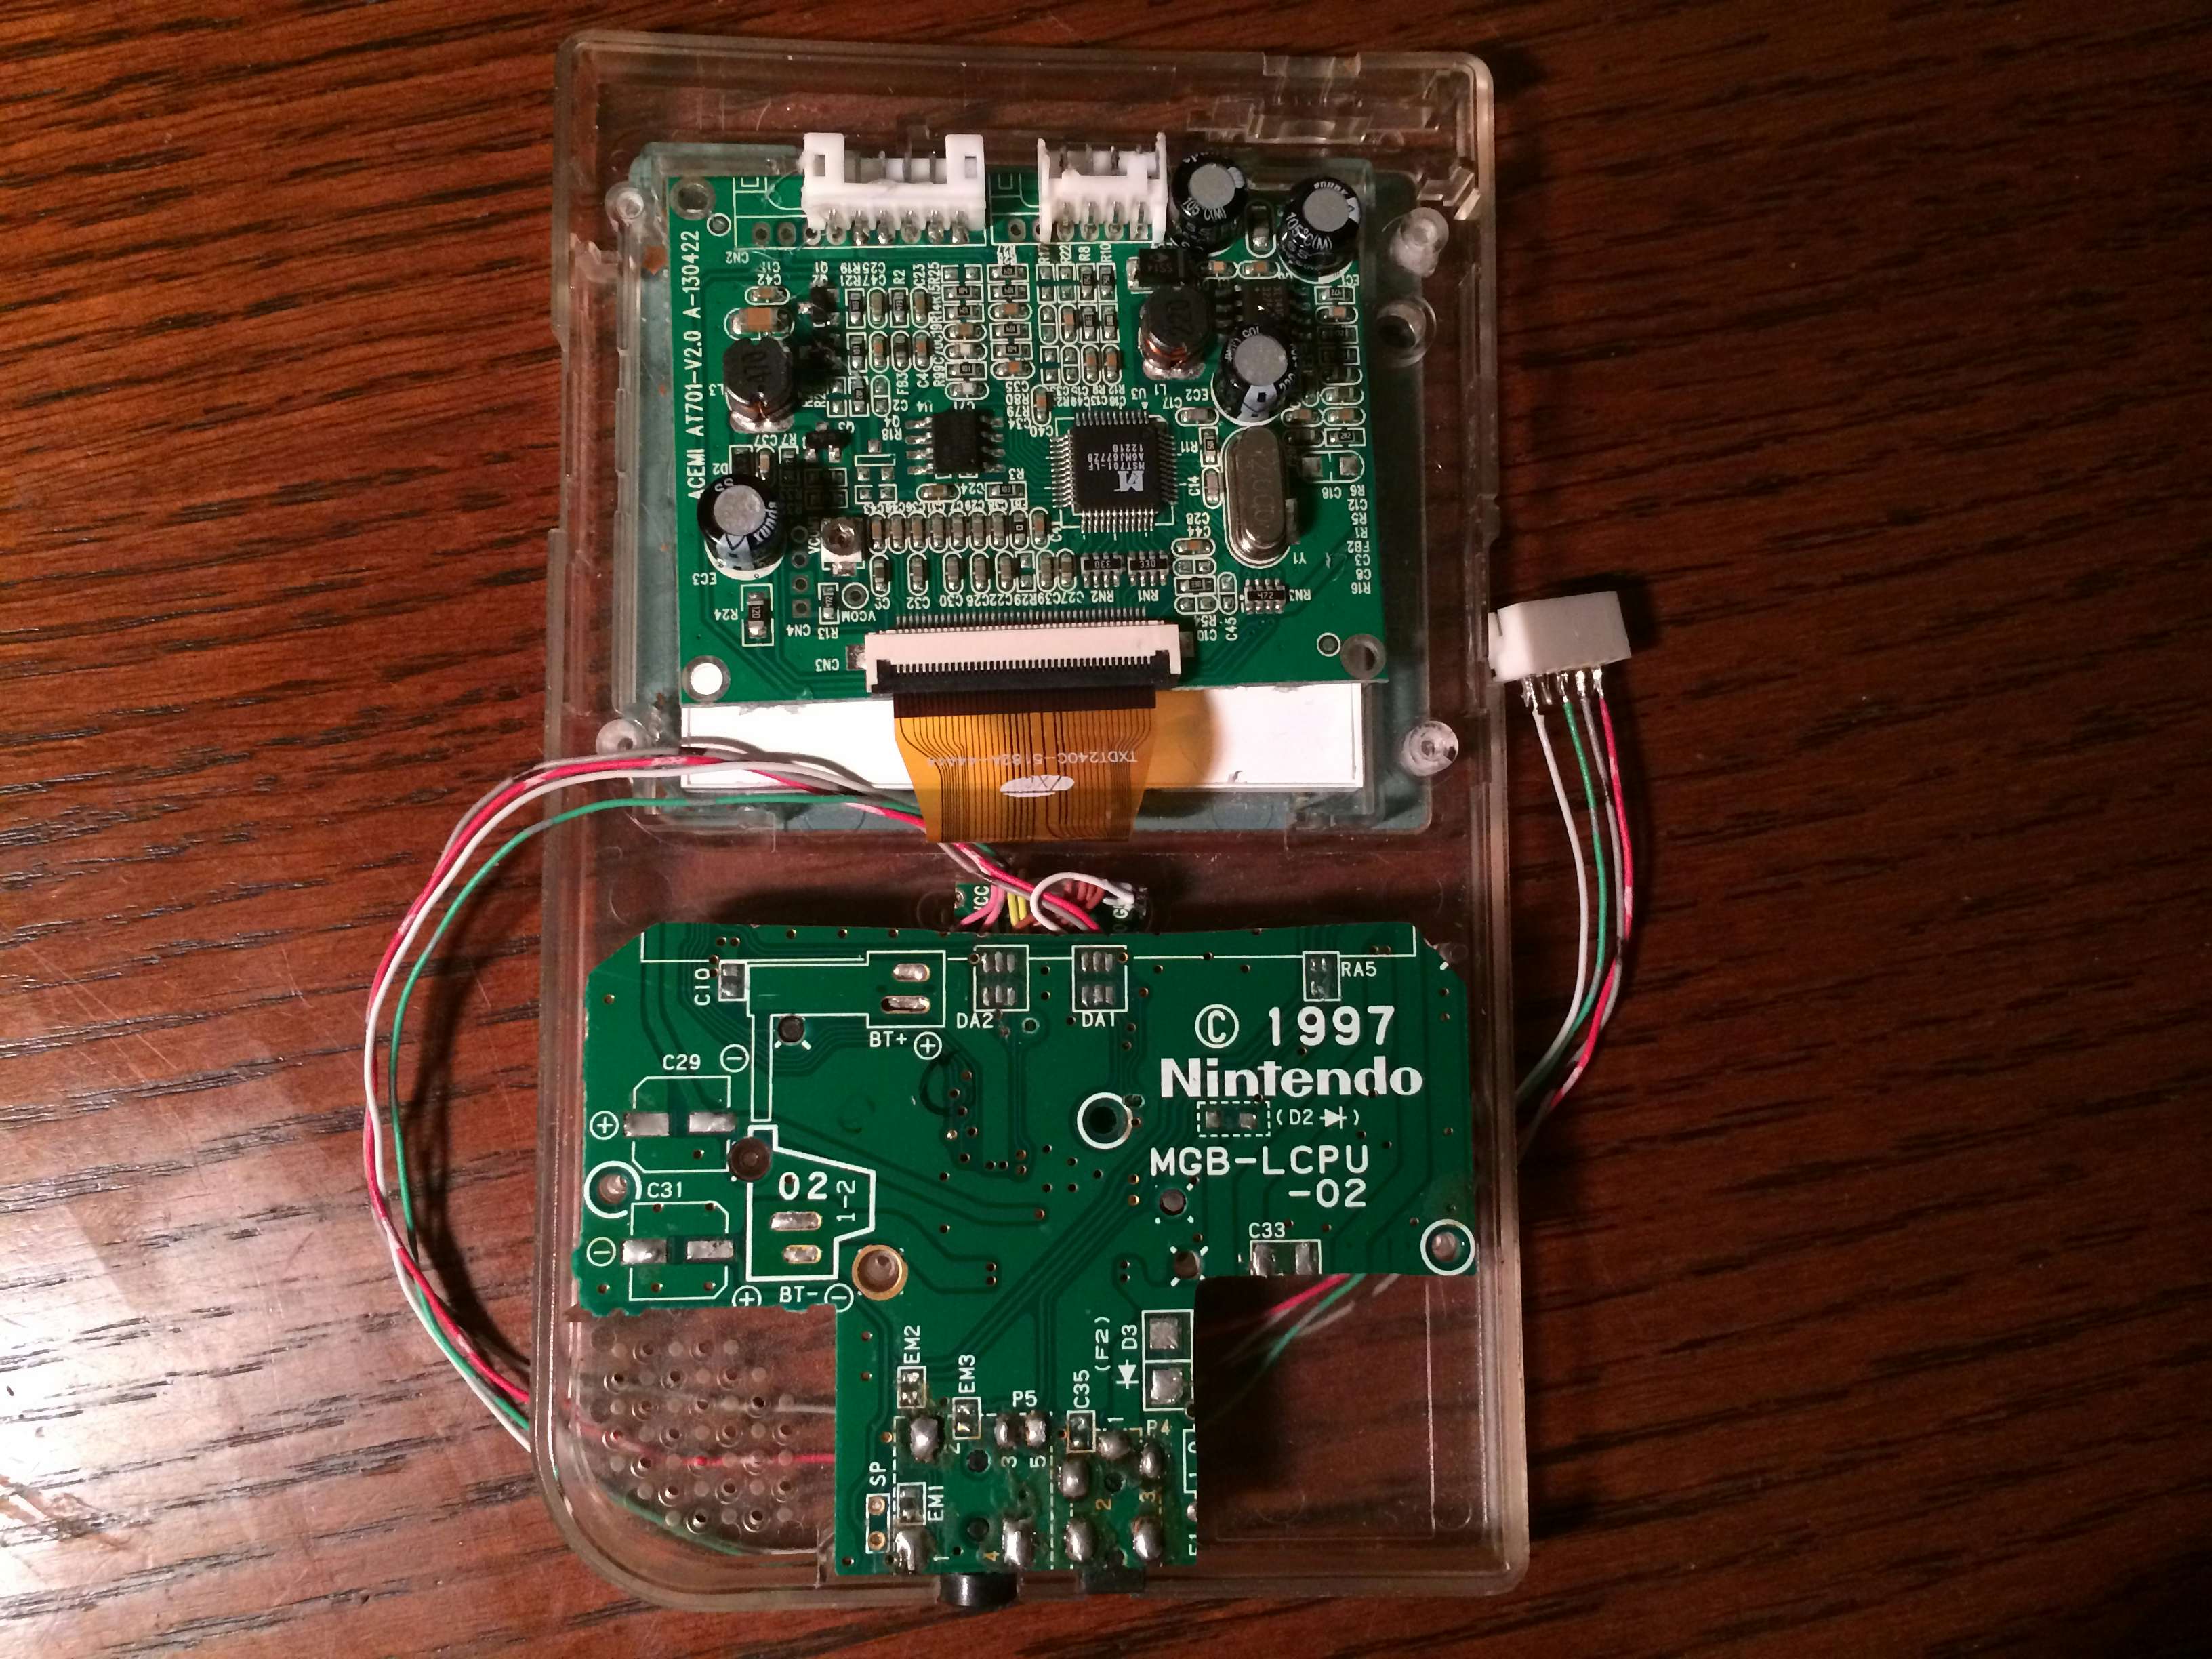
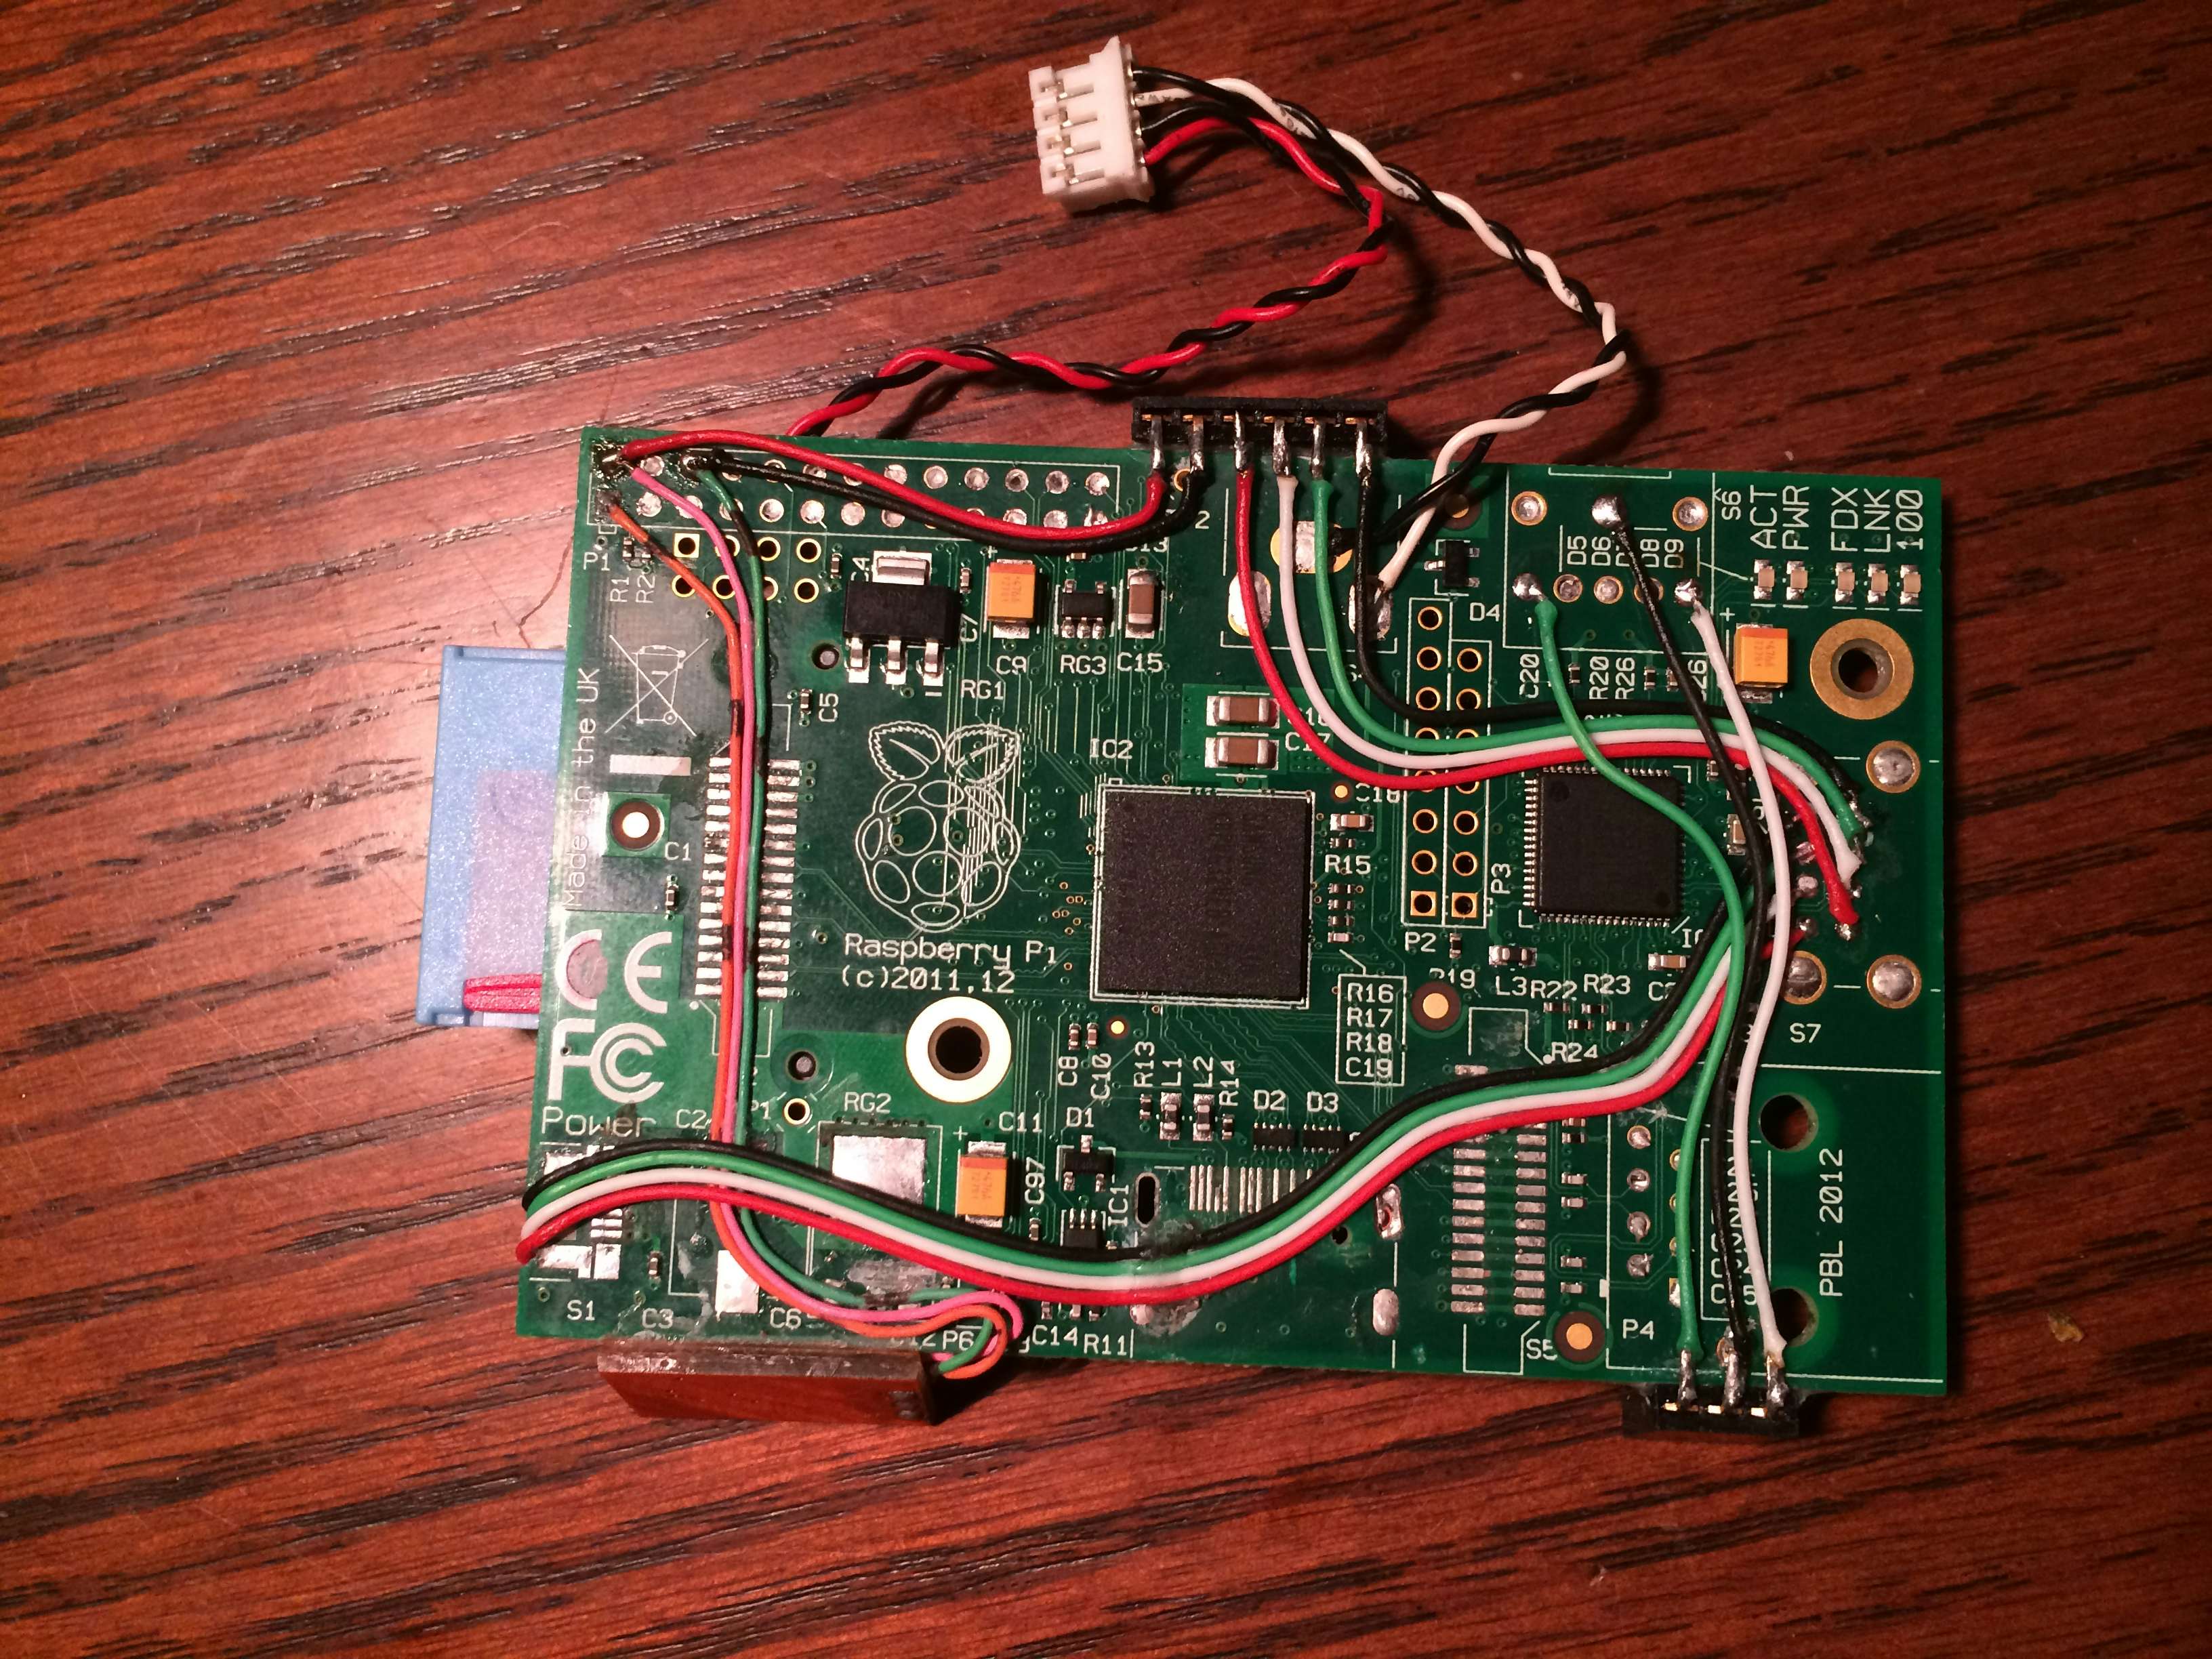
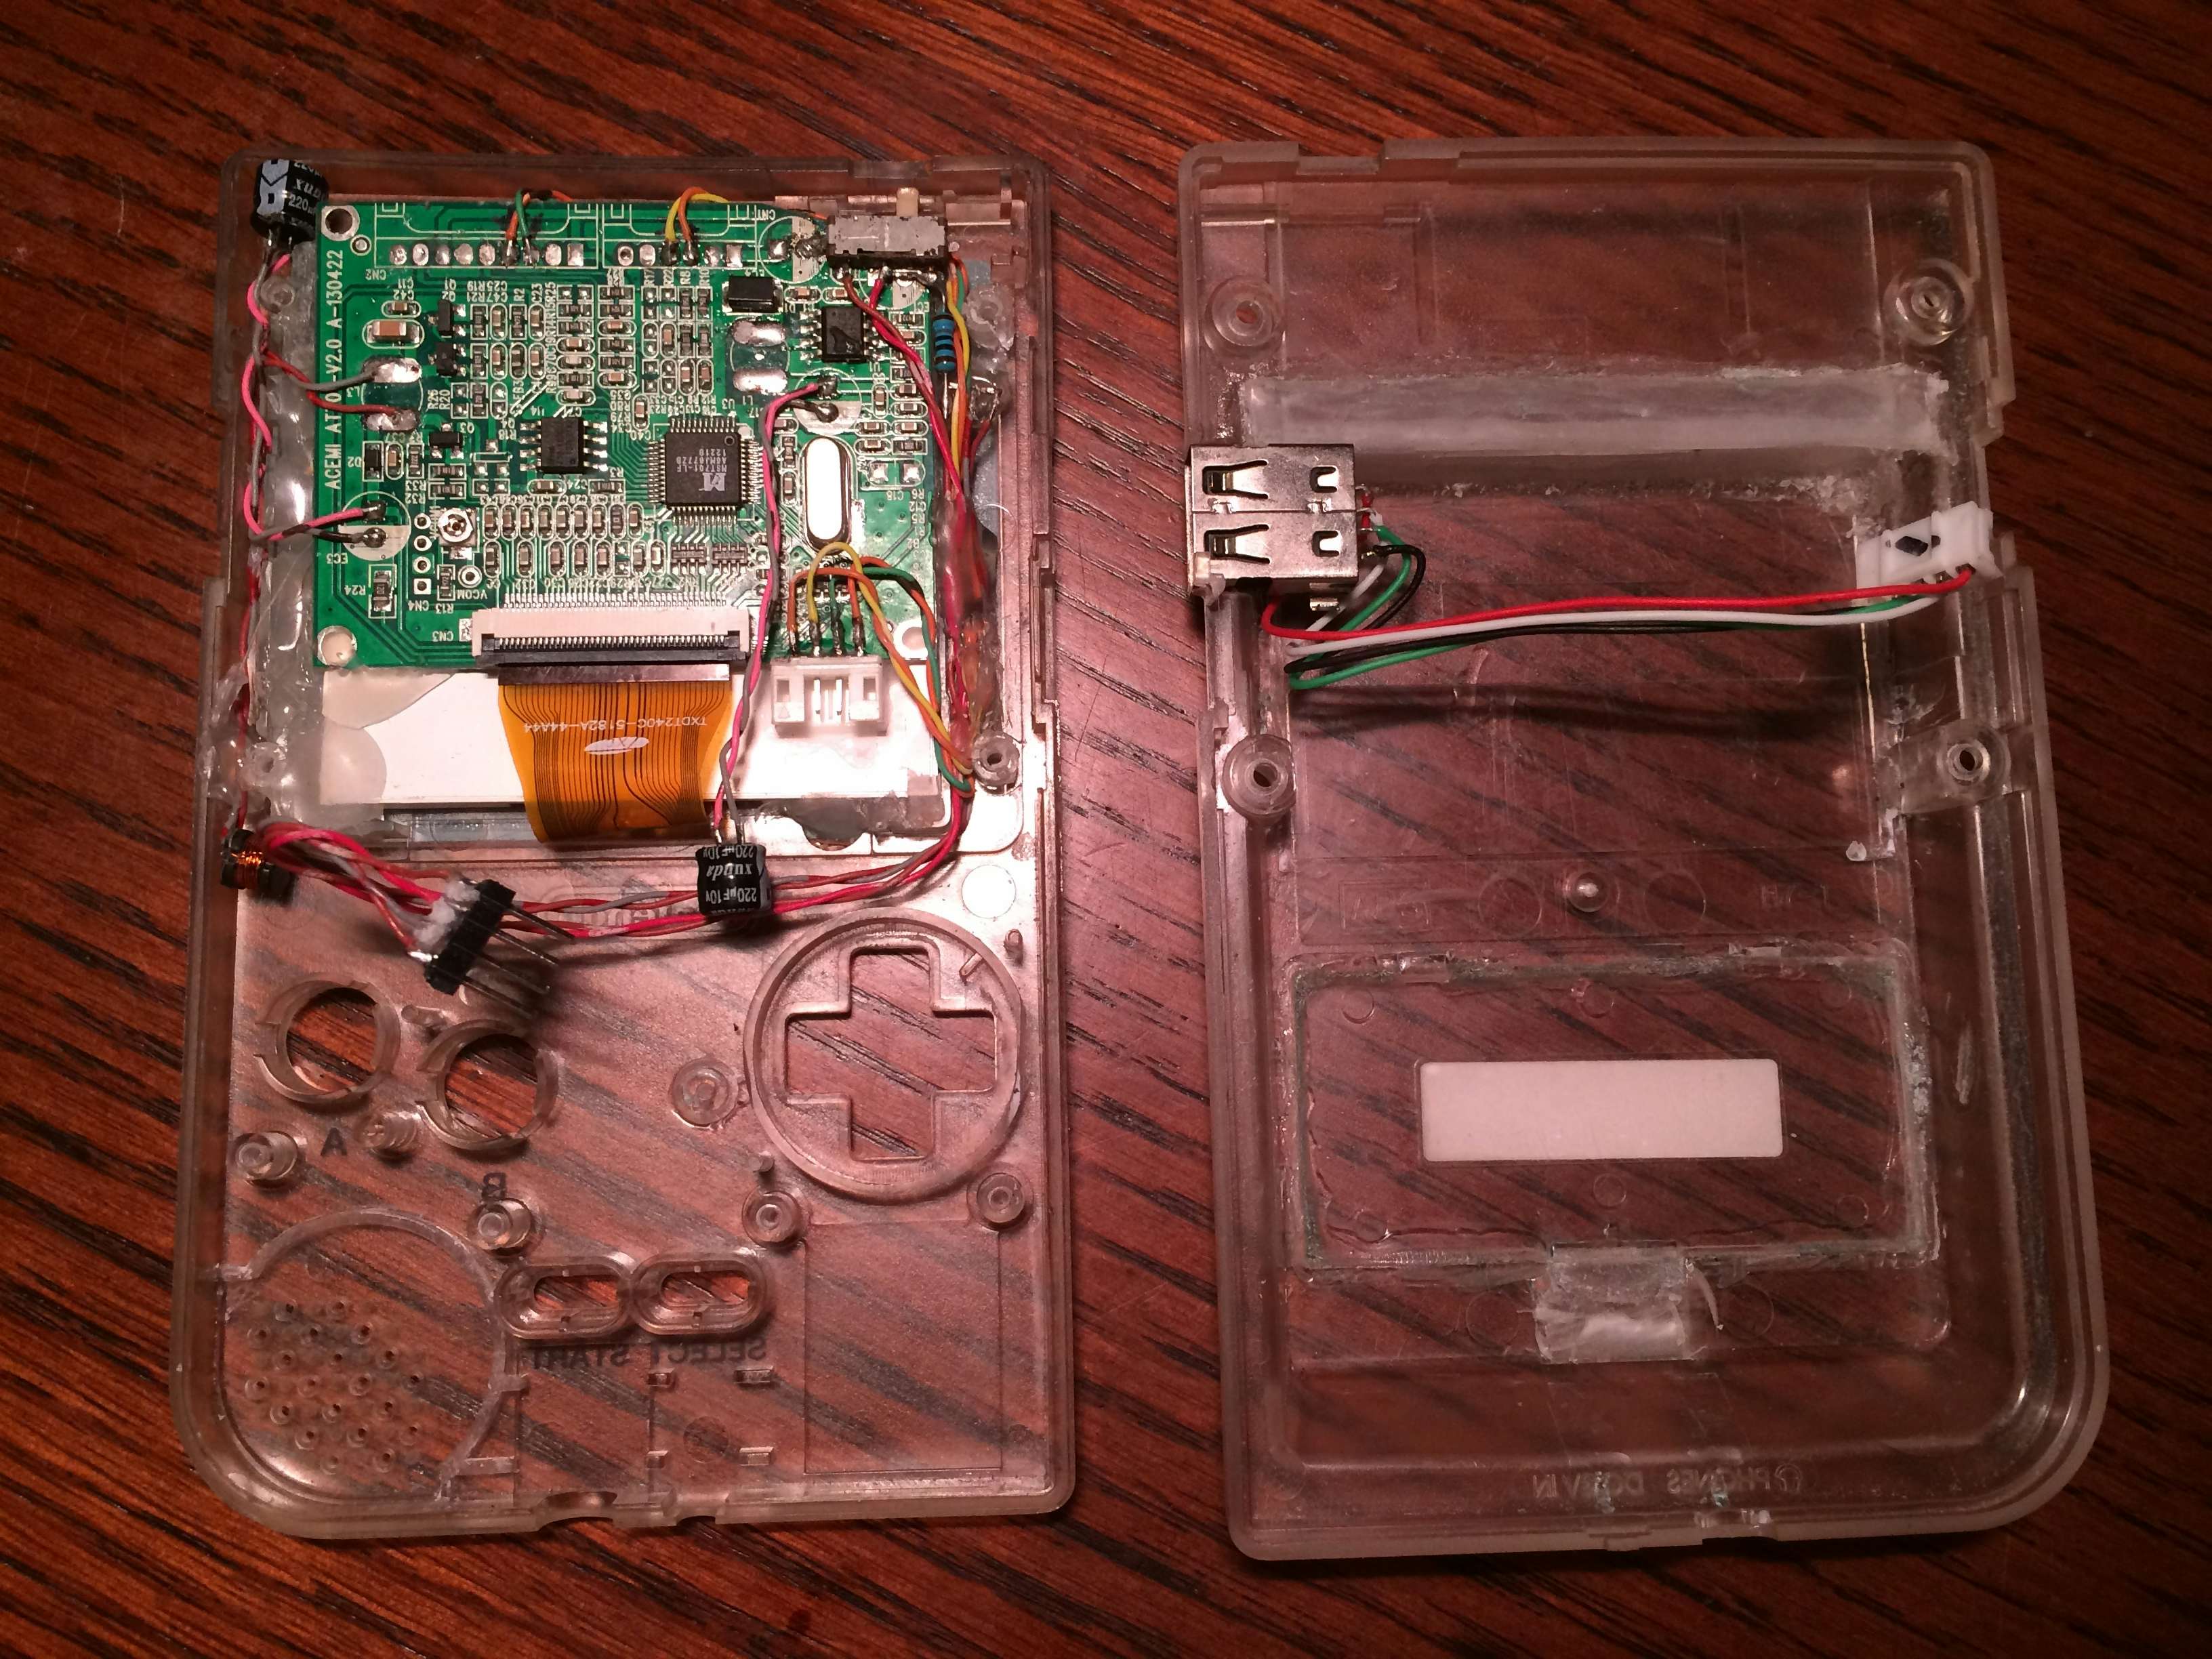
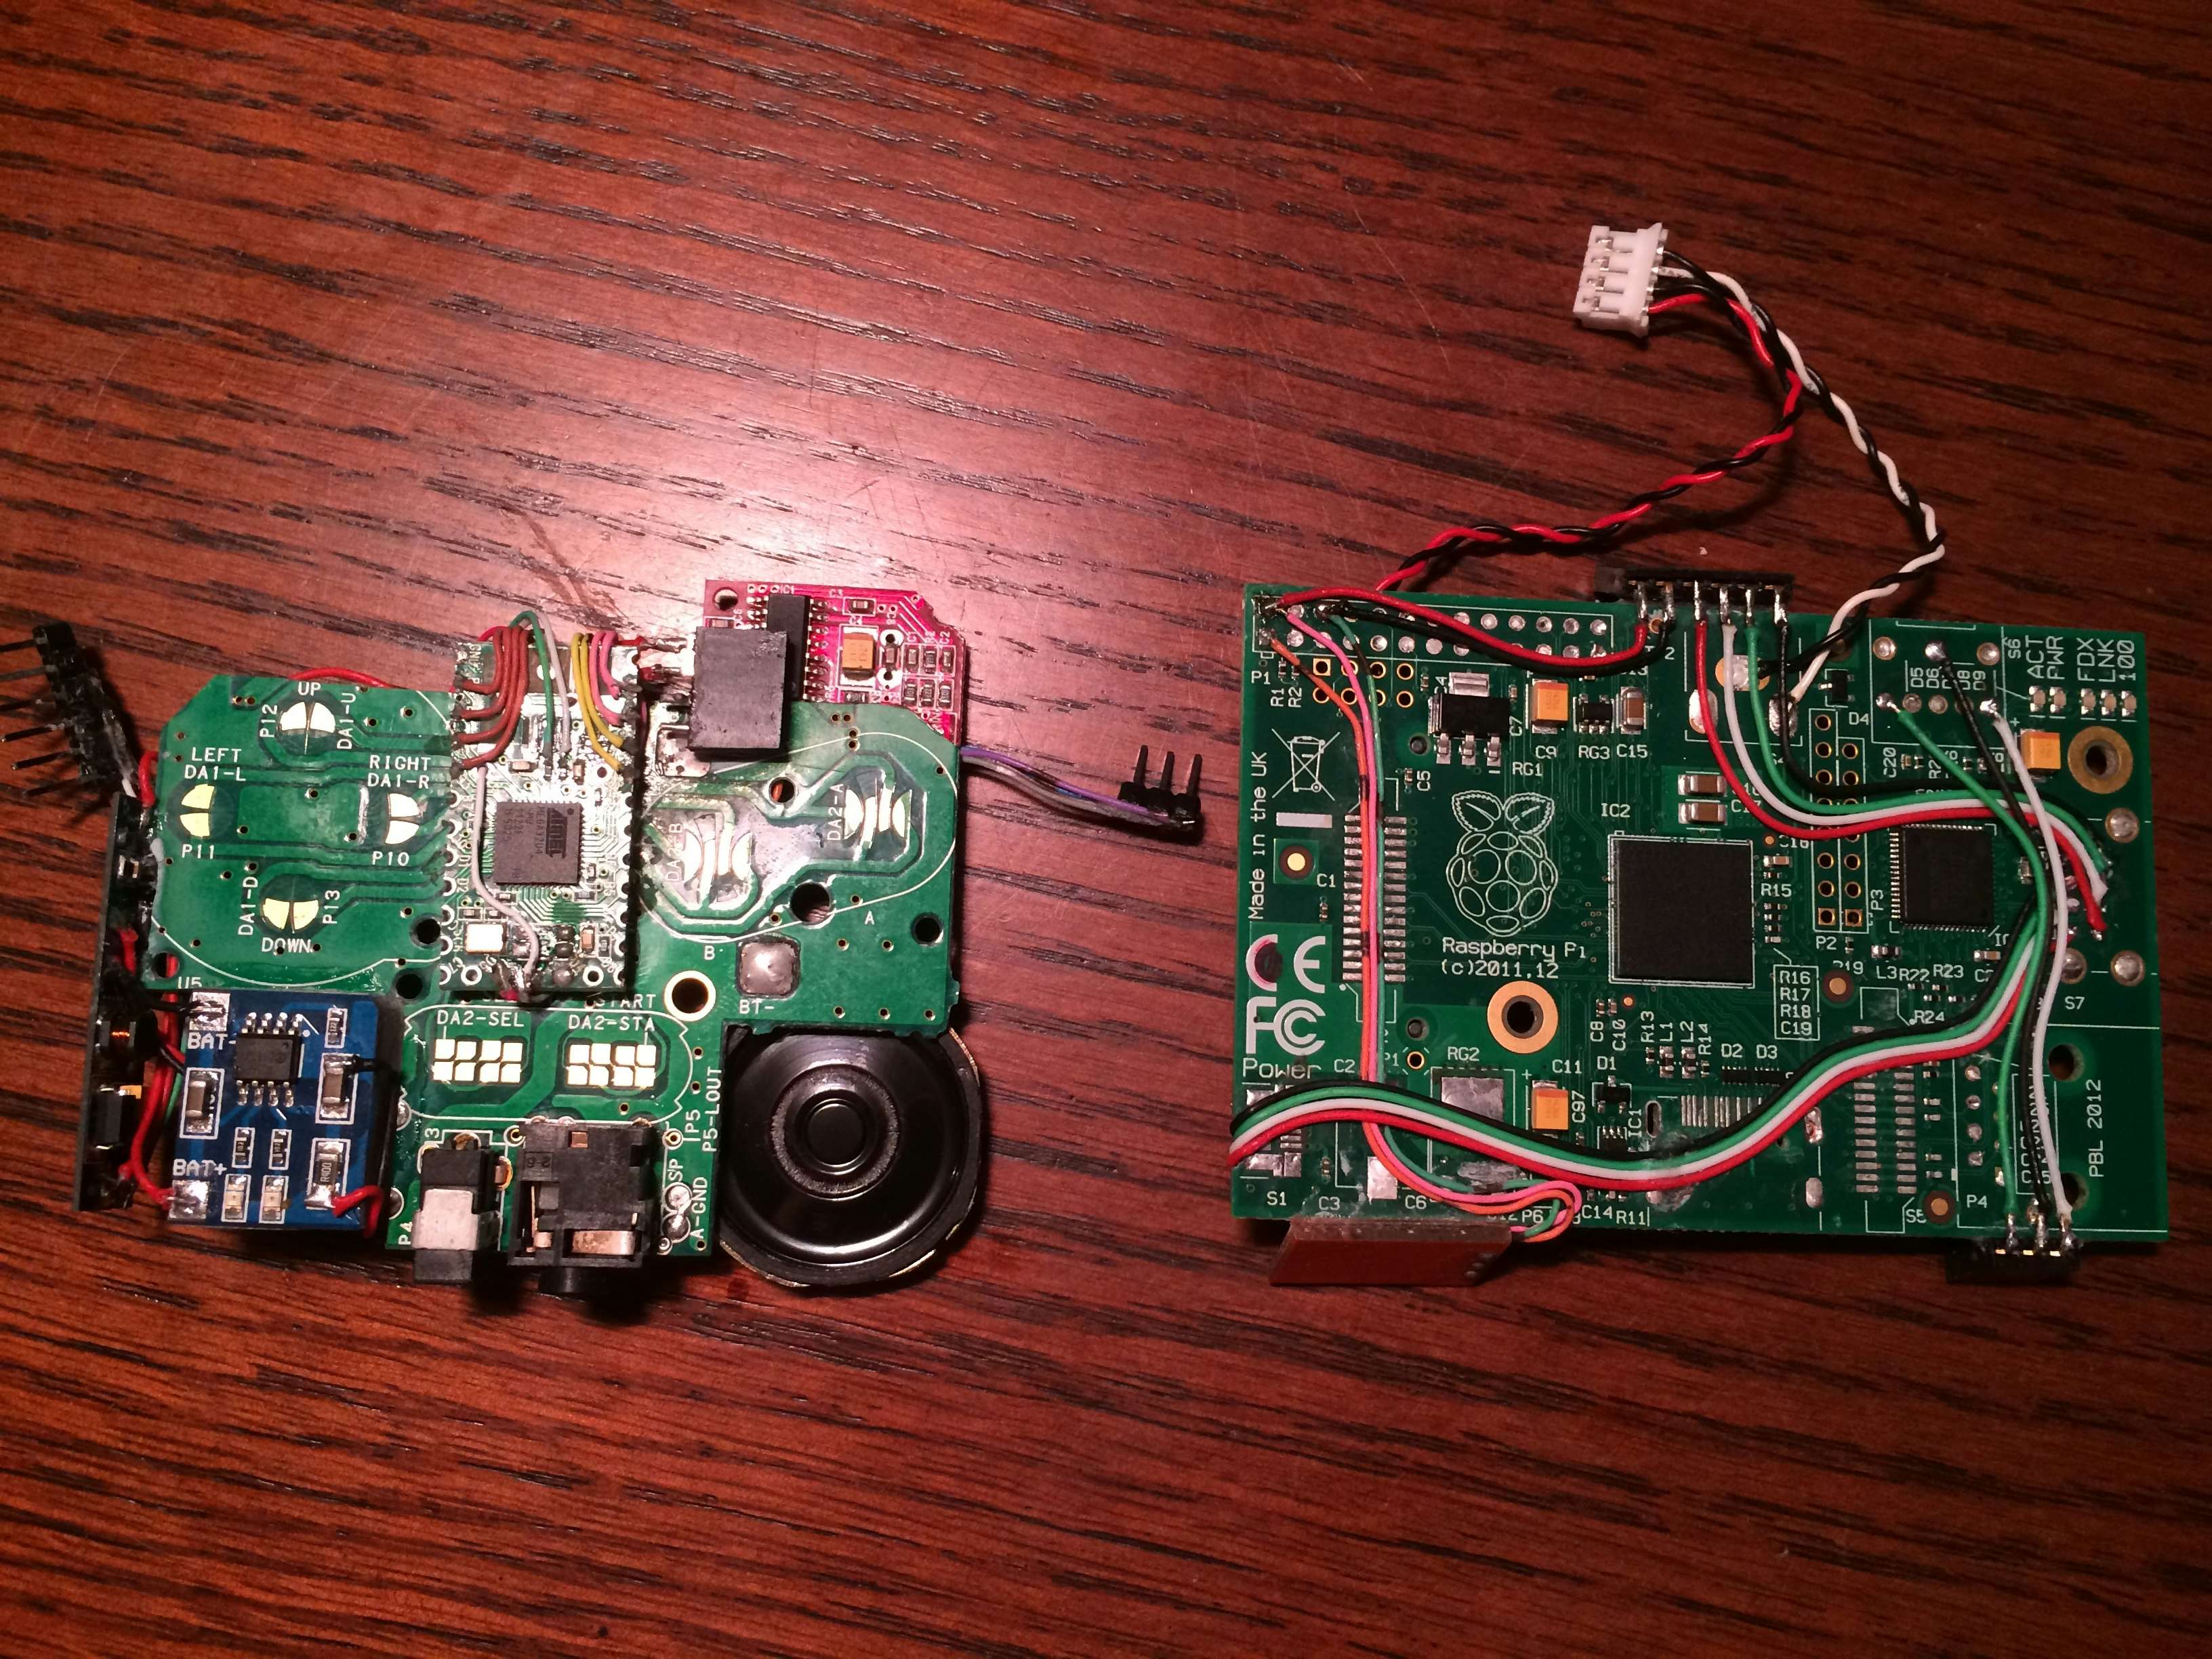
Here we have the two shells, the LCD Screen and the USB port being the only items attached to the shells. The screen is held in place with a liberal amount of hot glue while the USB port is super glued in place. The Raspberry Pi has been modified to include two connectors on either side to provide 5V input power, USB to the gamepad, and audio to the mini amp. Additionally a cable was wired to the GPIO 3.3V output and to the composite video output that connects to the LCD.
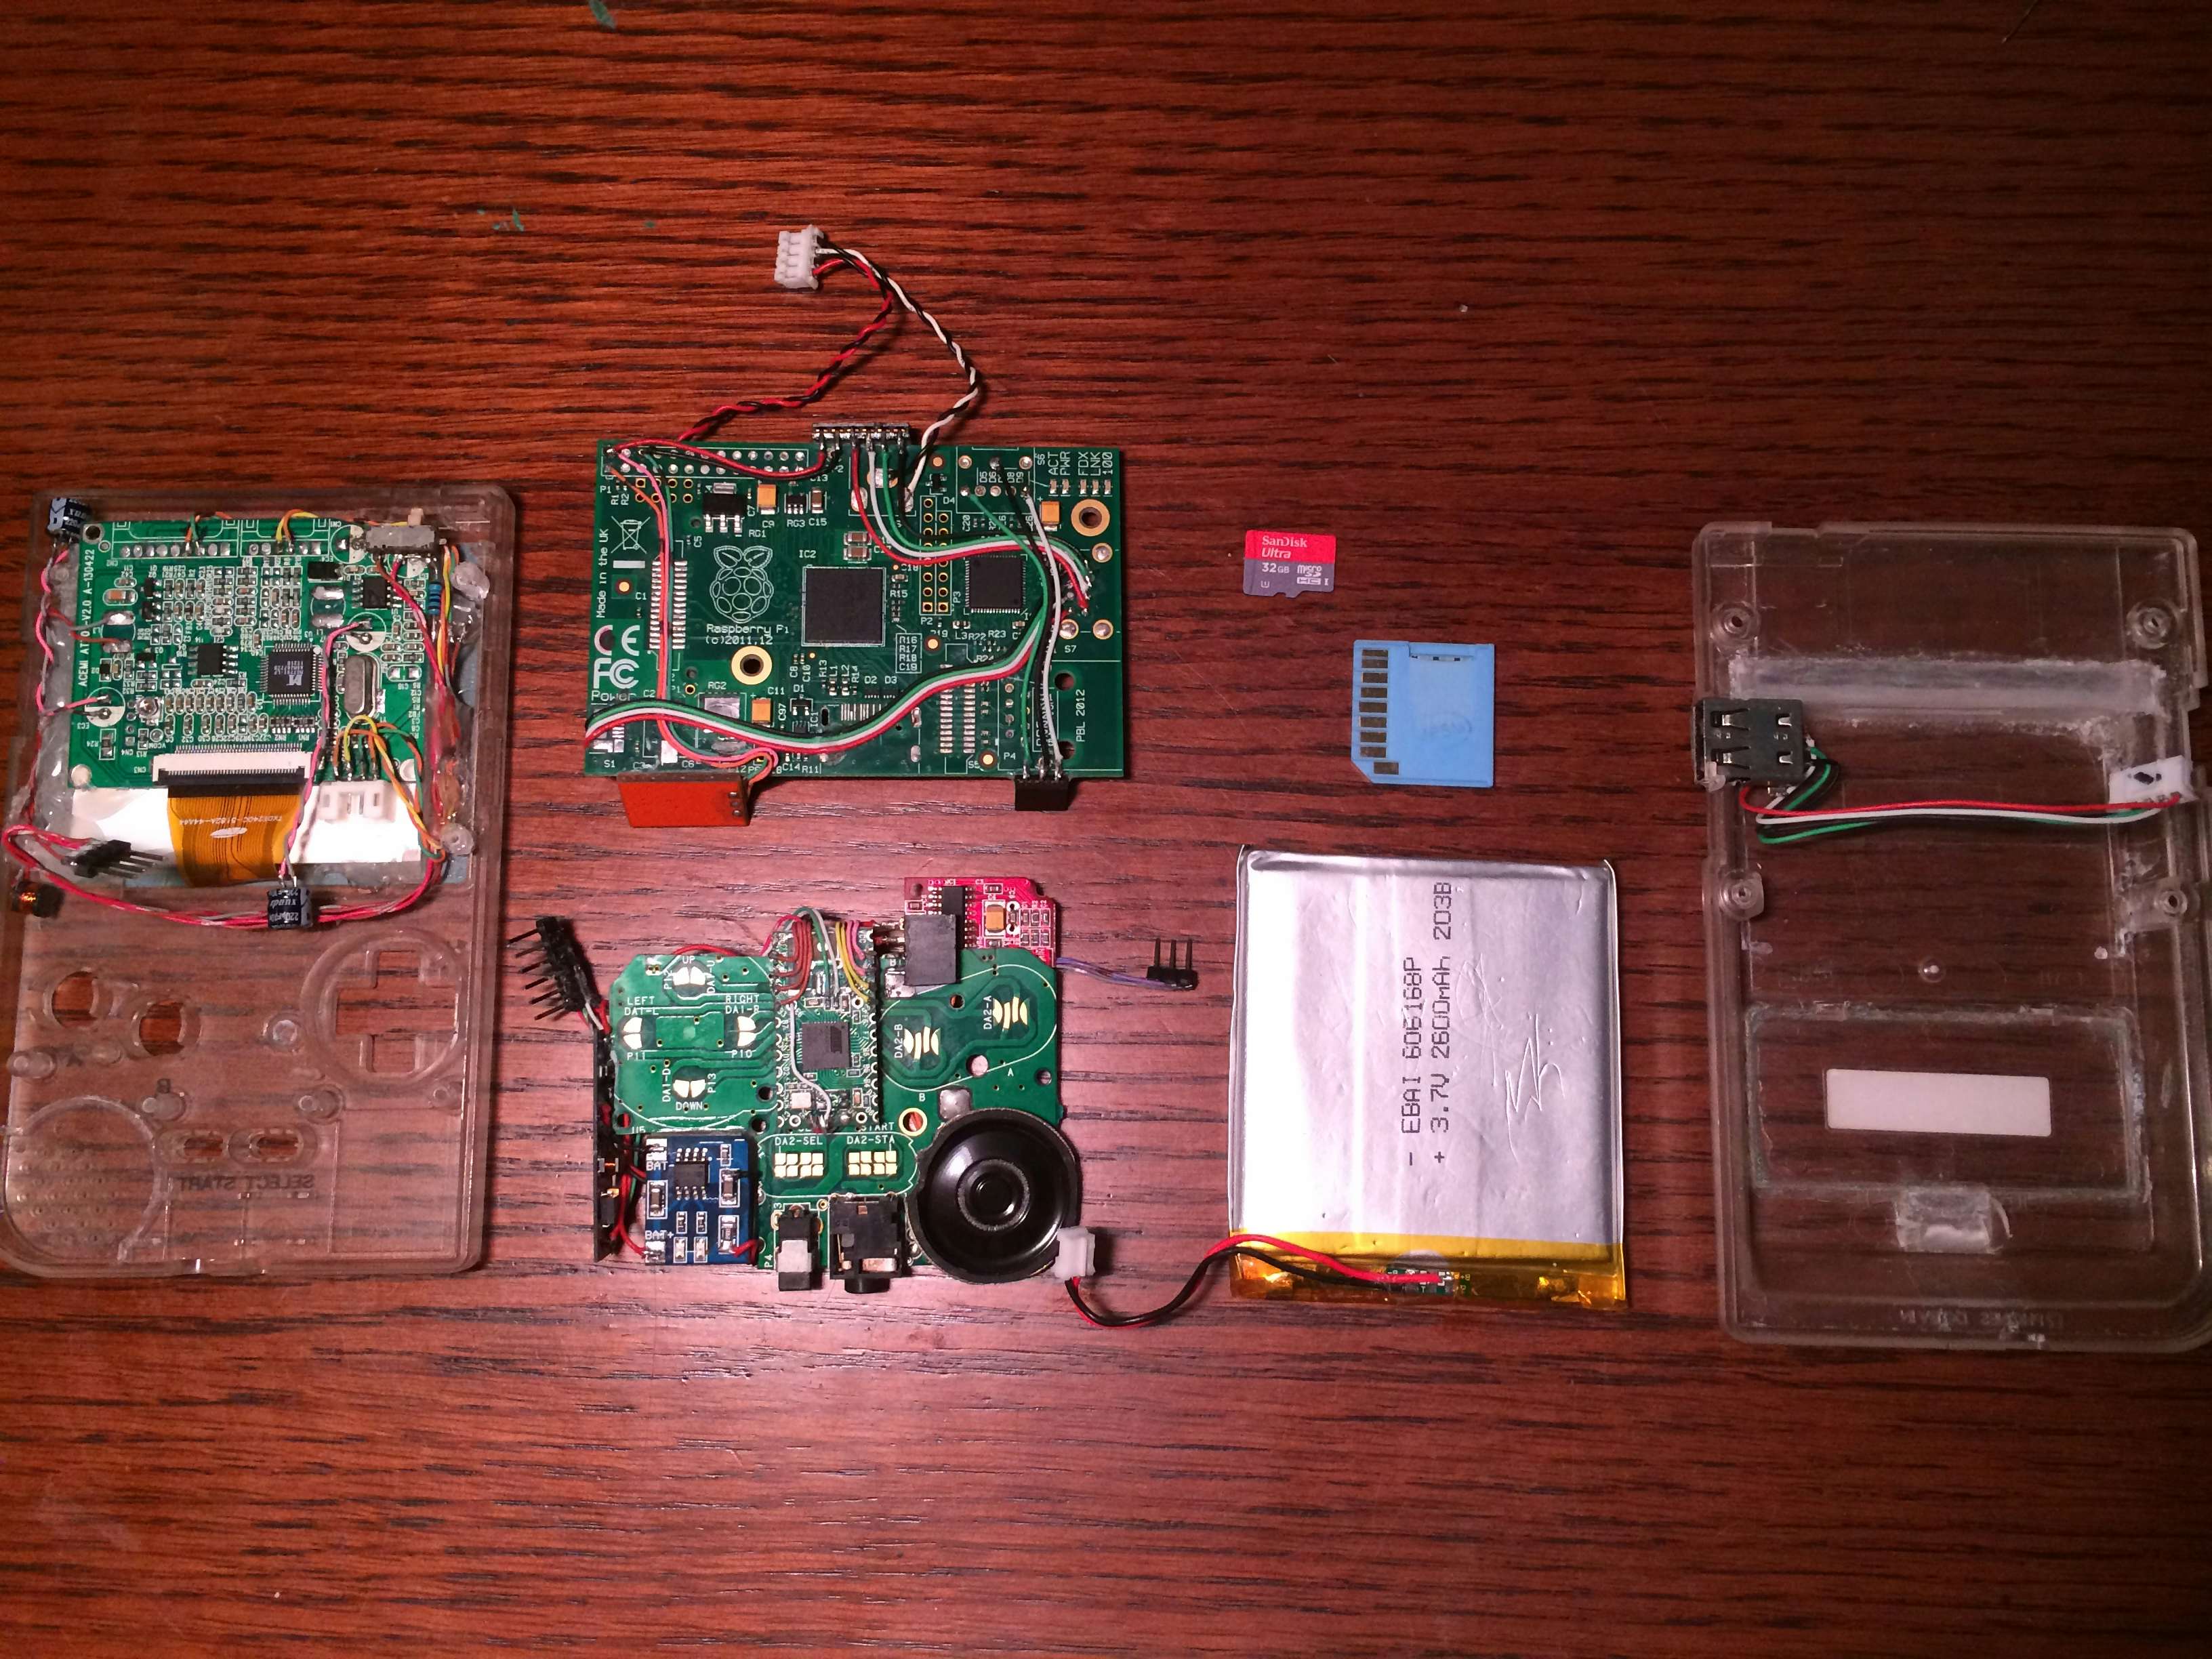
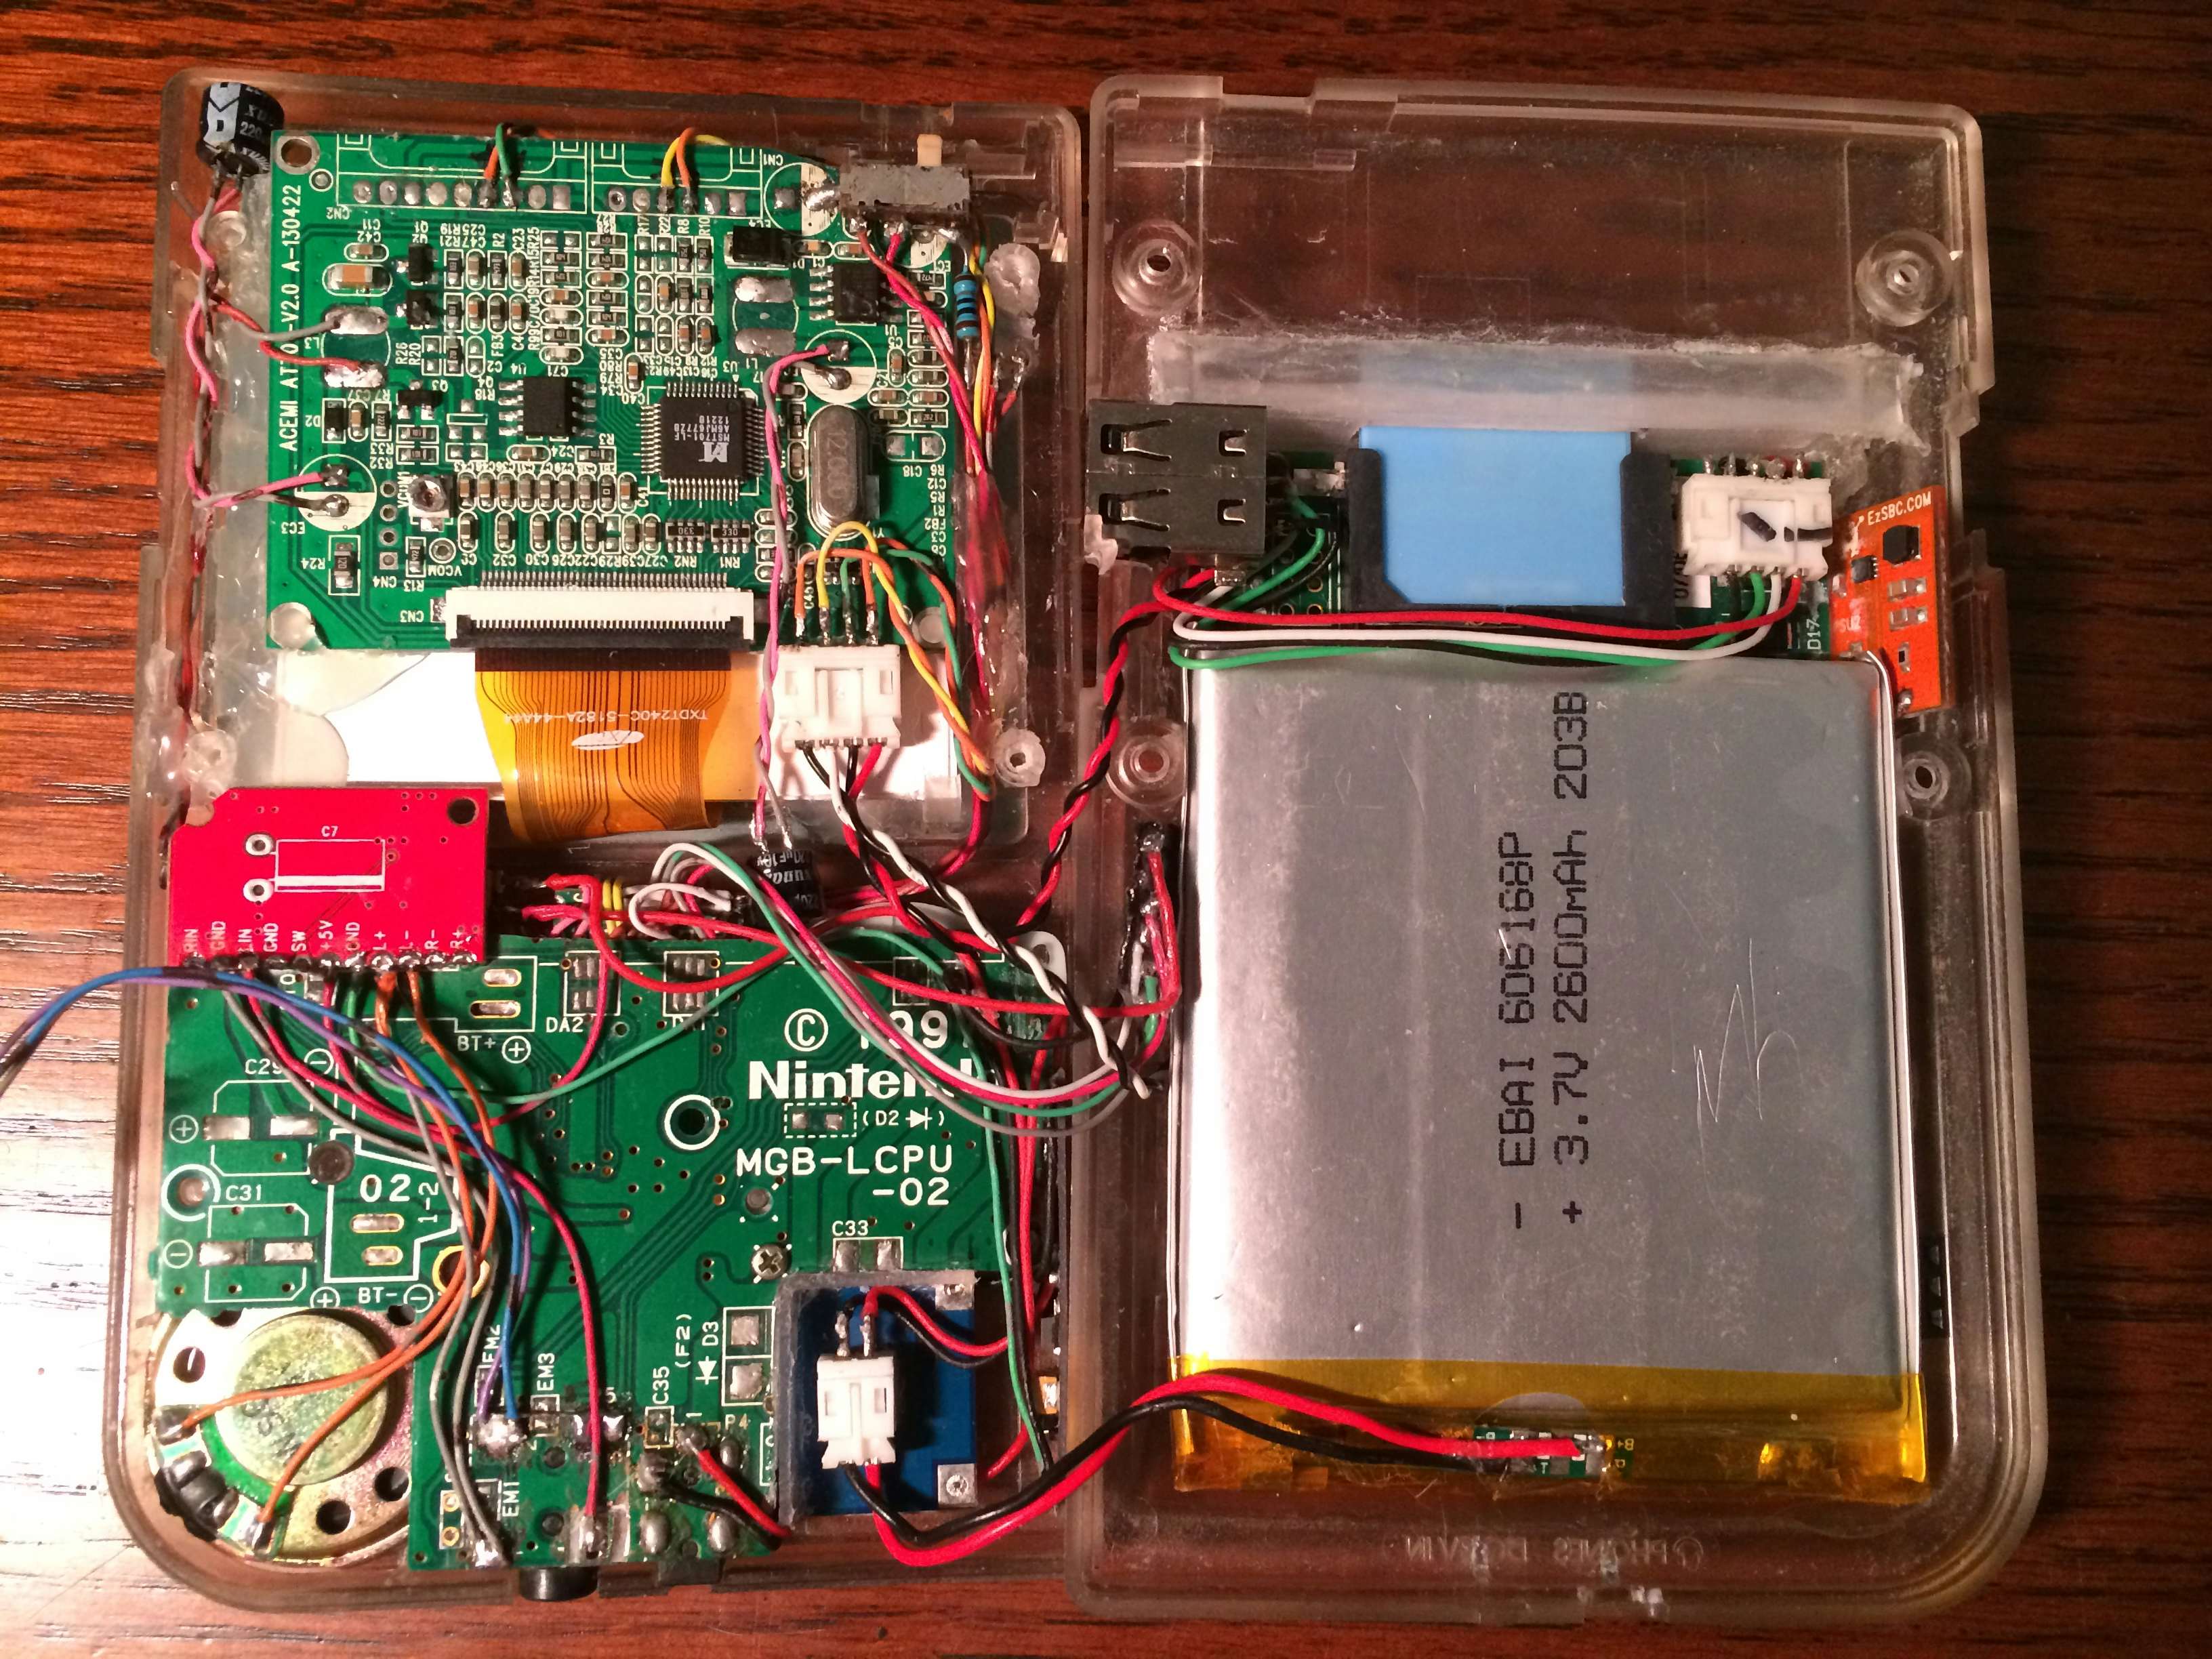
Next a group shot of every part that makes up the Pi-Pocket. A smaller half-height SD Card to Micro-SD adapter is used to connect a speedy SanDisk 32GB Ultra card with ample room for all my favorite games and more. Next the two halves are assembled and the main connections made creating a sort of hinge. The remaining connector provides the audio and is easy to connect as the two halves are hinged inwards. This last image is the best at showing all of the intricate wiring and how flat everything has to be to fit. And to think, I originally thought I would fit two batteries inside the Pi-Pocket. Everything fits perfectly with about a millimeter and a half of extra room meaning the Pi-Pocket maintains the exact same feel of the original Gameboy Pocket.
Surprise!
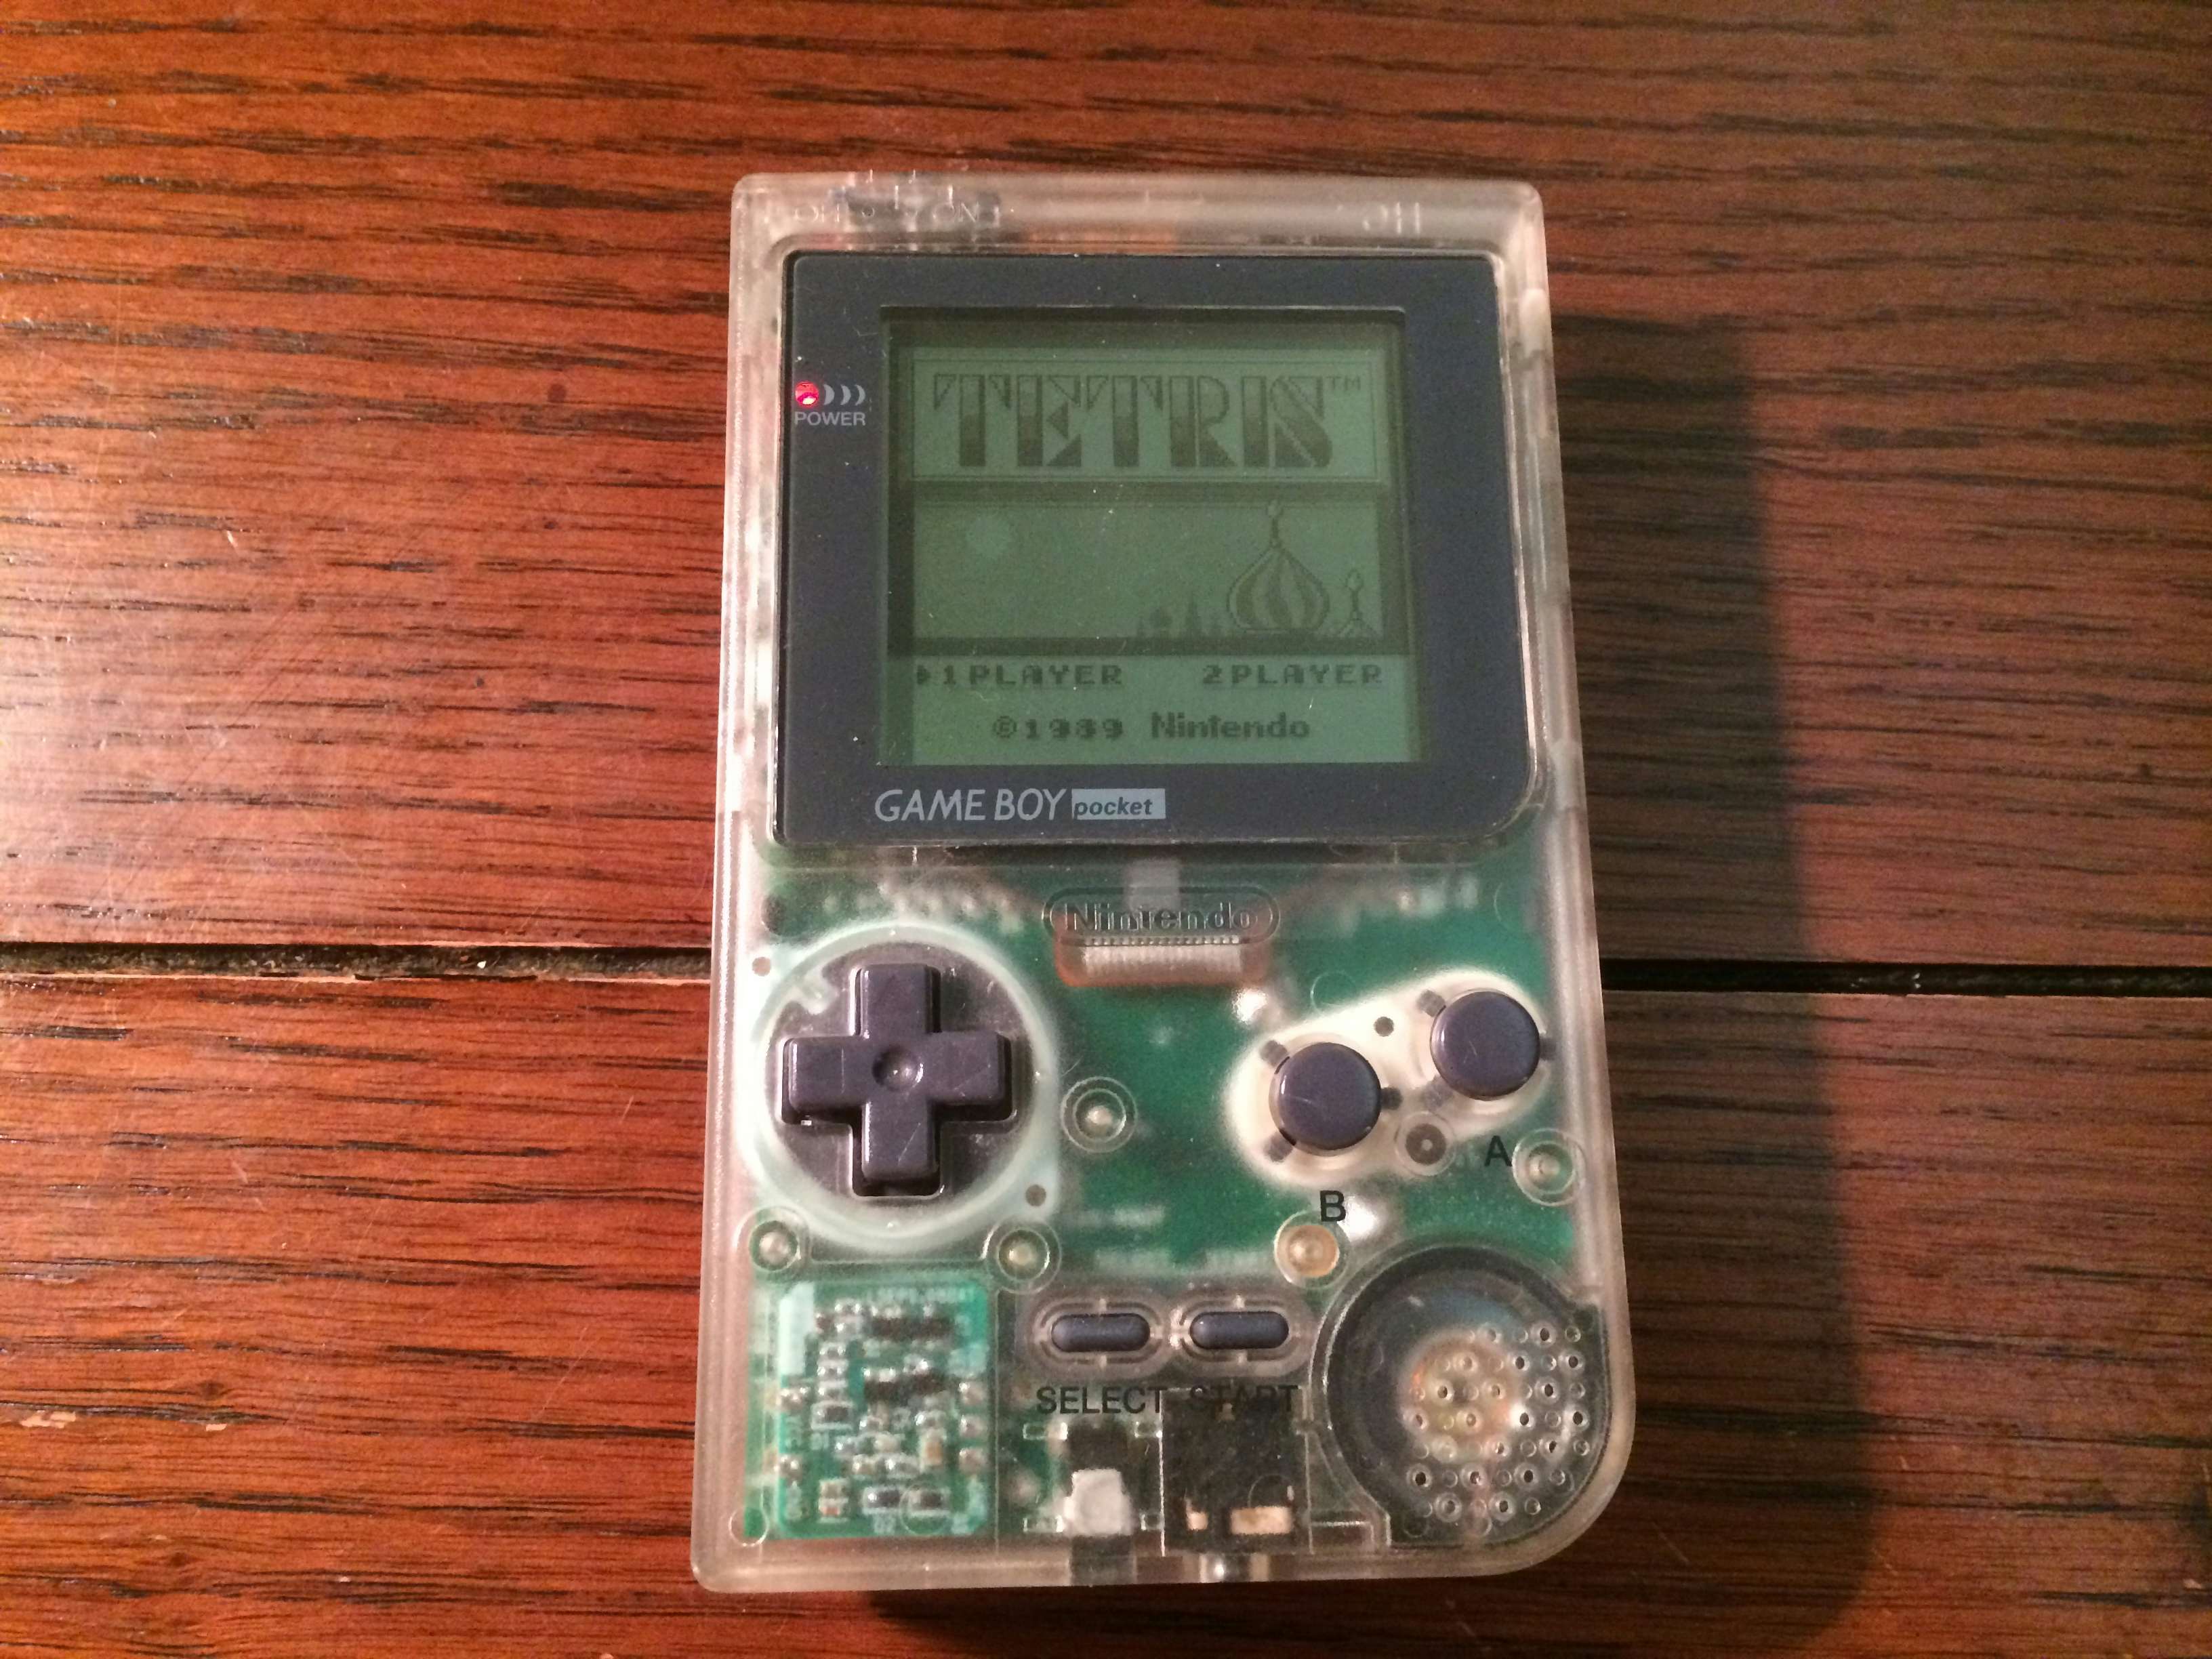
You didn’t really think I killed that poor Gameboy Pocket from the start of this log? No way, this one had a cooked CPU and would unfortunately never play another round of Tetris or any other game again.
Its important to stress here that the point wasn’t to only play Tetris with a backlight its about the ability to play any game from many popular systems plus the unlimited reprogram-ability of a Raspberry Pi, with a backlight 🙂
Code
The code for the Teensy can be found here on GitHub.
There are no other specific customizations to the Raspbian build other than setting overscan which is more a trial and error type situation. I will gladly publish any configs or RetroPie settings used upon request.
Diagrams
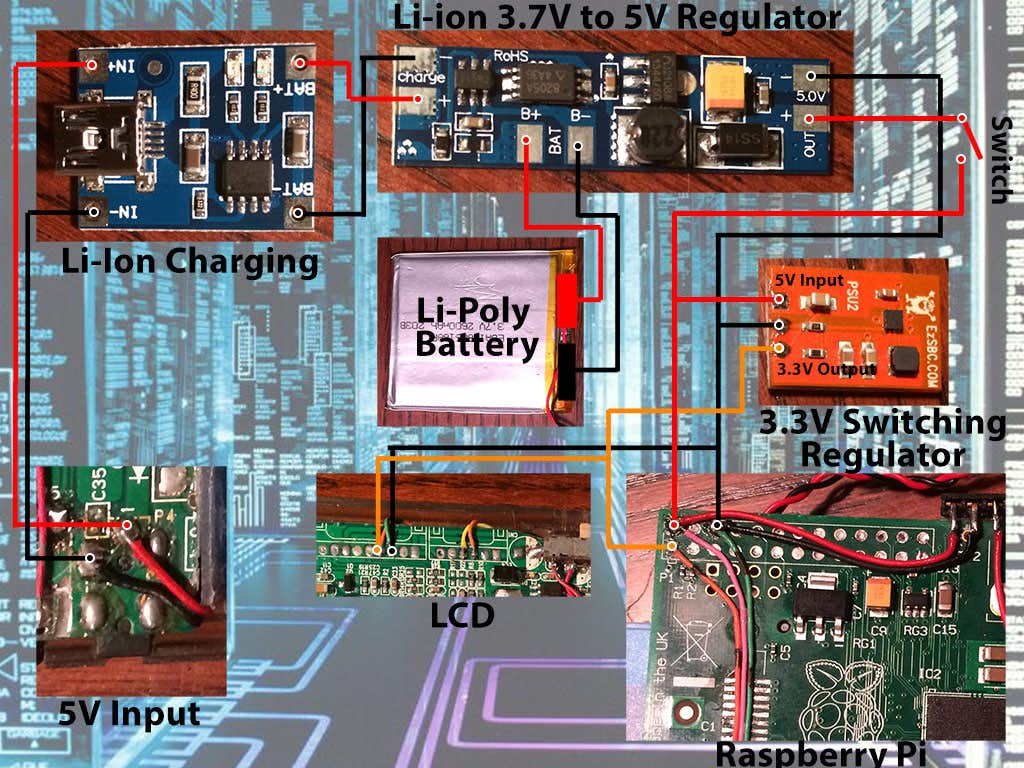
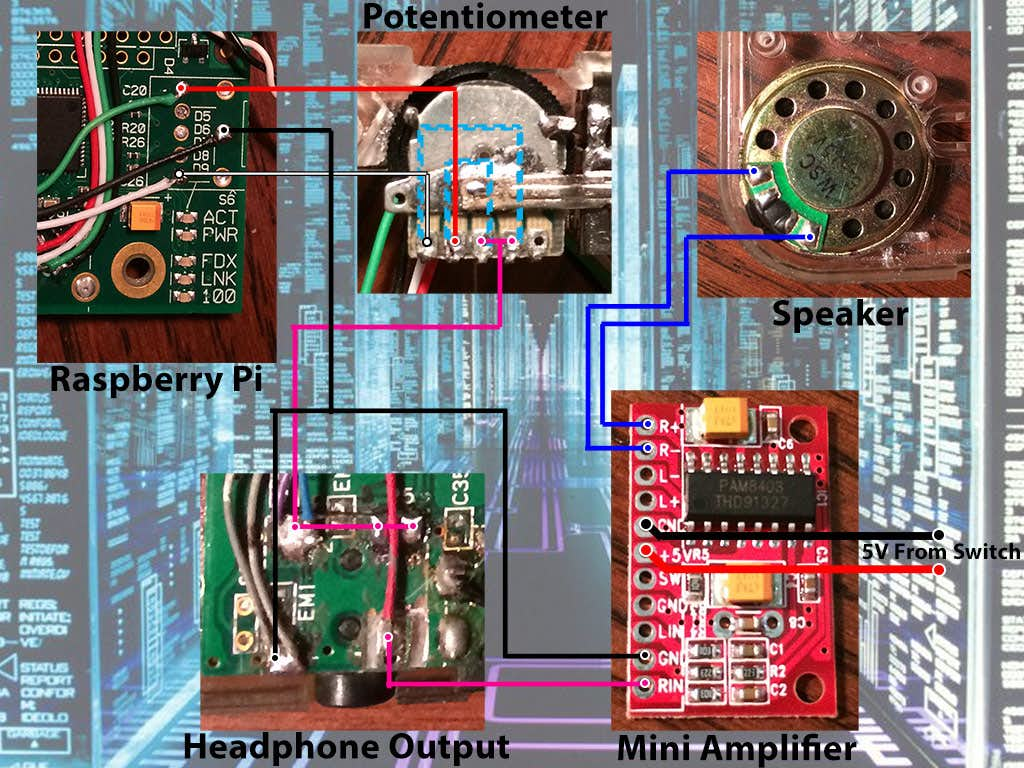
Due to several requests to see how the various items in the power supply and audio sections are connected I have put together the below diagrams. Note that the individual items shown might not be to scale in relation to one another. Dots represent where connections are made.
Originally I had thought the Li-Ion 5V Output Regulator would also accept 5V as an input for charging however after reading the specs more for this board it was evident that it expected a 3.7V regulated input. Likely a single part could be substituted for these two boards however the split design allowed more freedom in placement of the parts inside the space starved Gameboy Pocket. As with many portable power packs that only supply power once a load has been placed similarly the 5V Output Regulator draws an infinitesimal amount of power until the connection is made using the Gameboy Pockets power switch.
The audio was a challenge due to the unique setup of the Gameboy Pockets audio jack the decision was made to combine both stereo channels into one mono channel. This is because the audio output jacks “switch” is free floating and not connected to the audio pins themselves. Most audio jacks have switches on both audio channels allowing an easy redirection of the audio signal once a plug is inserted. An attempt was made to use this switch for the power input to the Mini Amplifier however the insertion or removal of a headphone plug meant sometimes the power would be shorted and the unit would reset. A second attempt was made to connect the switch to the switching pins on the Mini Amplifier however the logic was reversed and would have required a transistor setup to invert. The audio output is mostly a novelty as most of the time I would be using the internal speaker it was fairly trivial to combine the audio channels into one. Likely further tinkering could result in a more desirable setup.
Parts List
- Raspberry Pi Model B (512MB RAM)
- 2.5 Inch Composite LCD Screen
- SanDisk Ultra Micro SDHC Class 10 30MB/s 32GB SD Card
- Teensy 2.0 USB Development Board
- Gameboy Pocket pretty much any condition with working button pads
- 3.7V Li-Ion (Li-Poly) Flat Cell 606168 2600mAh Battery
- 3.7V to 5V Step Up Regulator for Li-Ion Cells
- 3.3V Switching Mode Step Down Power Regulator
- Miniature Audio Amplifier
- 5V Mini 1A Charging Board for 3.7V Li-Ion Cells
- Mini round 28MM thin speaker
- USB Port with No Flanges
- Replacement Gameboy Pocket Screen Lens
